Don't like the adverts? Click here to remove them
You are using an out of date browser. It may not display this or other websites correctly.
You should upgrade or use an alternative browser.
You should upgrade or use an alternative browser.
Who is doing what maintenance today?
- Thread starter warrenpfo
- Start date
- Joined
- Apr 10, 2021
- Messages
- 1,159
- Country Flag

I winded up paint job as I thought its easy to buy some car decal stickers and paste over these small areas than this sanding, and painting.all my paint jobs have been cancelled
- Joined
- Feb 2, 2013
- Messages
- 17,183
All is not lost Raj , practise just helps us put it on better but fact remains the mirror like finish is mostly obtained by removing paint/clearcoat until its super smooth .
Think of it as wood , split a log with an axe and your left with a flat side ridged with grain . But you can plane it sand it and polish it untilit looks like plastic veneer once clearcoat is added .
 www.decoratingdirect.co.uk
5m of P150 and 5m of P240 and you will be good to go at it again in an hour .
I use one of these Wooden Sanding Block | Wickes.co.uk - [Leaving Land Cruiser Club] to wrap paper around wood to paint soft side to palm . Soft side to paint only when i'm being very gentle with the smoothest wet and dry paper .
Think of it as wood , split a log with an axe and your left with a flat side ridged with grain . But you can plane it sand it and polish it untilit looks like plastic veneer once clearcoat is added .
Mirka Hiomant Aluminium Oxide Abrasive Rolls 115mm wide
115mm wide heavy paper backing, electro-coated and fully resin bonded with aluminium oxide grit.
5m of P150 and 5m of P240 and you will be good to go at it again in an hour .
I use one of these Wooden Sanding Block | Wickes.co.uk - [Leaving Land Cruiser Club] to wrap paper around wood to paint soft side to palm . Soft side to paint only when i'm being very gentle with the smoothest wet and dry paper .
LC80series
New Member
- Joined
- Aug 11, 2021
- Messages
- 25
- Country Flag

Last weekend I rebuilt the birfields changes all the bearings and seal. I was warned that it was a long and messy job, and it’s true… it’s a long and messy job! But I sleep much better now…
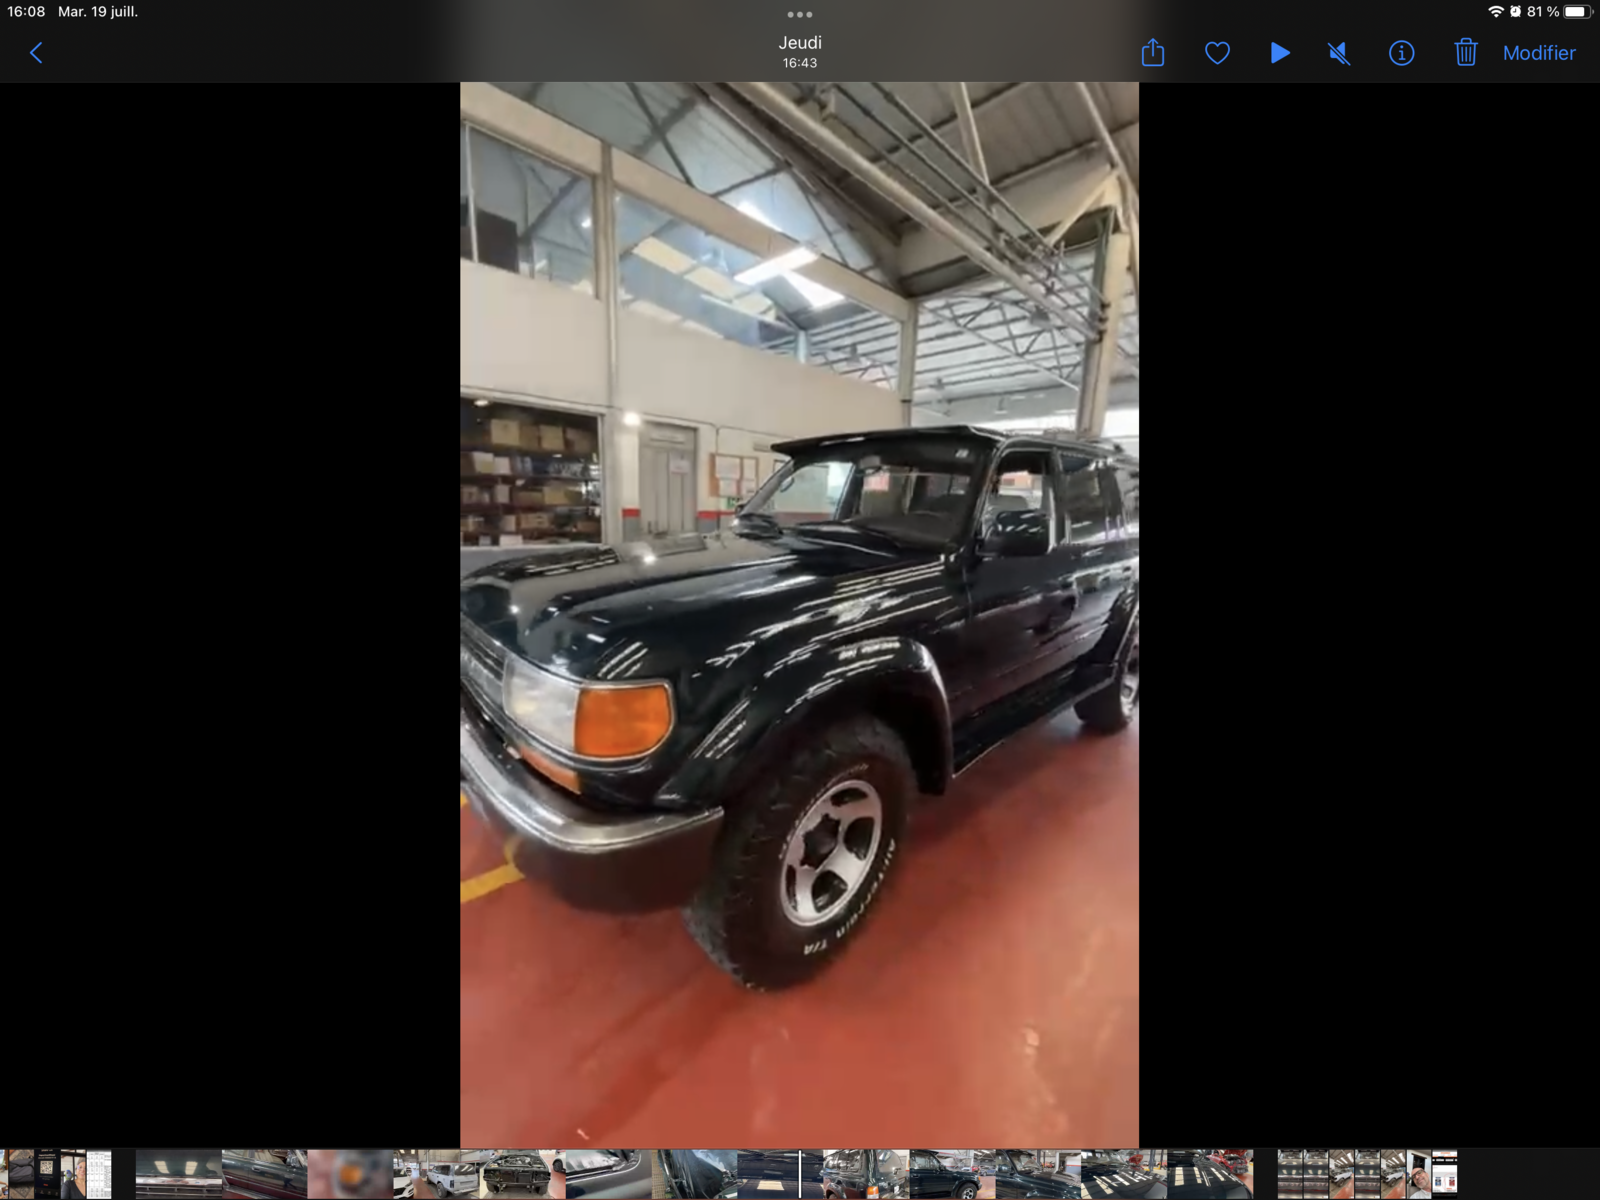
And before I forget, I had the truck repainted last month. Here is the result.
Cheers
And before I forget, I had the truck repainted last month. Here is the result.
Cheers
Attachments
- Joined
- Apr 10, 2016
- Messages
- 1,899
- Country Flag

Also had to address the front near side swivel housing as the wheel had started to lean out at the bottom even though everything felt ok to drive.

The left hand bearing in the photo above was what was left of the upper swivel housing bearing! The rollers and other debris was found within the housing. No wonder the wheel looked wonky!
Then had to clean everything up and address a few burrs but amazingly there was no substantial harm done.
Cruiserworld kindly expedited the terrain tamer swivel housing kit for me.

At this stage it was almost time to start getting everything back together. Thank goodness I had a spare 47 old towels handy!
Not long after the above I had to get the big fishing brolly out as a sunshade.

Getting there now. The cv joint needed lots of manipulating prior to refitting as it was a bit notchy with dirt etc in there. So soaked it in gear oil and kept working it. Blew it all out with compressed air and it felt quite good. Once fully packed with moly grease it felt perfect.
Amazingly everything went to plan and torqued down to spec.

Just about to bleed the brake for the 3rd and last time. It was being awkward.
Not ideal doing it at ground level in the drive way but 2 days of methodical dirty and hot work were nothing compared to the satisfaction of doing if right. I will just need to do the other side now.
The left hand bearing in the photo above was what was left of the upper swivel housing bearing! The rollers and other debris was found within the housing. No wonder the wheel looked wonky!
Then had to clean everything up and address a few burrs but amazingly there was no substantial harm done.
Cruiserworld kindly expedited the terrain tamer swivel housing kit for me.
At this stage it was almost time to start getting everything back together. Thank goodness I had a spare 47 old towels handy!
Not long after the above I had to get the big fishing brolly out as a sunshade.
Getting there now. The cv joint needed lots of manipulating prior to refitting as it was a bit notchy with dirt etc in there. So soaked it in gear oil and kept working it. Blew it all out with compressed air and it felt quite good. Once fully packed with moly grease it felt perfect.
Amazingly everything went to plan and torqued down to spec.
Just about to bleed the brake for the 3rd and last time. It was being awkward.
Not ideal doing it at ground level in the drive way but 2 days of methodical dirty and hot work were nothing compared to the satisfaction of doing if right. I will just need to do the other side now.

Don't like the adverts? Click here to remove them

Towpack
Well-Known Member
Started getting the "cheep cheep cheep" noise from the bell housing with the engine ticking over the other day so got underneath this morning and greased the release arm pivot, sorted. I new it was this as it did the same thing a couple of years back.
- Joined
- Apr 10, 2016
- Messages
- 1,899
- Country Flag
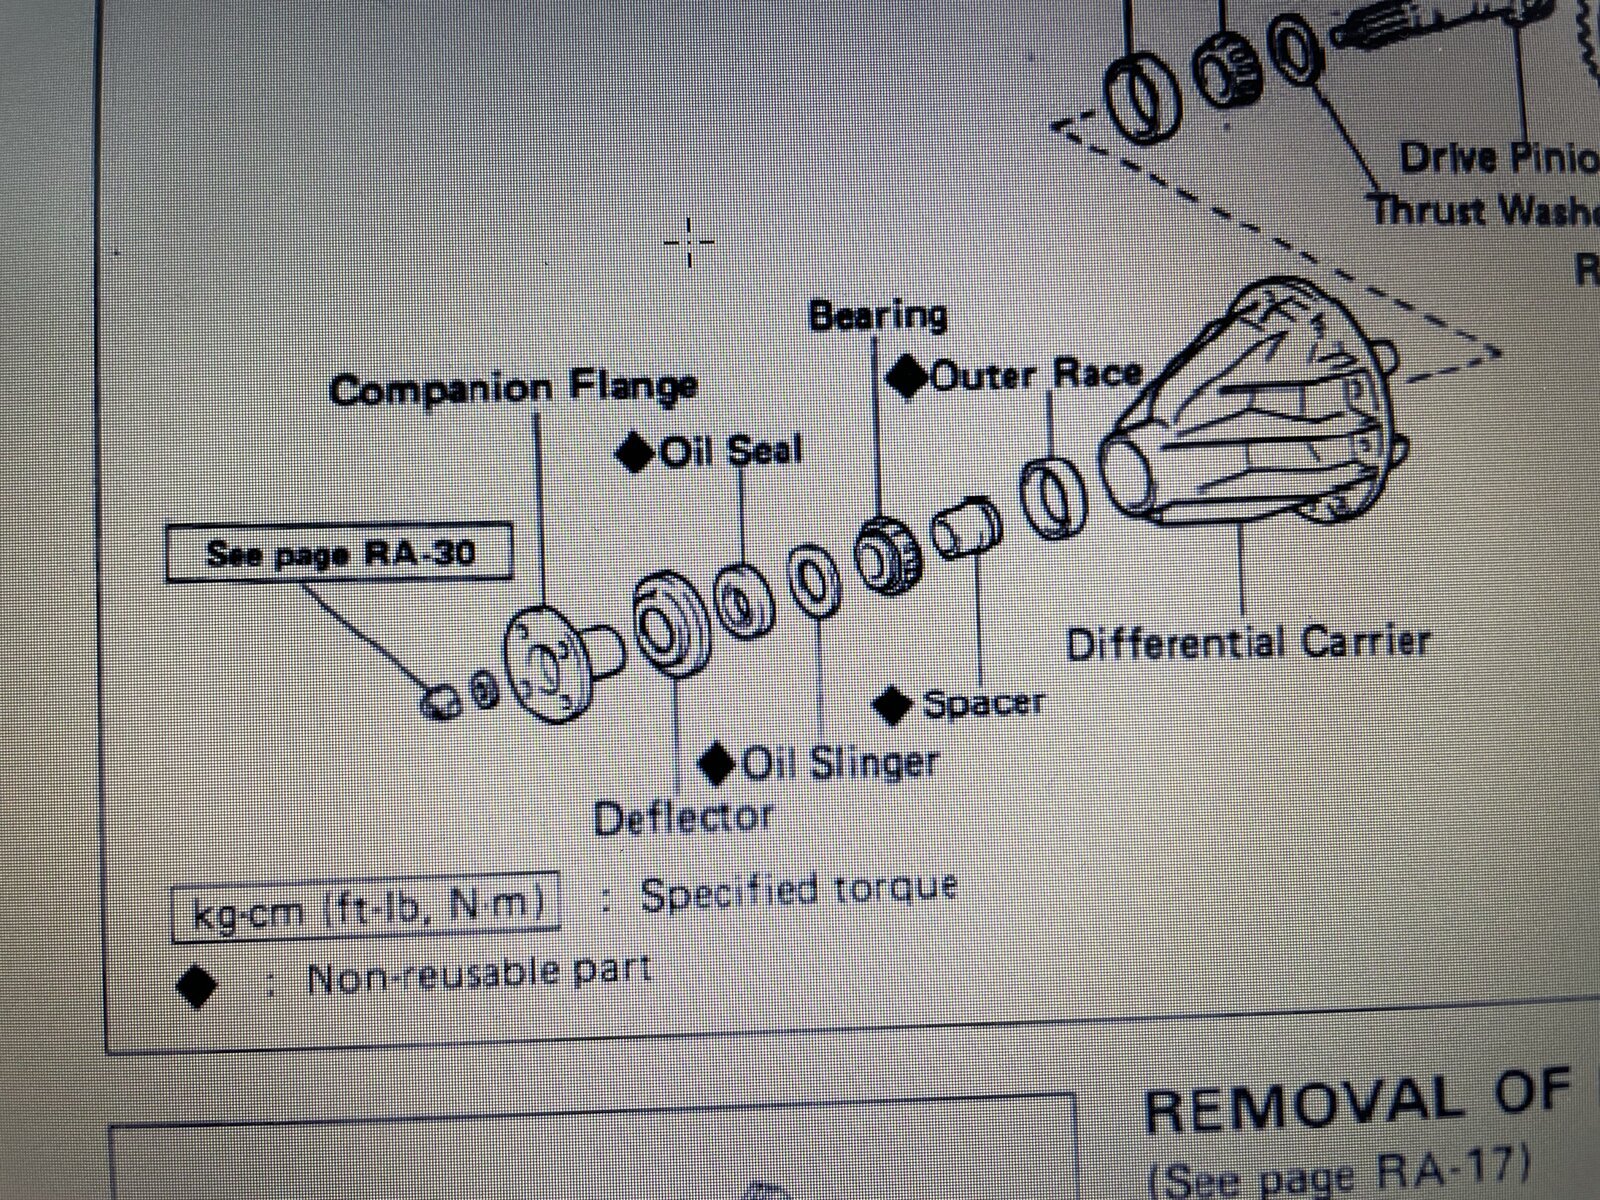
A job for the weekend is to sort out a loose and rattling Deflector on the rear diff housing which reared itself yesterday coming back from Warrington.
I think its job is to minimise any crap from getting onto the oil seal. Somehow it must have just pushed onto the end of the diff housing. But now both have worn against each other and there is no way of pushing it on. So its going to either be cut off or glued back on with silicone or something that can be removed if needed.
Could anyone see any flaws in this cunning plan please?
I dont want to be removing the companion flange until absolutely necessary - I can see that becomming a full diff rebuild !!
Attachments
- Joined
- Feb 2, 2013
- Messages
- 17,183
Could you rebuild the worn with this stuff or something similar ?
- Joined
- Apr 10, 2016
- Messages
- 1,899
- Country Flag
Thats a good Idea Shayne thanks.
But the only feasible way i can see would be to use that sort of stuff to build it up then use a new deflector as a mould with perhaps a layer of vaseline or something to prevent it gluing itself on there while it hardens.
The current plate is so worn if i use that then it will never allow a new deflector to fit so im back to square one.
Using a new deflector will need the companion shaft to be removed to get it on.
Perhaps the putty could be applied around the outside of the old deflector to glue it on so at least it could be ground off in the future? What do you think?
Tractionman
Well-Known Member
- Joined
- Oct 11, 2013
- Messages
- 2,979
- Country Flag
Tiger Seal, - if it's good enough for body panels....
- Joined
- Apr 10, 2016
- Messages
- 1,899
- Country Flag
Yes it could be worn all the way round Shayne there is certainly a millimetre of space all around. I like the Tiger seal idea too, thanks Tractionman.
So Im going to clean everything off and get it all nice and dry. Then see if i need to key it.
The deflector will then get 3 dabs of hotmelt glue to hold it centrally before a test drive.
If it holds then I will seal all around the outside to further stick it onto the diff housing.
If it doesnt hold with that then I can try the metal putty.
If it ever comes apart then it will need a machine shop to sleeve it for a new deflector to fit. Or perhaps I could find some sort of rubber boot.
Off I go full of optimism!!
- Joined
- Apr 10, 2016
- Messages
- 1,899
- Country Flag
This is the deflector which has just been stuck on with hot glue as a trial. Test drive now
- Joined
- Apr 10, 2016
- Messages
- 1,899
- Country Flag
Just went for a drive and it worked!!
Stopped to check of course…

Thirsty work. Now to add the sealant all around the edge
Stopped to check of course…
Thirsty work. Now to add the sealant all around the edge
Tractionman
Well-Known Member
- Joined
- Oct 11, 2013
- Messages
- 2,979
- Country Flag
Hot melt glue is good for a lot of stuff, but it's not flexible.
Heres hoping the hot glue and sealant holds it anyway.
Heres hoping the hot glue and sealant holds it anyway.
- Joined
- Apr 10, 2016
- Messages
- 1,899
- Country Flag
Fully sealed up today with the magic sealant.
Nice to have an easy job for once! Hopefully it will last.
Nice to have an easy job for once! Hopefully it will last.