Don't like the adverts?  Click here to remove them

Hj60 front winch bumper build

The receiver kit looks interesting there Ed, but do have the concern of it being too highup to tow and again the 65mm body lift could make the bumper twist.

Interesting to hear you know the area of shropshire you mentioned, I have done quite a few jobs over that way:icon-smile:
 
These guys sell the pivot kit.
View attachment 9897

I do see what you mean with like a rear axle bearing hub off like a drum braked golf for example. To but also from an industrial application that uses a similar setup.

Very interesting pic mate:think:...giving me some ideas, we could fab up a HEAVY DUTY version of this:icon-biggrin:, i got some bits hanging about the shop we could use..see what you think!!
 
Very interesting pic mate:think:...giving me some ideas, we could fab up a HEAVY DUTY version of this:icon-biggrin:, i got some bits hanging about the shop we could use..see what you think!!

A bit of a blank canvas like you said on Sunday
octag and dutch4x4 036.jpg


Will have to go back there now! Gotta take picture with the new addition! Lol:icon-biggrin:
 
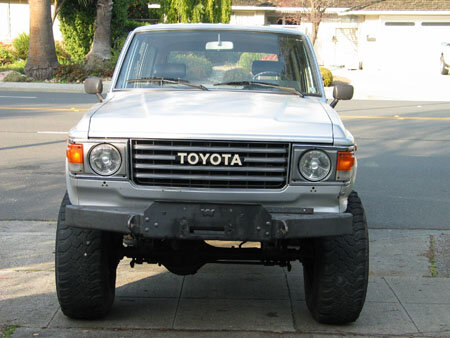
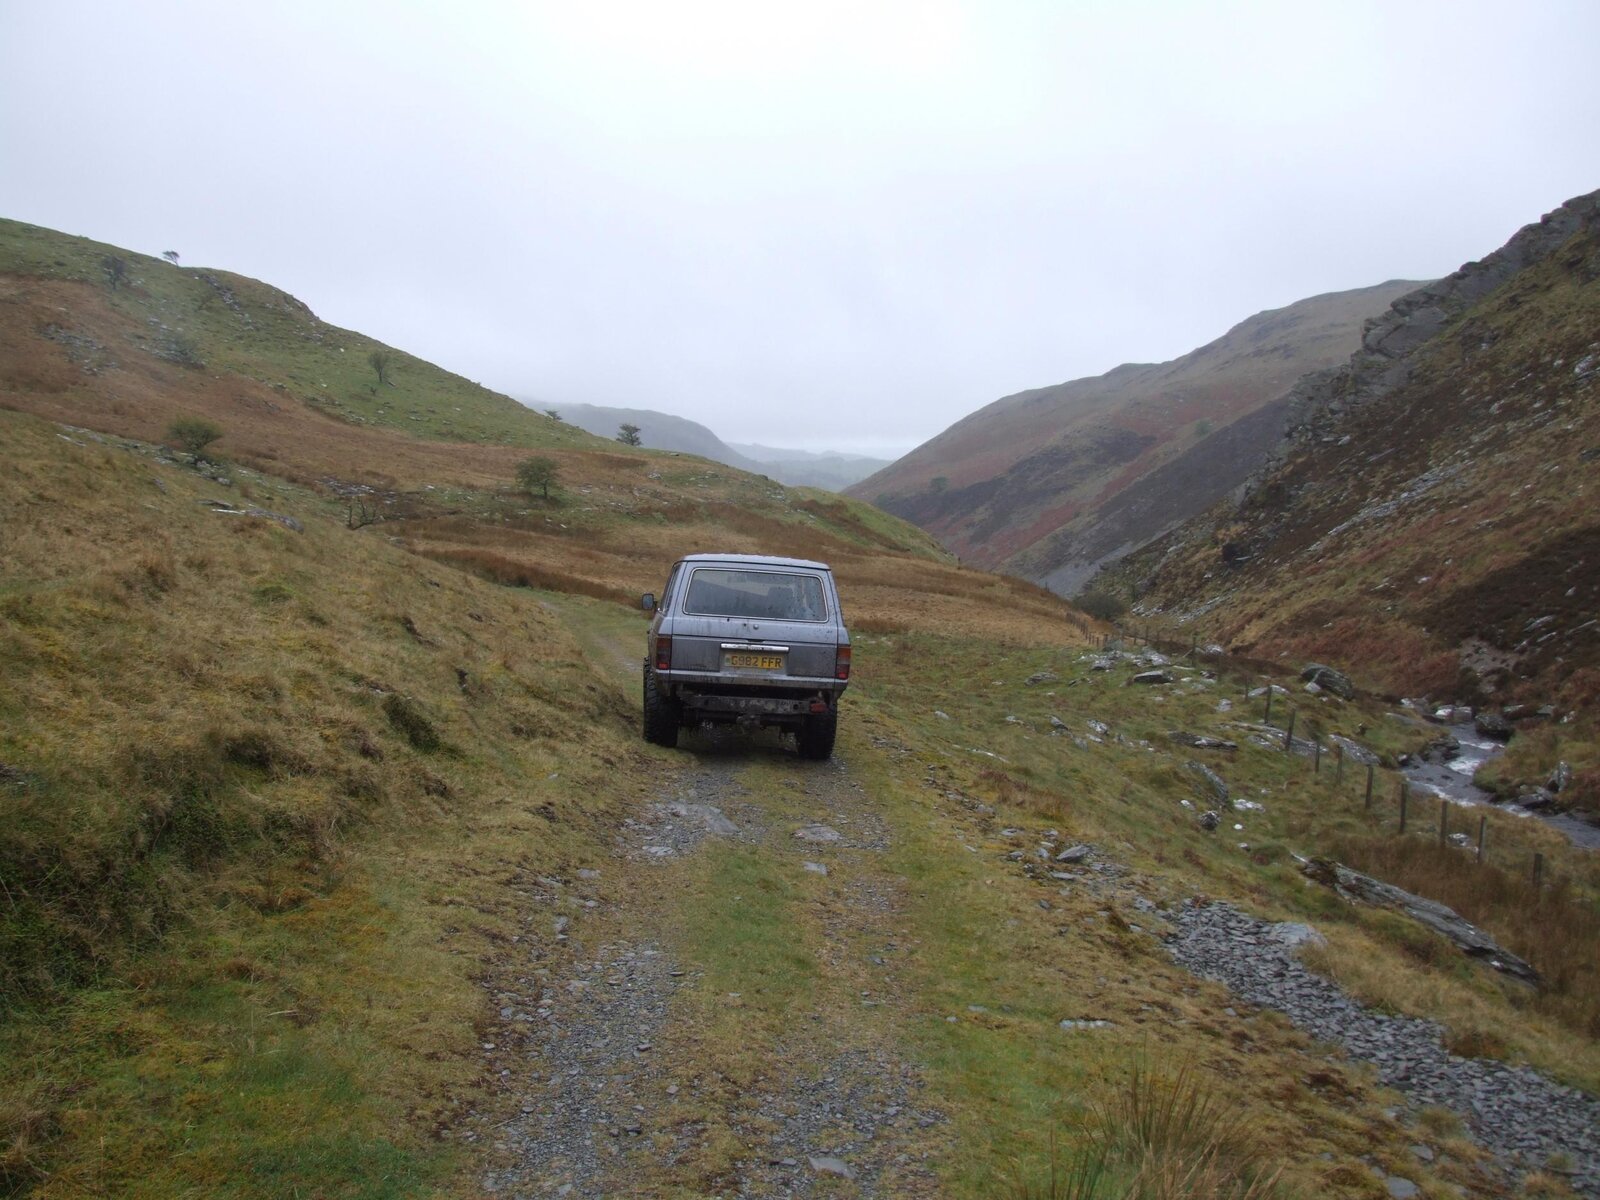
Great bumper, truck and photos Iwan, that view reminds me of many trips over the Berwens, starting from Brum, via Oswestry, Llanfylin, and on to Bala. Used to do a lot of dinghy sailing on Bala in my teens.

Apologies if my Welsh spelling is all to cock, I lived in Hermon, Glogue nr Crymych for 8 years, still didn't get the hang of it!
 
i rekon should be able to make for less then that.
stu
 
Don't like the adverts?  Click here to remove them
Great bumper, truck and photos Iwan, that view reminds me of many trips over the Berwens, starting from Brum, via Oswestry, Llanfylin, and on to Bala. Used to do a lot of dinghy sailing on Bala in my teens.

Apologies if my Welsh spelling is all to cock, I lived in Hermon, Glogue nr Crymych for 8 years, still didn't get the hang of it!

Cheers Clive, hours of fun these trucks! Glad you like the pics :thumbup:
 
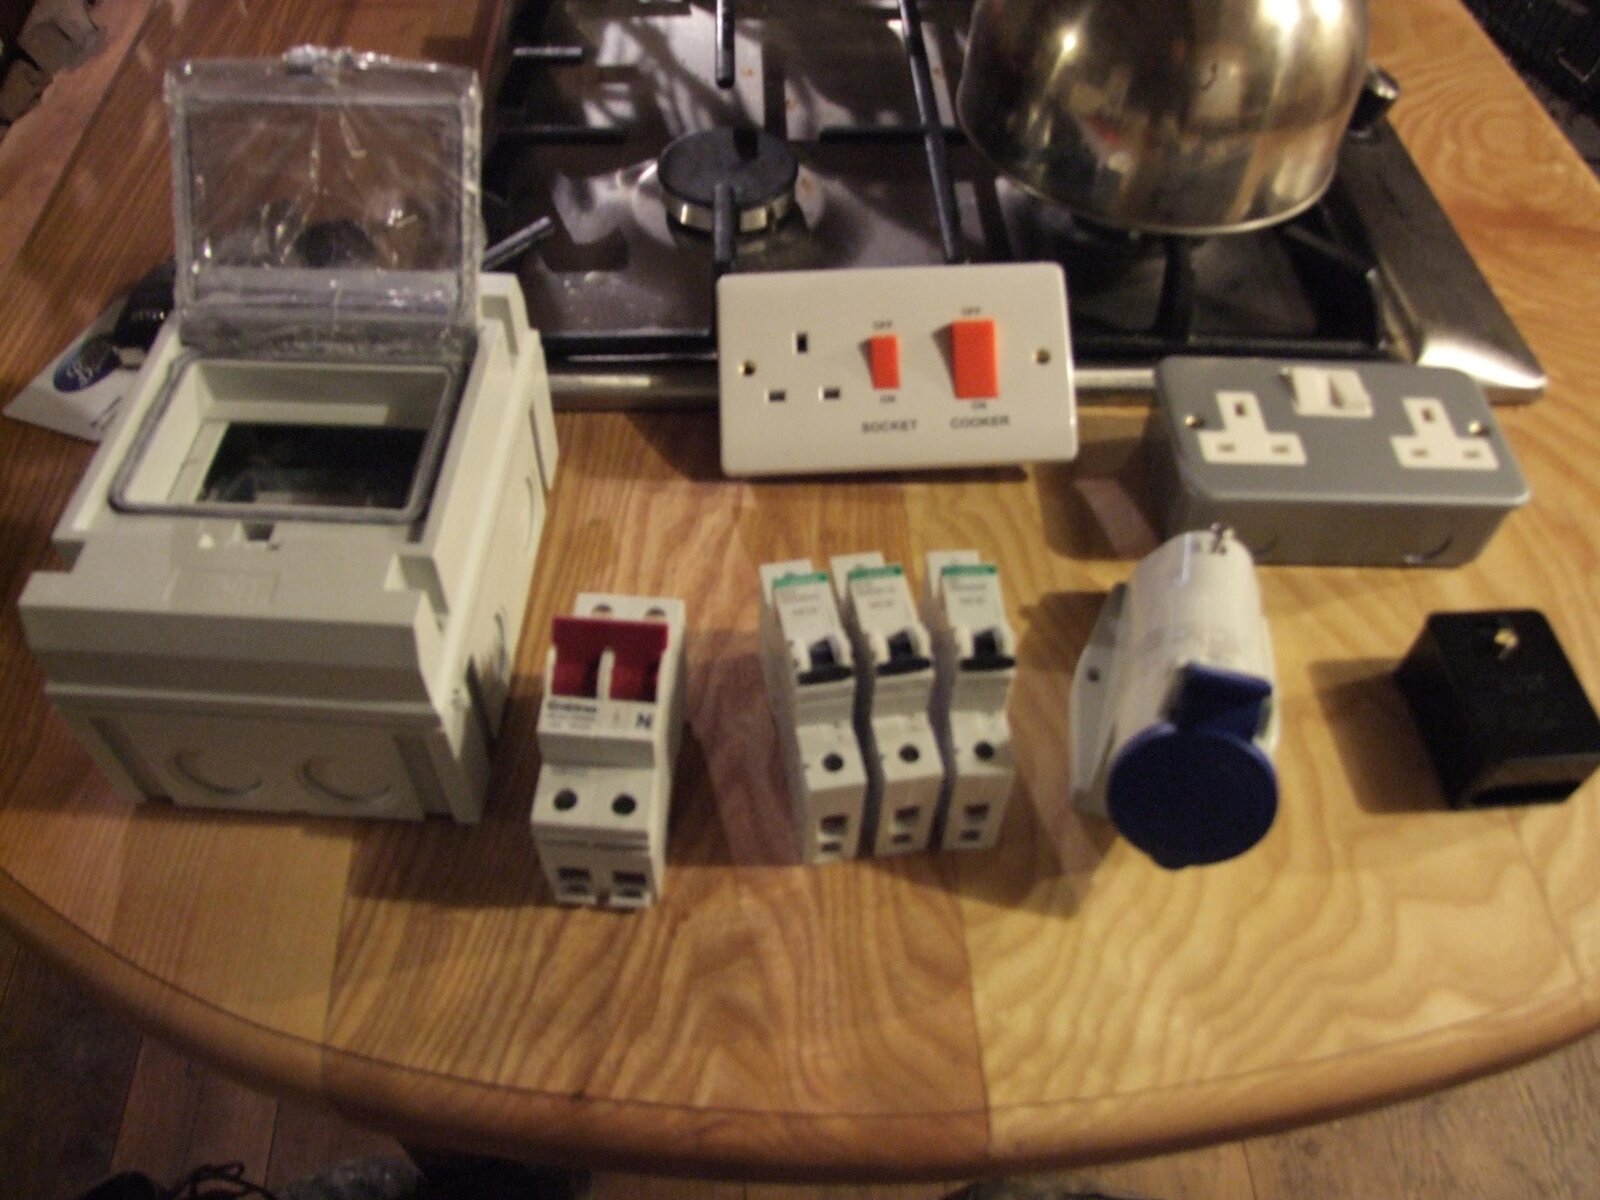
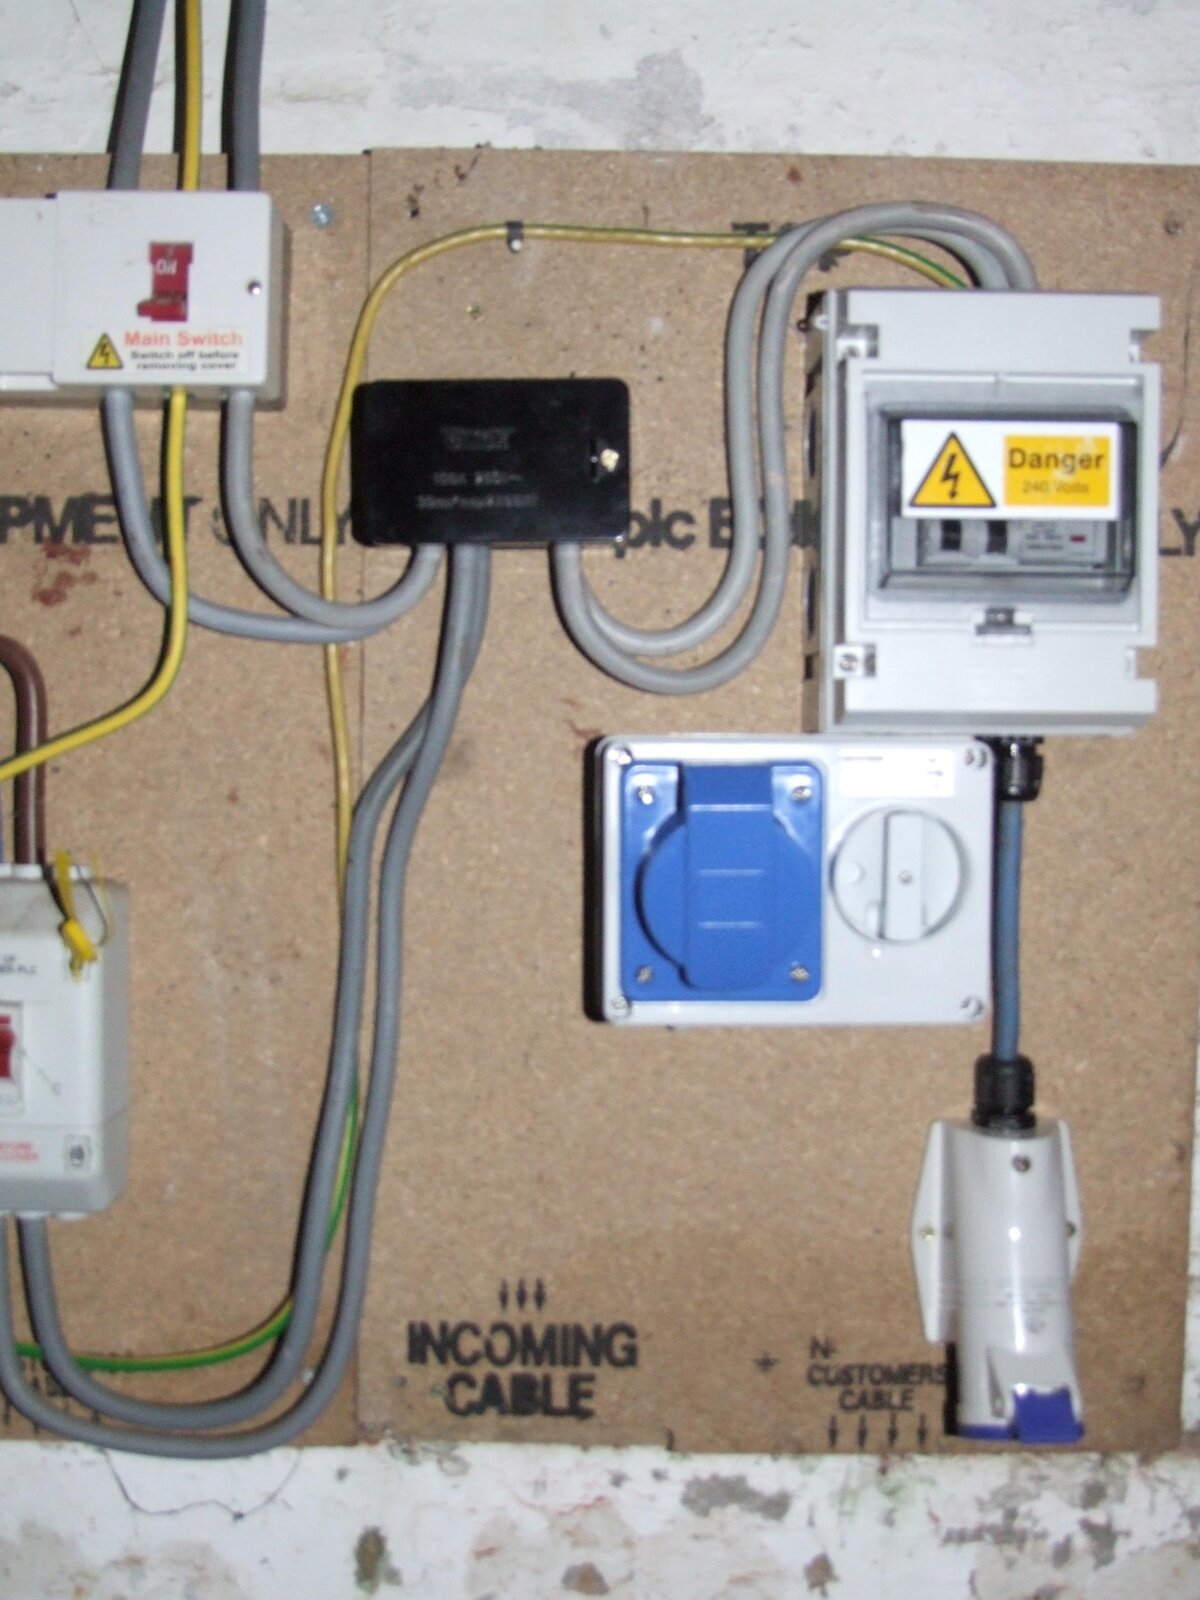
Have sourced the items I need to get a better power supply to the welder so have 40Amp trip swich and am going to fit this setup as close to source as possible in the garage.
Hedge removal and garage wiring 009.jpg
Bought the new cooker socket to replace the one with 1/2 a plug melted into it!:think:

60 bumper 006.jpg

1/2 welded bumper looks good :icon-smile:

60 bumper 004.jpg
 
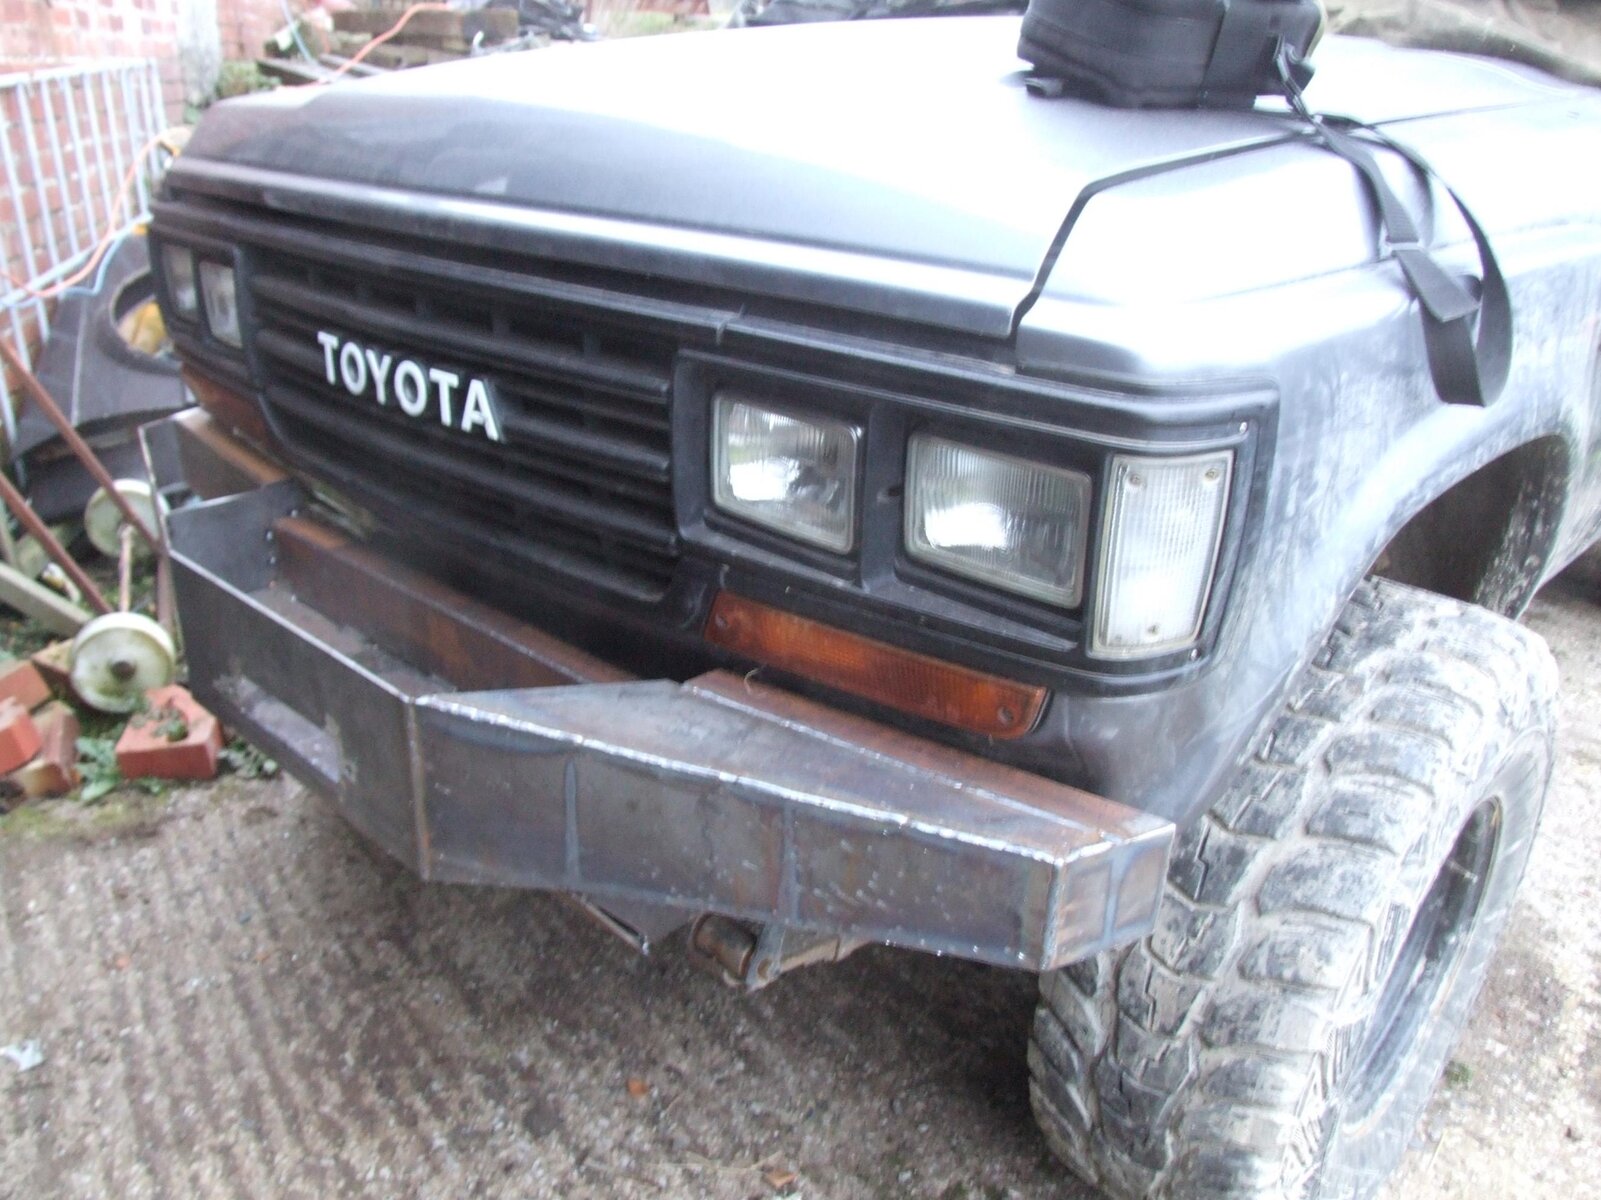
Thought I'd better give a bit of an update to the progress so far.

Gareth Davies gable oak frame + misc 011.jpg
Took a while to arrange my electrician mate to sort out the power supply and no matter how well you upgrade your 13amp fuse used in conjunction with the cooker socket, you're best off keeping it out of the kitchen!!! lol

Work is very busy at the moment so it doesnt allow full attention to the cruiser.
Gareth Davies gable oak frame + misc 012.jpg

Would like to have a 8mm thick plate to finish off the front of the bumper along the line of this.
bumper like it!.jpg

Just to thicken up the very front of the bumper. (Nice truck too!):icon-cool:

Have spoken to the guy who painted my 60 and he advised me to use a 5" grinder with a sanding pad and sand down to p180 grit then apply 2 coats of etch primer. Then will take the bumper to the spray shop and paint it with satin black which is what we painted the front plastics with.. All good!! :icon-wink:
 
C'mon, gerron with it... ;-)

Sent from my GT-I9100 using Tapatalk
 
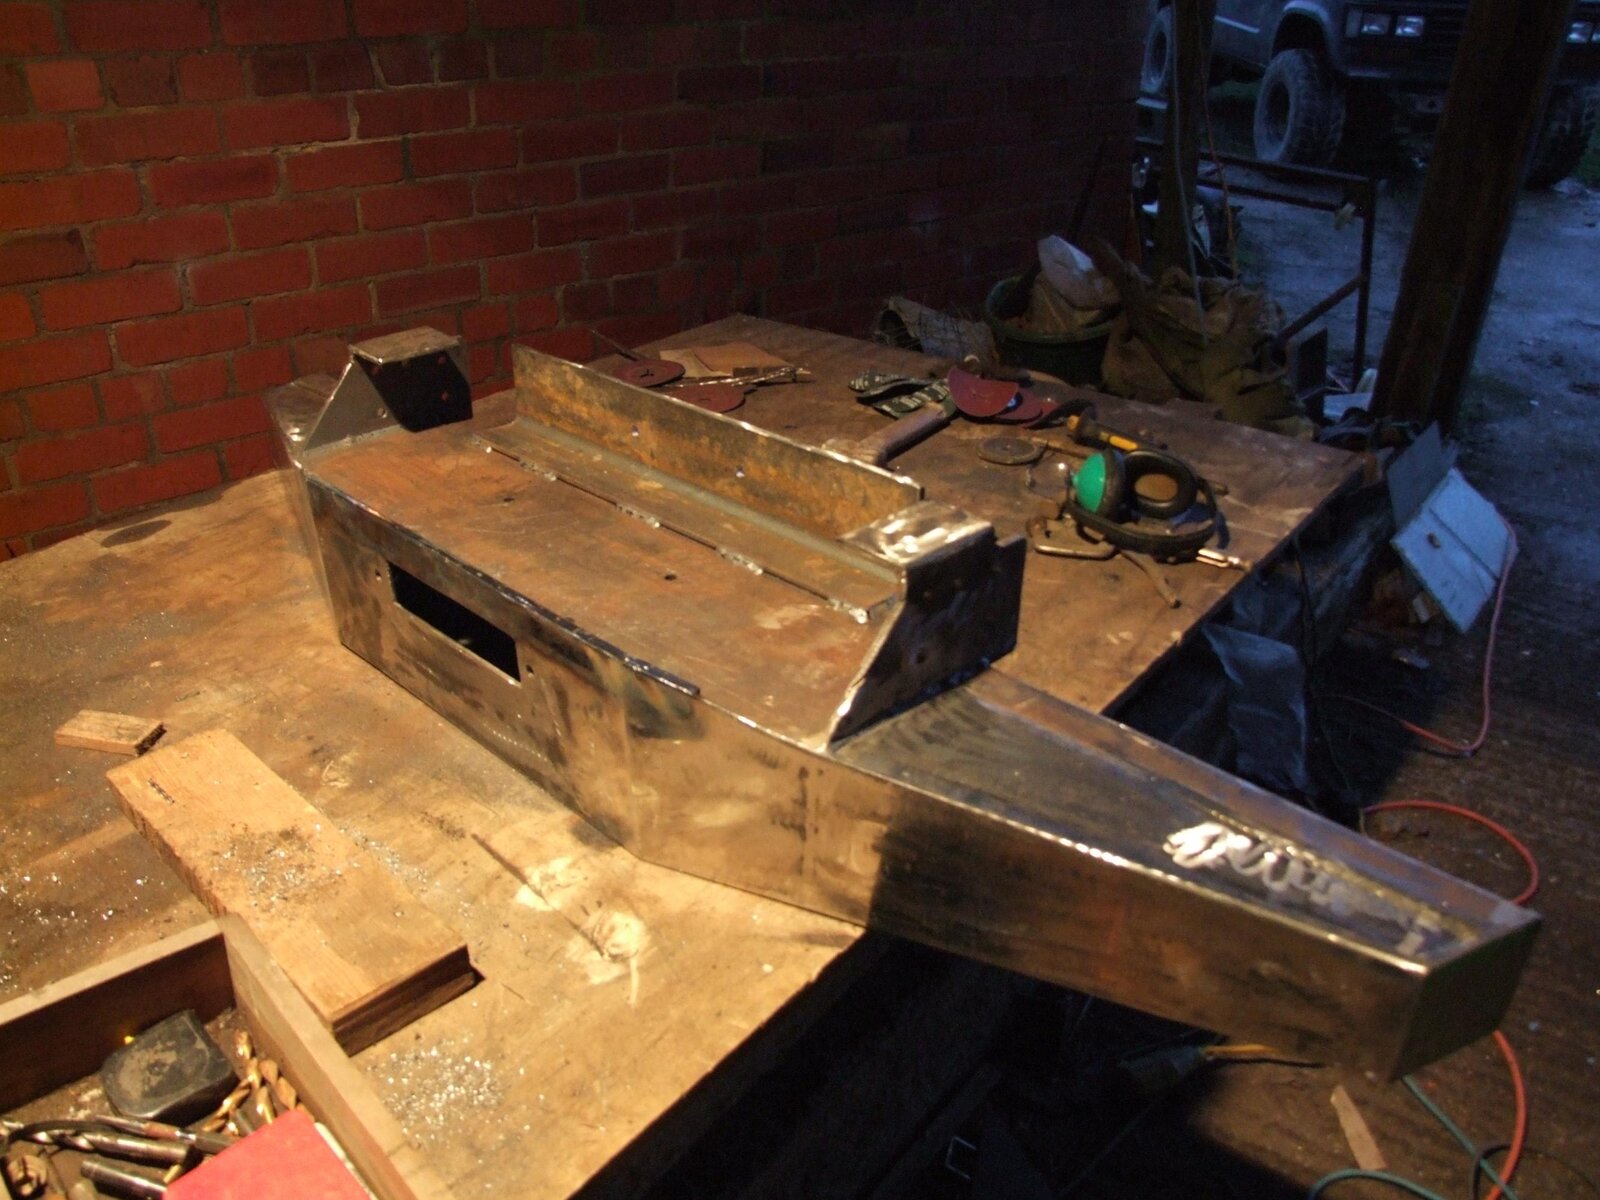
We've had a couple of sessions on the bumper since friday.. Amazing how much work it takes!

60 bump 002.jpg

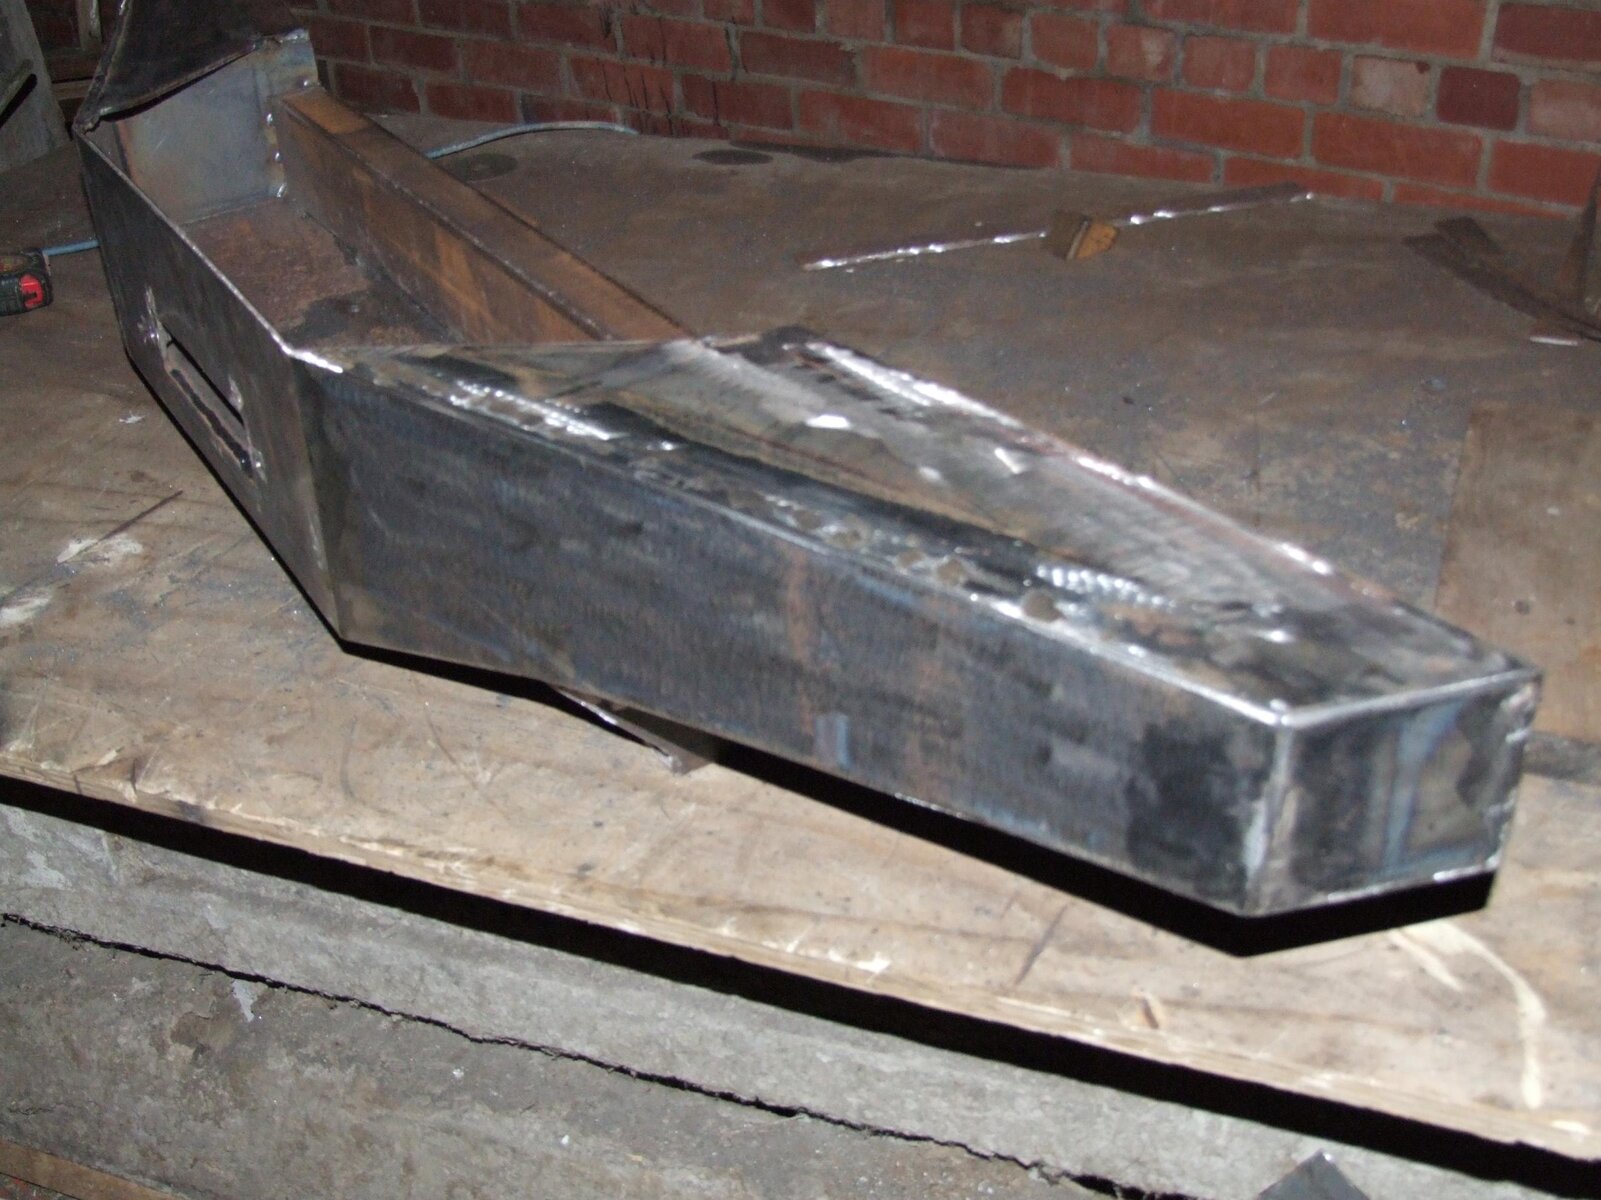
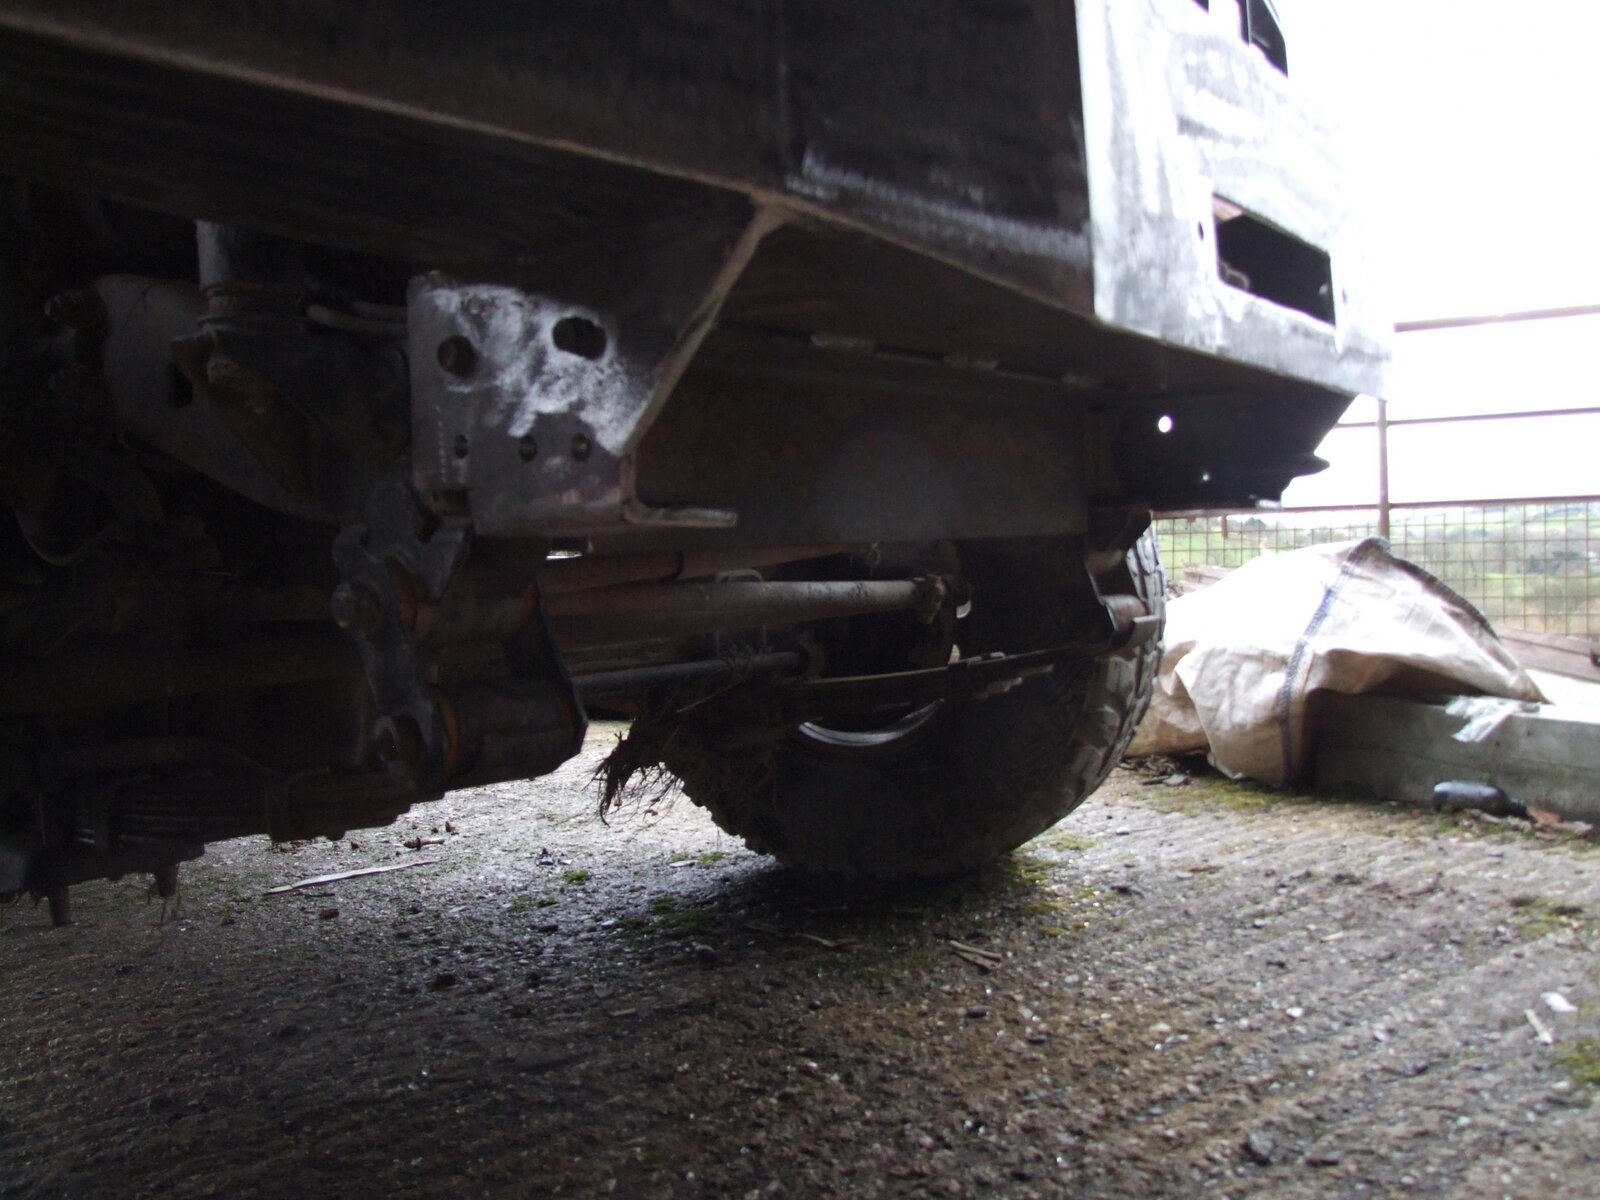
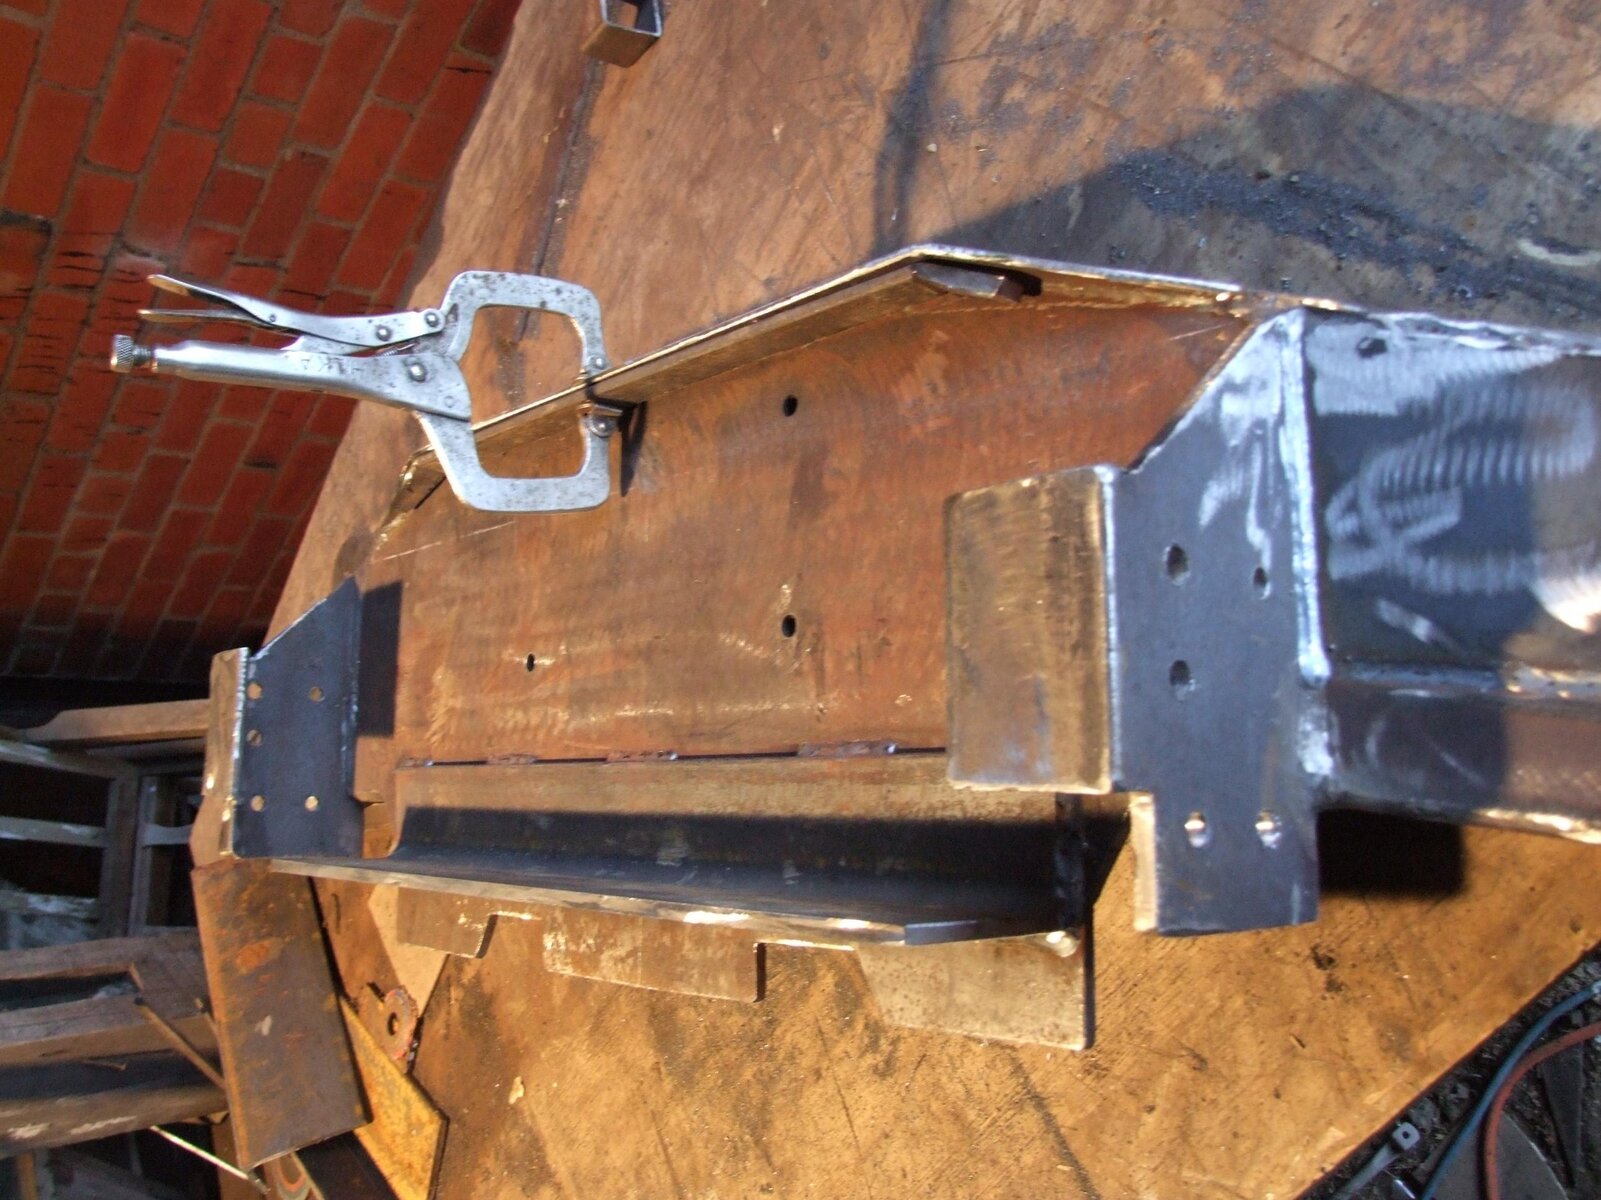
We added a length of heavy angle to the underside of the bumper butted up to the front cross member to eliminate any twist that could occur when heavy winching happens. Also a good place to add a couple more bolts to attach the damn thing on! All in all there will be 12 bolts to fix it in place. Have also sorted out 2 recovery points straight on to the internal edge of the chassis. Have 2 original toyota hooks that I bought of my friends in Holland.

60 bump 003.jpg

Wanted to make the lower front edge a bit thicker so welded a 8mm strip to the inside of it. Now a healthy 13mm thick, good and strong!!

Decided against capping off the chassis ends, we think its better to let the airflow through the chassis. It helps to keep the inside of the chassis dry after/when it gets full of water!:lol:


60 bump 005.jpg

Very keen to tie it all up and get some paint on it. Was hoping to arrange a bit of a offroad trip between xmas and new year....... But can't arrange anything without this sorted!:|
 
Looking very impressive indeed. I love over-engineering :lol:
 
Cheers Clive, it is rather heavy duty. But hey ho! Its a heavy duty cruiser! :icon-biggrin:

The end is in sight! ...... MOT before Xmas :think:
 
Hi Iwan it's looking good keep it up good Job :thumbup: tonytoyota.
 
Hi Iwan it's looking good keep it up good Job :thumbup: tonytoyota.

Hiya Tony, thanks mate:icon-smile:! The end is in sight!

I tried to call you an hour or so ago, have a plan forming!! I will try again shortly:think:
 
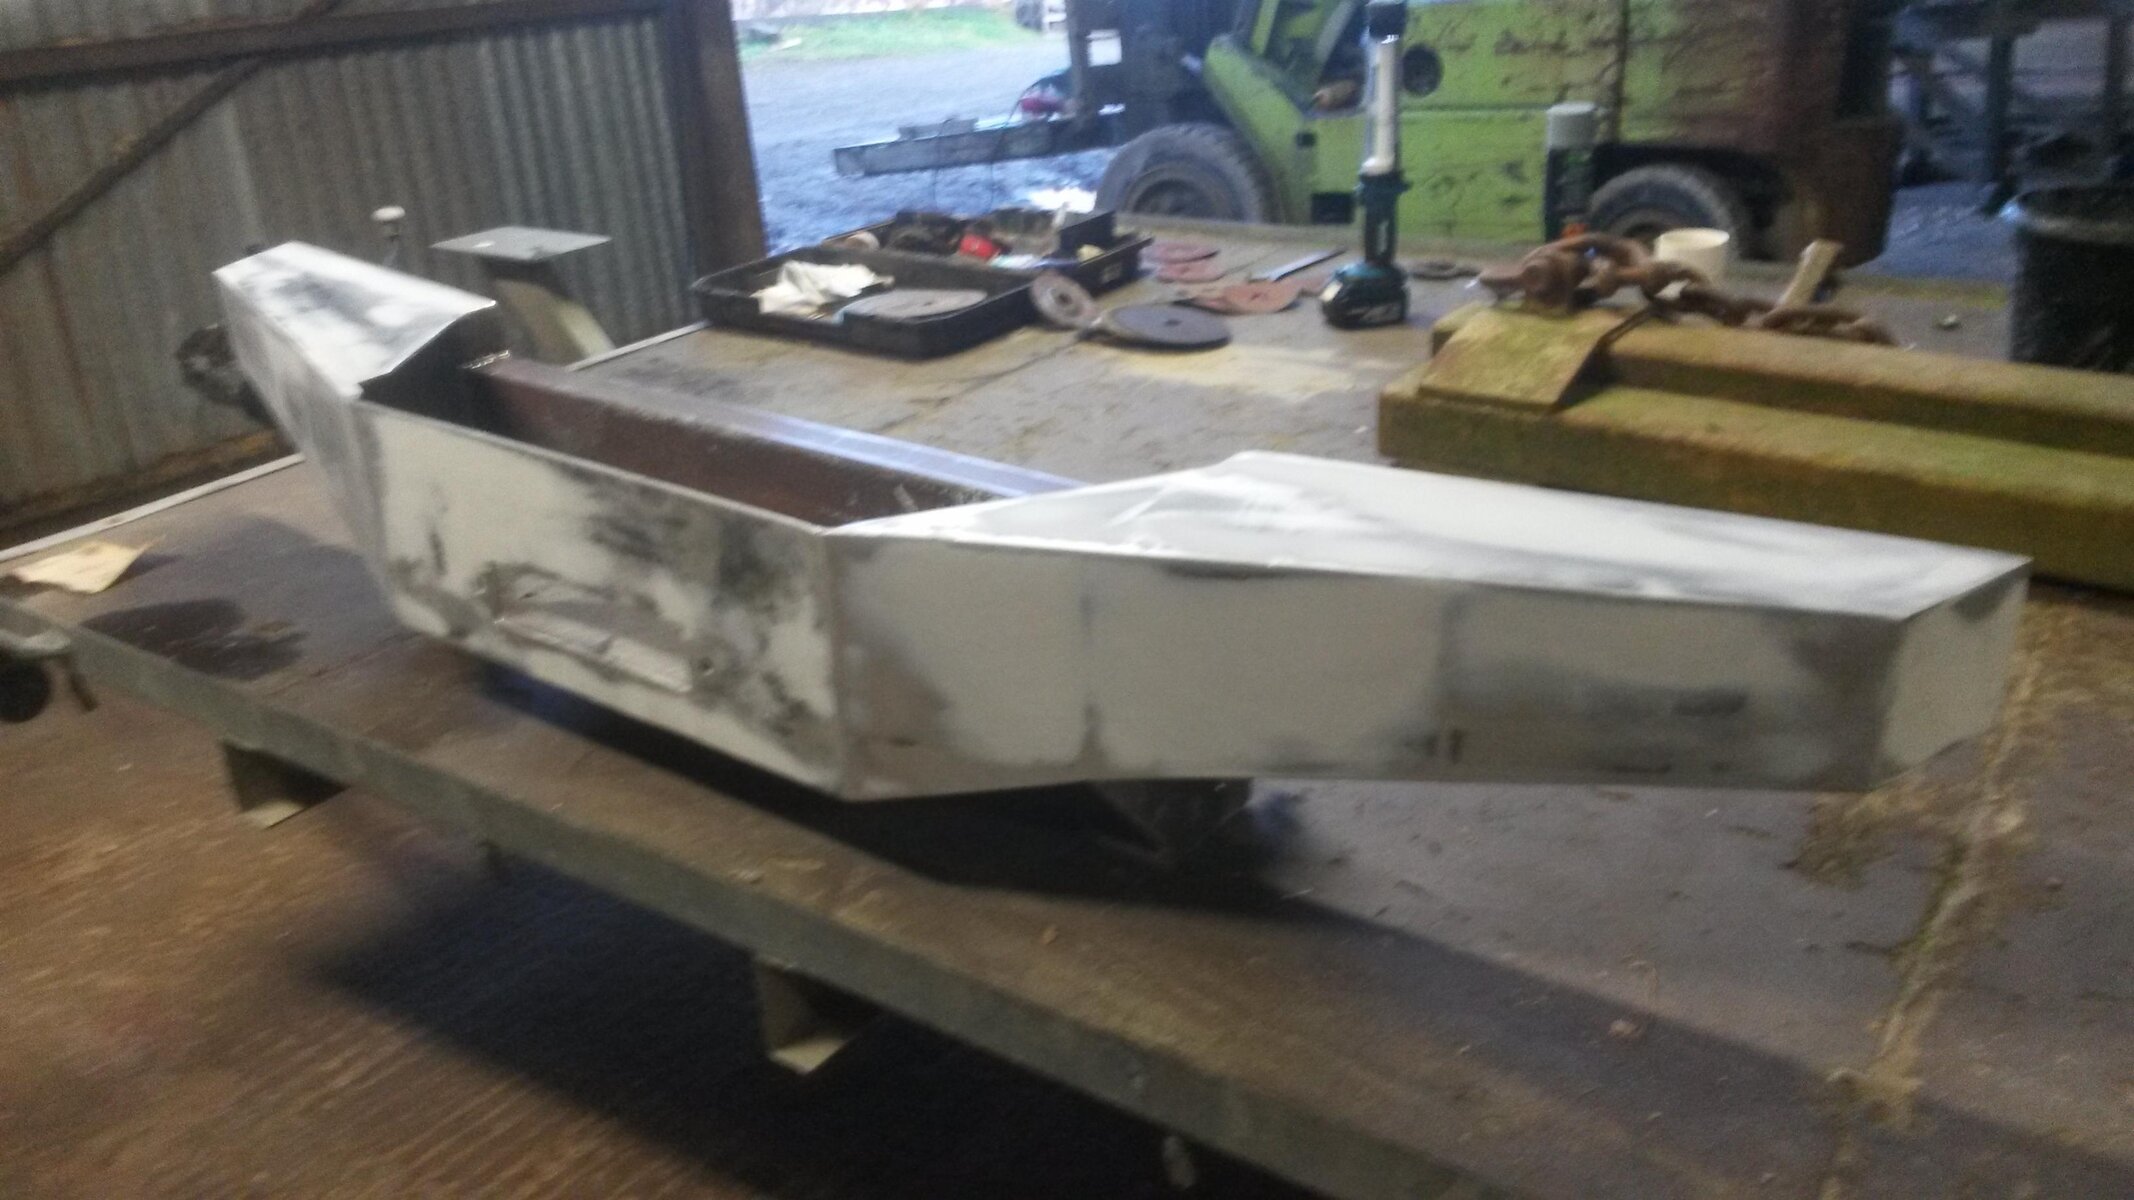
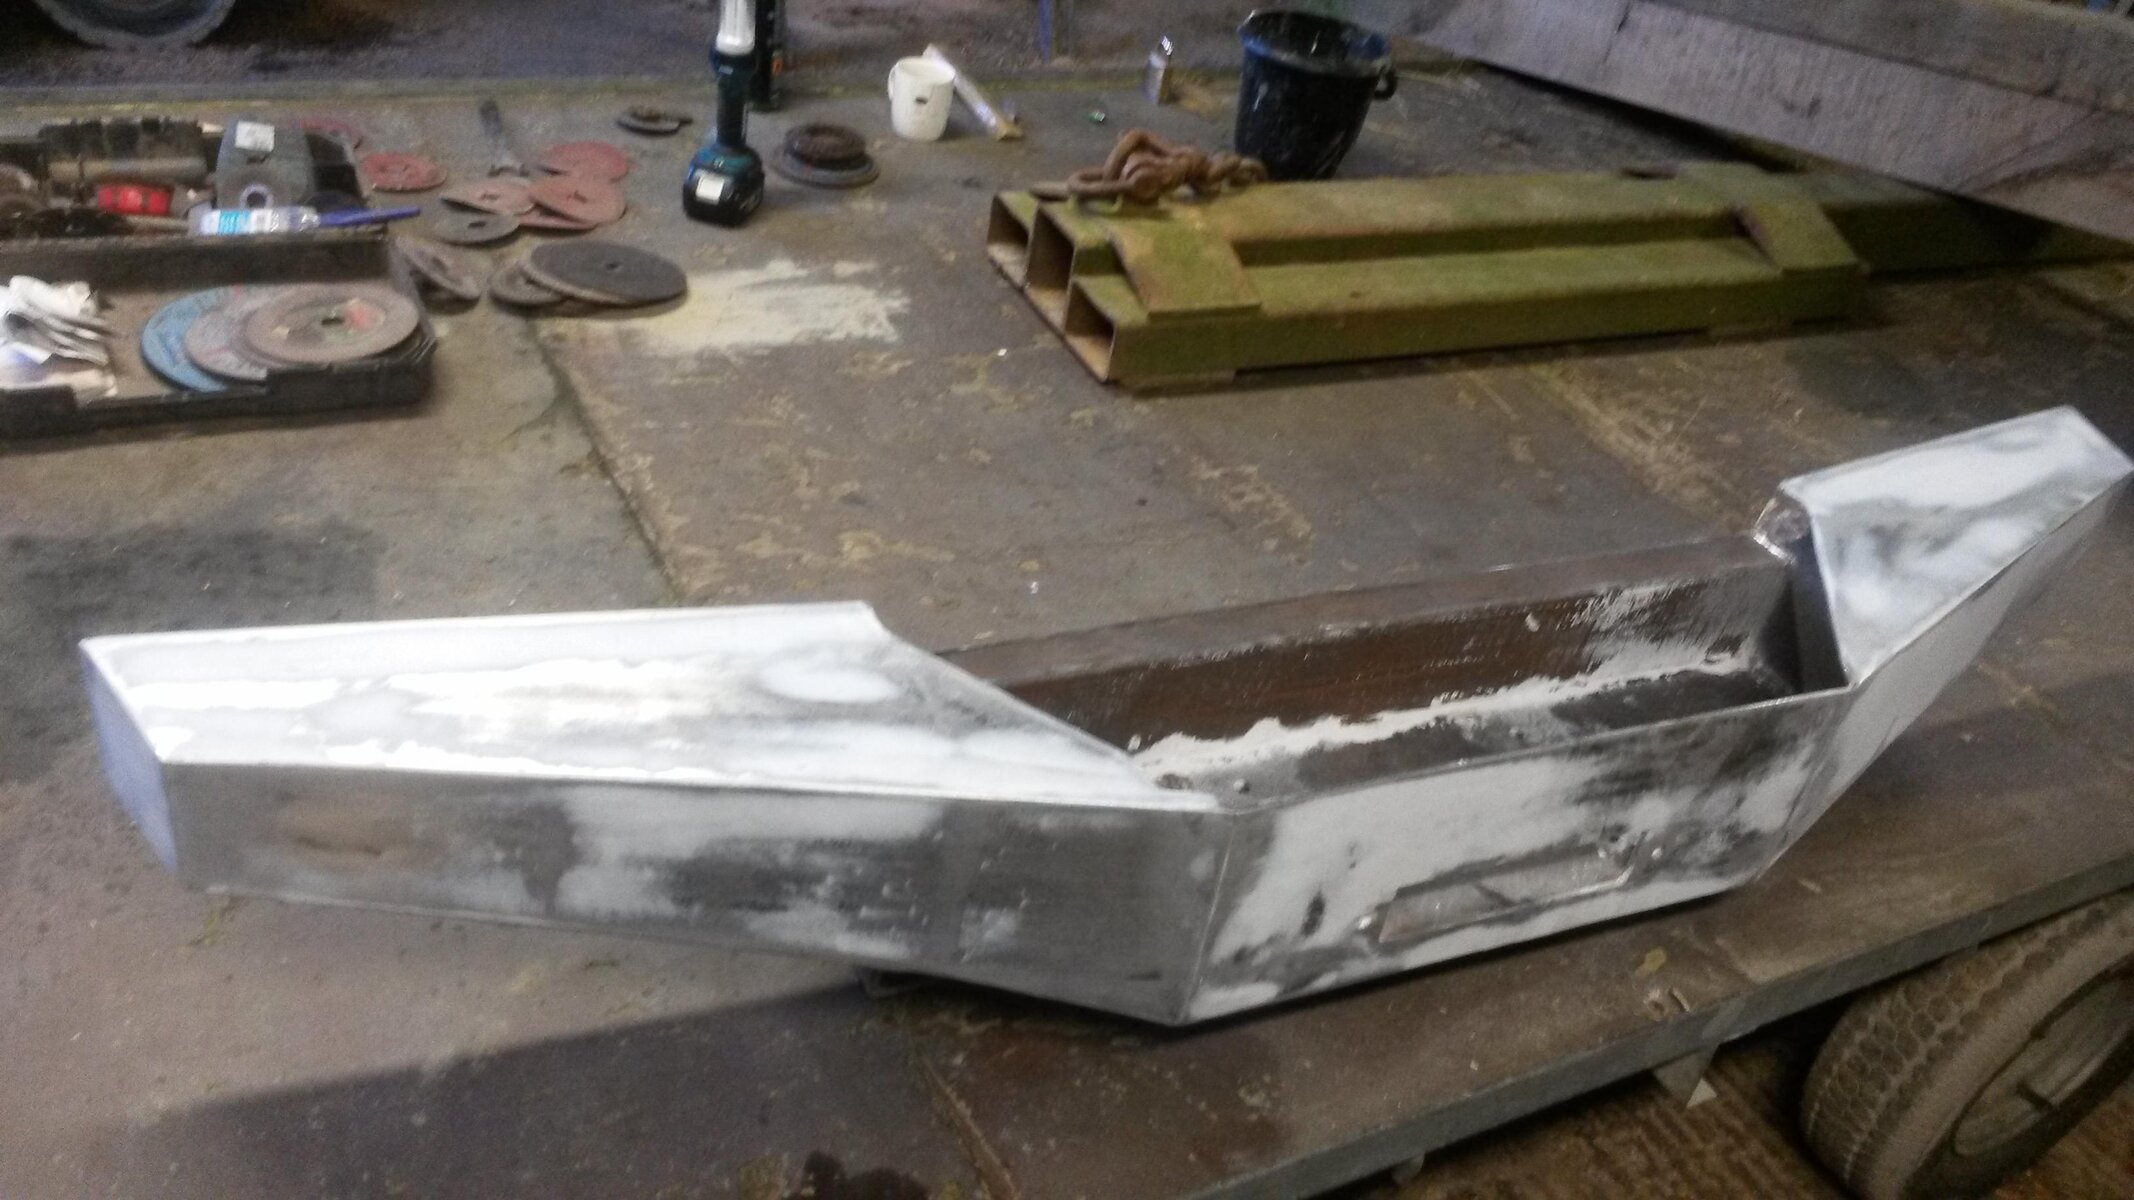
After the festivities of xmas and the party of new years! As it was the first dry dayoff. Time to drop back on the Cruiser!
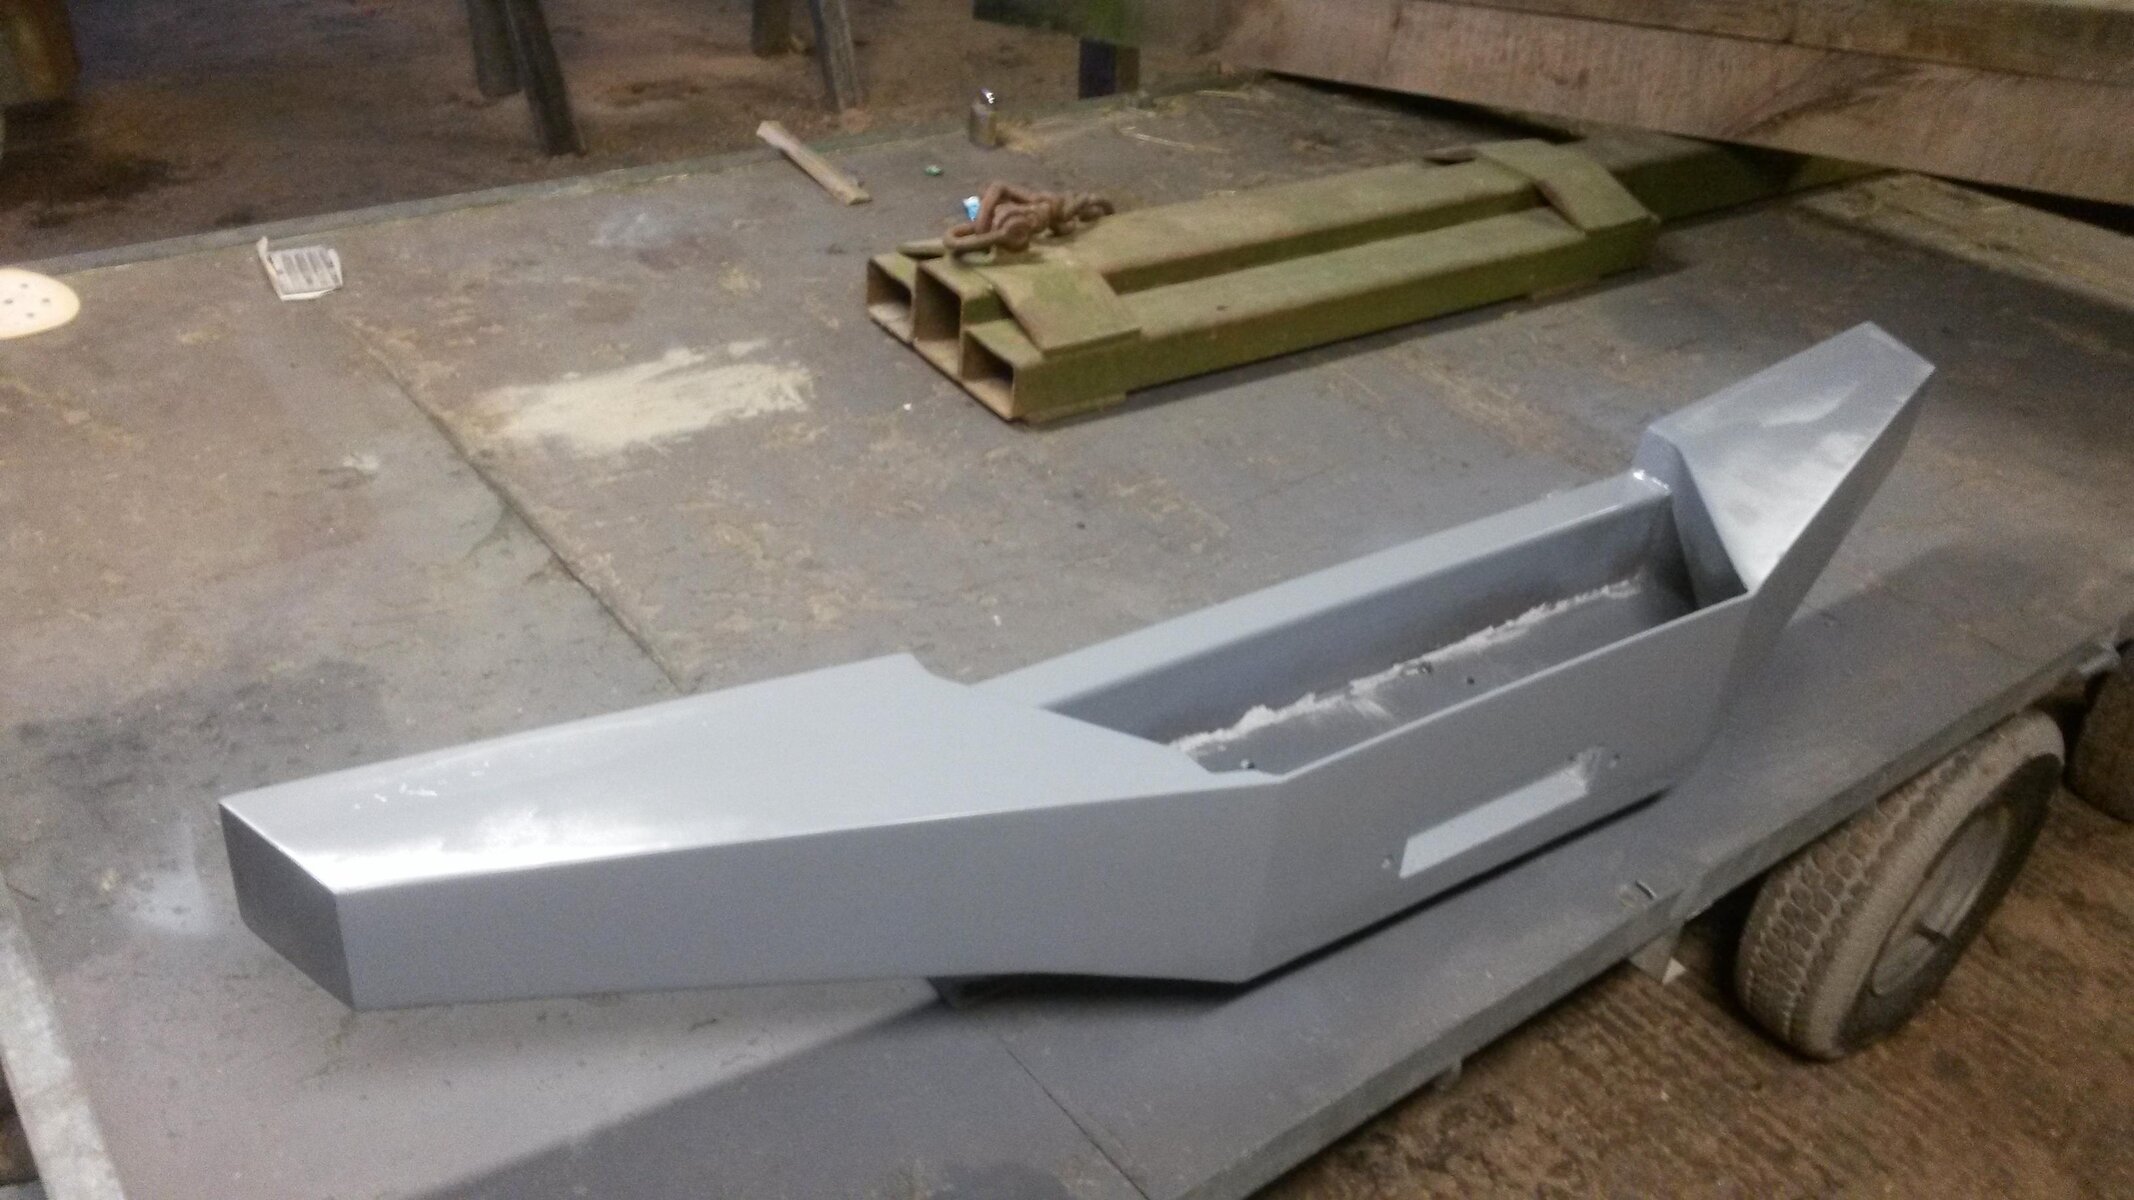
bumper 1.jpgbumper 2.jpgI decided to fill any marks and low spots to aim to get a perfect surface finish.


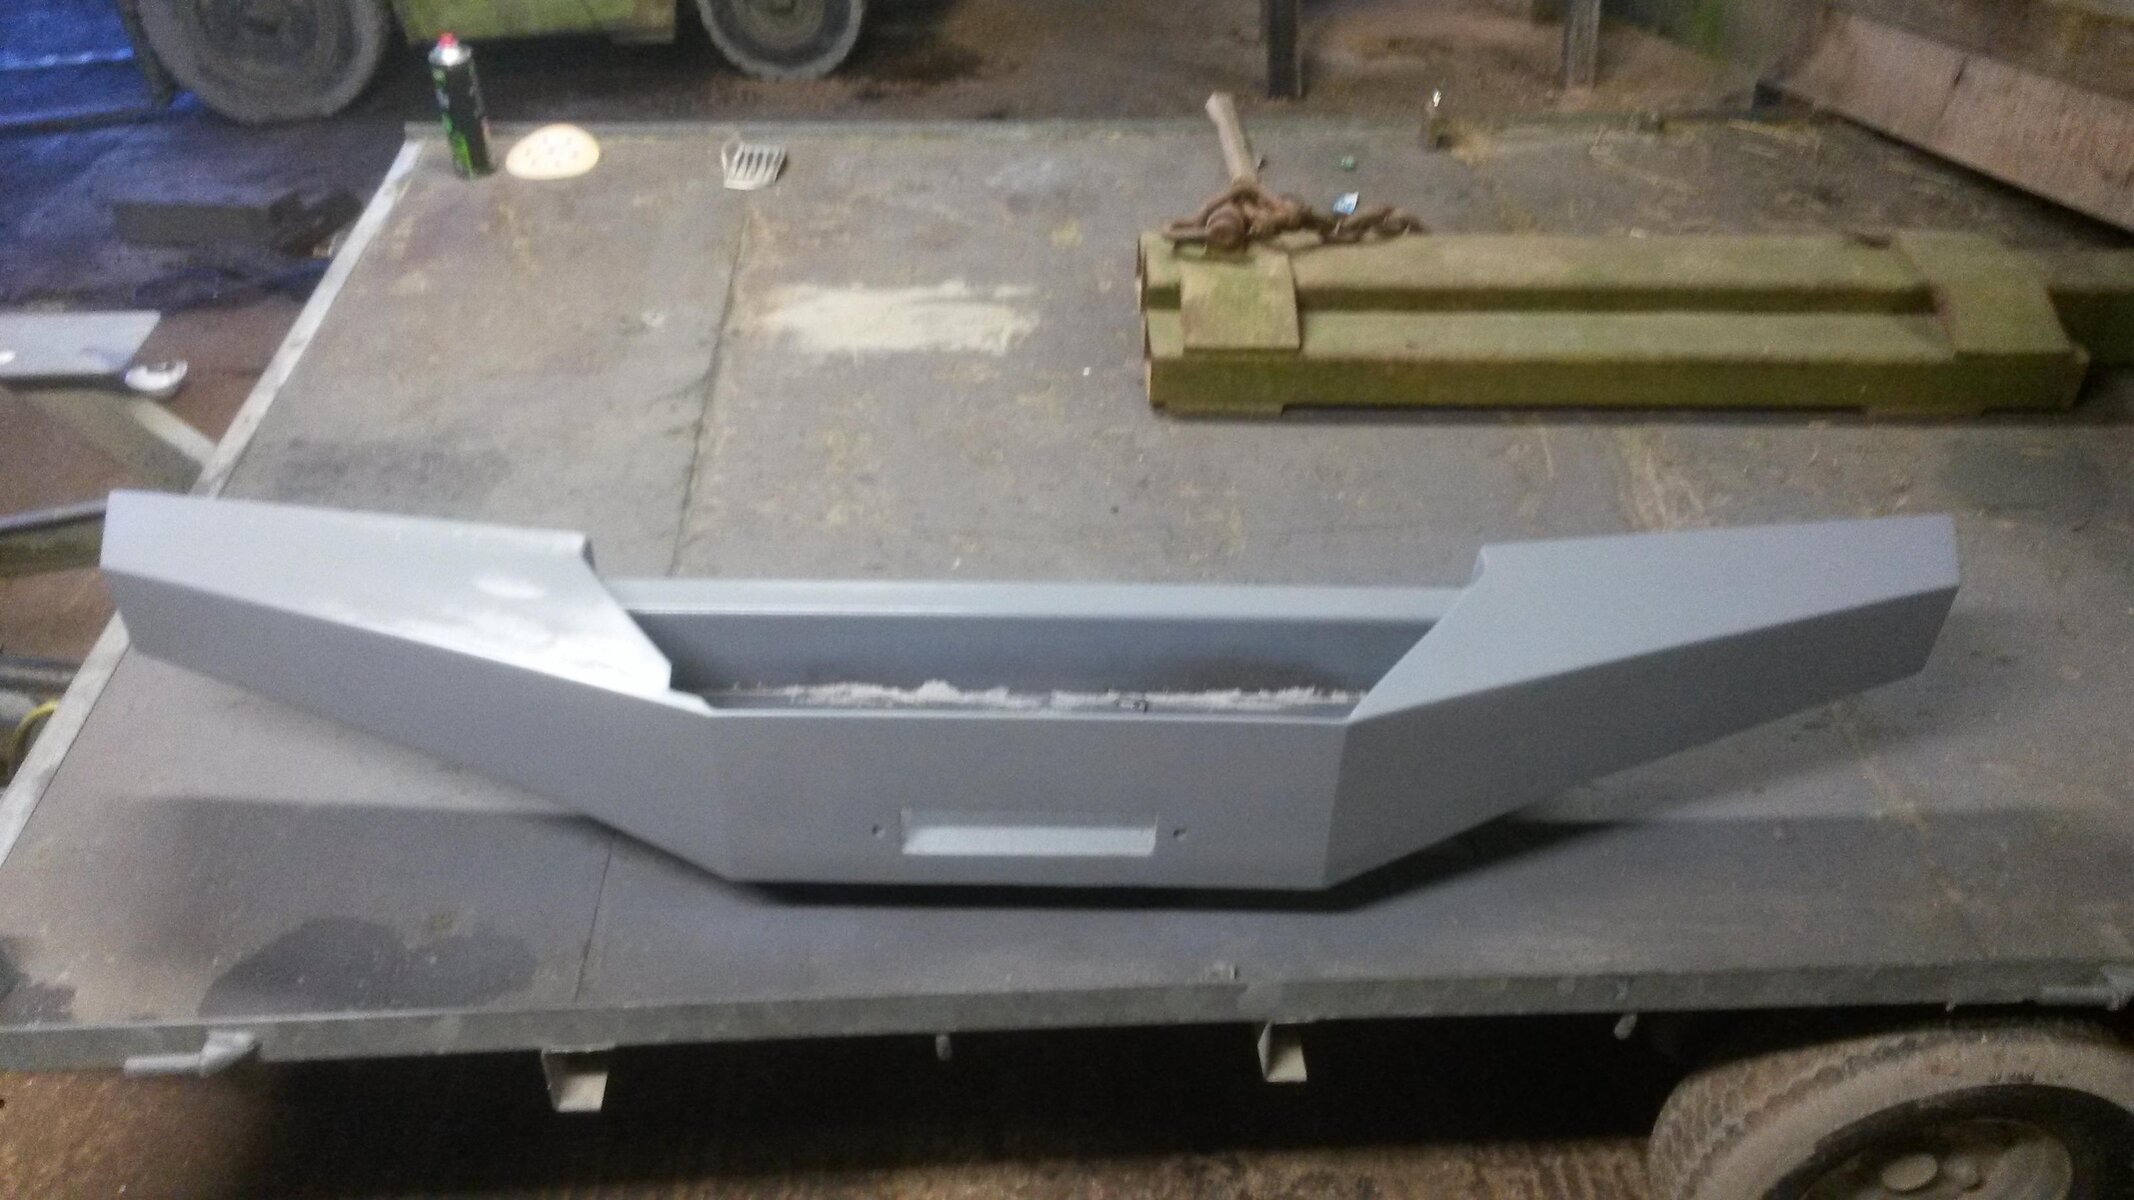
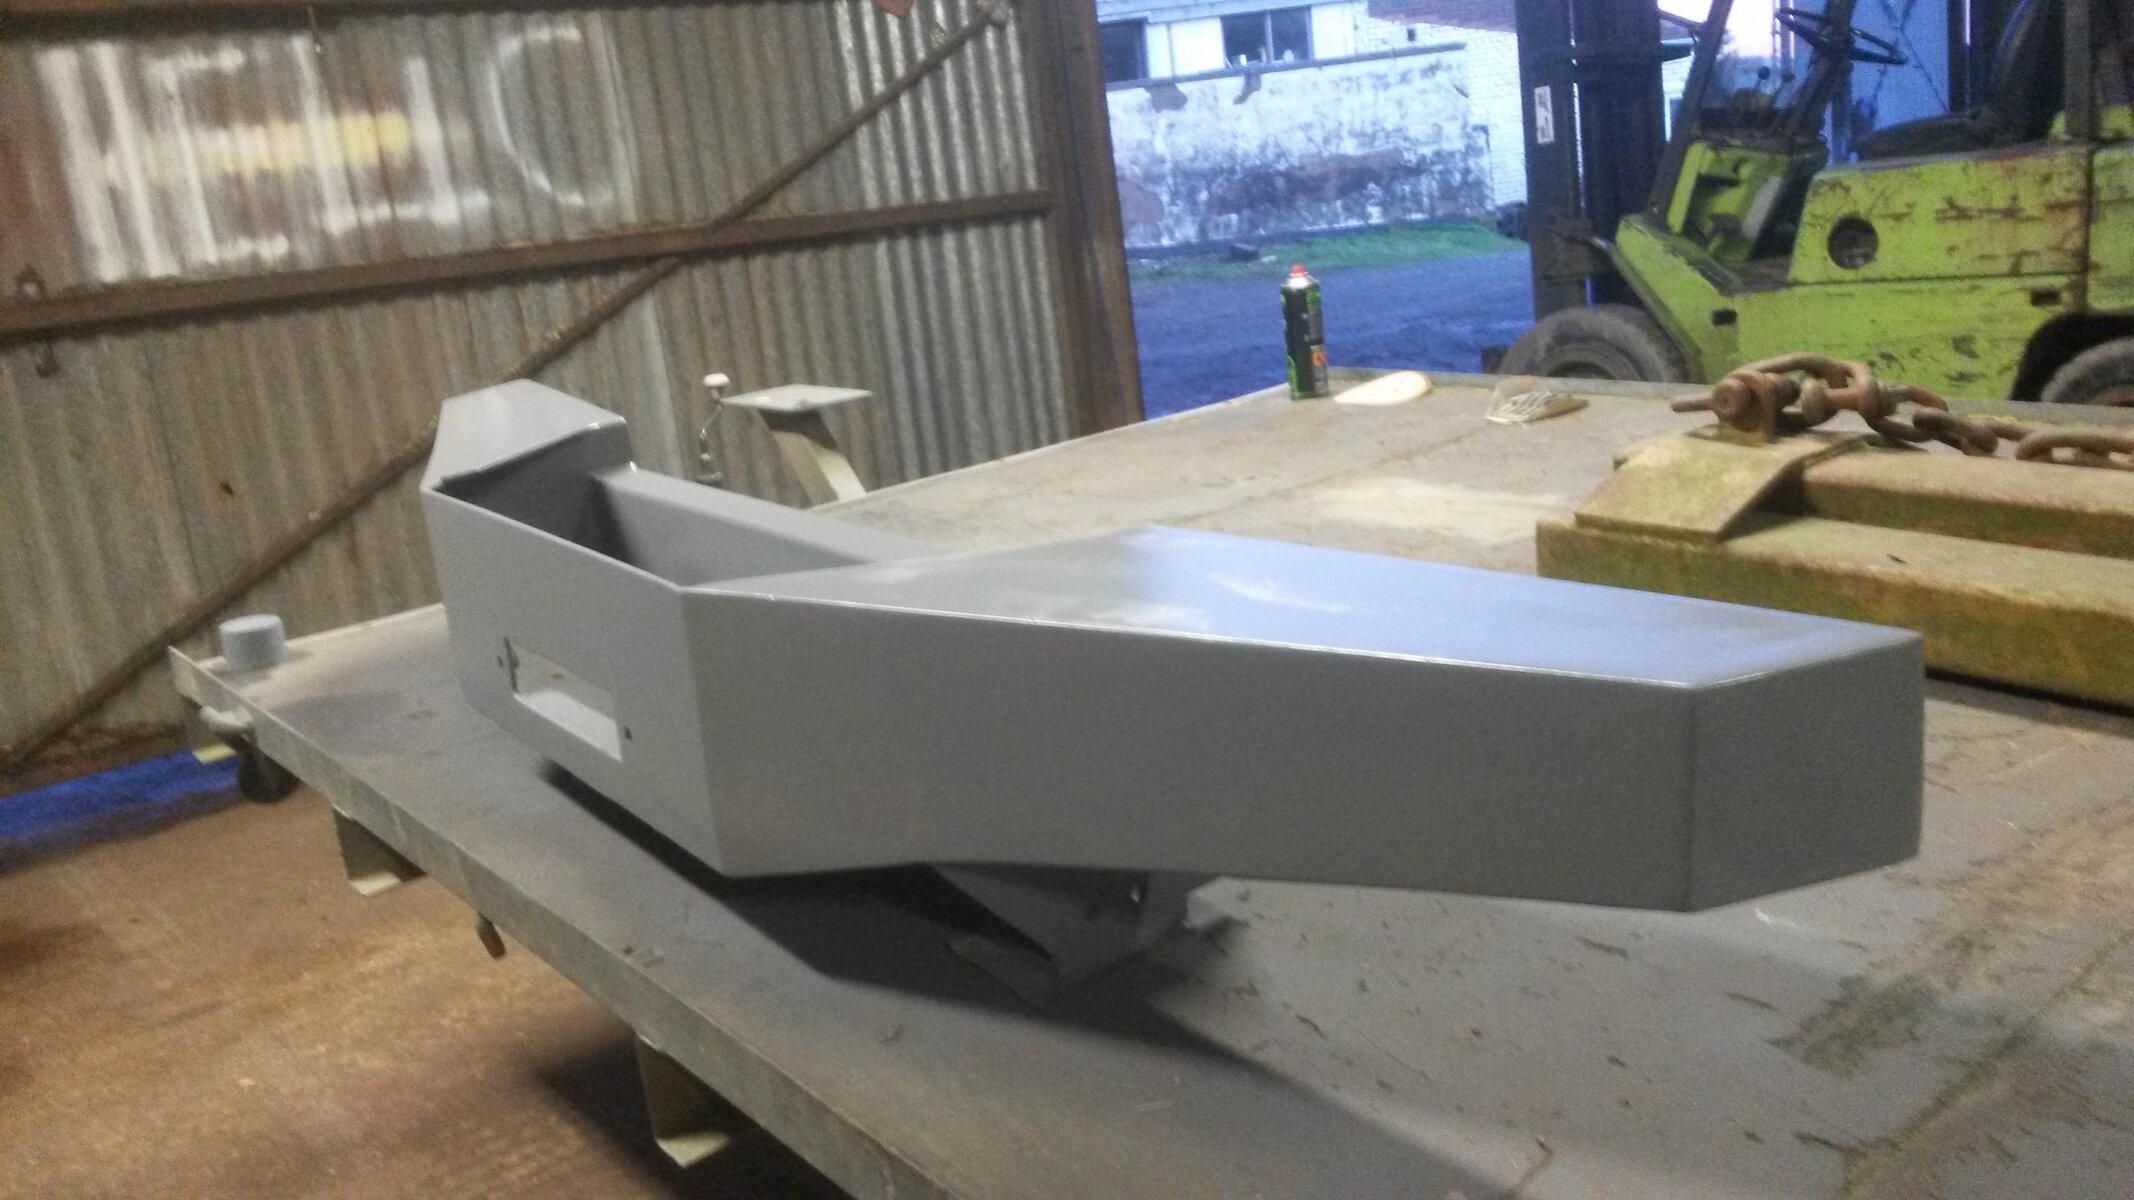
bumper 3.jpgbumper 4.jpg
I used a water based etch primer to undercoat the bumper with. I am well happy with how smoothe it has turned out with no runs :icon-biggrin:.
bumper 5.jpg

I am going to use satin black on the primed areas and to stone chip the inside of the tray and the underside.
Happy with the change it has taken on I am lookin to bolt this on v soon :dance:...
 
Looking good sai Iwan :cool:

Sent from my SM-T310 using Tapatalk
 
Back
Top