Don't like the adverts?  Click here to remove them

Manual pump install 1KZTE

CAT

Member
Joined
Mar 22, 2010
Messages
132
Country Flag
ireland
Just starting into this, read a few manuals and watched a few you tube clips but I still am unsure as to the position of the crankshaft.
Max Ellery manual says to set the crankshaft pulley to 30 degrees to the right of the timing marker?
I'm at the stage of pulling the pump and it is solid in there, as predicted by Beau either a minute job or all day.
Is there a position that suits the spline more so for pulling it? The camshaft should be lined up with the timing marker yes?
IMG_20200411_115215.jpg
IMG_20200411_140338.jpg
 
It shouldn't be too much of a problem where it's set because you don't need to take the cam belt off. The pump pulley is bolted onto the gear. Just when you take the e pump off make sure you turn the new pump clockwise looking at the pulley end to make it match the one you take off.

Are you going to use a dial gauge to finely tune the new pump to it's best position/efficiency? If so then you need the engine at TDC which is the pump cambelt pulley on the mark.. it's been a few years since I've swapped the pumps over on these. But the mark is at 3 o clock for the diesel pump. 12 o clock on the cam.

In my 1kzt toyota manual it does have the dial gauge setting which if you need it I can search through the manual to tell you... it's a large manual and it's hard to find it in there!!

Good luck and looking forward to see how you go with it!!
Cheers lad, see how I go!

I've been told by KR to change nothing on the pump without talking to them, it should be set up pretty good as it is for boost circa 20psi, so I'll see if it starts first and go from there.

Had to take the Rad off to get a good swing at the pump pulley nut and it moved on the second knock.

Still a good bit to do so won't be turning it over for a while yet

IMG_20200411_200435.jpg
IMG_20200411_200757.jpg
IMG_20200411_200451.jpg
IMG_20200411_200805.jpg
 
Sound matey! I love the 1kzt... definitely with out the "e" lol :thumbup:
 
Have to wire it now. I've seen a guy on another forum that wired in the tacho (engine speed sensor connector) and the spill control valve.
So on the manual pump there is a plug with there cables going to it, one from the spill control valve and two from the tacho.IMG_20200412_101322.jpg
IMG_20200412_101327.jpg


Plan is to cut the cables away from the plug and wire them individually with cable connectors. The engine speed sensor one should be straight forward but for the spill control it's just one wire? So just the positive cable I would imagine? :confused:
 
Try to find out the voltage on the stop start solenoid, if you lift the rubber boot the voltage is stamped on the side of it. Some are 6 volt so just to make sure that you're not running too high voltage to it. You will have numerous wires of different voltages which go on and off with the ignition key..

Looking good man!
 
Don't like the adverts?  Click here to remove them
Try to find out the voltage on the stop start solenoid, if you lift the rubber boot the voltage is stamped on the side of it. Some are 6 volt so just to make sure that you're not running too high voltage to it. You will have numerous wires of different voltages which go on and off with the ignition key..

Looking good man!

Yep so 12V, getting some advise on wires to hook up and whether to set to ECD like you've mentioned Iwan.
 

Attachments

  • IMG_20200412_205541.jpg
    IMG_20200412_205541.jpg
    119.9 KB · Views: 85
Nice. You got lucky getting that out with a hammer. I've made up a puller in the past using two of the pulley holes to push it out. Less space as well as I normally keep the Rad in place when removing it. There's normally a line on the casing edge which should give you a rough idea on where to place it. From there you'll be able to play with the timing a bit, but I'd get a EGT gauge before advancing the pump too much.
 
Nice. You got lucky getting that out with a hammer. I've made up a puller in the past using two of the pulley holes to push it out. Less space as well as I normally keep the Rad in place when removing it. There's normally a line on the casing edge which should give you a rough idea on where to place it. From there you'll be able to play with the timing a bit, but I'd get a EGT gauge before advancing the pump too much.


Cheers Beau, EGT and boost gauge installed already ;) 3 inch stainless exhaust with modified dump pipe also and a FMIC so she is set up to handle it :handgestures-finge:
I didn't want to take the rad out but had to in the end, going to change it now also I think. Took a punt on a aluminium one, prob made in china but isn't everything?
Have the air intake manifold off now while I'm at it just to clean it out. EGR was blanked off ages ago but good to clear it out and see how it goes. Some serious crud in there.
IMG_20200414_151412.jpg
 
It shouldn't be too much of a problem where it's set because you don't need to take the cam belt off. The pump pulley is bolted onto the gear. Just when you take the e pump off make sure you turn the new pump clockwise looking at the pulley end to make it match the one you take off.

Are you going to use a dial gauge to finely tune the new pump to it's best position/efficiency? If so then you need the engine at TDC which is the pump cambelt pulley on the mark.. it's been a few years since I've swapped the pumps over on these. But the mark is at 3 o clock for the diesel pump. 12 o clock on the cam.

In my 1kzt toyota manual it does have the dial gauge setting which if you need it I can search through the manual to tell you... it's a large manual and it's hard to find it in there!!

Good luck and looking forward to see how you go with it!!

I'm getting there with the wiring, bit by bit. I'm thinking of using the dial gauge to make sure the pump runs correctly, rang a diesel guy round my way who has worked on a lot of toyo pumps and he reckoned to move 1/8th of an inch from the centre mark towards the engine, this usually has them running right. I've a feeling a may need a dial gauge though given the fact the pump is a custom job. So if looking for the dial gauge setting for the pump and engine I wonder would this setting be incorrect given the different pump being installed? I tested the wiring and I could hear the spill control valve activating so that's a start!
 
Essentially the dail gauge will set the pump to the engine. A pump is a pump and they all inject the fuel at the same point. But the procedure ensures that the pump is in time with the engine.. the factory mark is for guidance and to dail in will achieve the utmost efficency.

1kzte with mitsubishi 4m40 pump - [Leaving Land Cruiser Club]

The last post on this thread has some dial gauge info and I believe the engine is still set at this with the daihatsu fourtrac pump fitted.

Hope the info helps..

Yes it definitely does help, cheers man. Next question, what type gauge would fit onto my pump? Googling a dial gauge for a denso fuel pump doesn't bring up to many finds :( Tried some local motor factors with no luck. I know the diesel guy I talked to has one but he is hesitant to give it out which I understand.
Any links to suitable dial gauges?
 
A couple of pics for you man!

P1020145.JPG


The adapter sleave is the key to fit the gauge. It has the same thread as a toyota 12mm spanner head bolt and the pin in the centre screws into the end of the dti gauge.

P1020144.JPG


A quick mockup of the kit!! :thumbup:
 
Bit the bullet and attempted a start up yesterday. I took a 12v supply off the ignition in the end, a black and red cable that initiates on first key turn, from looking at the electrical schematic it is linked to the alternator. Took a bit of priming and turning over but it eventually caught. Timing is off, no question so will wait on gauge before starting up again.
In the mean time I am working on the new throttle cable and linkage to the pump. I picked up some parts in anticipation for this, I got a link assembly off a surf or hilux (can't remember which) and it lines up with the bolt holes on the air intake manifold.
IMG_20200423_193401.jpg

IMG_20200423_193326.jpg

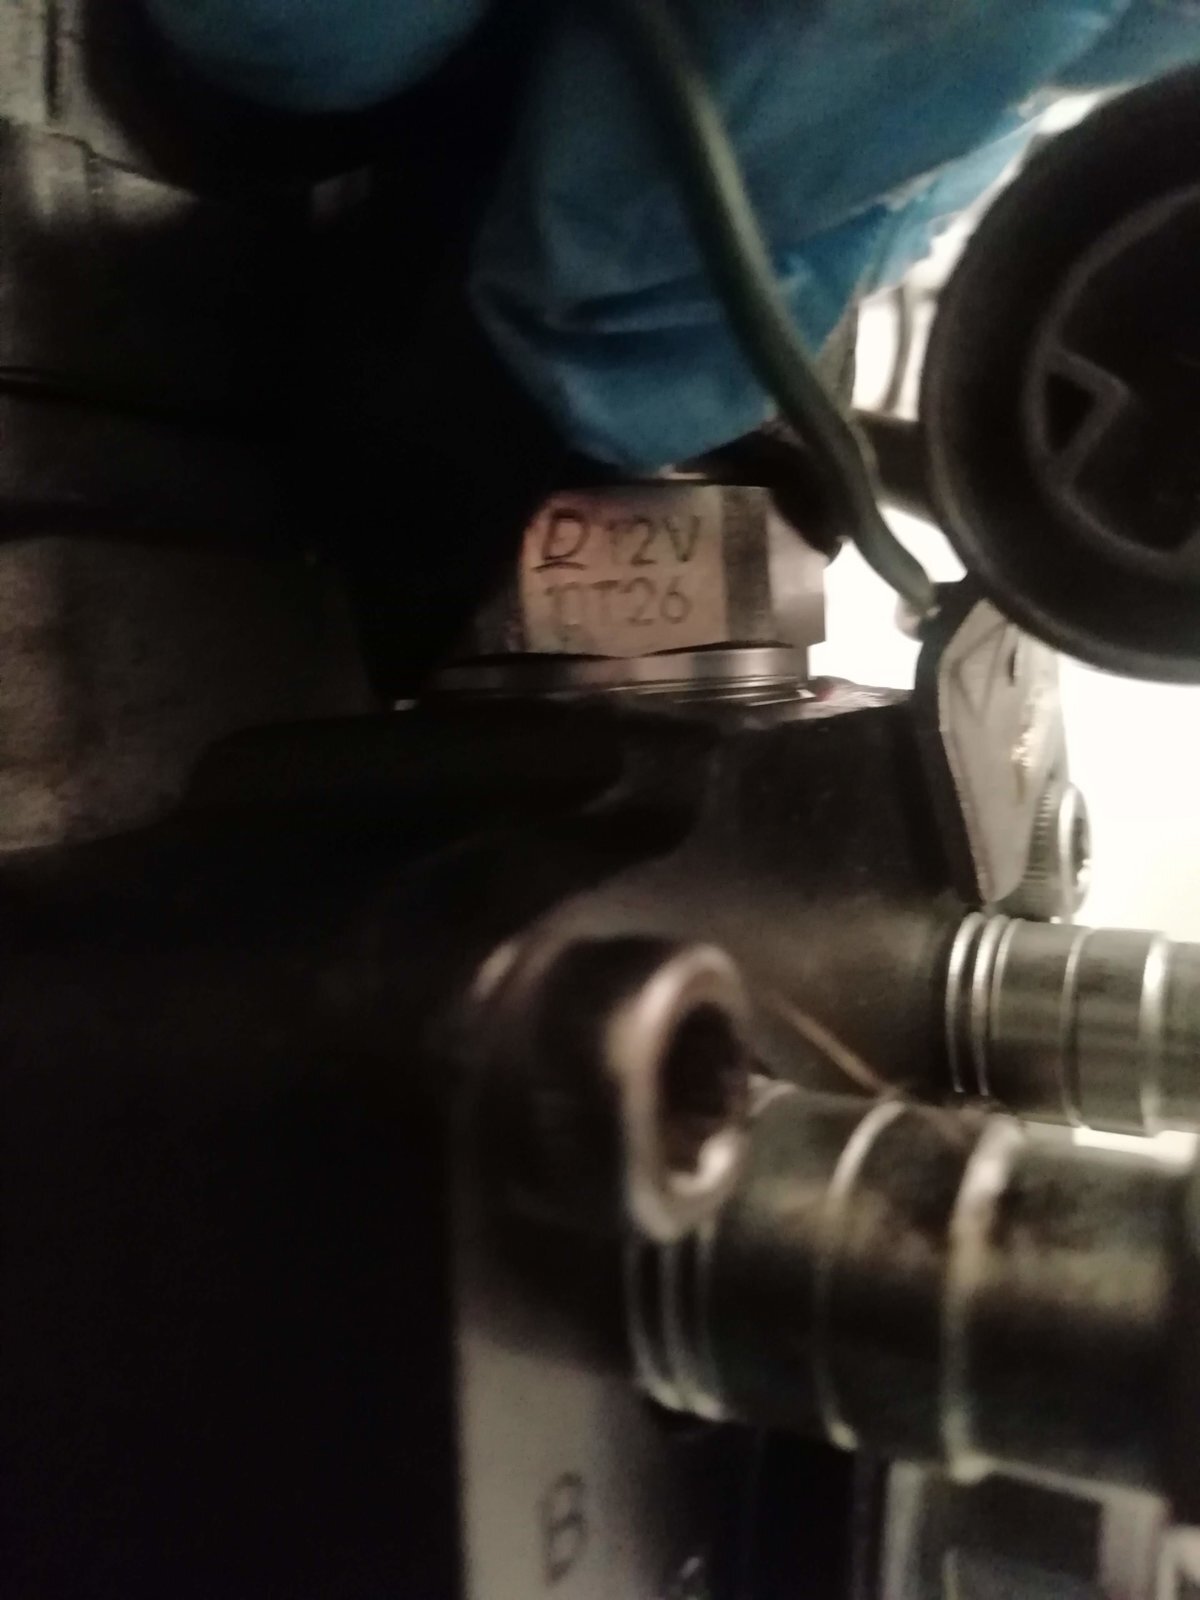
I'm using bolts to sit the throttle cable mount off its original position, the same with the link assembly. The HPD intercooler piece on the intake manifold has a nice flange on it that I can work off. Hopefully this will pass for mustard with testing centre? I'm using locking nuts to secure everything, just lining things up in the photos and getting the correct lengths to get everything to fit. I am using the original throttle cable, found it very difficult to get something to suit, So I have to extend the length of the cable to get it to reach to the linkage. Planning to use one of these Morsetto per filo acceleratore / freno alluminio anodizzato colorato - [Leaving Land Cruiser Club]

IMG_20200423_193304.jpg
IMG_20200425_180627.jpg


The gauge won't be here for a while so I am cleaning out the intercooler hoses and lines, I have a oil catch can installed recently so will be interesting to see if it the interior of the intercooler stays fairly clean. I also tidied up the boost gauge and EGT gauge cables in the cab, I ended up putting a switch in the cable from the gauge to the constant 12v supply which I was running from the clock. I think this was causing a parasitic drain (well hopefully that's the cause) the constant 12v supply is for a memory bank in the gauges but I don't really need that so happy to turn them on and off with the new switch in the dash as needed.

IMG_20200426_102305.jpg
IMG_20200426_102319.jpg
IMG_20200426_102333.jpg


The previous intercooler has to be redirected a bit due to the manual throttle assembly so picked up a generic kit to get some more options on bends etc.

IMG_20200426_102408.jpg
IMG_20200426_102416.jpg
 
Last edited:
I haven't got it tuned with the dial gauge yet but it ain't far off.
This is before I've turned up the boost on the turbo, the little engine knock from before the install is gone now.
Have to sort the throttle cable before I can take it for a test run.
 
Sounds great man! It sounds just like mine.. Well done to a nice upgrade, the proof will be with the first drive. Will be interesting to compare to how it was originally!

Cool mate! :thumbup:
 
Few more parts arrived.
IMG_20200501_111716.jpg
IMG_20200501_110905.jpg


Happy with how it looks, Seems well finished.

Can anyone tell me if little plastic disc is meant to be in the clutch fluid reservoir?

IMG_20200509_103250.jpg


The clamp joiner thingy arrived also, can't see it failing, clamps down solid, wonder if it is noticed would it be an issue?

IMG_20200511_180700.jpg


IMG_20200511_180907.jpg


Hopefully get the timing tool this week, time it, lock down the pump and then go brum brum :character-oscar:
 
The clutch mc bit is normaly inside of it! I really like your accelerator joiner extension piece.. looks good mate! :thumbup:
 
Back
Top