Don't like the adverts?  Click here to remove them

off road camper build

will come back to you as soon as i know what im fitting, thanks
Ok I won't charge anything on top of the price I pay for a member here. just the carriage
 
hi all.

thanks cwc.

right camper build,
20131230_184038.jpg
20131230_194054.jpg
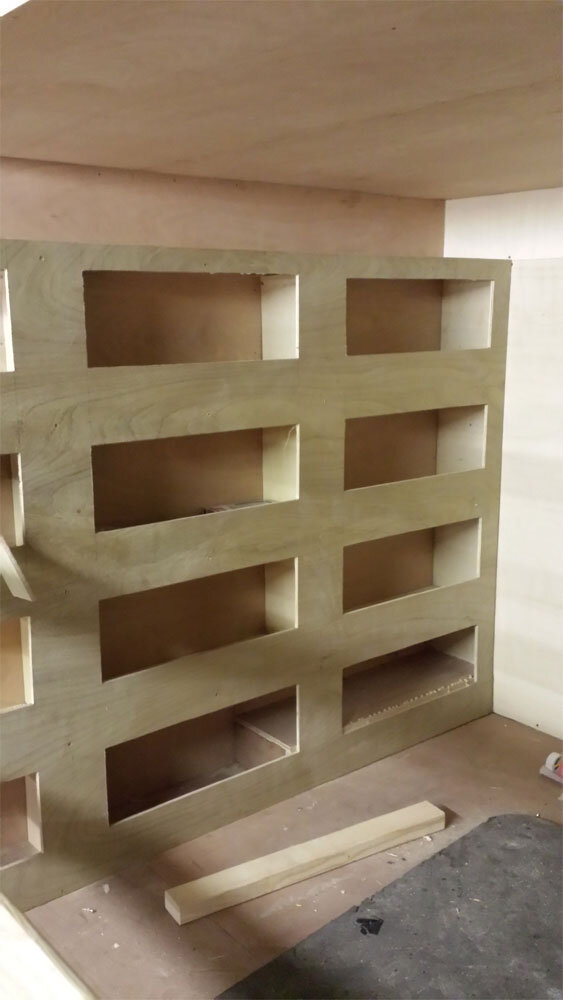
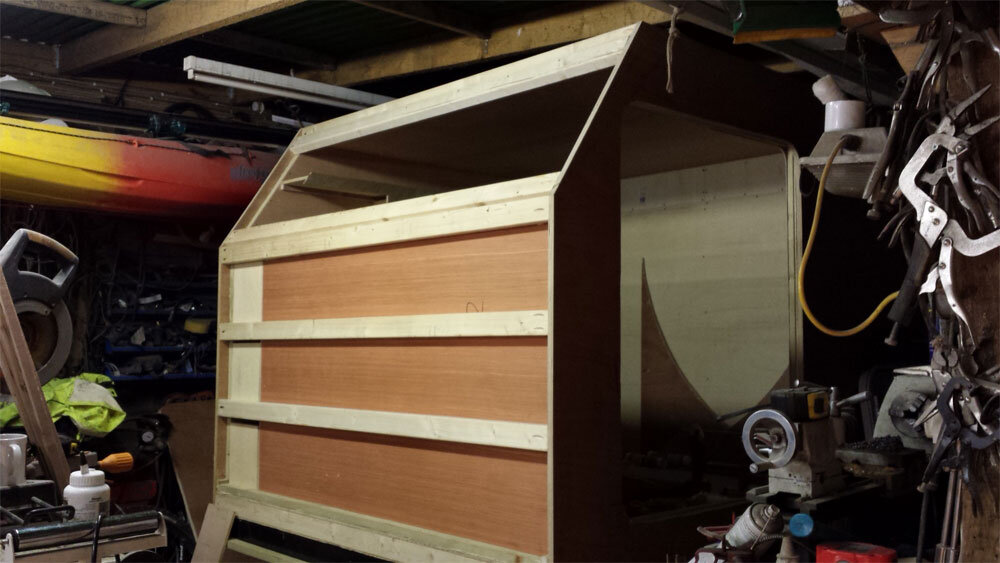
plenty of storage, kinda looking forward to getting the sewing machine out
i know things are going to rattle around so i have to look in to what i am storing shouldnt be a problem,
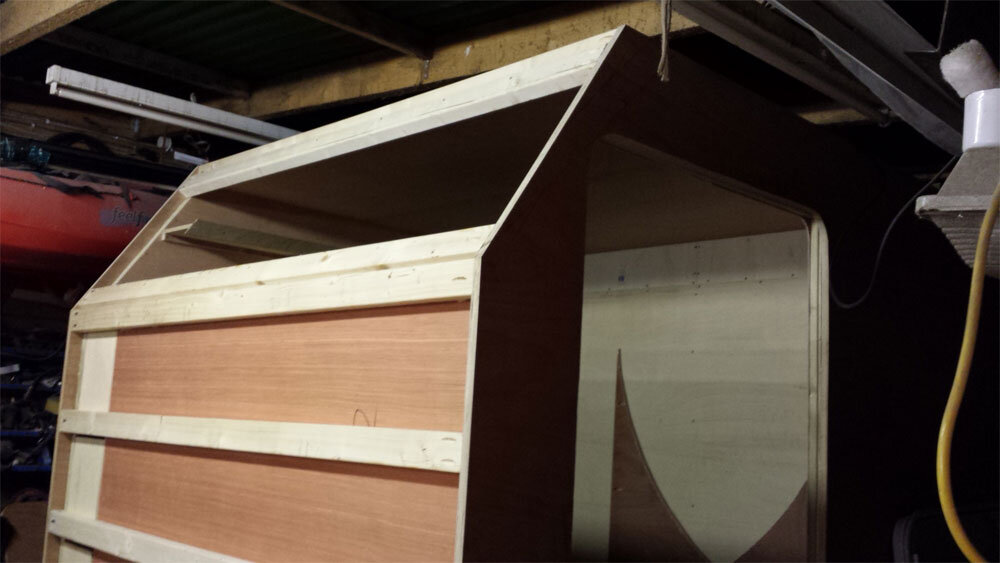
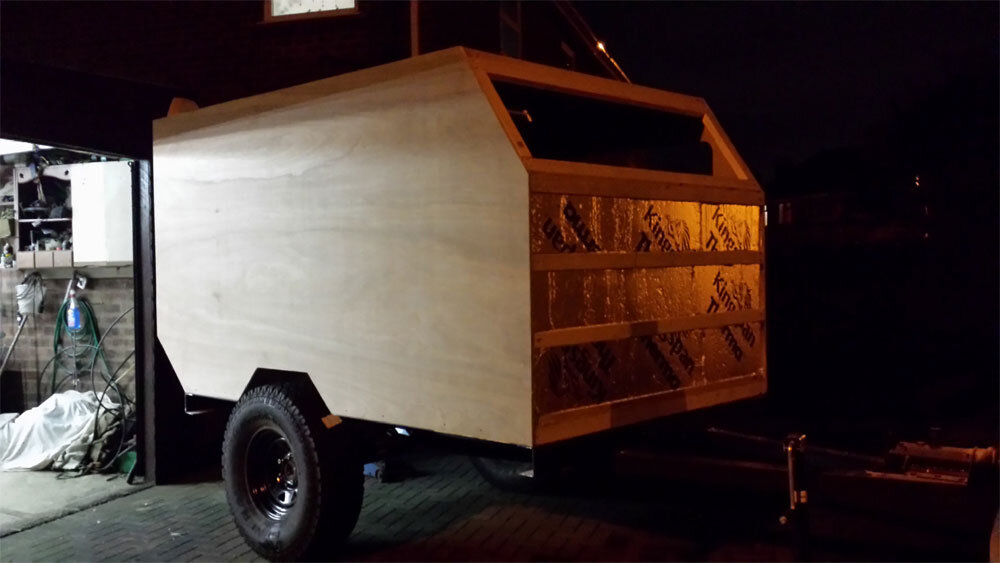
the next stage now is to close up the front, i still haven't secured a window or a skylight as im unsure, will the roof light leak on the 45 degree angle at the front, so im looking at a boat hatch, these are usually made from clear/coloured plastic and will not leak, and some are secured from the inside, so the search is on.
20131230_203055.jpg
20131230_210546.jpg
we have used the same timber as the roof as i wanted a bit of strength and a possible fix for anything i sit on the front a frame
20131230_203029.jpg
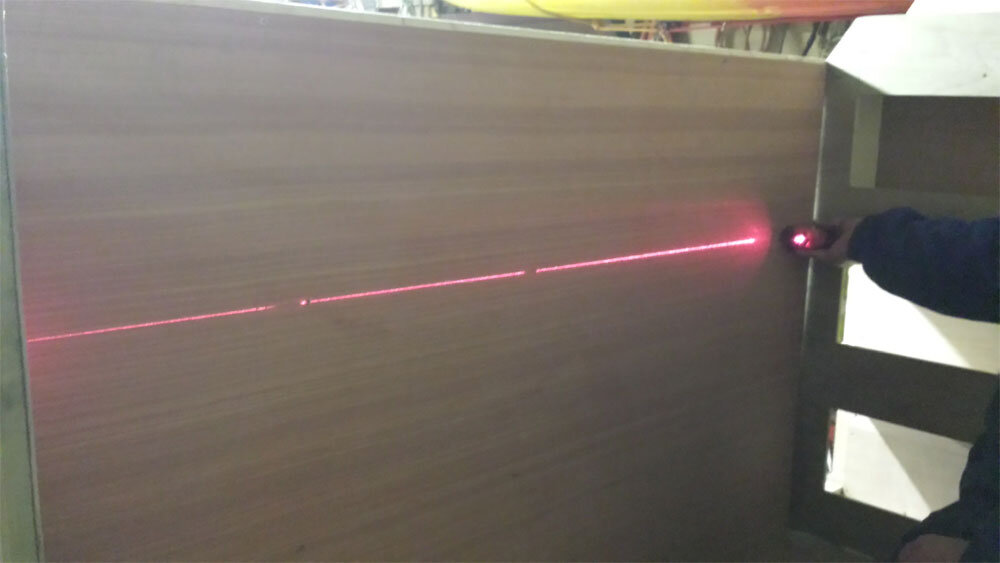
this is a handy tool a laser line, loads of uses, in this pics it was used to line up the screw heads

20131230_210555.jpg
now we cant do any more to the front till i get the window/s so its clean up time and turn the camper around, now i might get a chance to hitch it up to the truck, next pics should be interesting
well thats all for tonight so catch you all later, well im going to update my other build.
 
Great build Joe :) If you havent been there yet, IH8MUD has a cracking trailer tech section if you need any more ideas or inspiration :)

Sent from my SM-T310 using Tapatalk
 
Great looking work! Looking forward to the future .. or is that past updates? ;)
 
good evening gentlemen,

thanks for the link gav peter

yes grant, can post the finished pics if you want but i think that will spoil it for every one, :whistle:

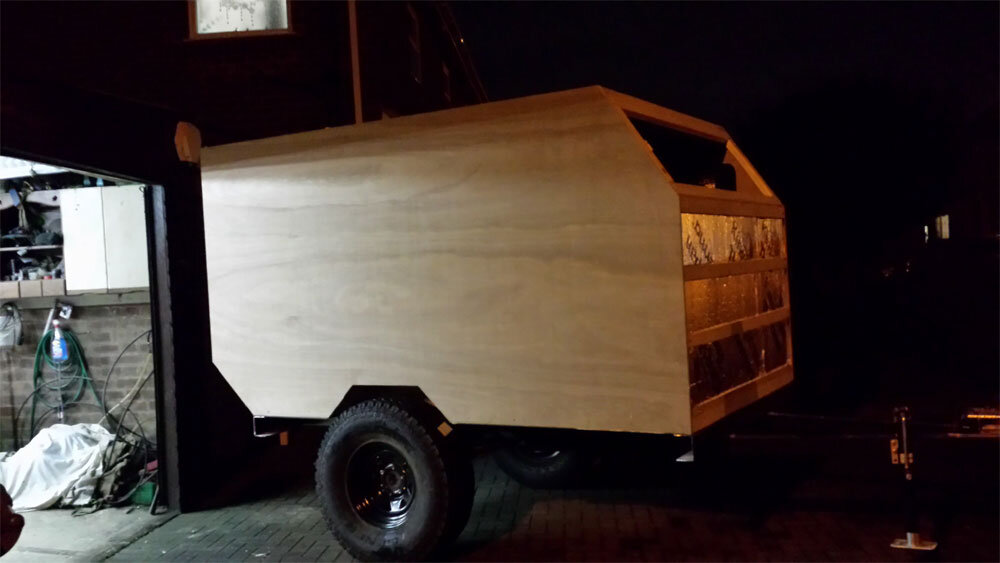
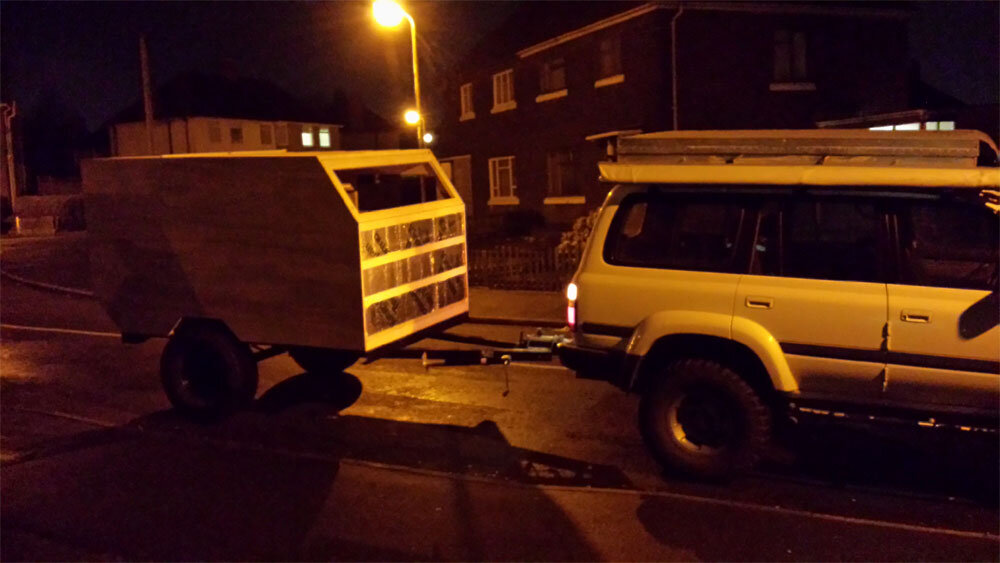
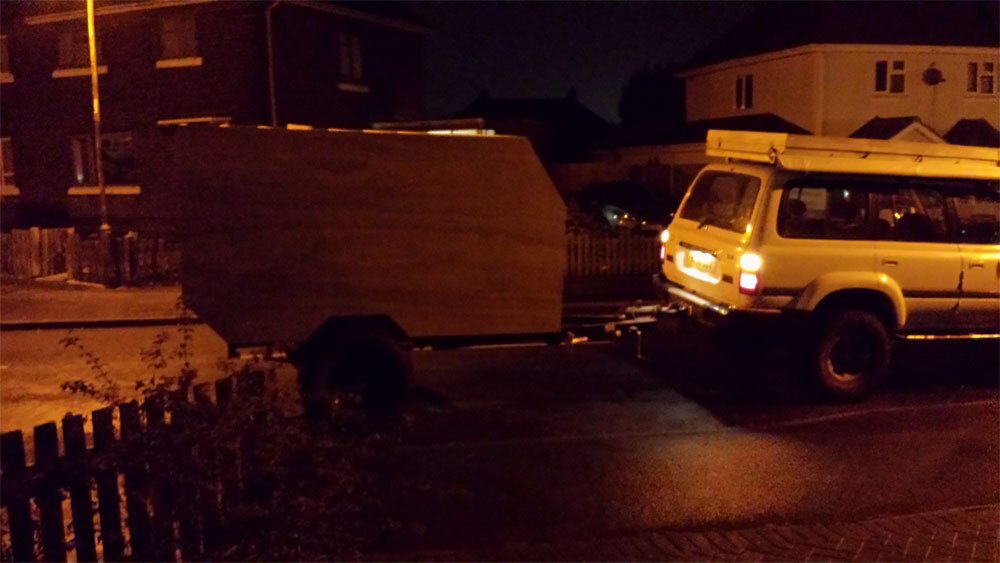
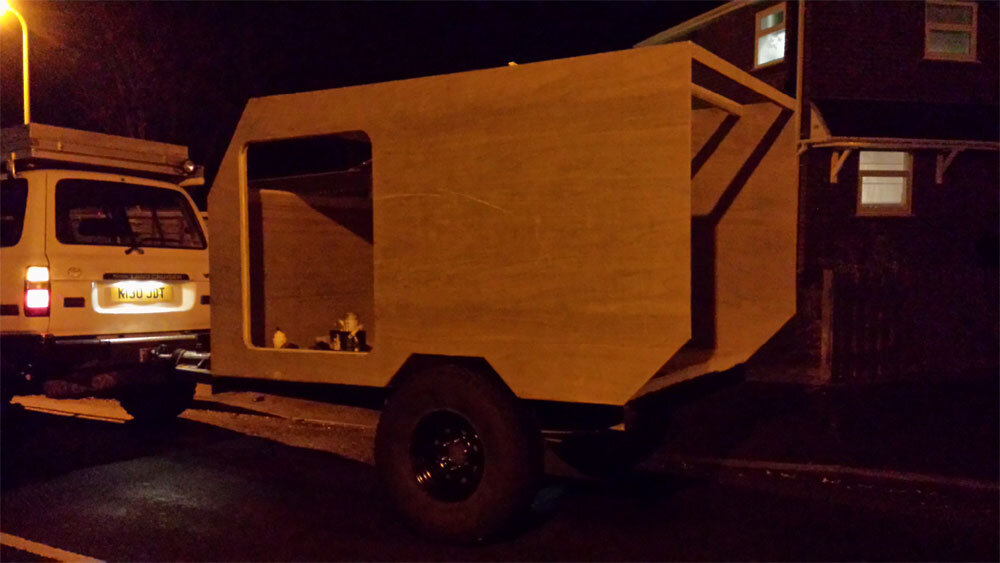
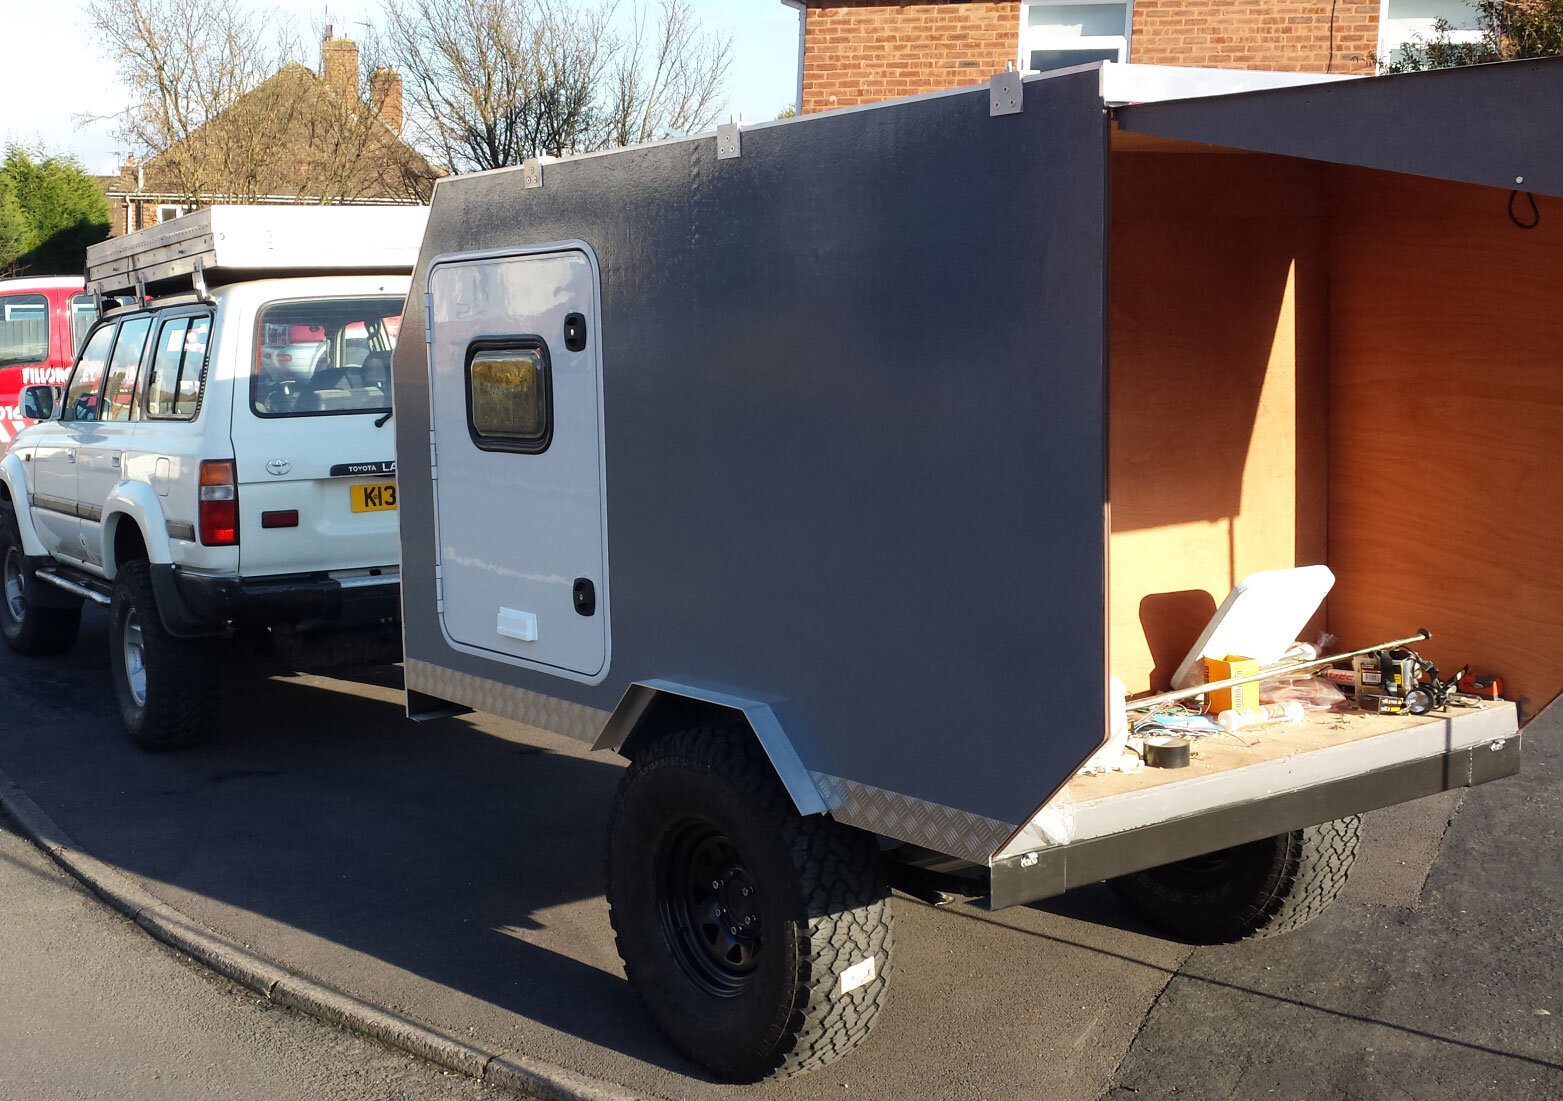
right, well i had the pleasure to remove the said camper from the garage this evening, have some pics for you to look at, let me know what you think ?

in one of the pics you will see my son he is 6ft 3" so you have a general idea to scale

20140102_194314.jpg

20140102_194321.jpg

20140102_194944_LLS.jpg

20140102_195006_LLS.jpg

20140102_195029_LLS.jpg

20140102_195043_LLS.jpg

20140102_195143_LLS.jpg

i think we got the size spot on, i can sit in the truck and see down both sides using the mirrors, its wider than its taller if you know what i mean
i love it, i need to adjust the brakes, the hitch was solid no rattles when braking,

right thats all for tonight catch you all later
 
Think the 80 puts it in to perspective Joe; mahoosive!!! Looks bob on :cool: What are you going to finish it in? (Don't tell if it gonna spoil any future posts though ;))

Sent from my SM-T310 using Tapatalk
 
Don't like the adverts?  Click here to remove them
hi all,
gav no mate wont spoil it, im right up to date

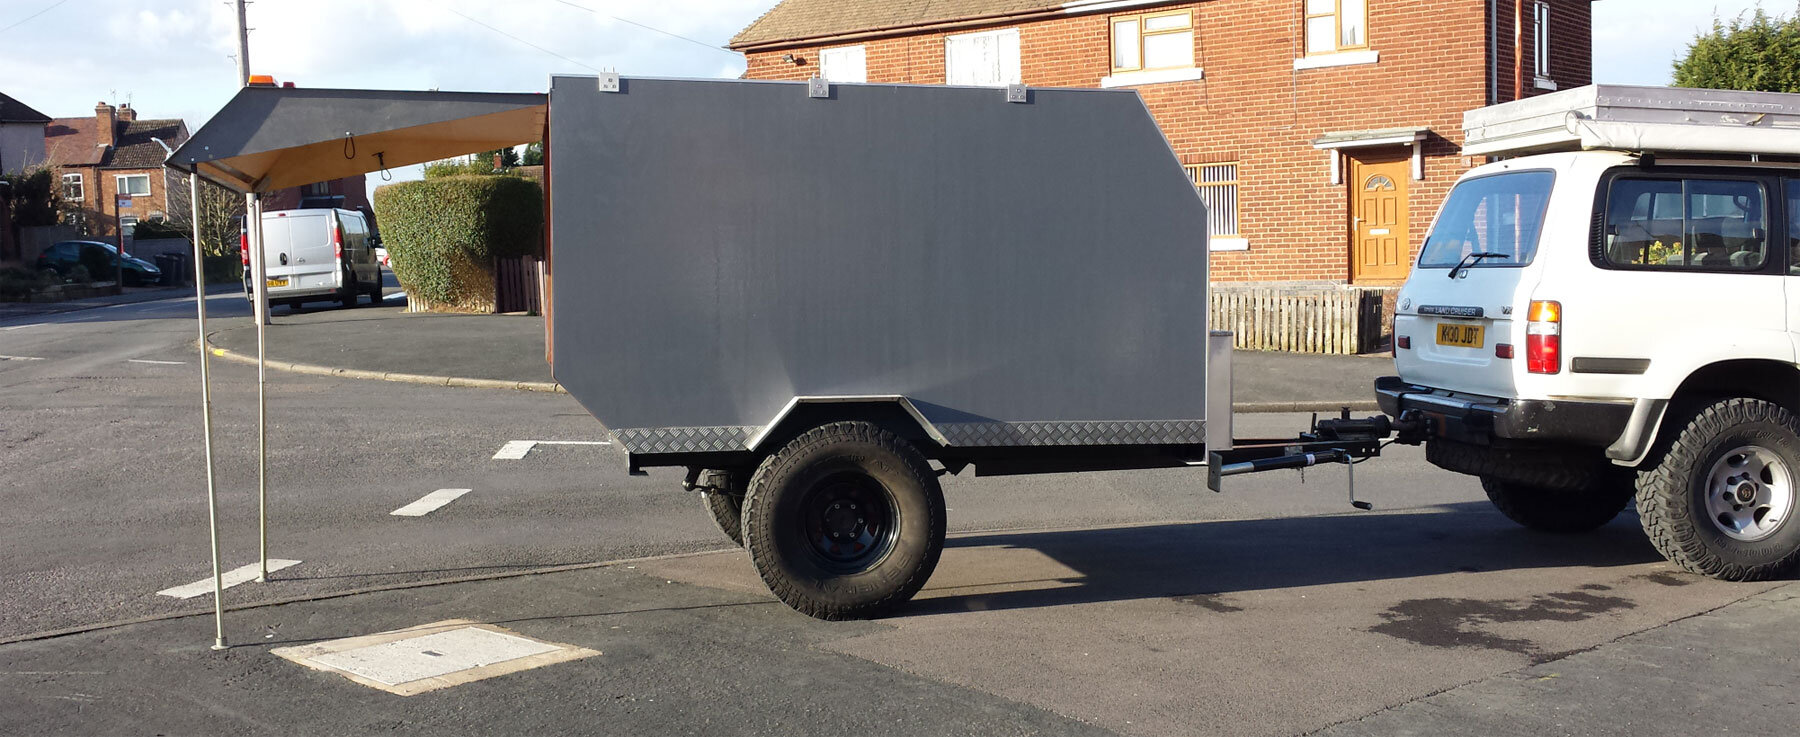
right, with the camper back in the garage, it was time to start on the rear kitchen door, we have discussed this part to some end, and decided that a door that opens upward in true tear drop style will have another benefit, i can used the roof above my head as a frame for an awning, two poles that hold the door up will be the corner posts giving me an area of about 1.5 x 1.8 and what ever the roof finishes at
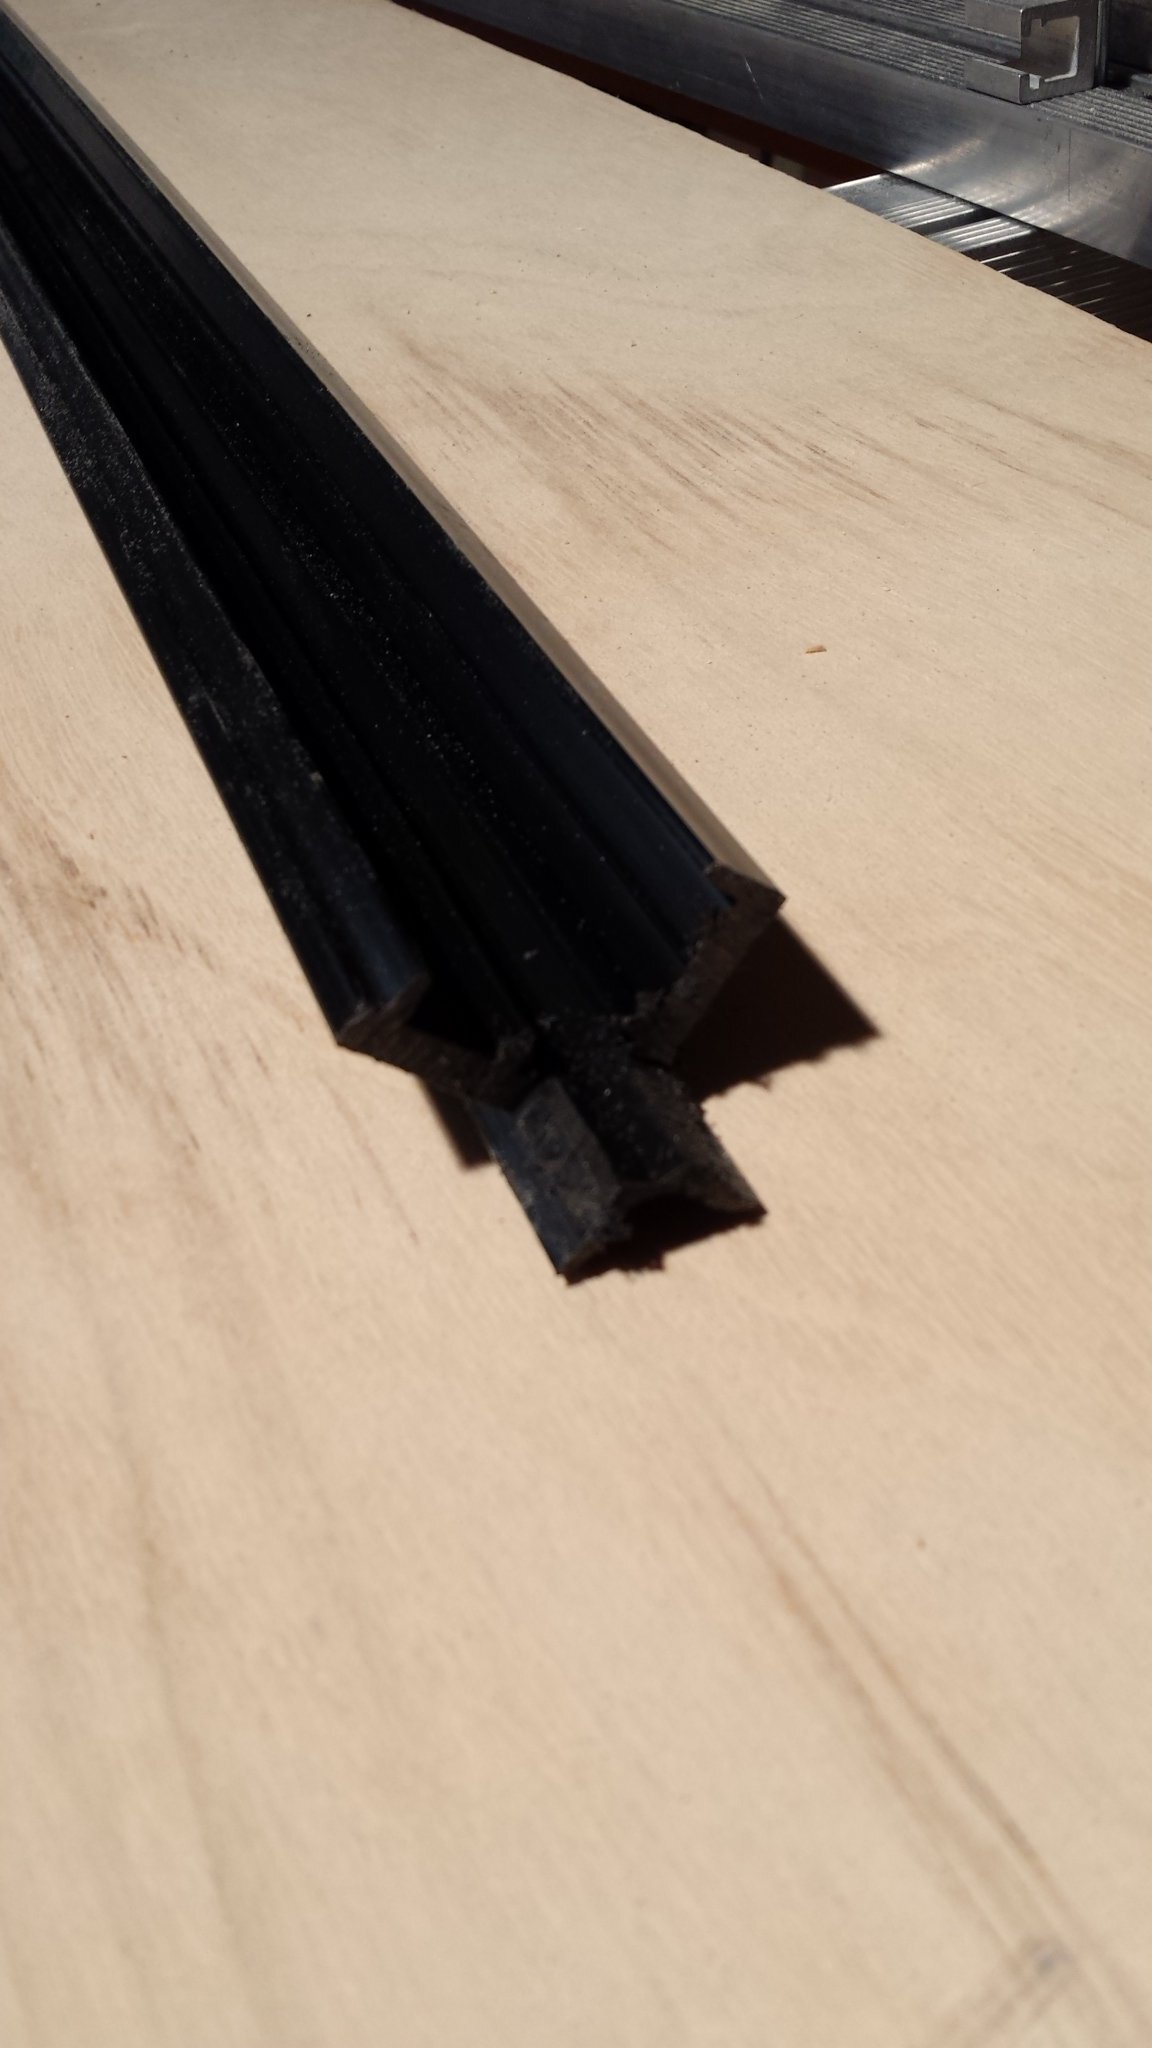
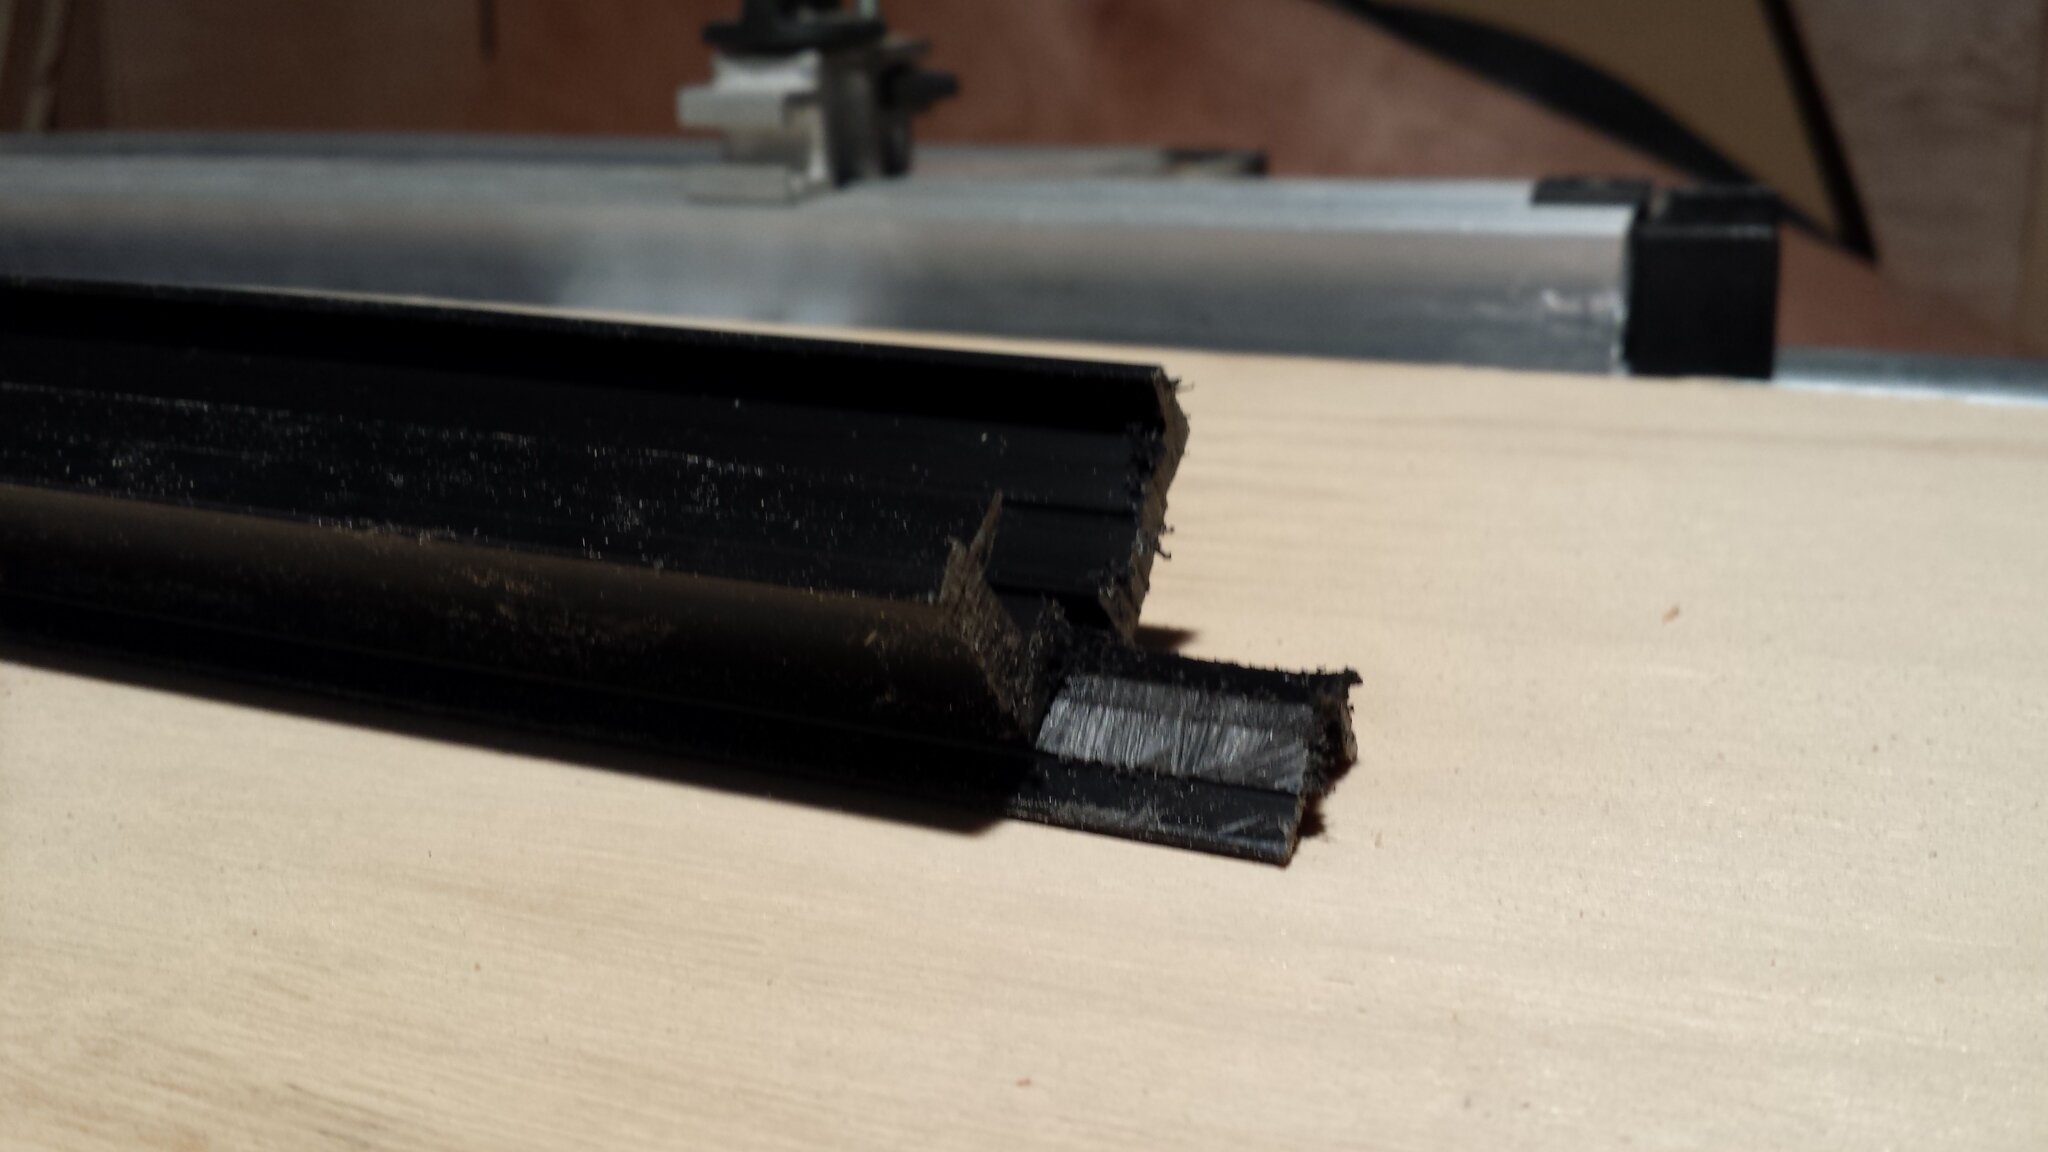
im trailing a new hinge at the moment its made of extrusion plastic with a rubber strip fixed at the centre, has been tested at 50,000 cycles and can carry 150kg over 1m length so should its well within my specs
any way some pics
20140102_204306.jpg20140102_204323.jpg 20140102_210202.jpg

we have cut the hinge like this so we get an overlap on to the sides, we can seal this with a p seal
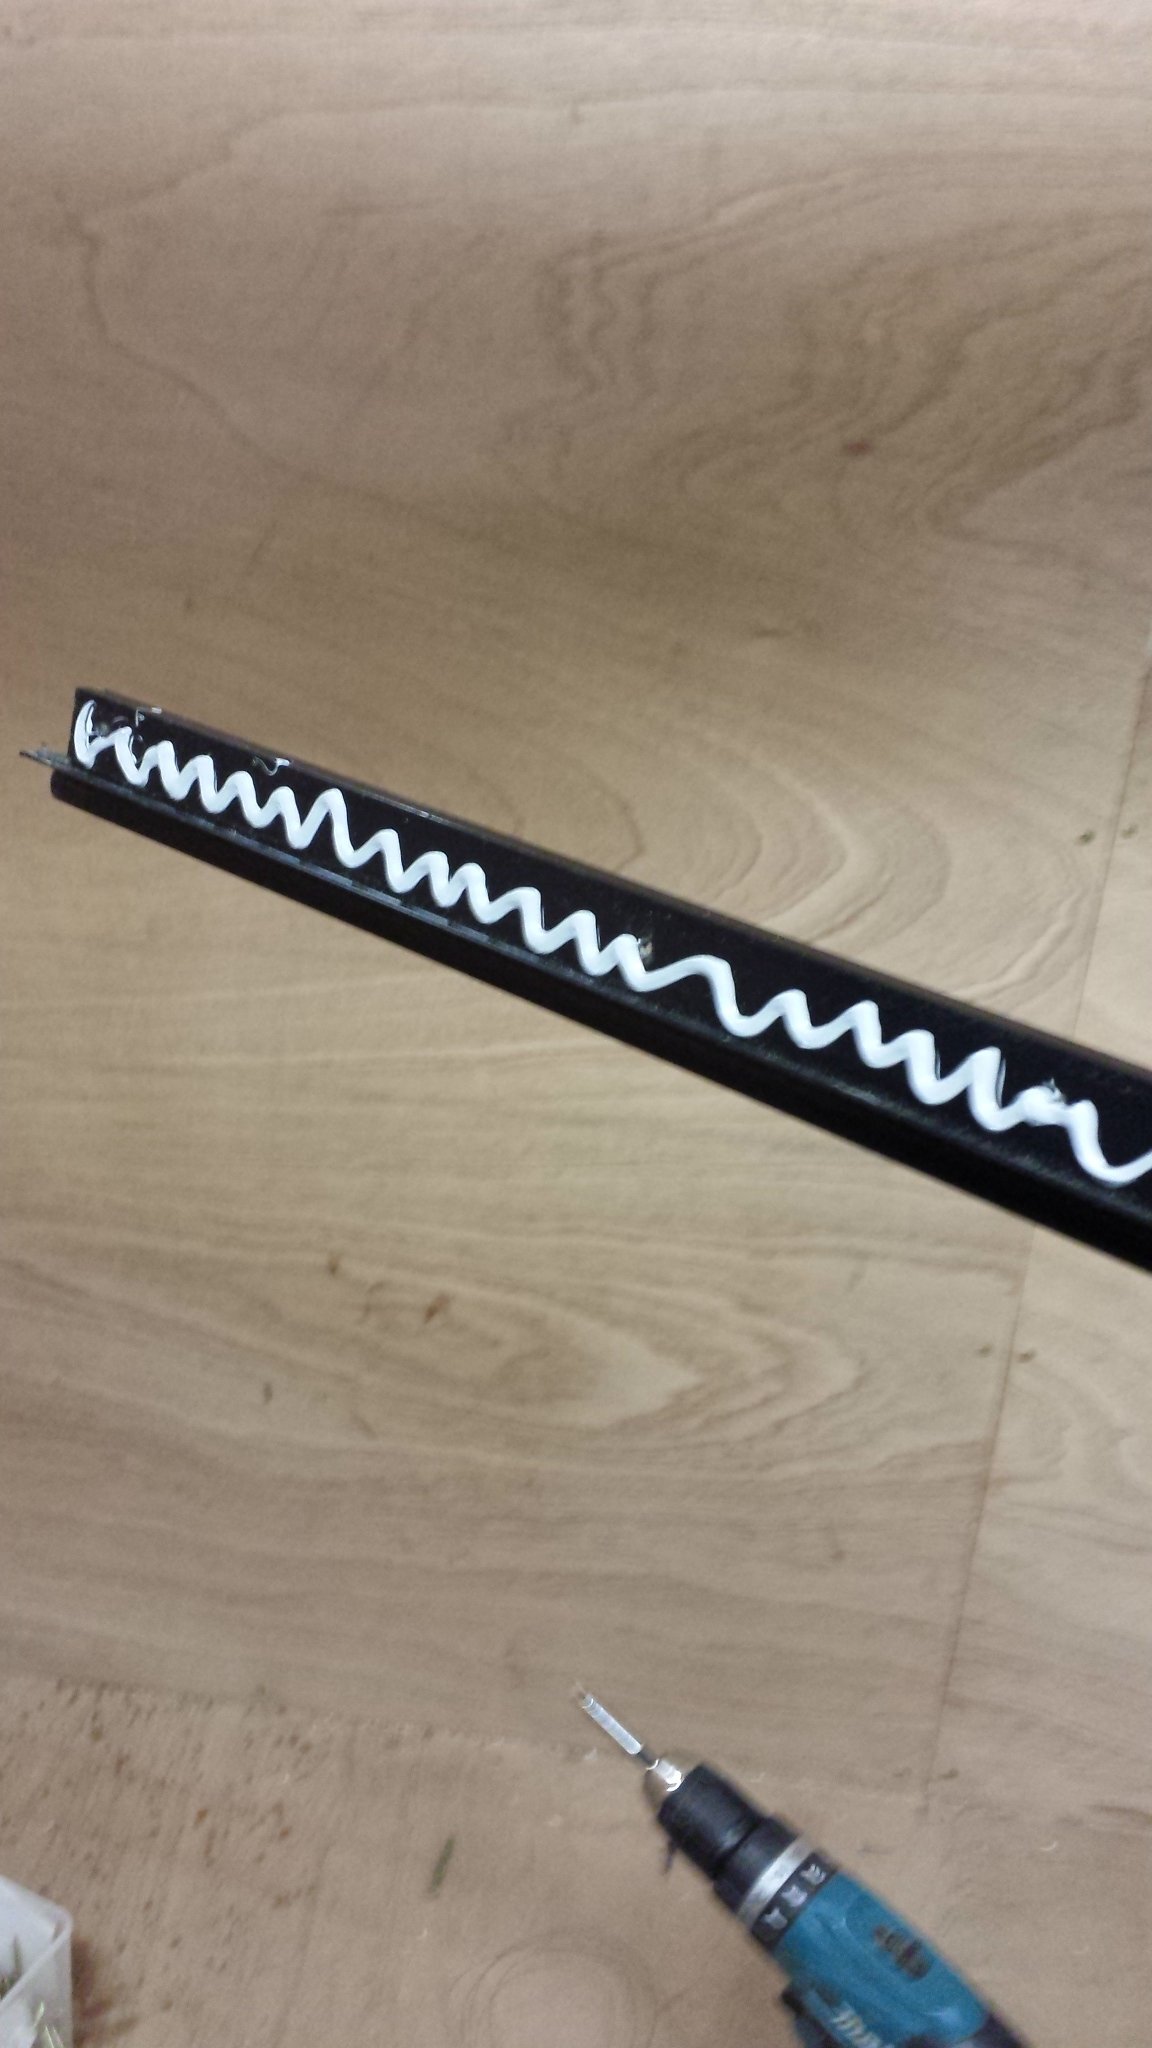
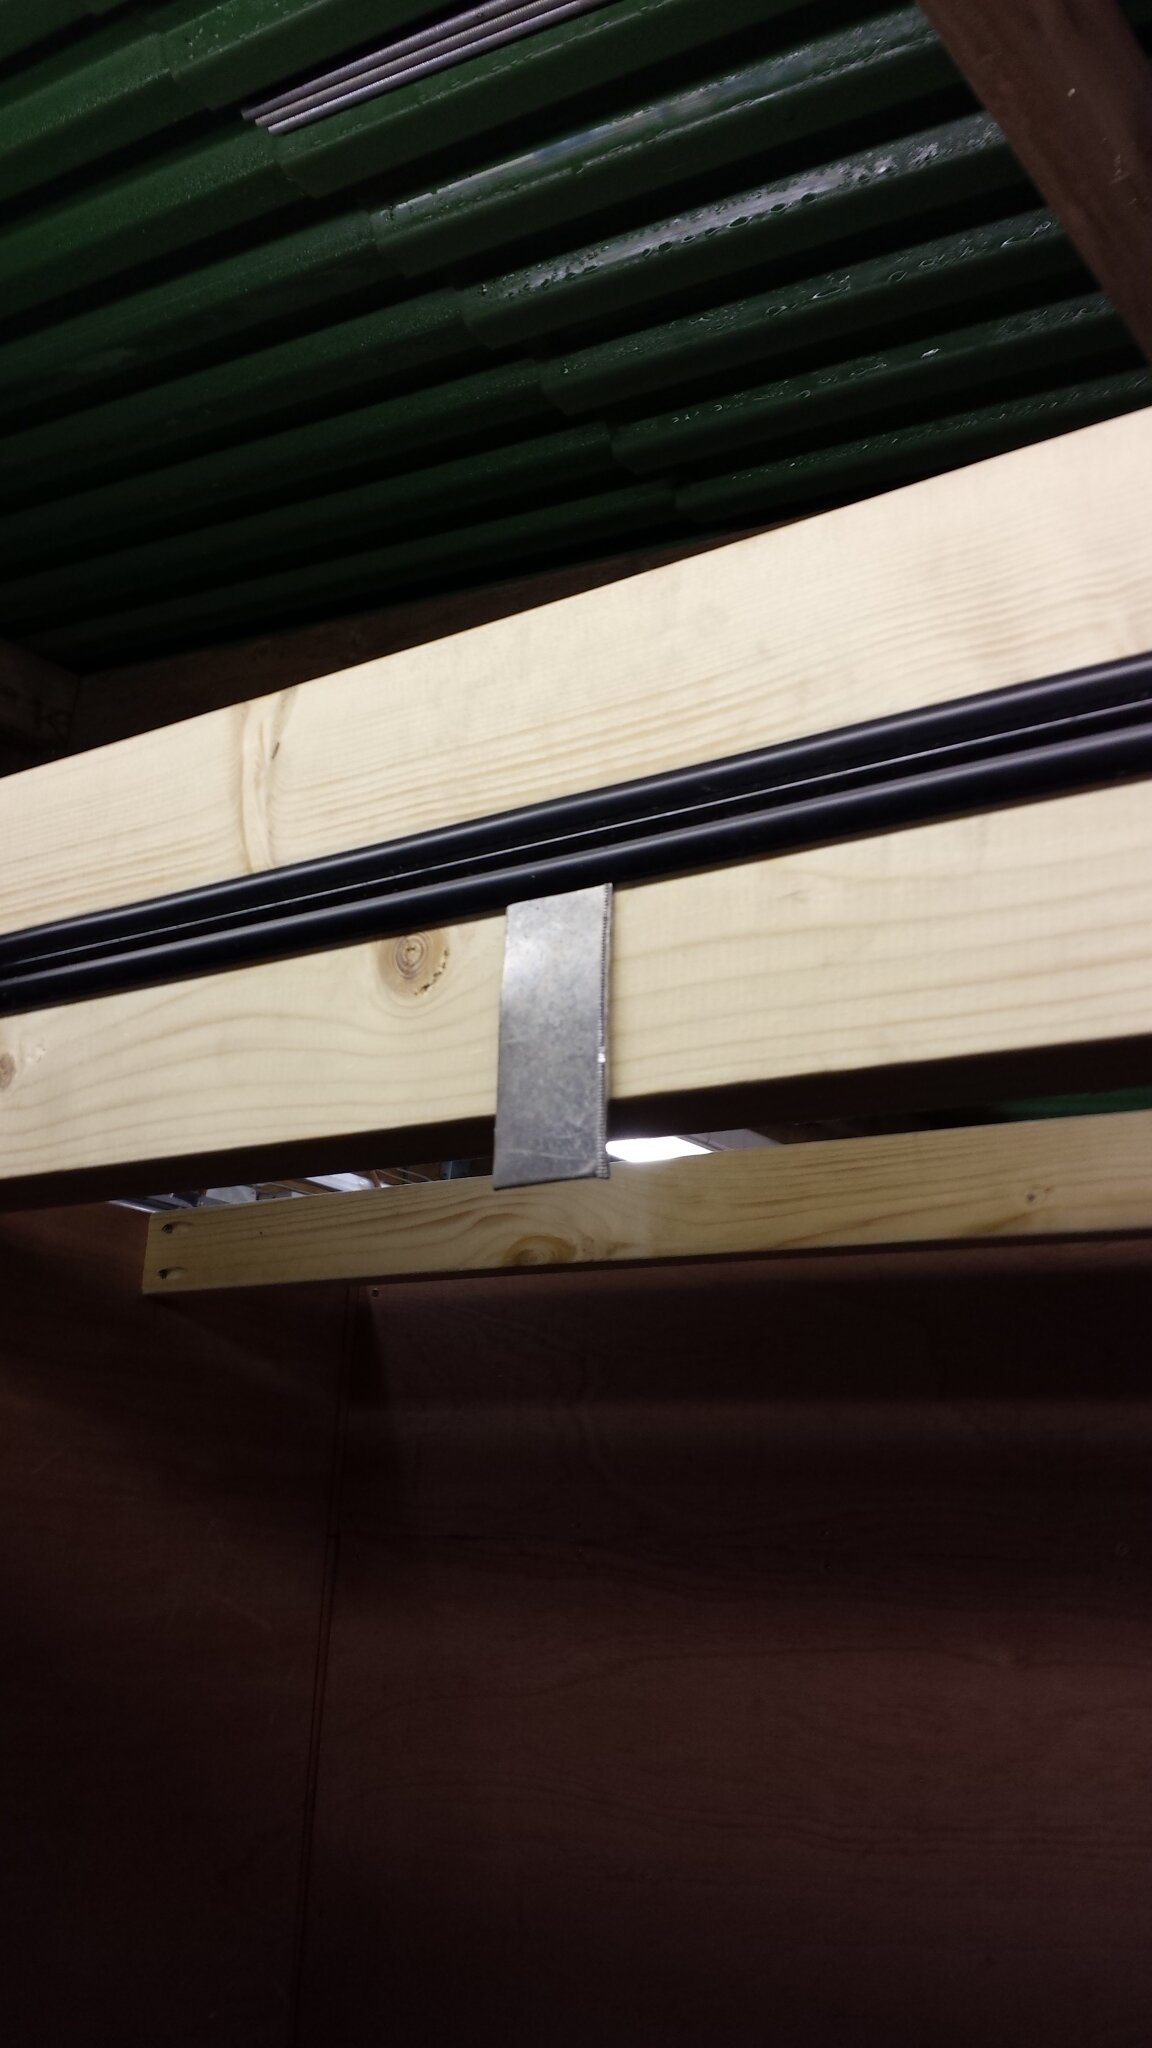
im not taking any chances so we drilled/countersunk out the hinge every 100mm, then applied sika stickaflex
20140102_211912.jpg 20140102_211917.jpg
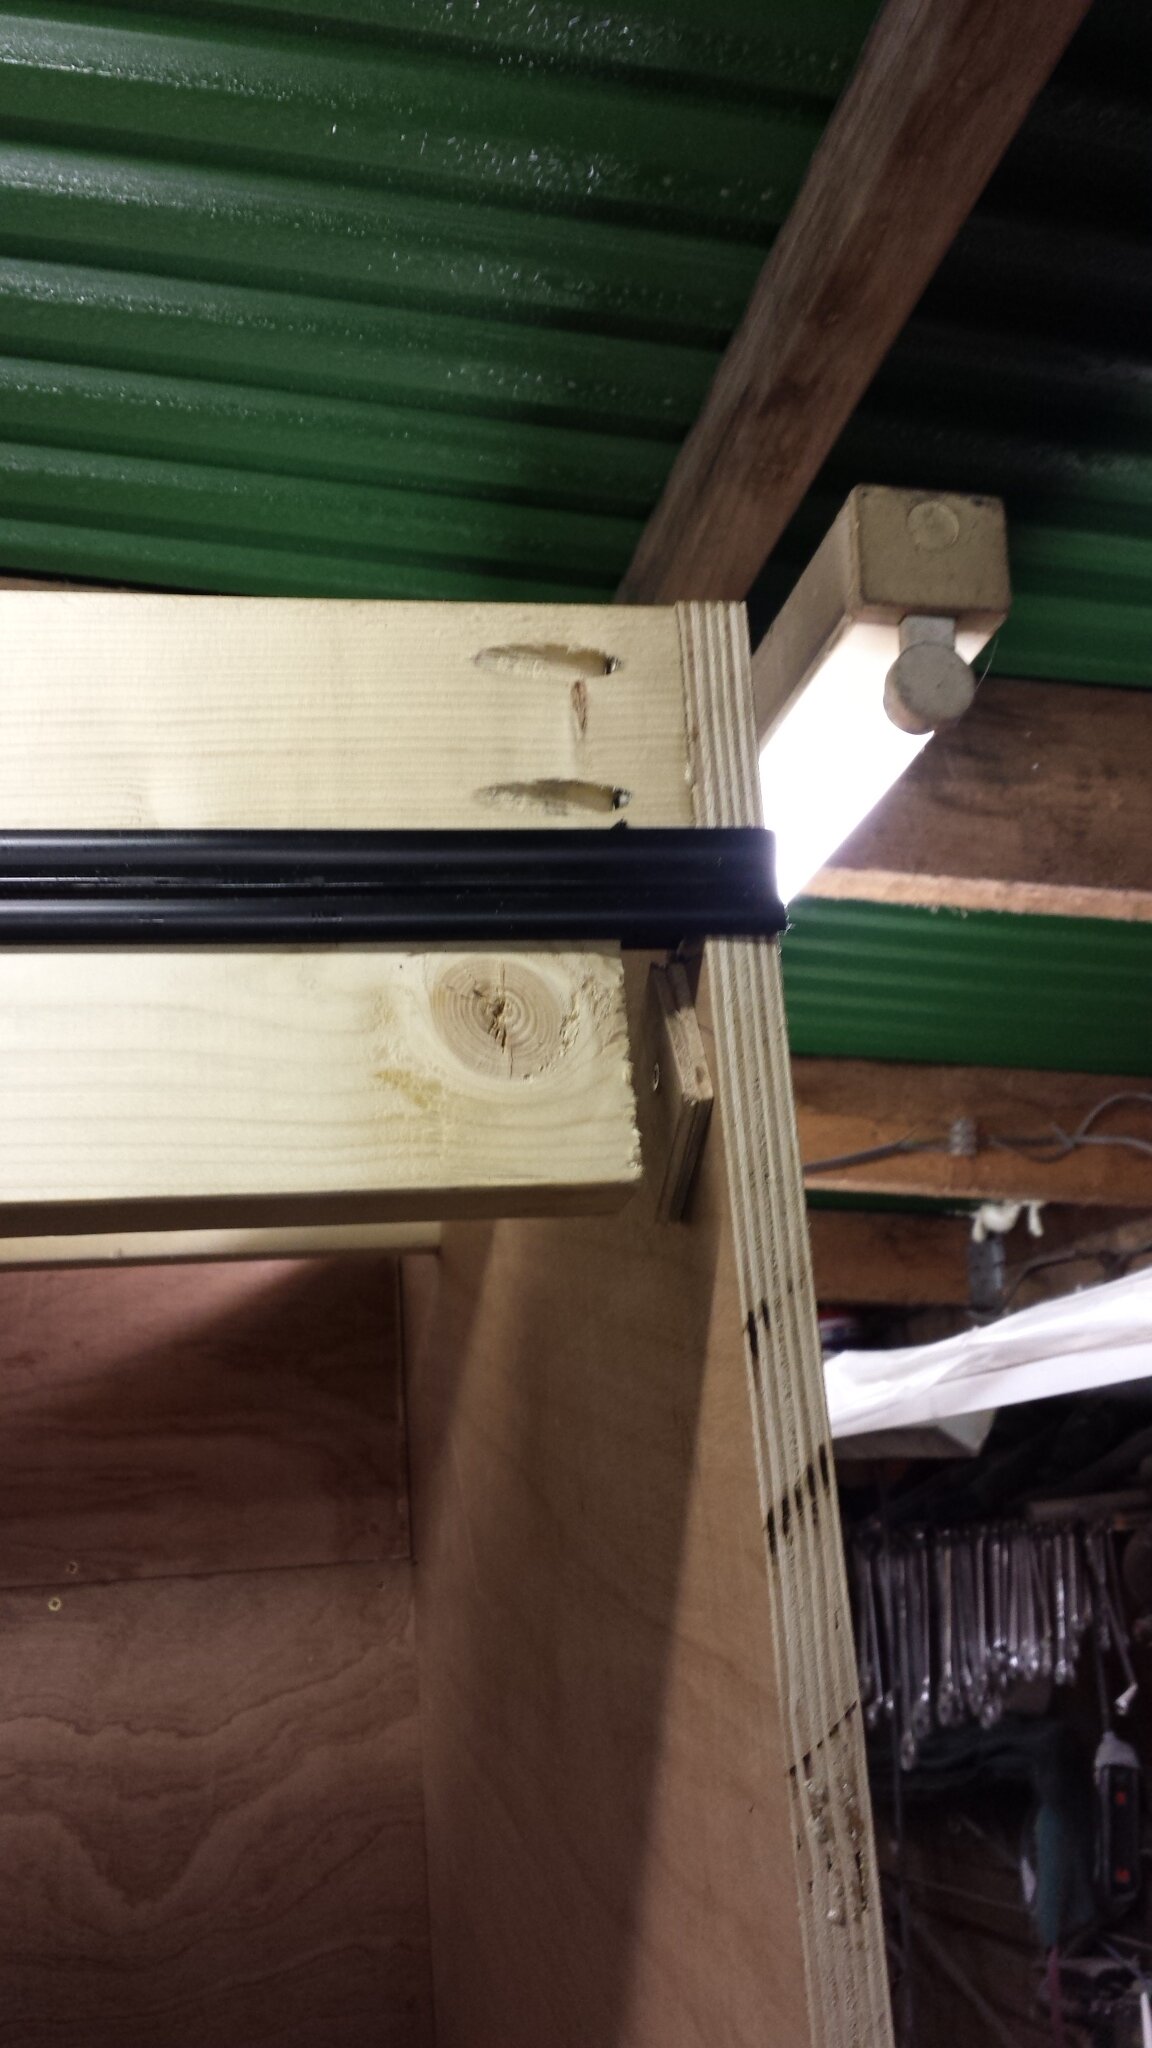
the ally piece you can see is a spacer, the bottom sheet is fitted under the lip on the hinge, the top sheet that comes over the top overlaps the top part of the hinge, it just to guarantee our seal
we cant build this on the bench as we want a custom fit to our rear, and this can only be achieved instu, we have packed out both sides to about 5mm and hung the top timber on the hinge and well here is the pics
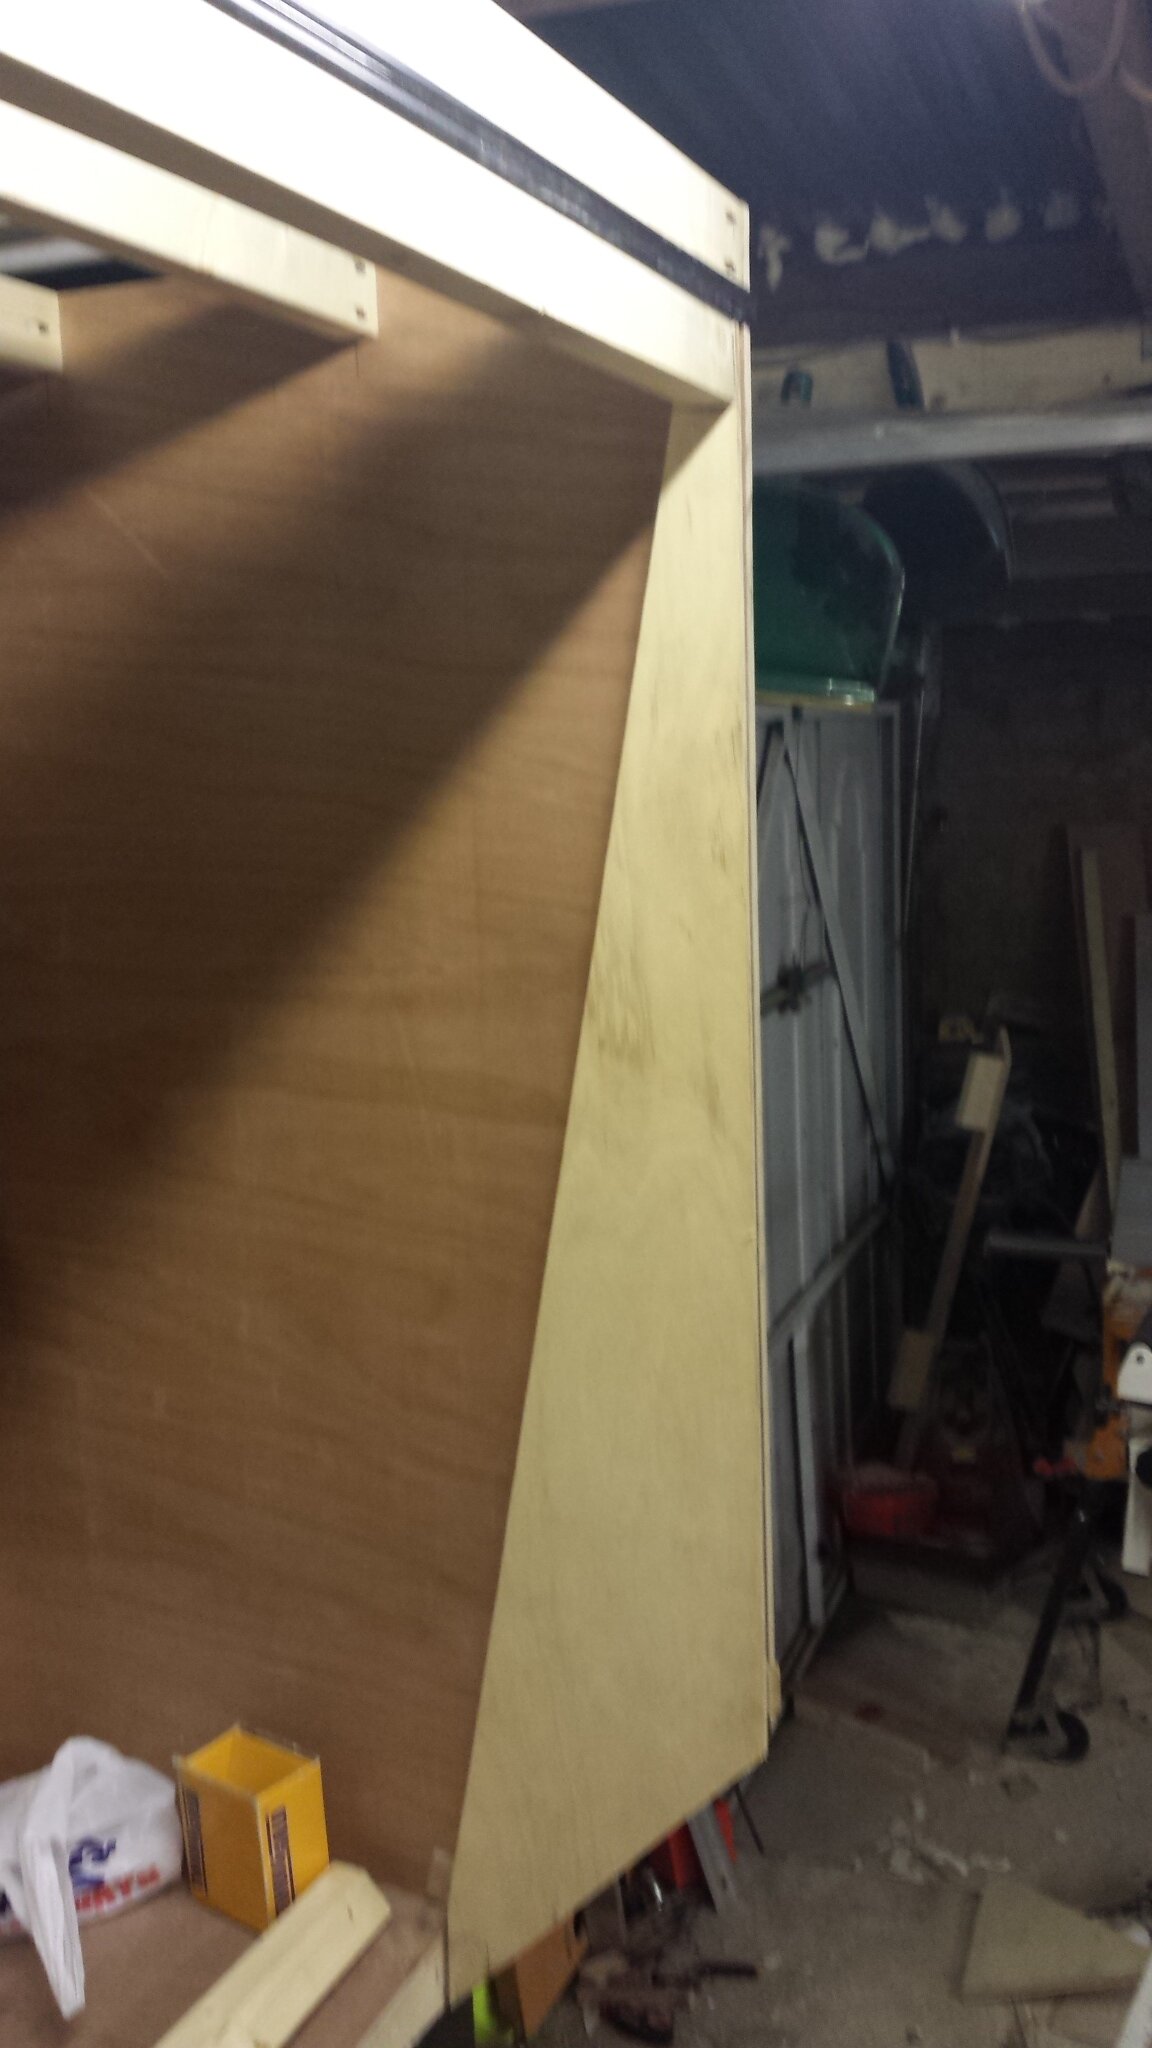
20140103_192901.jpgthe ply profile is the door ends so to speak we can afford to screw through here as the heads will not be seen
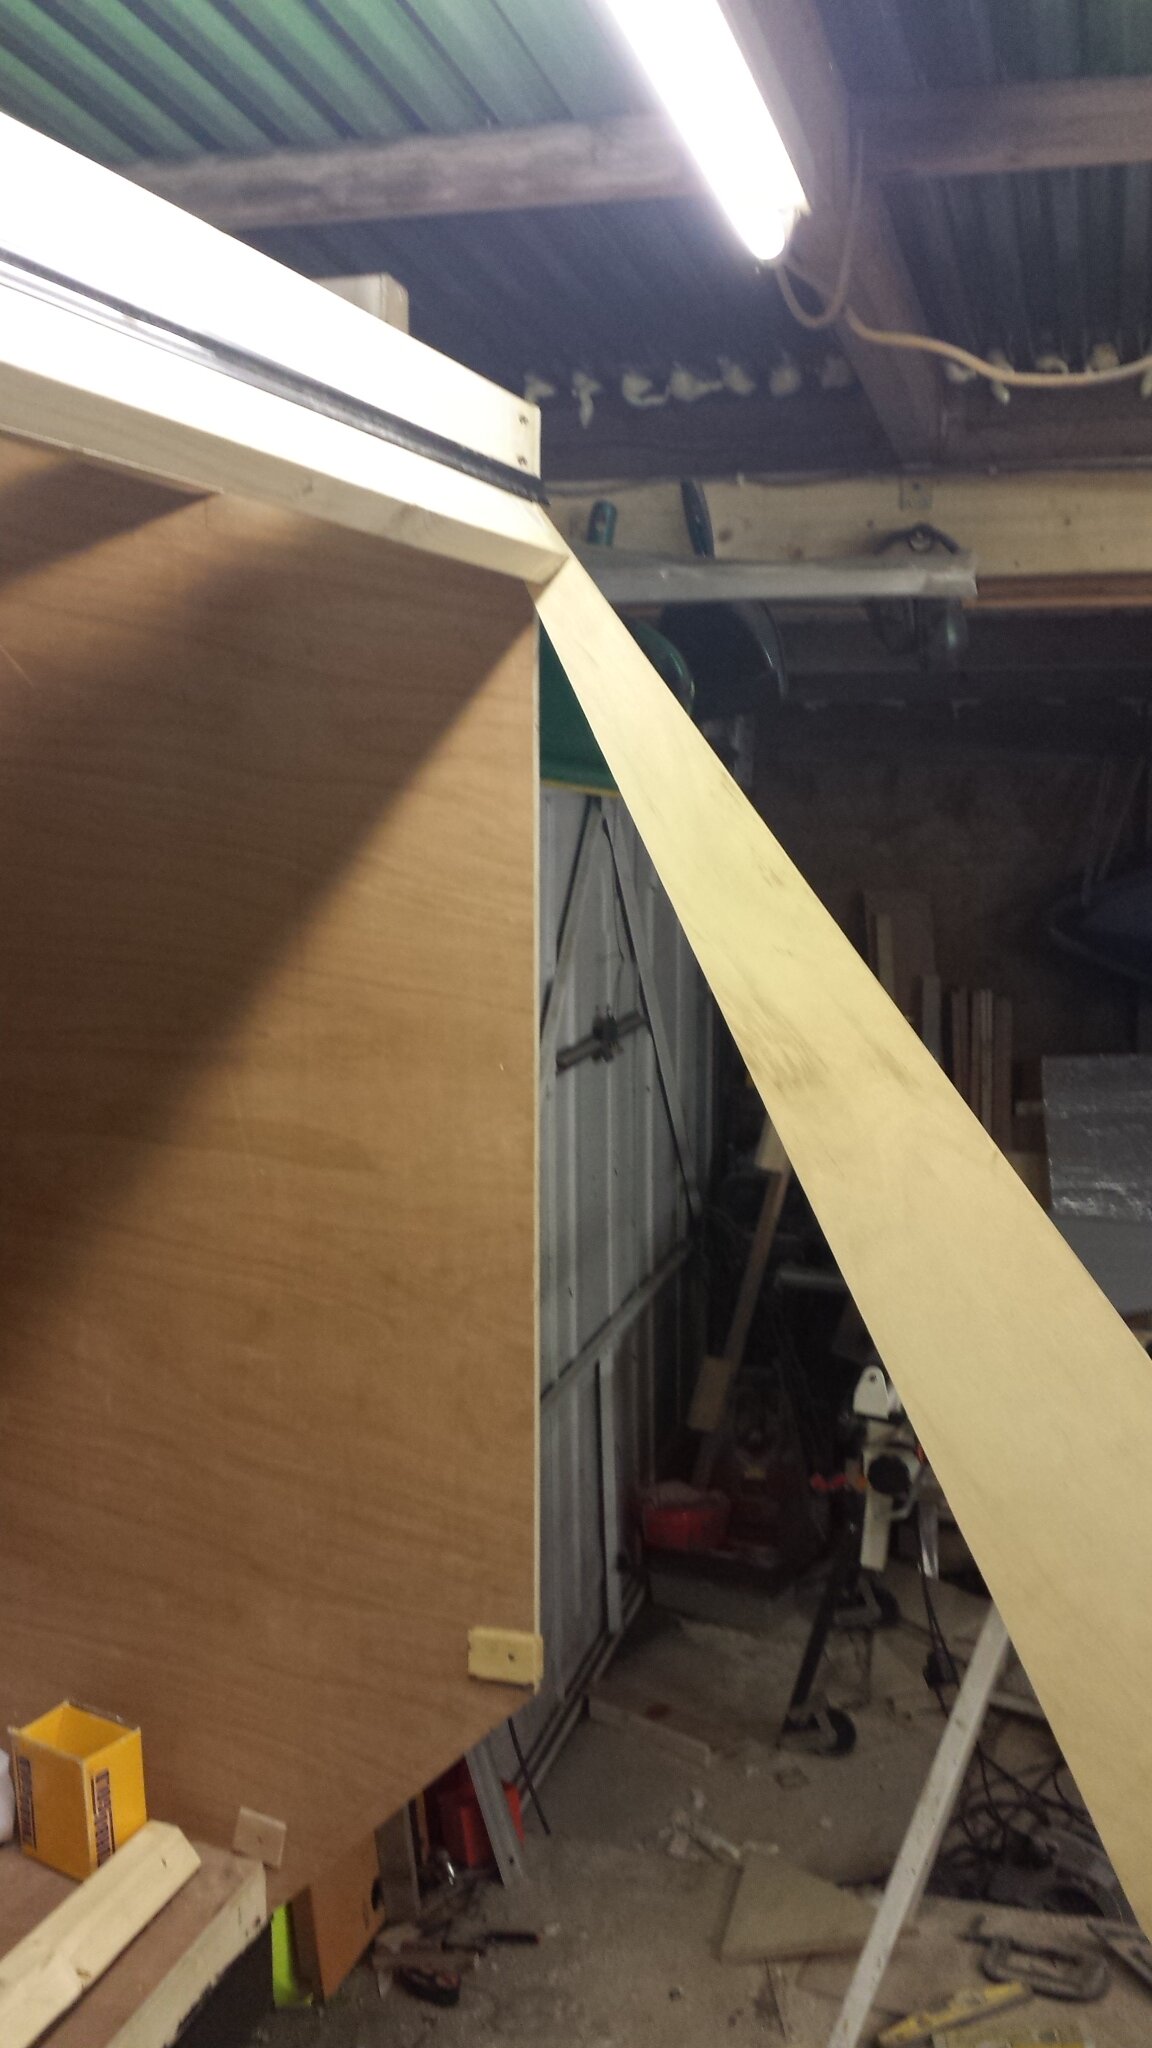
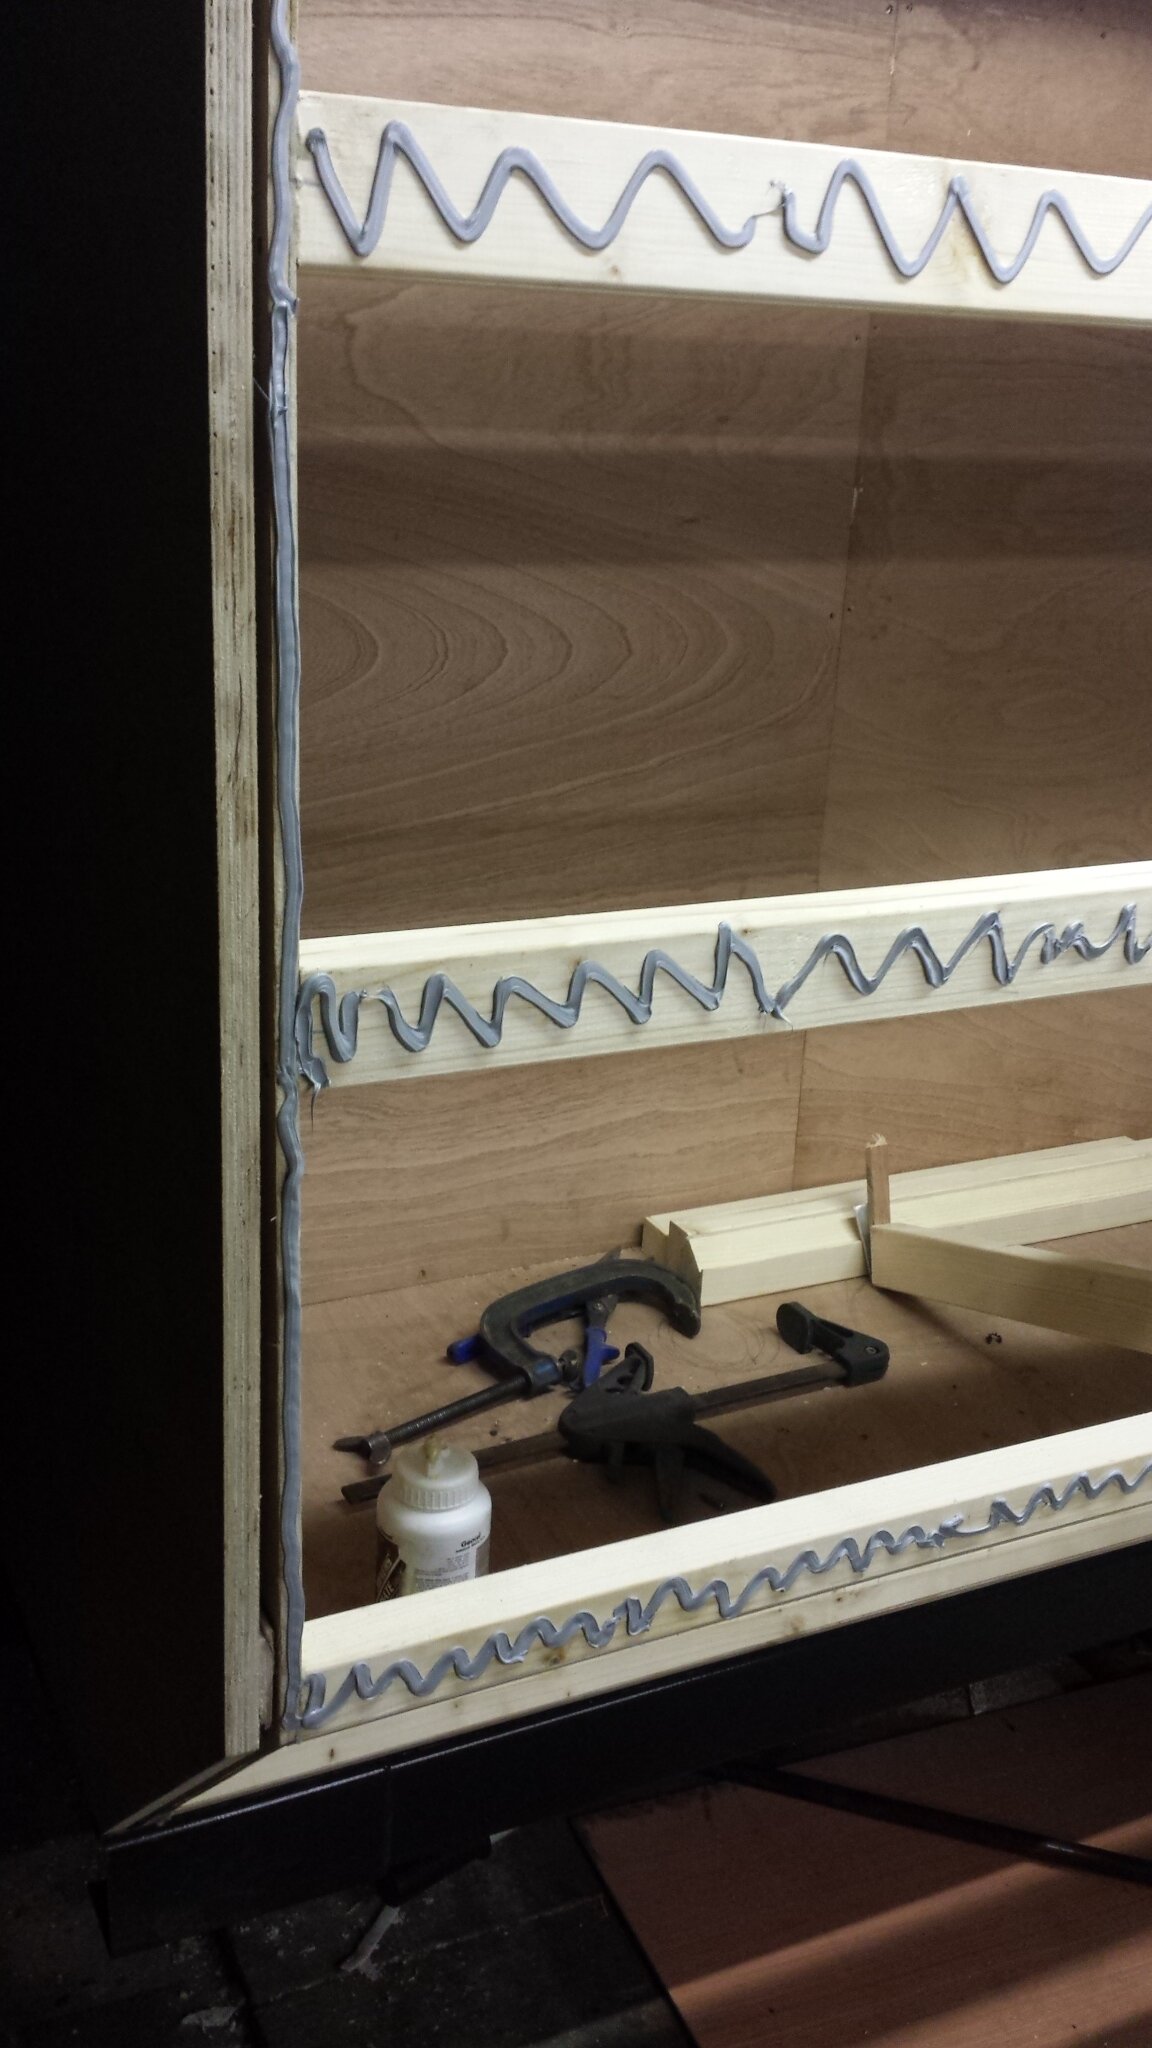
20140103_192909.jpg

20140103_214501.jpg i have missed a few pics here in my hast, basically we fitted the bottom timber the filled in the rest, a couple of the timber had to be cut at 45 degrees as one is need on the upper corner and the one below which ties into the floor
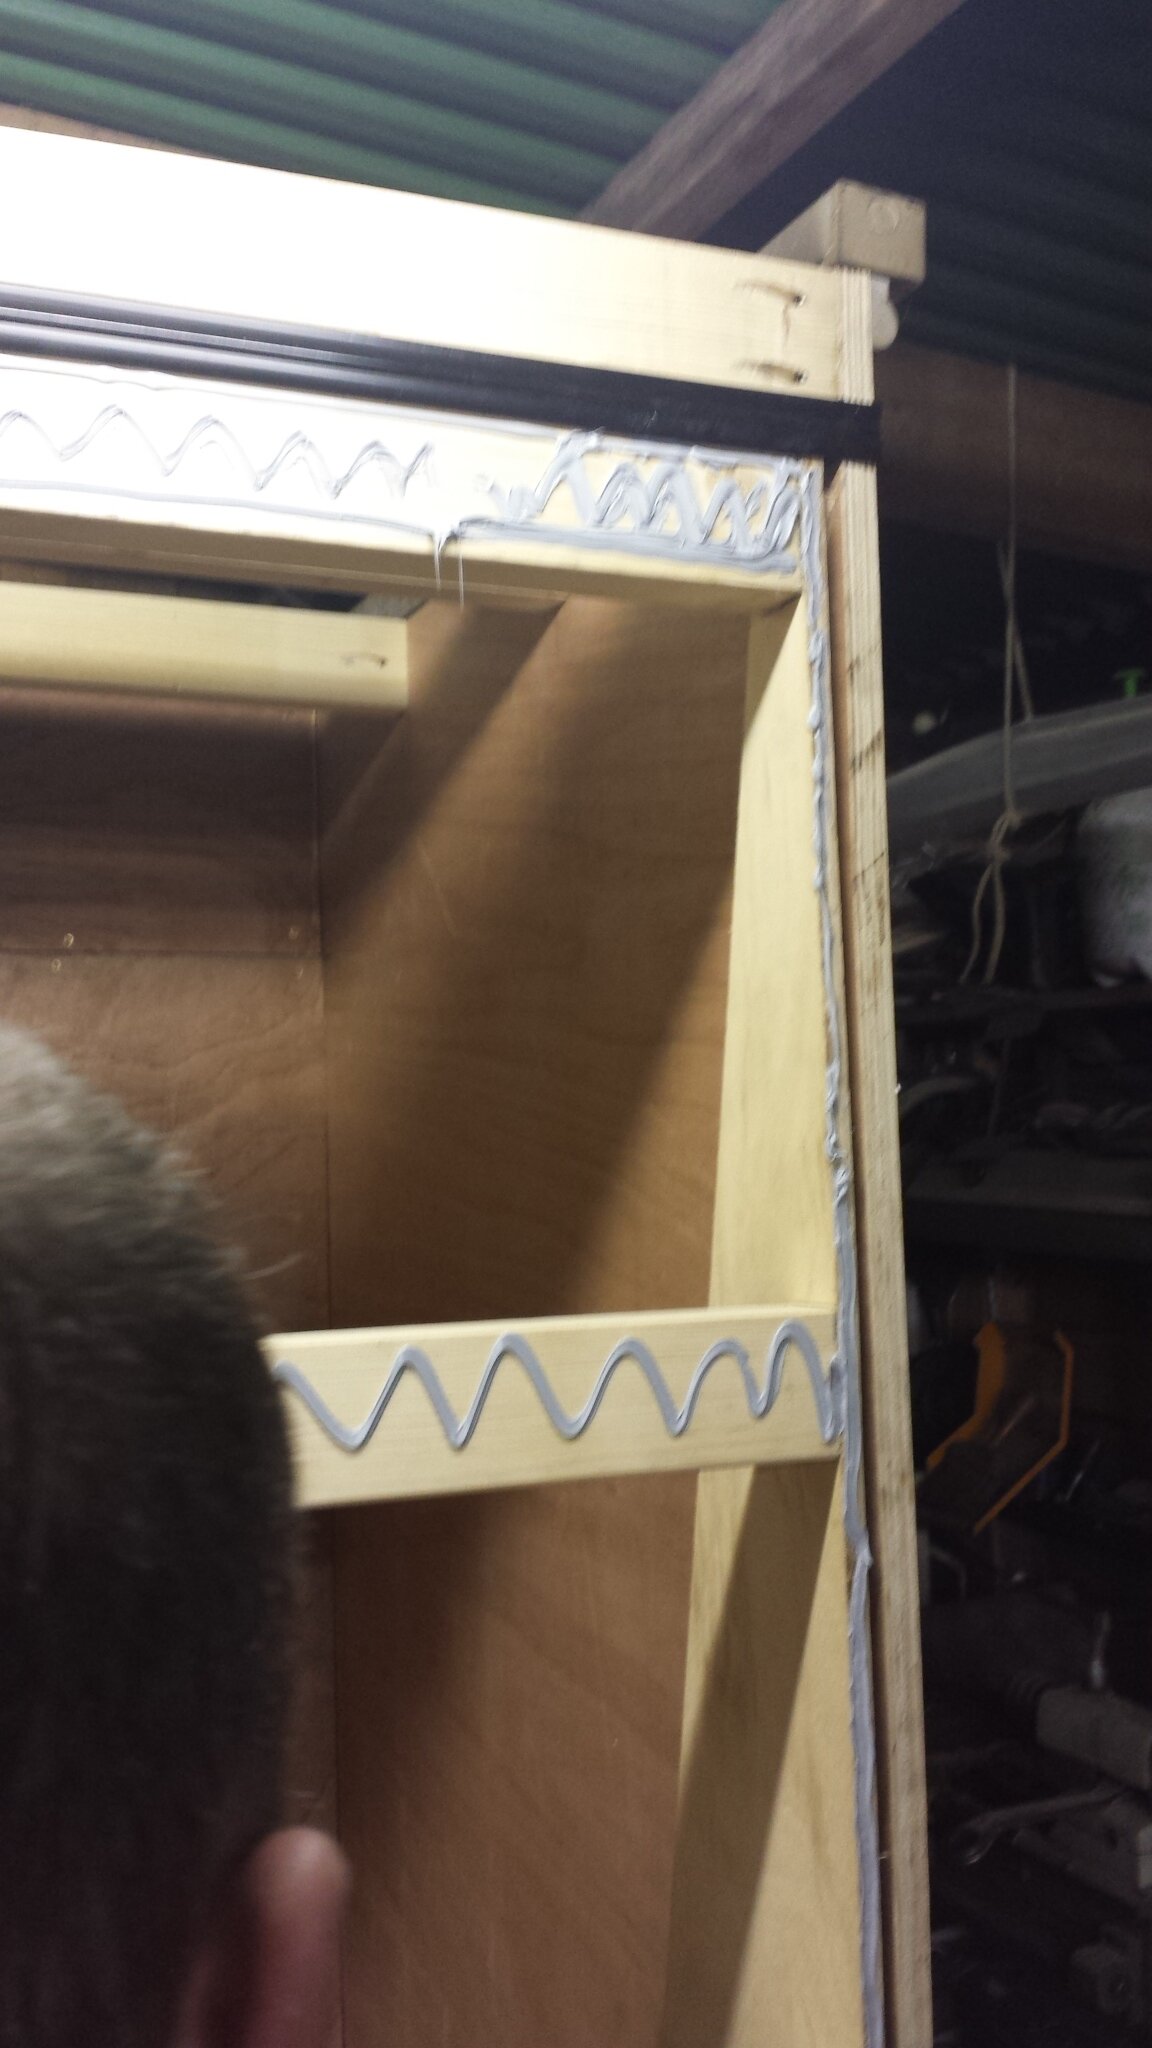
20140103_214510.jpg
the hinge works as it should but we keep testing to see if there is any bind

20140103_214516.jpg

we use plenty of stickaflex here as were not using any fixings, we then rub stikaflex into the edges to seal ply
then fix the first sheet,
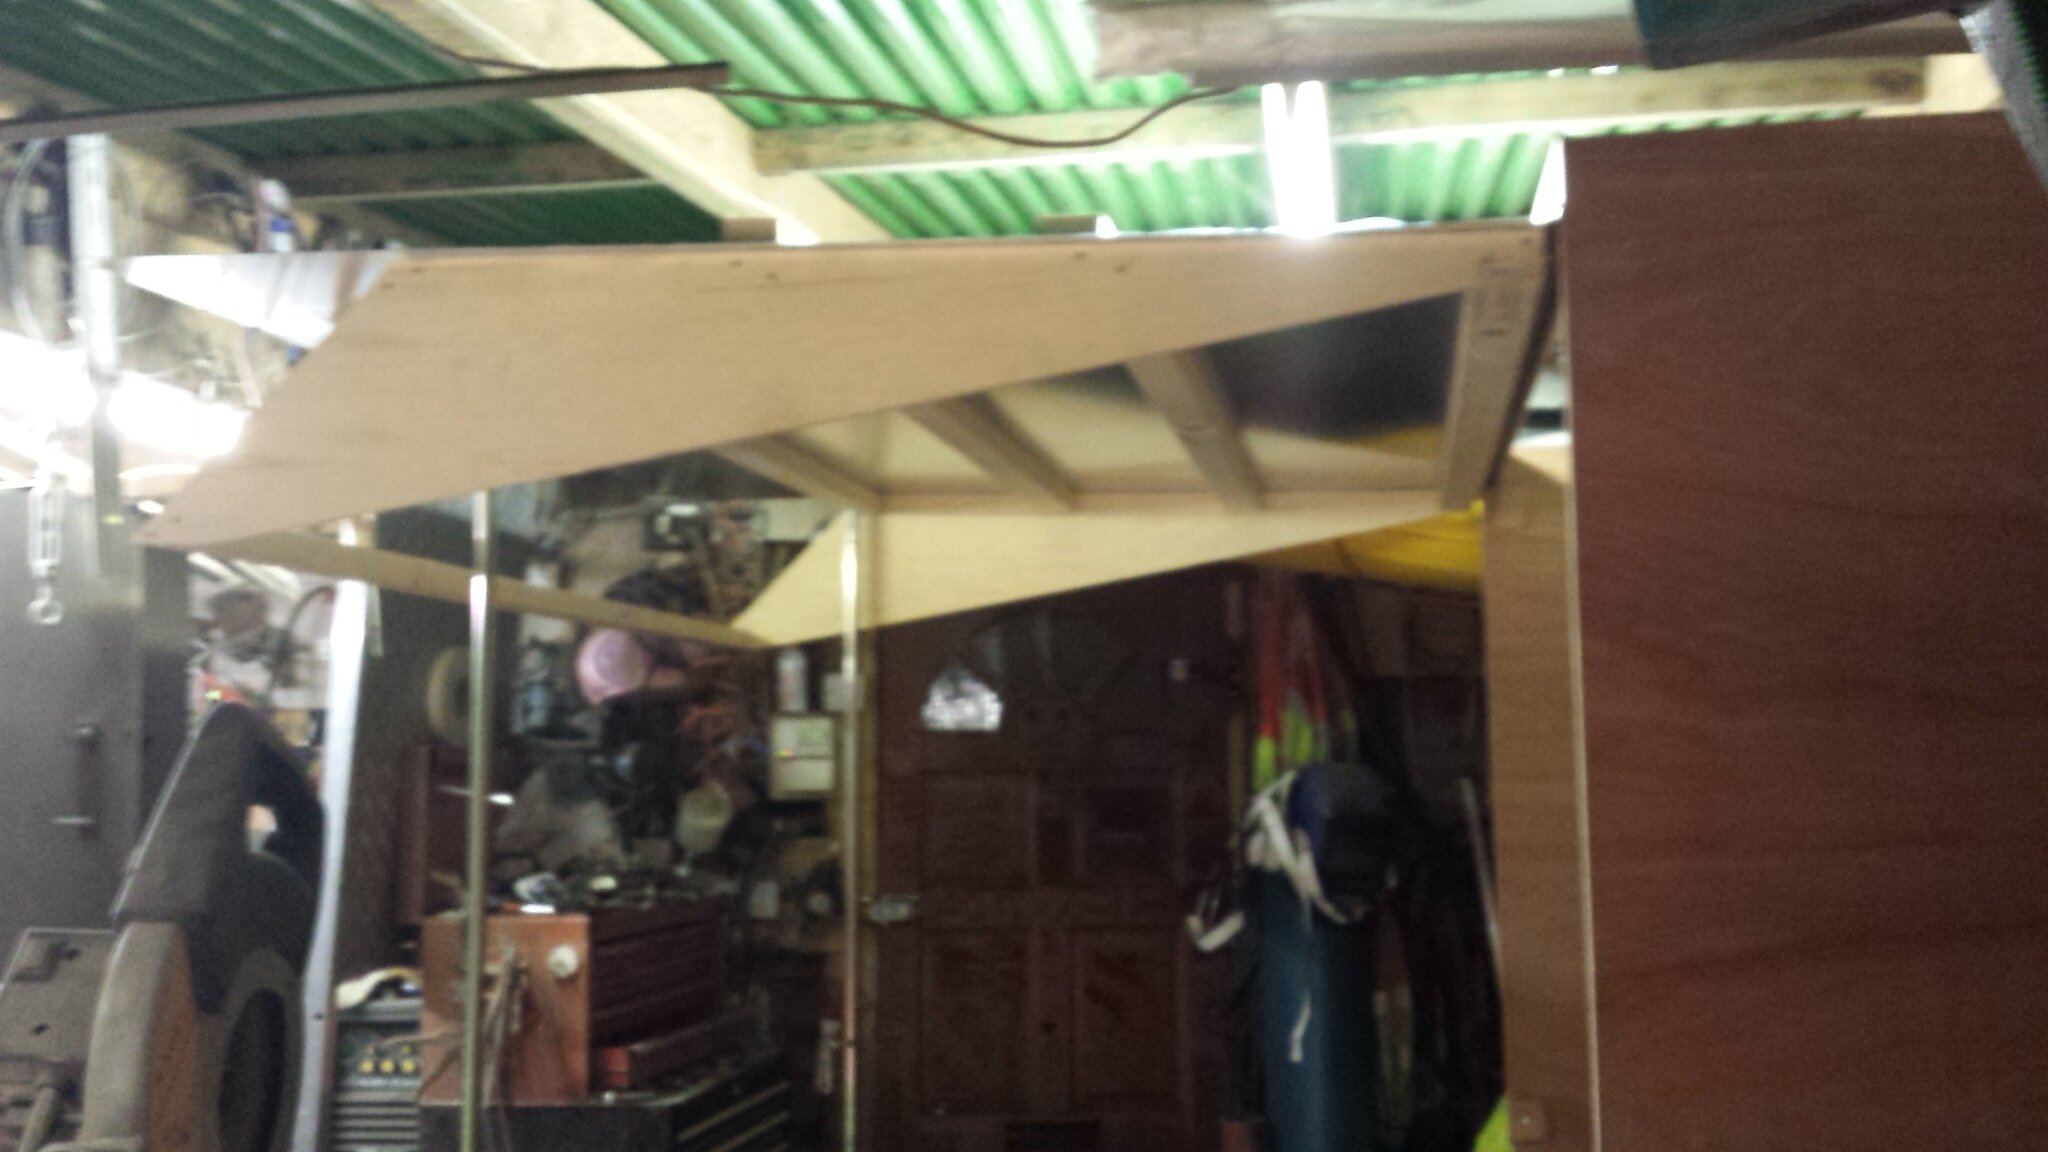
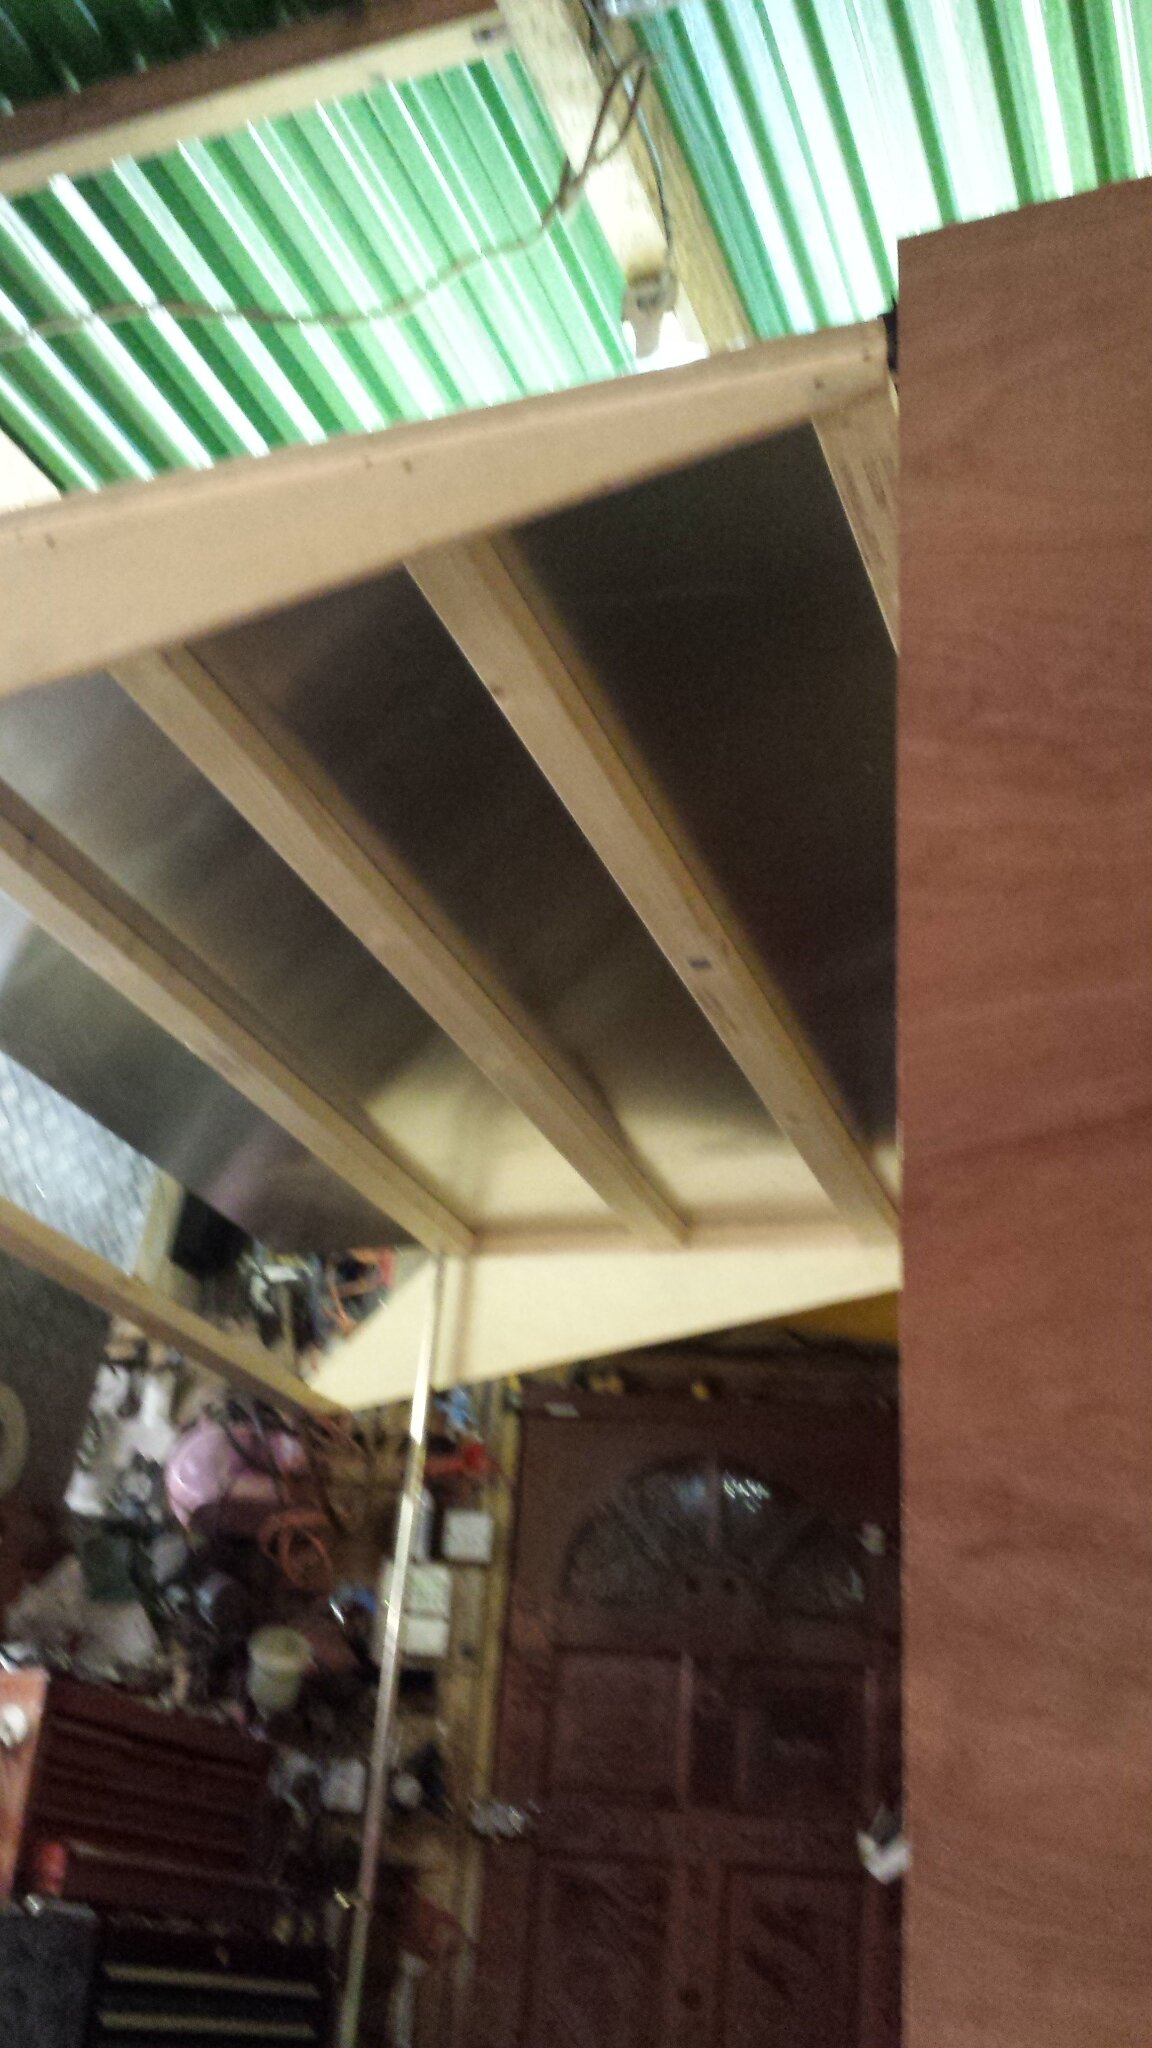
20140103_215416.jpg20140103_215426.jpg 20140103_215459.jpg

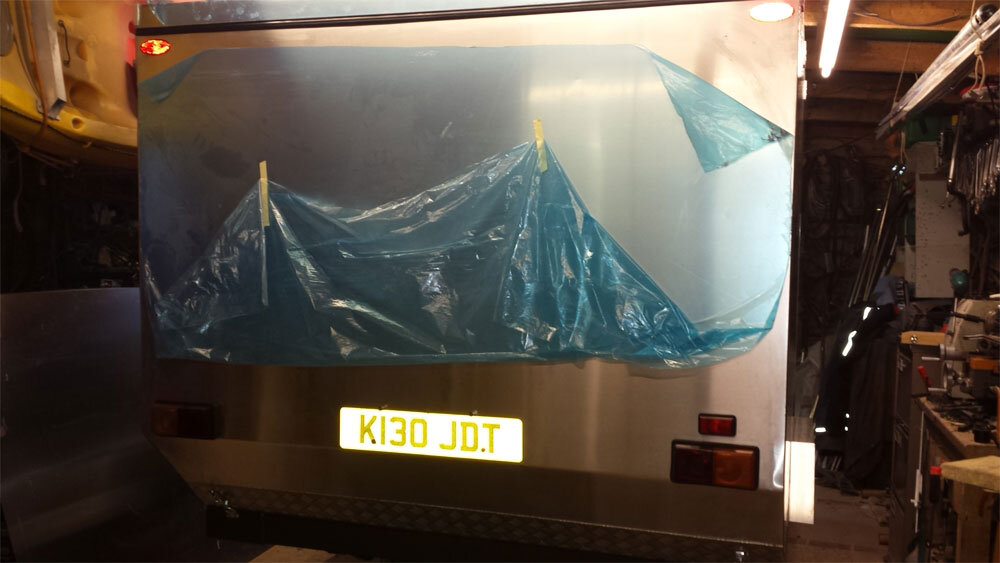
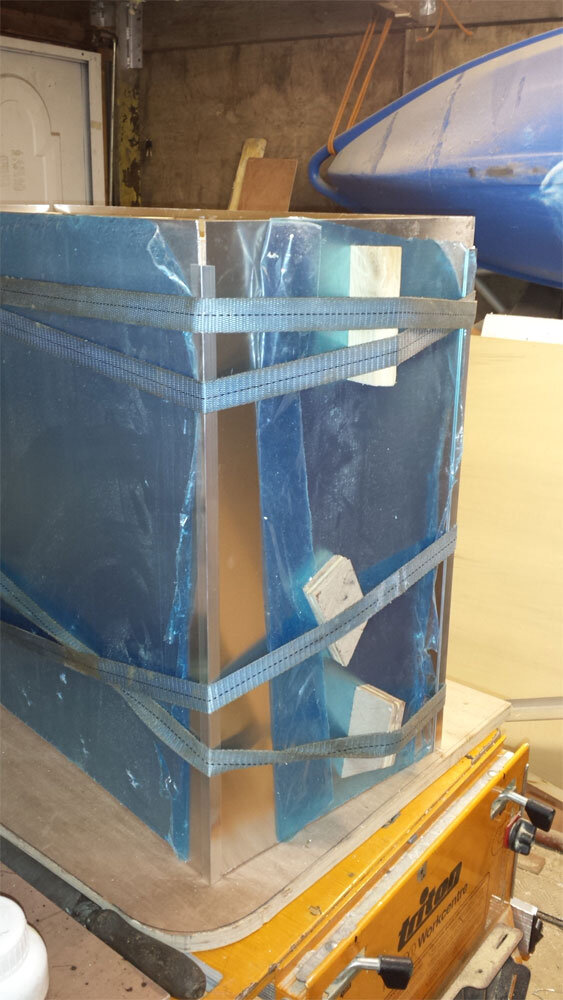
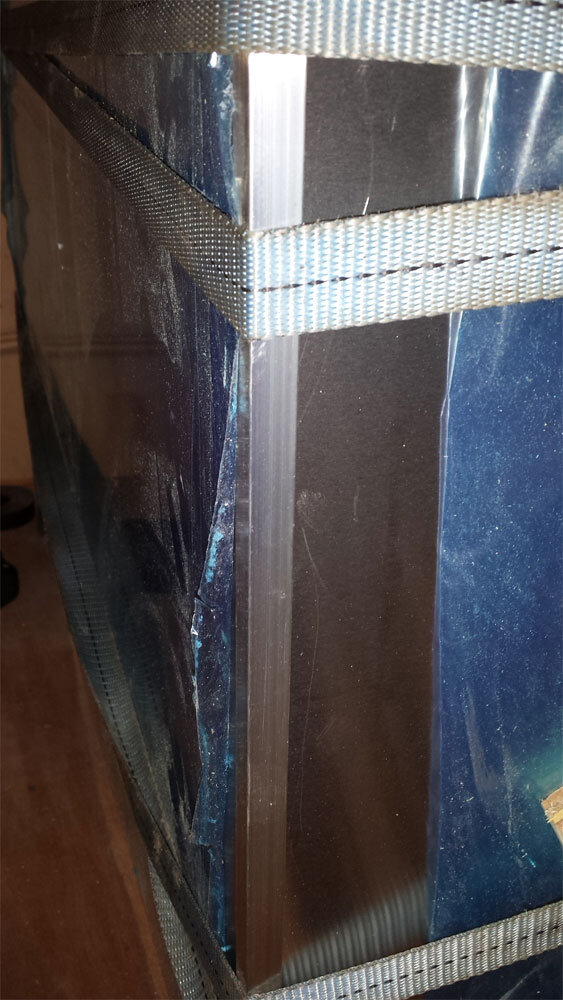
im using .9 ally sheet here, the blue colour is the protective coating, only costs a couple of pence, helps in a tight garage
i have only glued the top half as i have to bend the lower half manually when the glue goes off, its just a lot easier, keeps flex to a minimum,
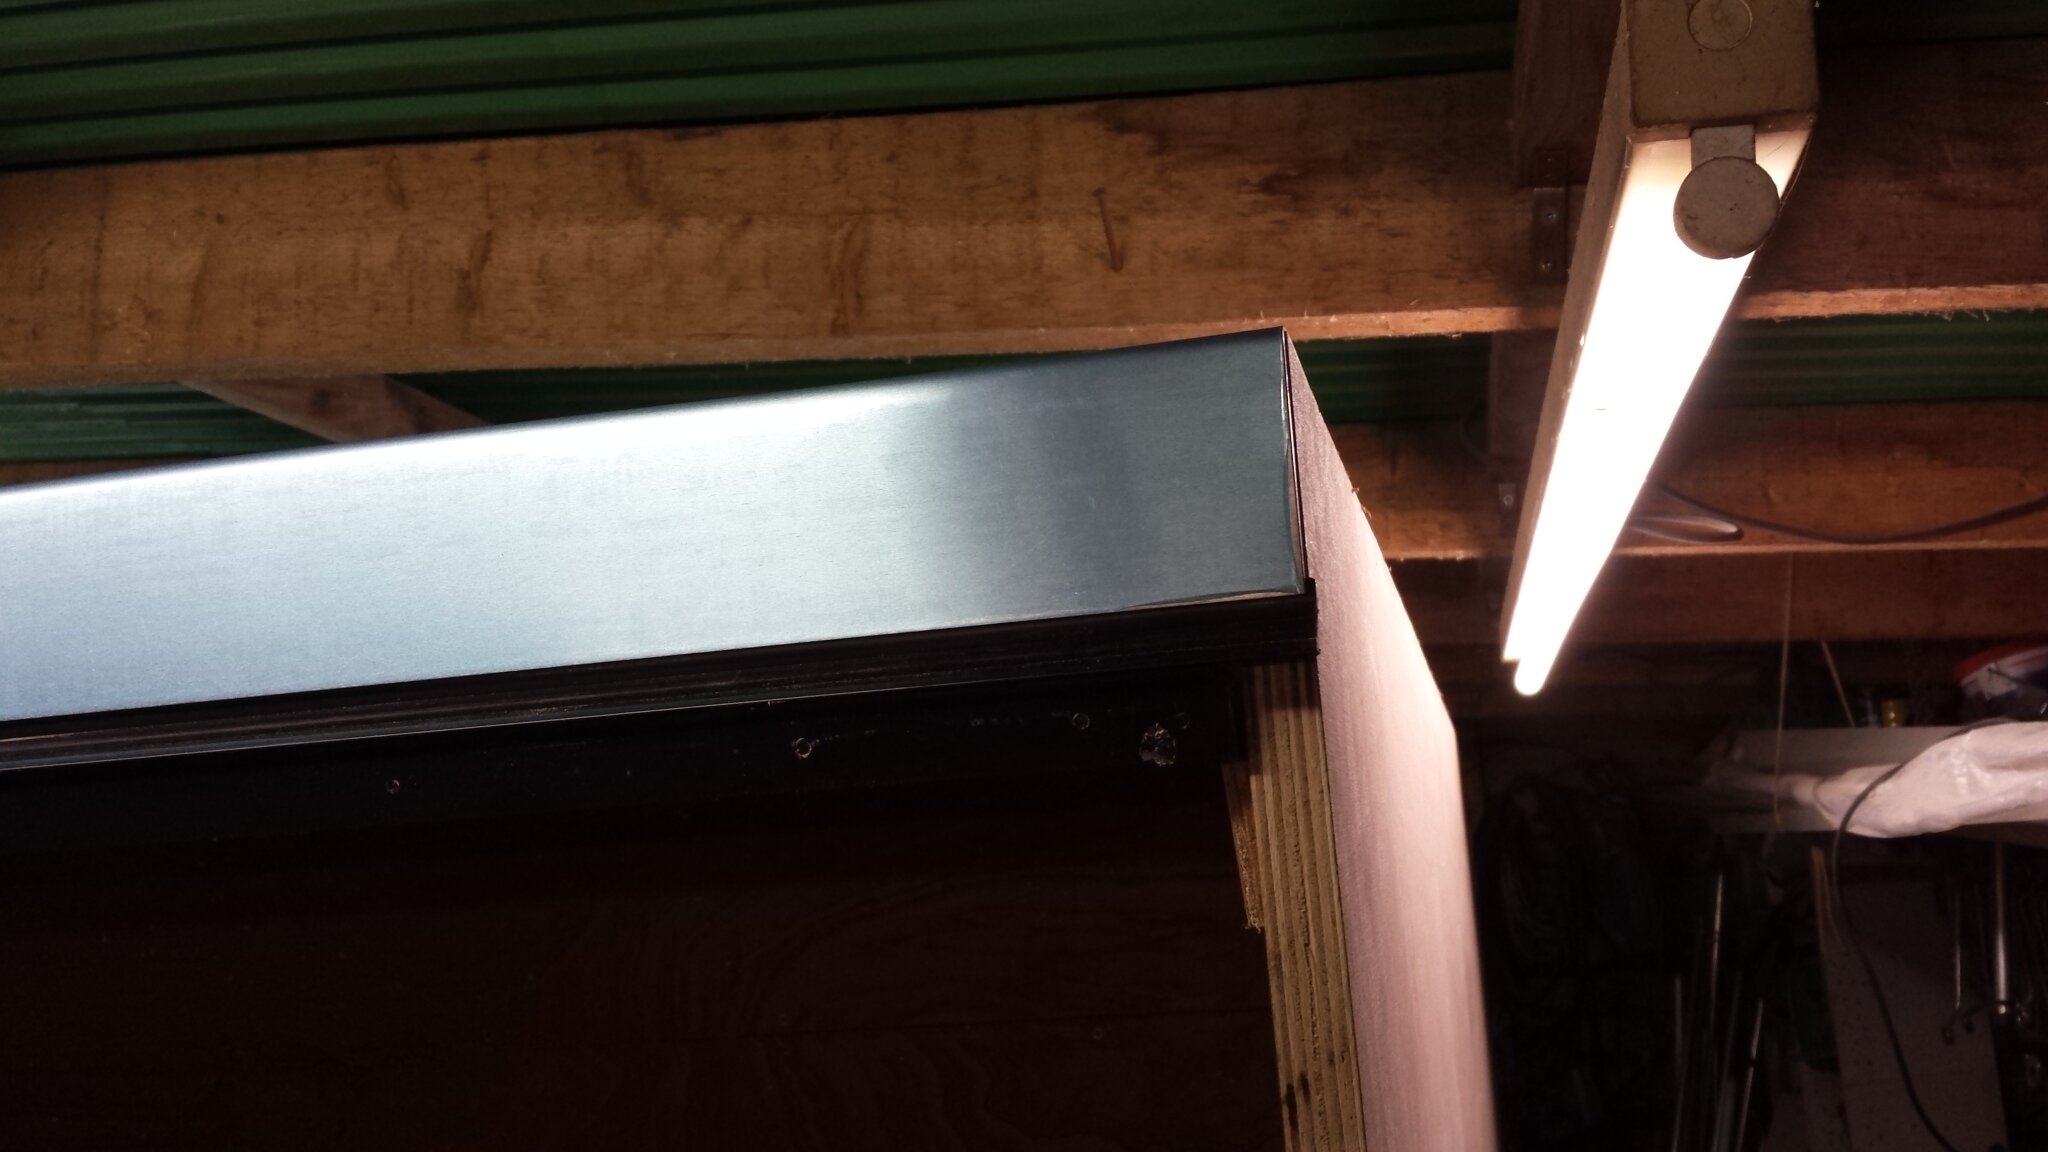
20140104_172232.jpg20140104_172241.jpg

this is the top sheet folded over 70mm and we have a 10mm overlap over top of the hinge, this bend had to be spot on as an deviation here throws it out on the opposite end of the sheet, should have took a pic i had 8 g clamps lined up for the bending
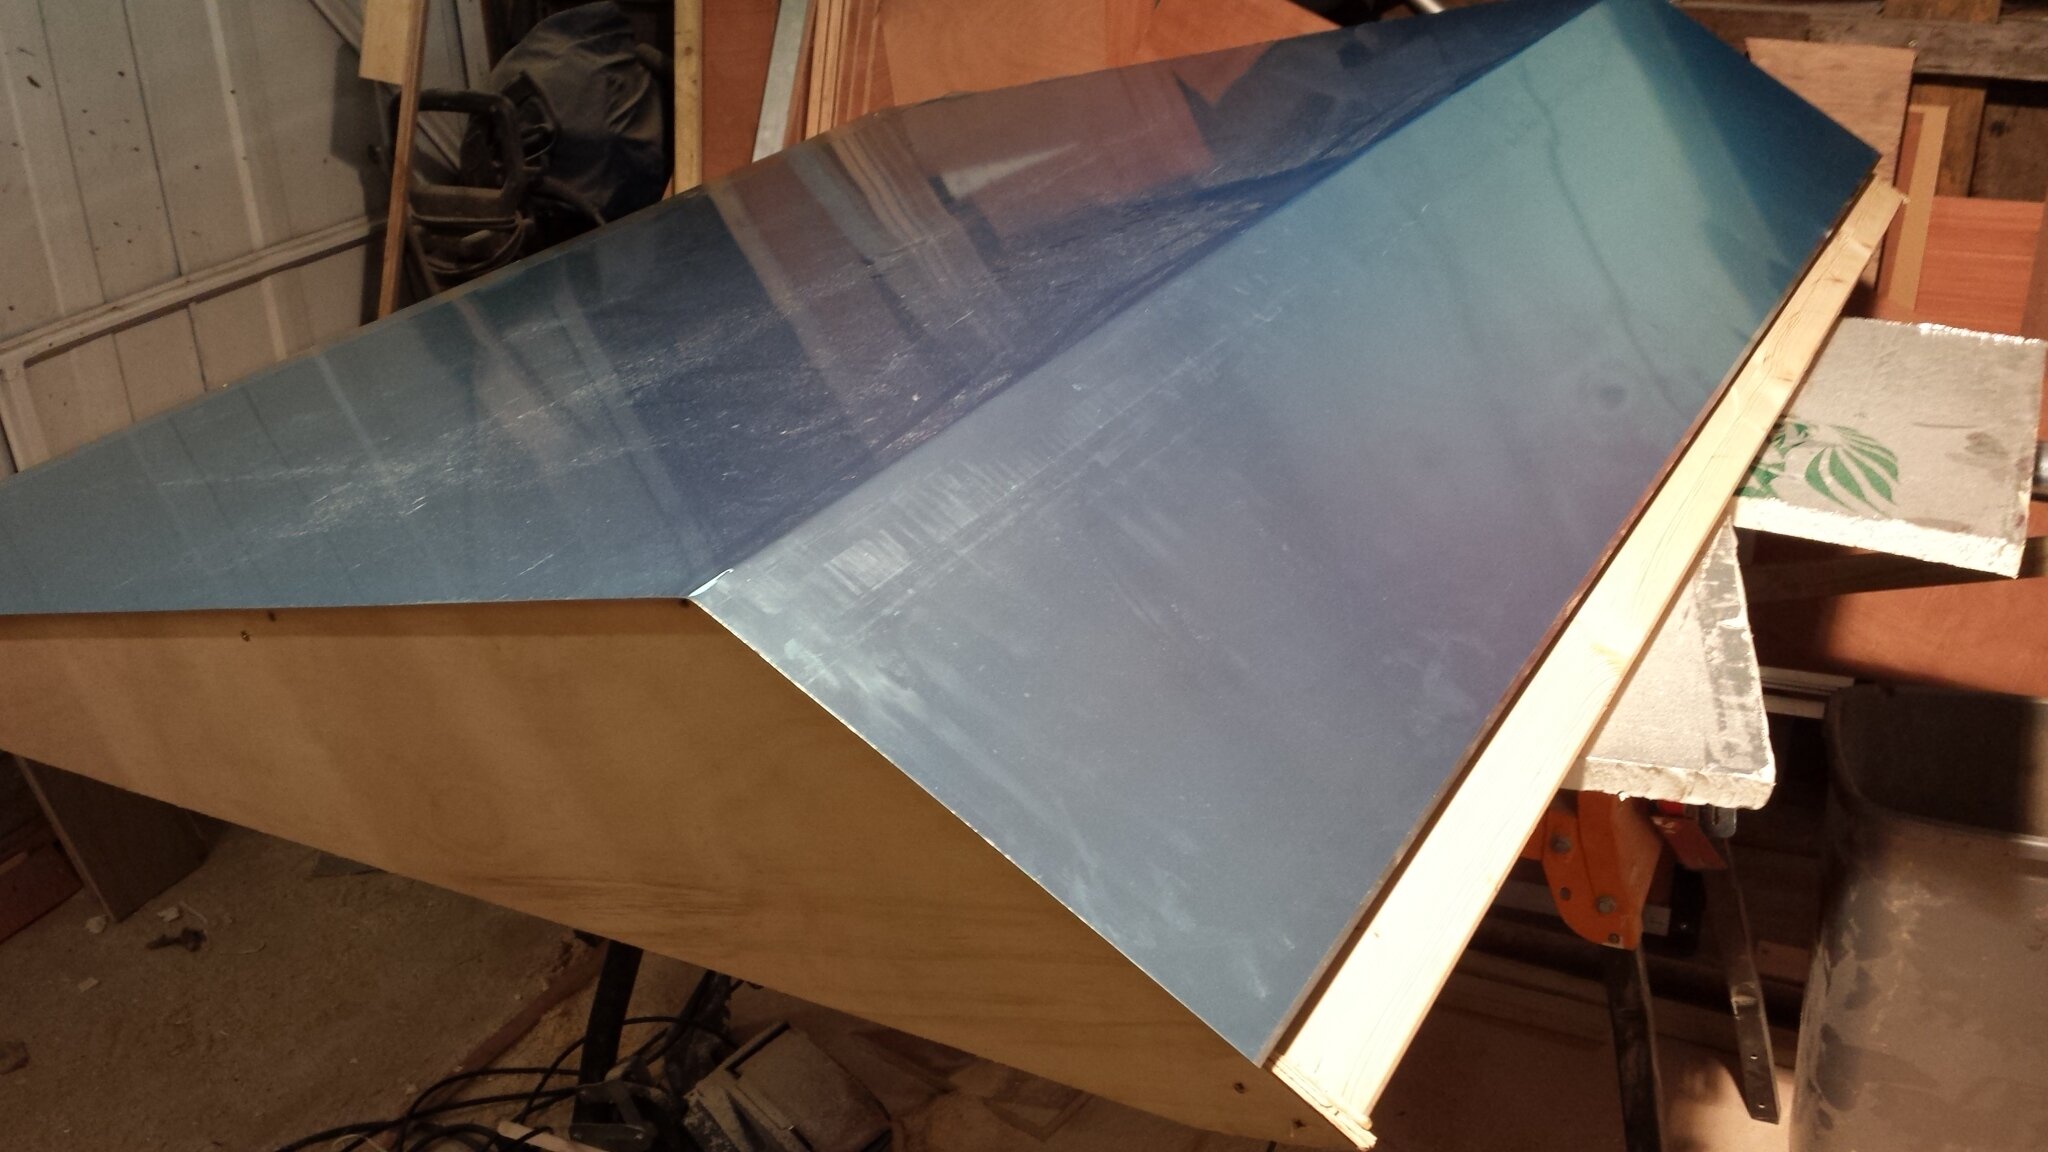
20140104_172259.jpg
i took the rear door off today and finished the bending, i know its short, but i have an 80mm drip strip to fit and clean it up
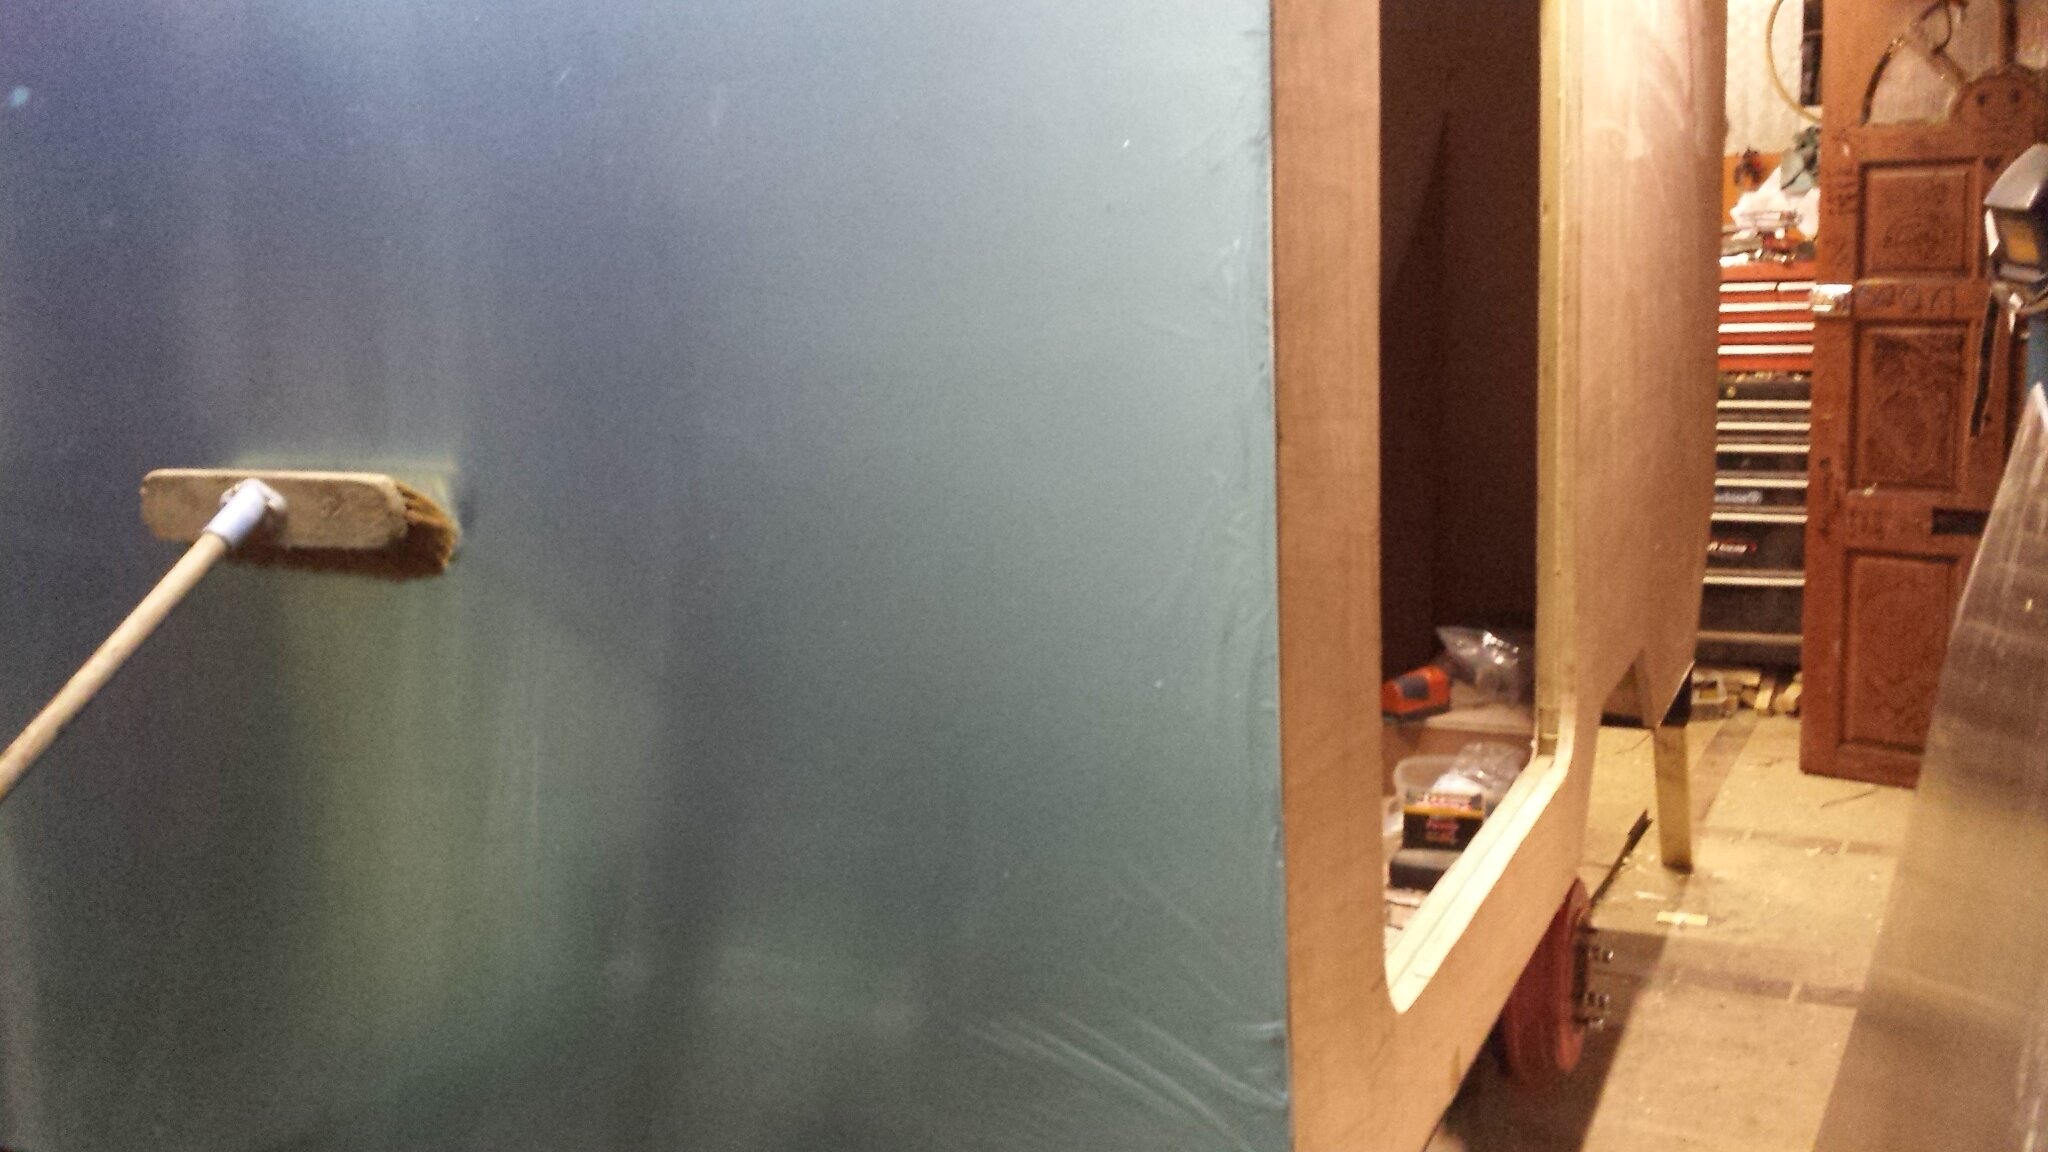
20140104_172148.jpg 20140104_172201.jpg

thats the front end glued , again only up to the first bend,
back to work on monday so things will be going a bit slower now,

catch you all later
 
Last edited:
hi all, well i have a small bit of progress.

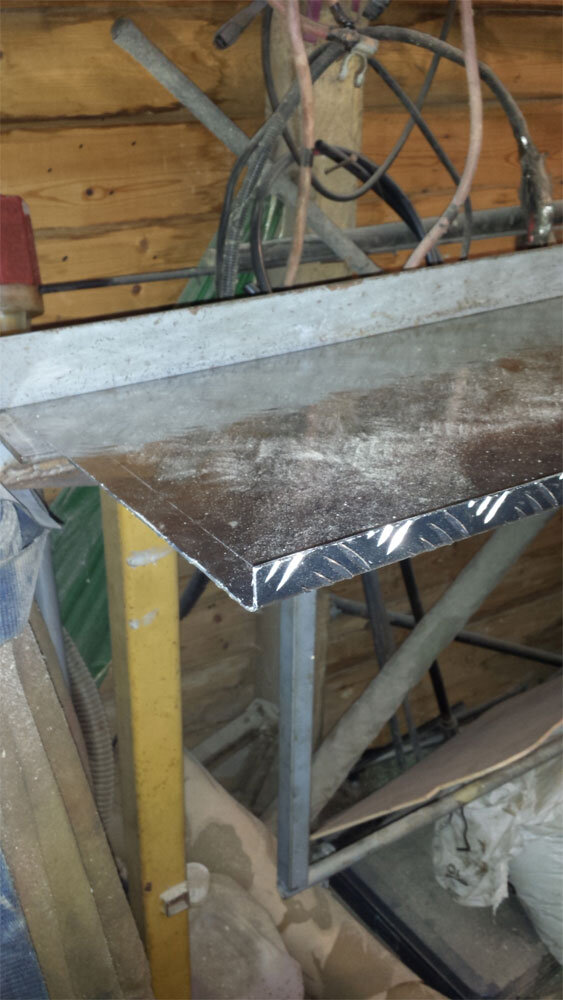
finished the trim on the rear door, i used a strip of ally checker plate 125mm deep, this extends just about 15mm below the ply floor, the reason is simple, any water runs off below all my woodwork, just another precaution

20140114_200641.jpg
the closed joint sits perfect
20140114_200747.jpg20140114_200717.jpg

just need to get hold of some over the centre catches fit the rear tail lights fit the interior light, and line the inside.

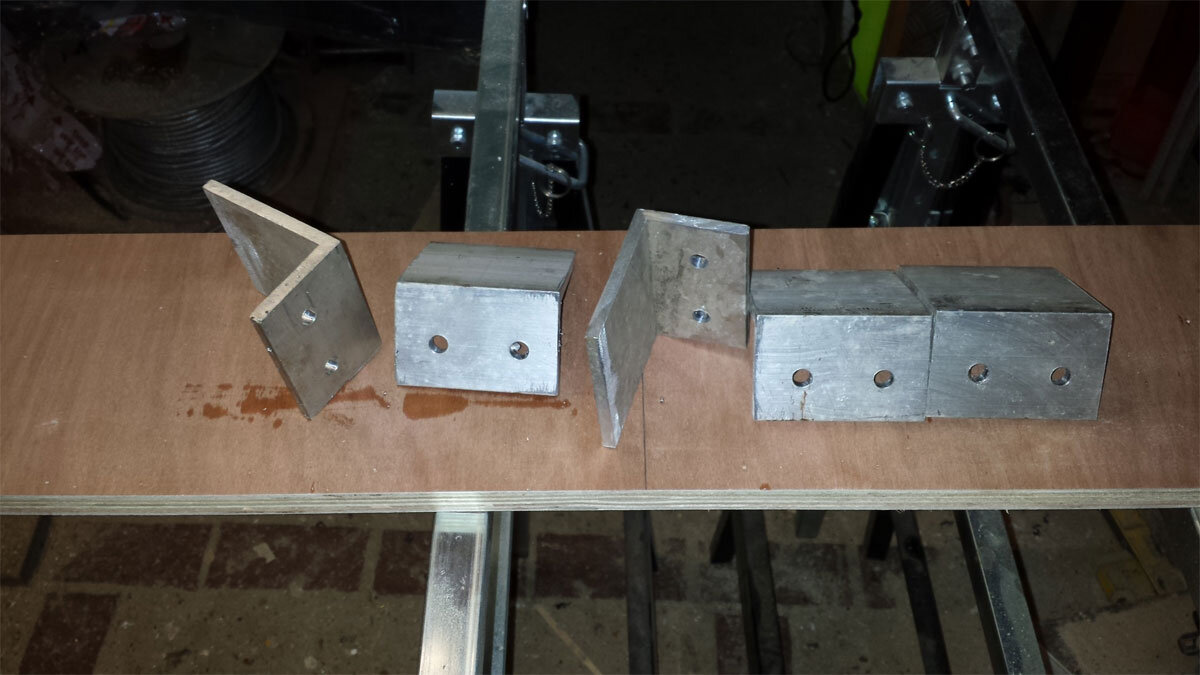
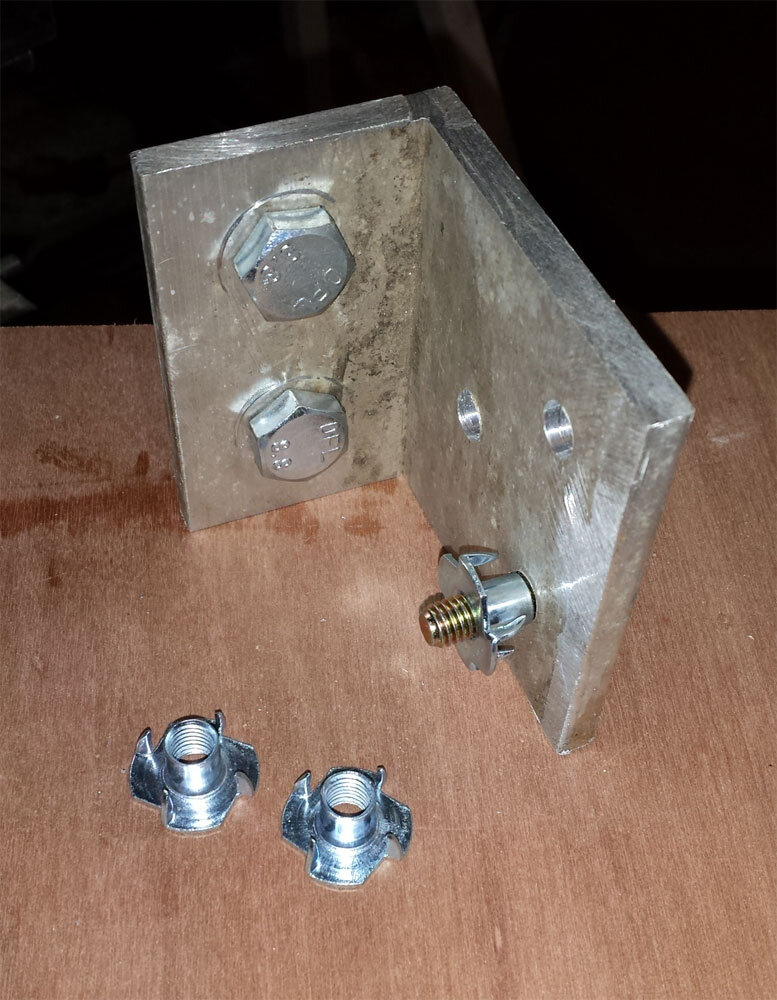
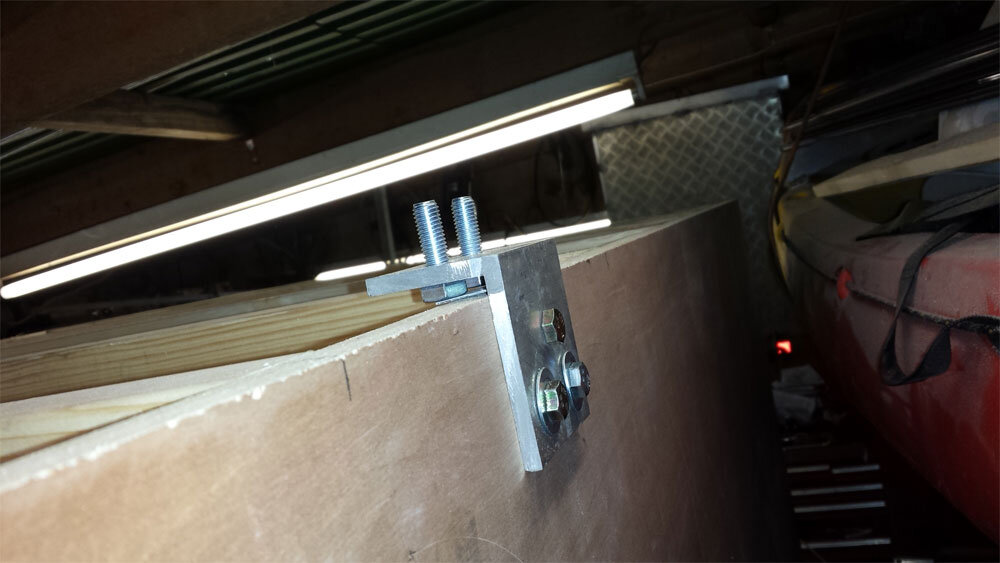
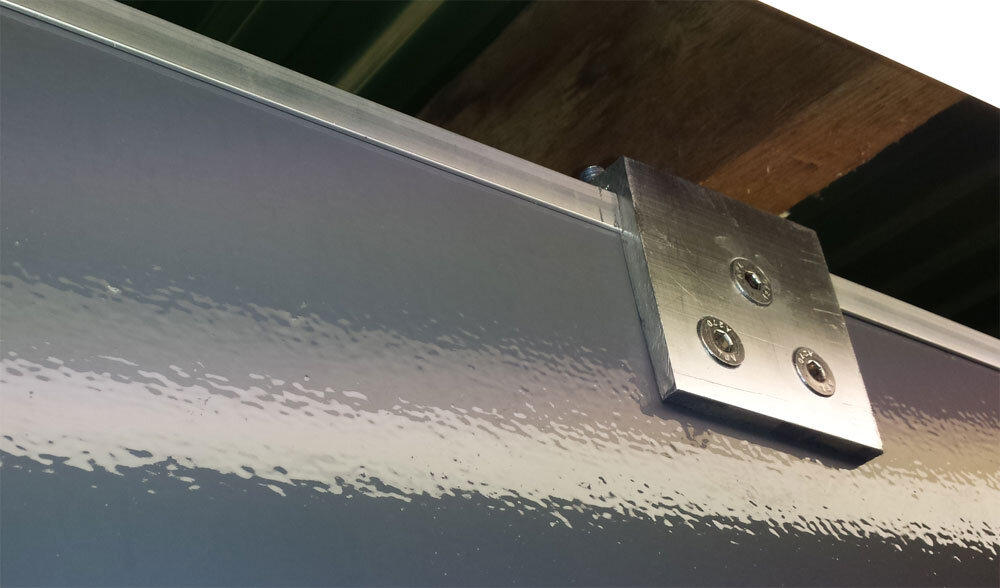
i want to carry some light equipment on top so im building a removable bespoke roof rack, i have a lenght of 75mm x 50mm x4mm ally channel for brackets and the spars

20140113_203355.jpg

i put 2 10mm threads into the top for the spar joint

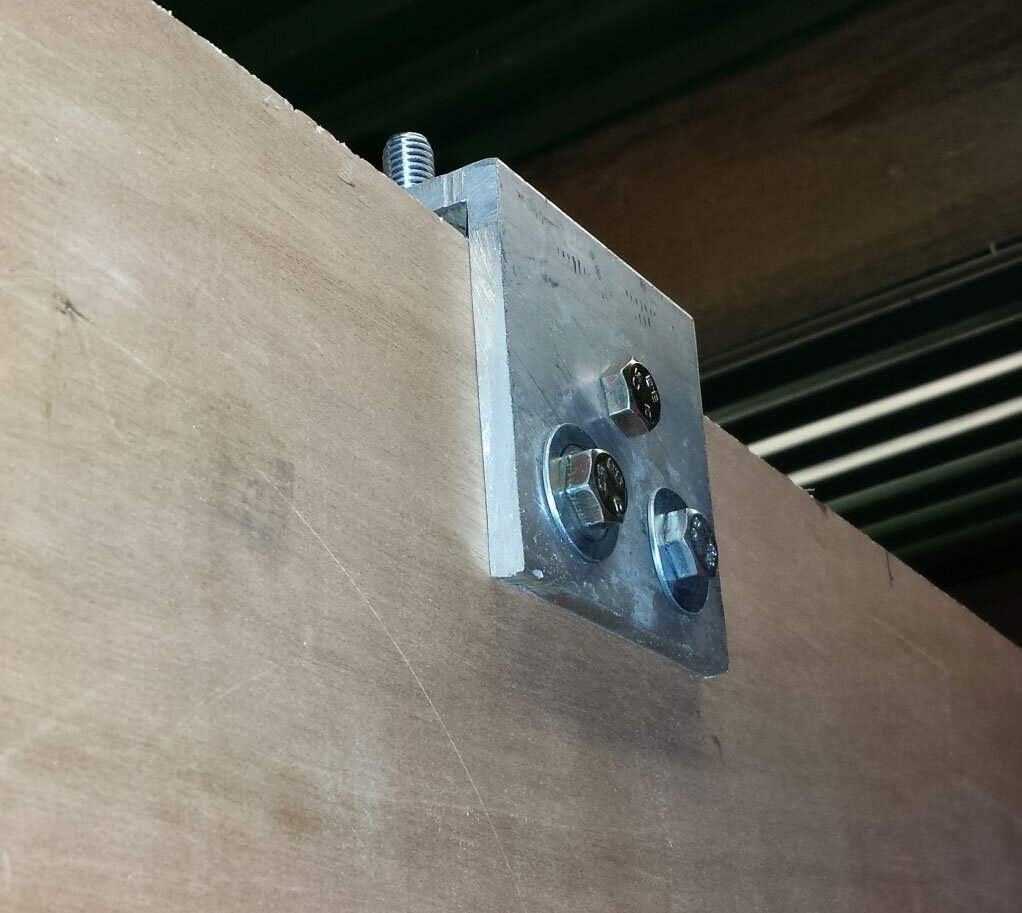
then went about fixing them to the walls using 8mm bolts and captive nuts on the back

20140114_194252.jpg

20140114_200513.jpg 20140114_200519.jpg

these bolts are temps, im going to use allen head bolts which look a lot better
now that the captive nuts are fitted i can get on with the insulation in the roof then fit the ally skin
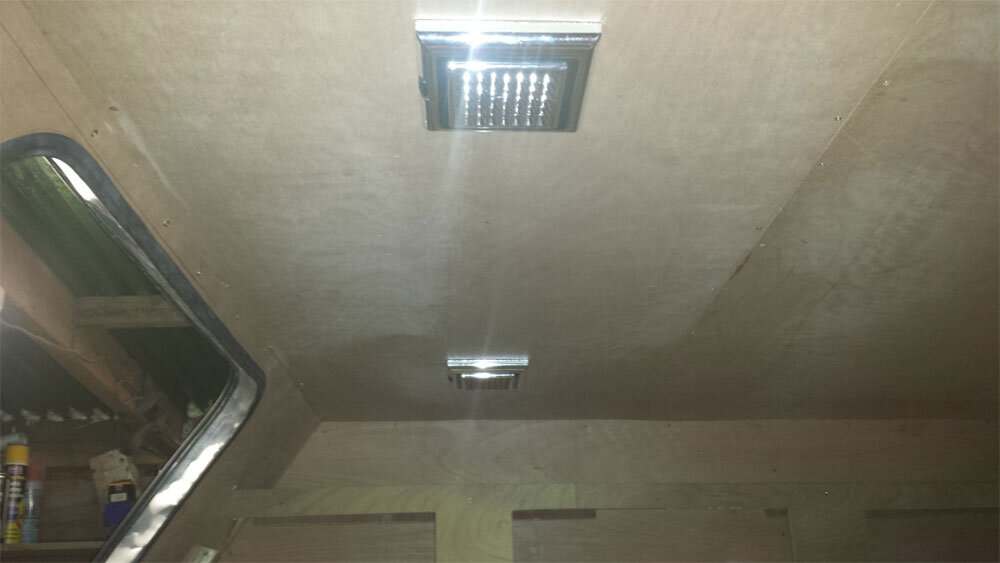
the wirings in for the two cabin led lights and the phone chargers,

kitchen next i think.

catch you all later
 
hello all, well im very busy at the moment and im not getting the hours in to get this camper out of the garage, maybe its not a bad thing the way the weather is at the mo.

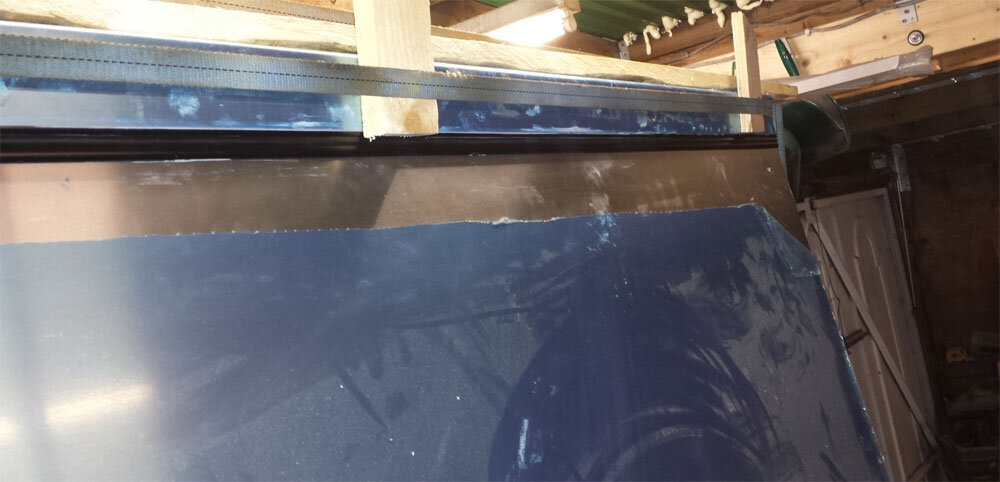
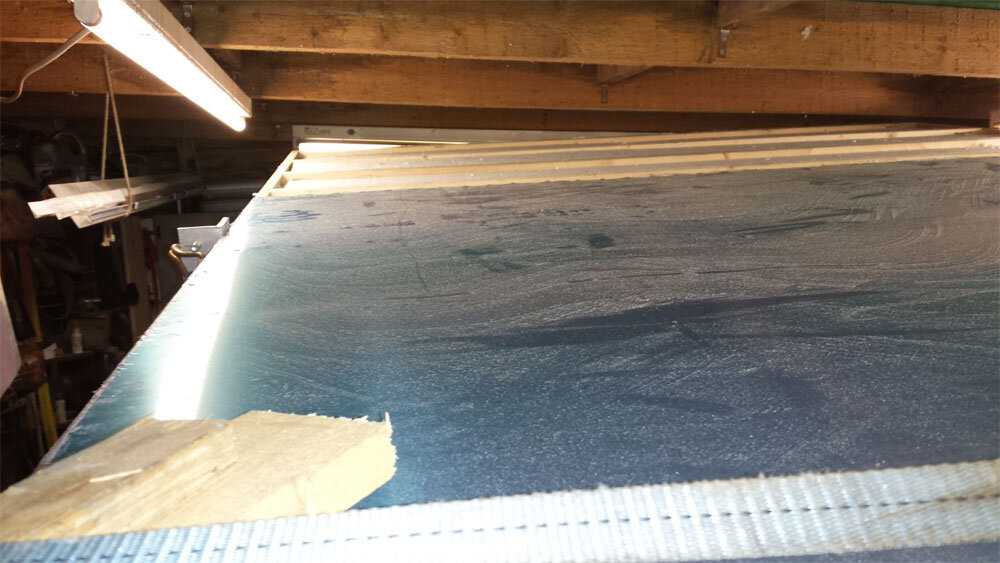
so were am i, ah yes, i have started on the roof sheets , this was very difficult due to the high roof, again these were pre bent and glued with sikaflex then strapped with some old cargo straps just to keep the pressure on
20140117_185401.jpg

20140117_185409.jpg
there are no rules how you achieve this, just as long you get to the same result

20140117_185421.jpg

the roof is covered with 2 sheets bonded in the middle, the sikaflex is a good product really pleased with it
20140117_194759.jpg
this is my new window opening, wasnt happy about the joint half way up, its got a healthy dose of sikaflex so it should not be a problem, so paul keeps saying

20140117_201216.jpg

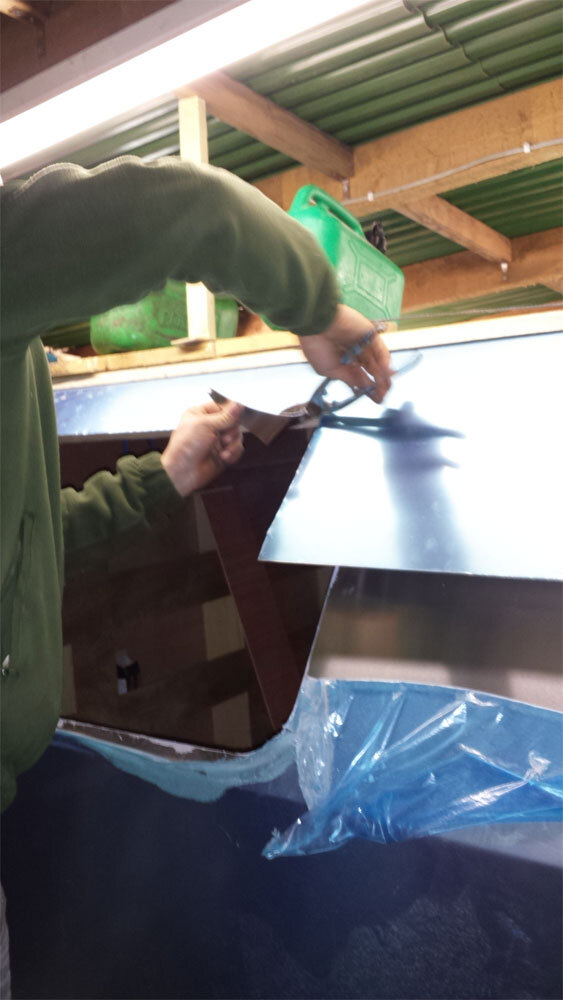
pauls appearance, just cutting the excess off, and belt sander to finish

20140119_192856.jpg
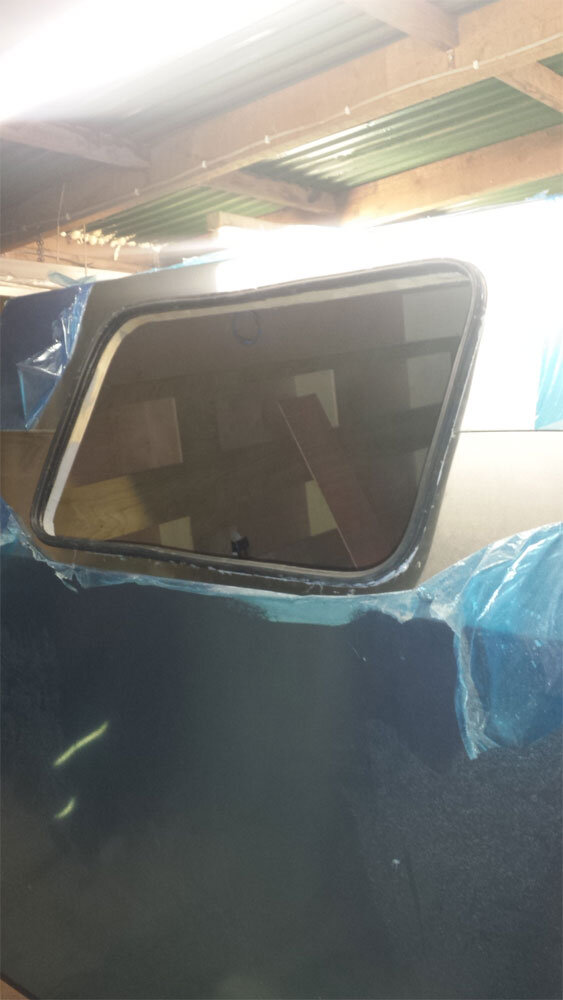
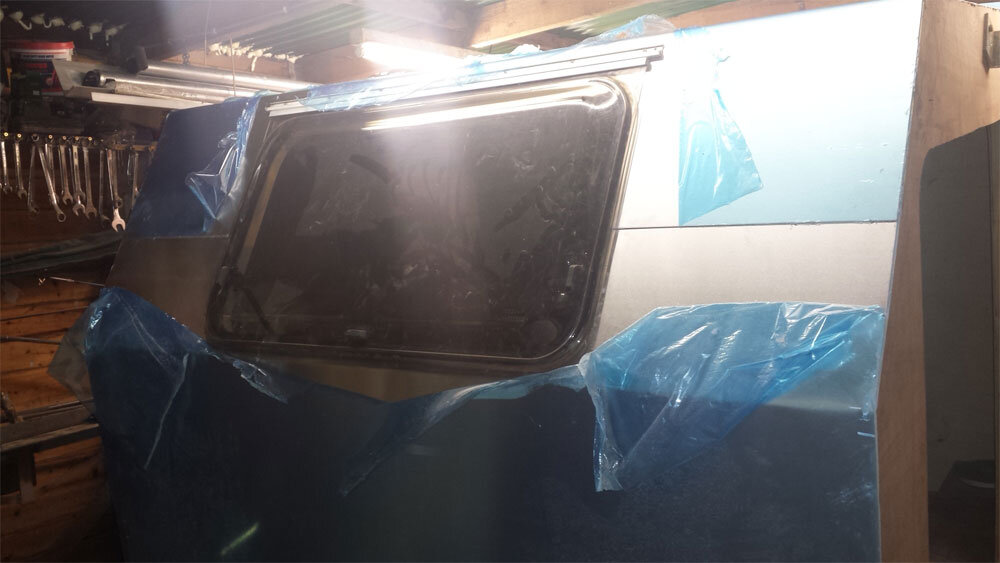
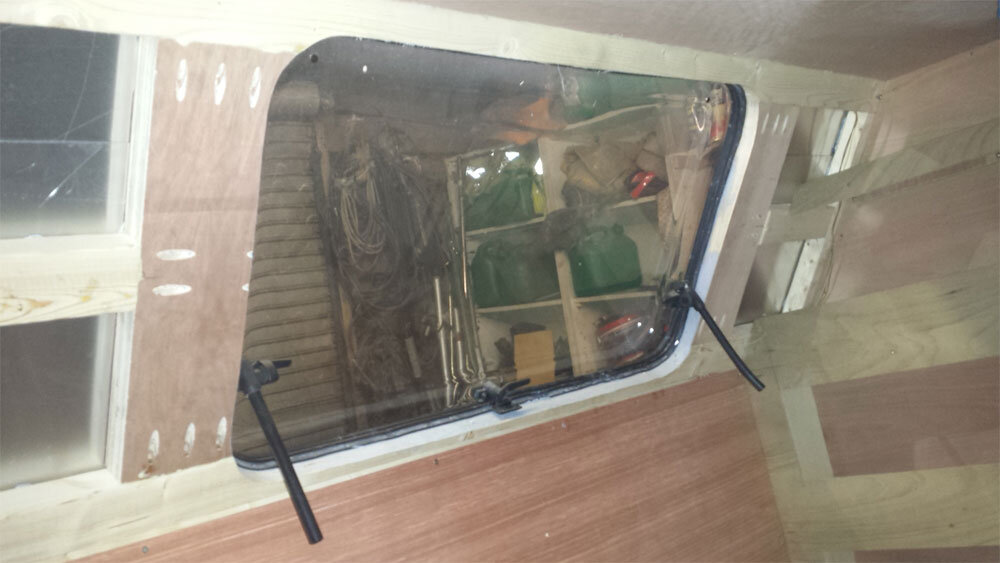
im using a caravan window, 900mm x 500mm , these are so easy to fit, i managed to find a complete piece including part of the original caravan wall, so i had a template also, again sikaflex around the rubber

20140119_203704.jpg

20140119_203721.jpg

just got to get hold of some internal trim to finish

20140121_195836.jpg
wasted a hour making the brackets for these over the centre catches, they are just to big

20140121_204247.jpg
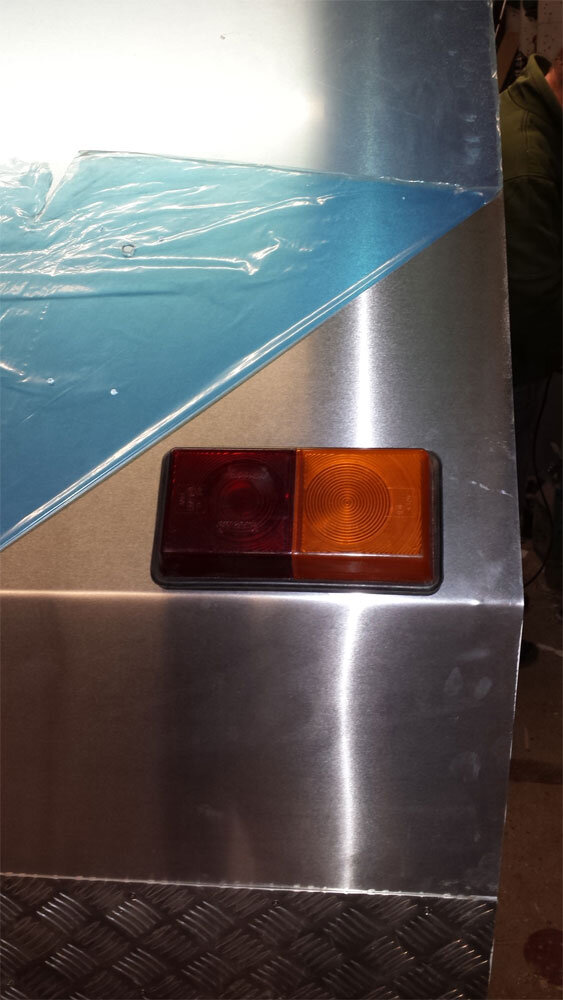
these are rubber rear lights, still not sure about them, then again which ones do look right, im fitting an led light into them.

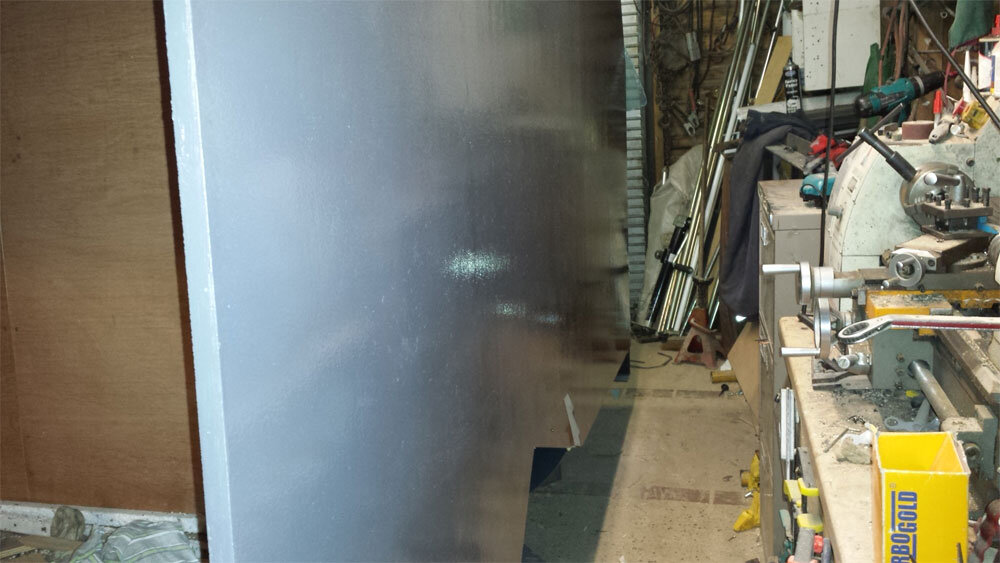
and to finish i have applied the first coat of paint, ( international boat paint ) in grey, i have a 2.5 litre tin so i should get 3 coats
20140123_202044.jpg
im sure i ordered the matt, this looked a bit shiny. i have not seen it dry yet.
well that's me till next time
 
Last edited:
hi all,
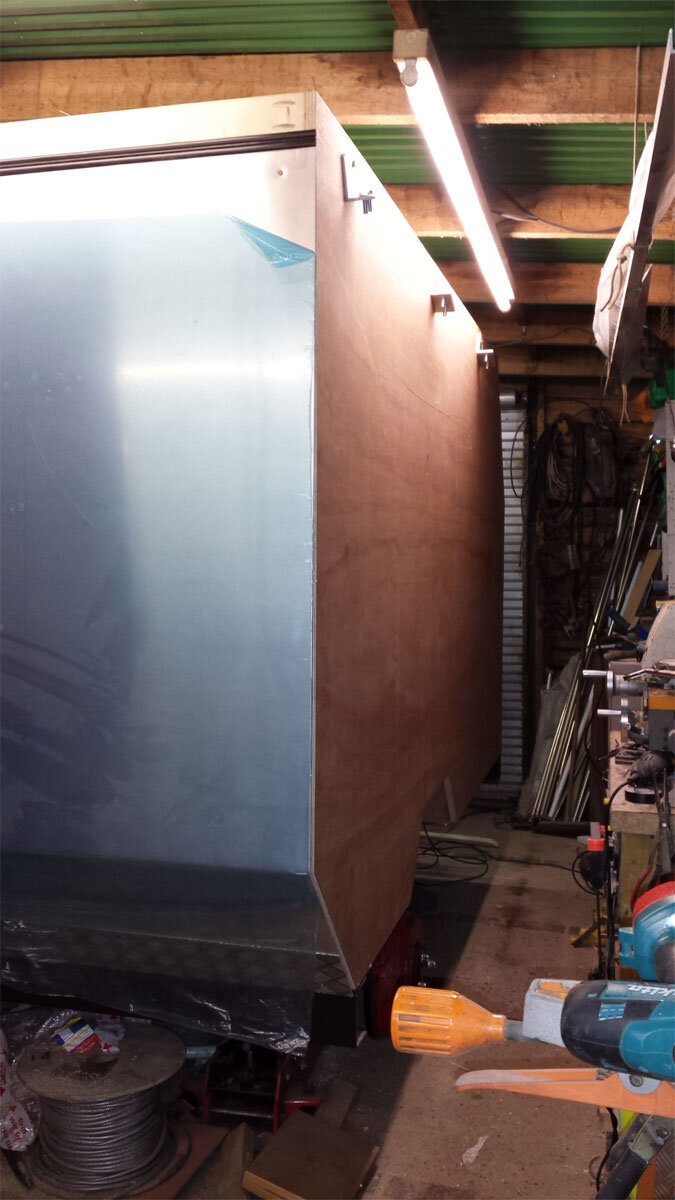
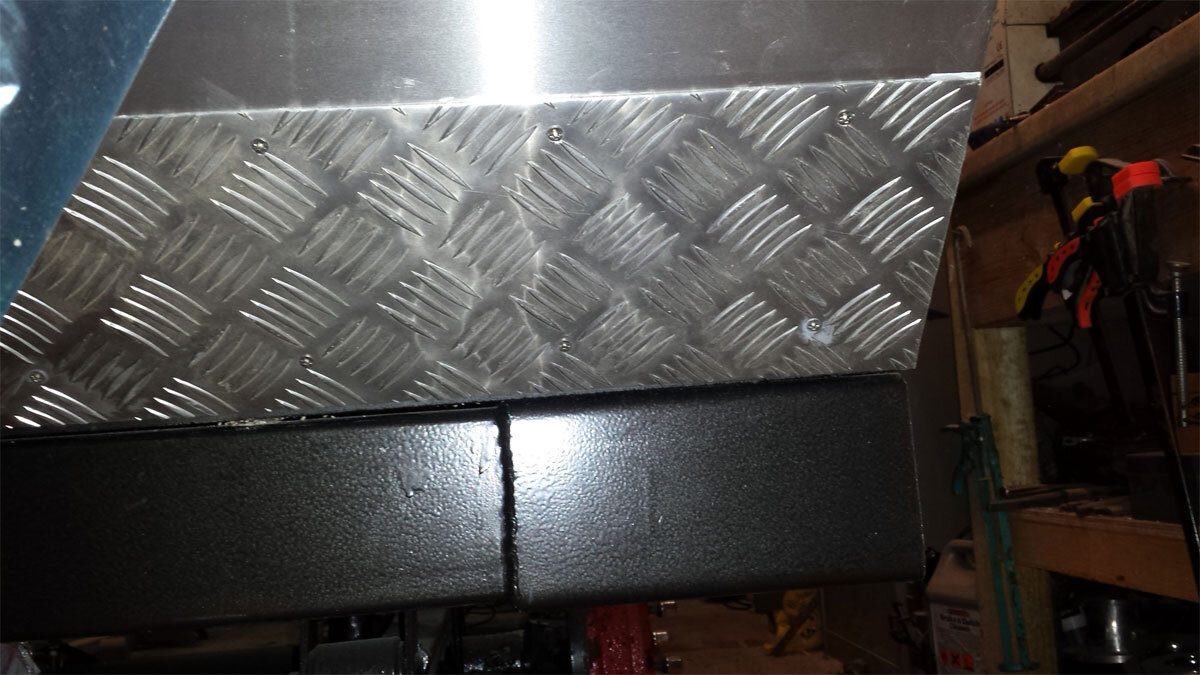
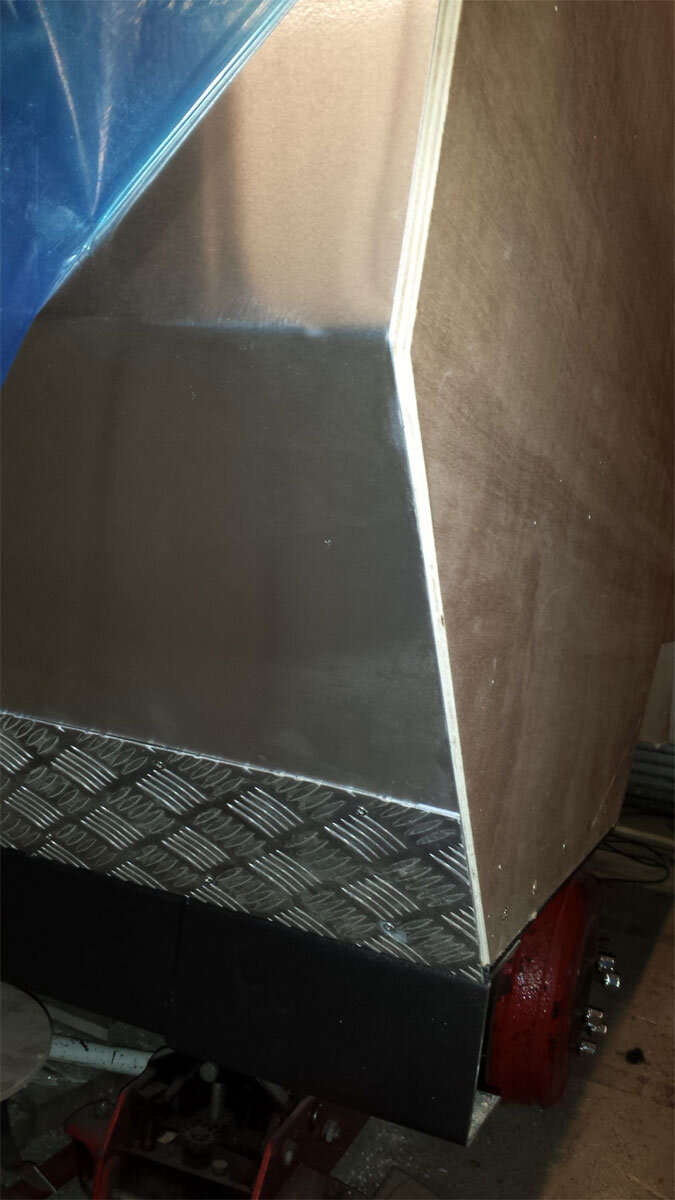
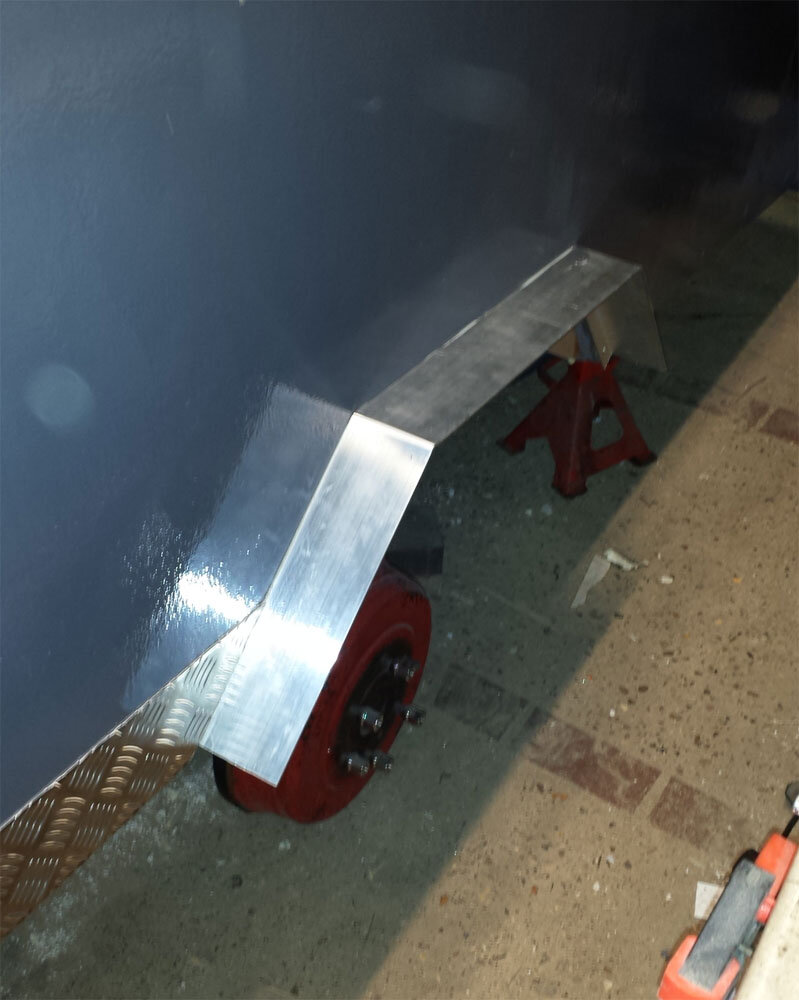
started on the exterior trim and the wheel arch's today, purchased some 1/2 x 1/2 x 1/16 a length of 3" x 1" x 1/8 ally angle and a sheet of 5 bar checker plate, cut to 100mm x 2.0m lengths

used the 3x1 on the arches, in one piece , mitred, folded screwed and glued
20140130_213051.jpg
im going to fix a short mud flap to keep some of the crap off the walls

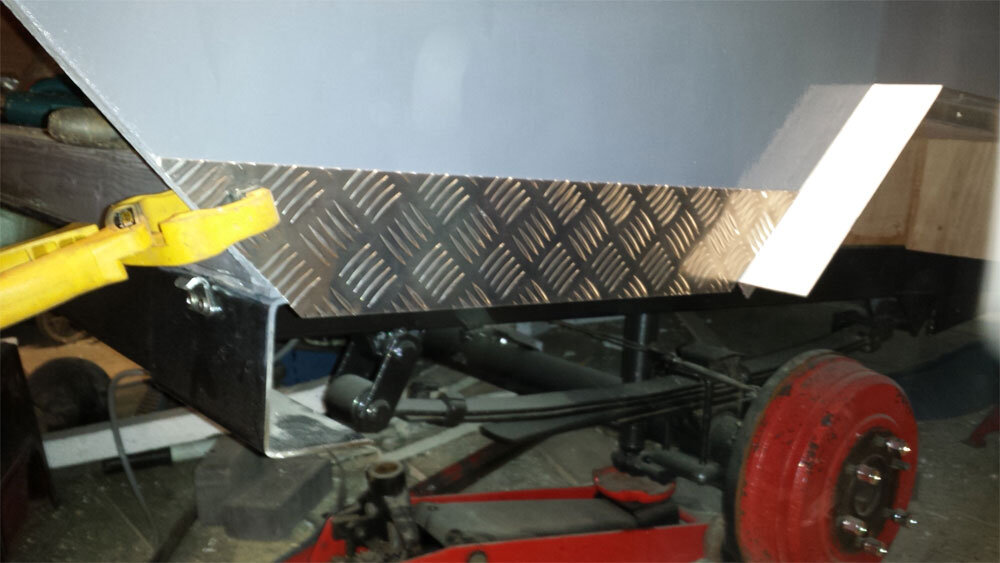
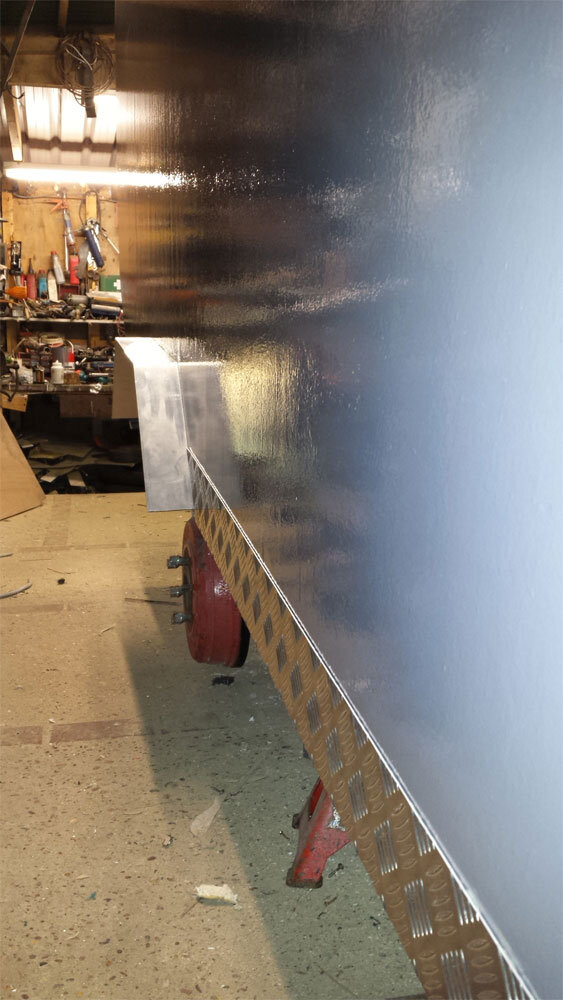
now on with the lower trim, this has been fixed 12mm below the floor as a sought of drip edge, keeps the water away from the floor.
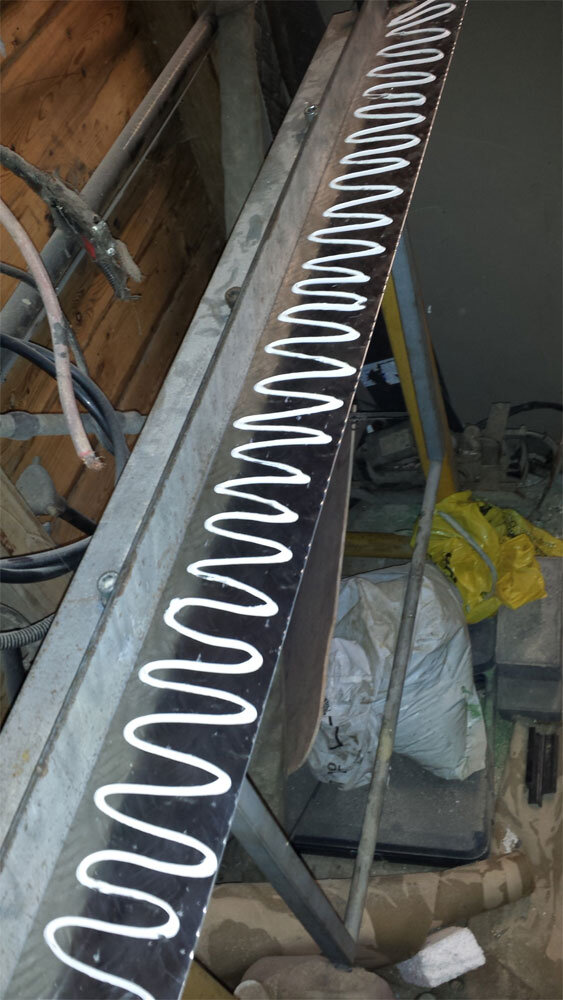
20140130_213107.jpg

20140201_154448.jpg

20140201_141232.jpg

again no fixings just sika stika flex

20140201_141249.jpg

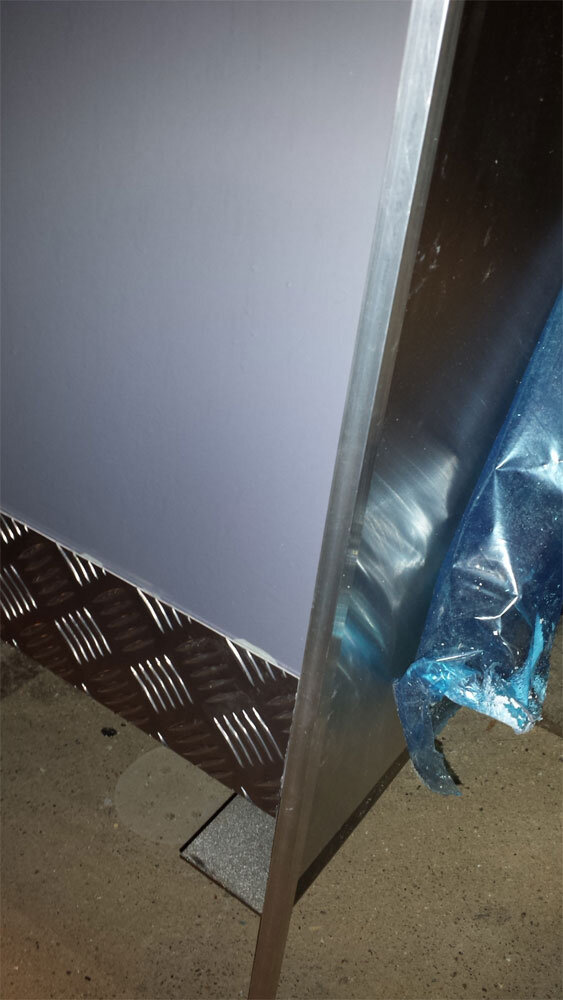
the small trim is a pain but worth it in the end its also a second seal for the ally sheet and the plywood wall.

20140201_135400.jpg
im still not sure on the colour and the paint, i have been looking at alternatives alreadys

20140201_162011.jpg

refitted the roof bar brackets with the new allen head bolts, very good, and started the trim between, again these are just glued

20140201_161858.jpg

20140201_161912.jpg

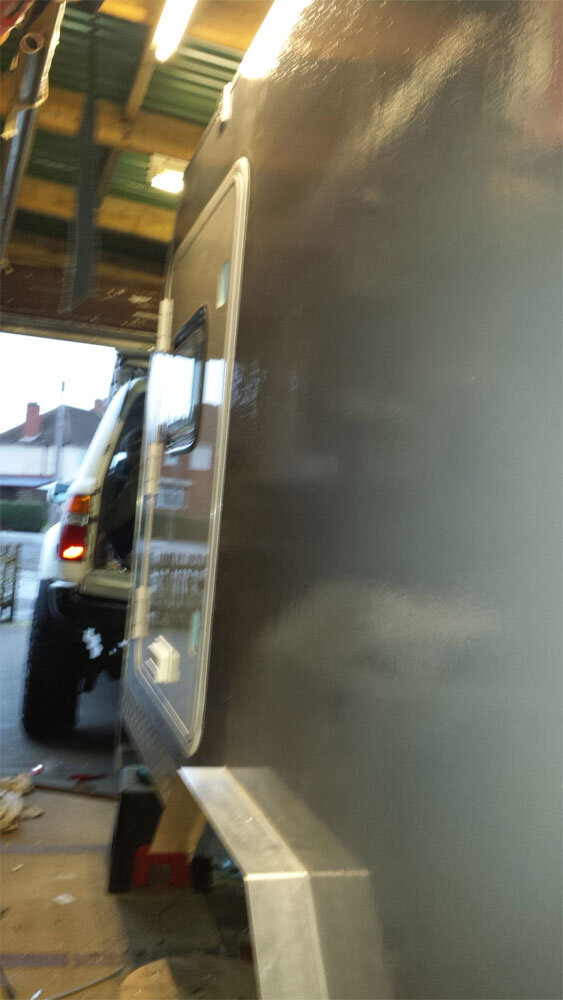
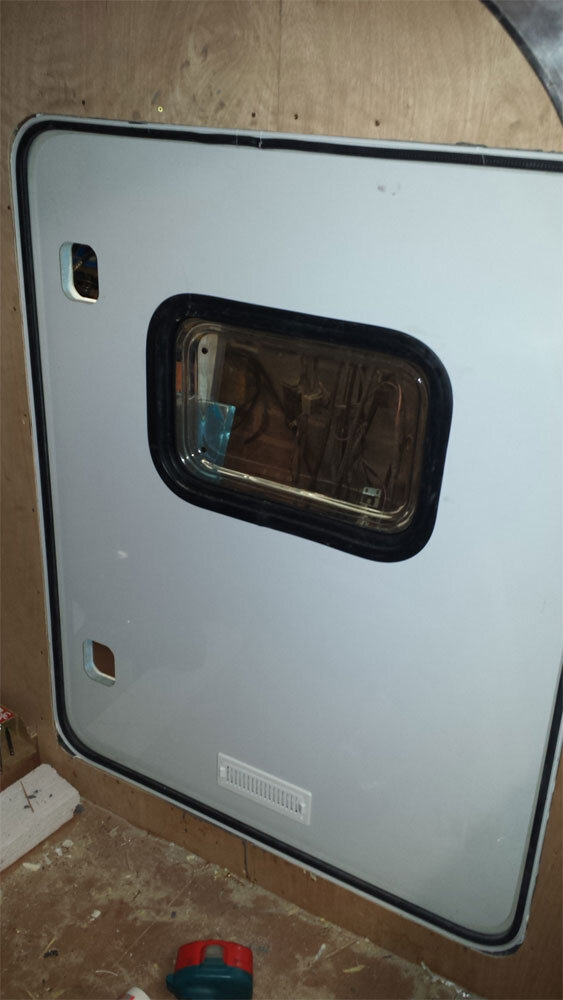
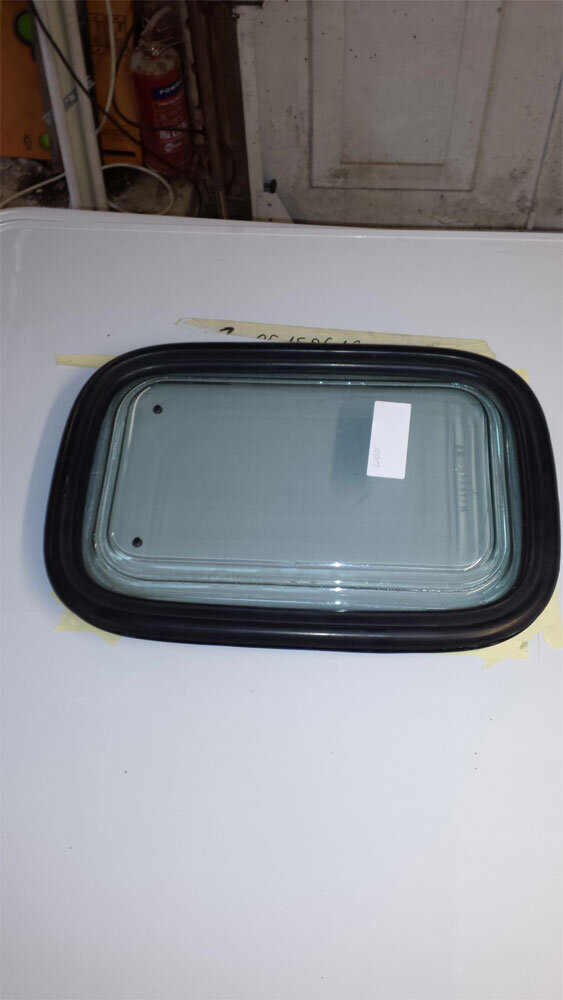
started to fit the window into the door, not for the faint hearted already broke one

20140126_152355.jpg

these doors are from a motorhome side locker, the window is a must,

20140126_154536.jpg

20140126_152427.jpg
i only put this pic in as forgot to get one with the window installed

20140201_164422.jpg

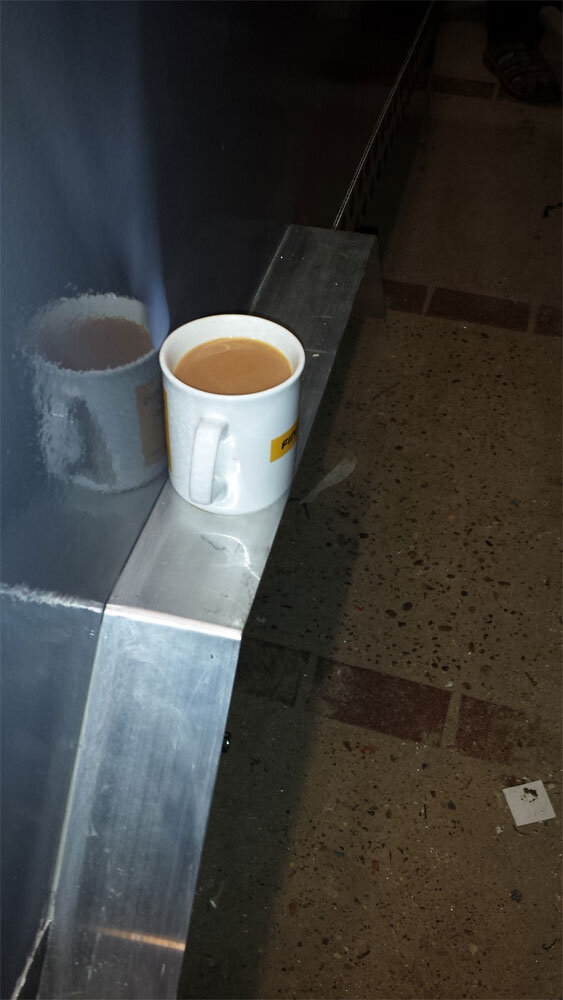
yes the cup fits perfectly, this is the reason for the build. lol

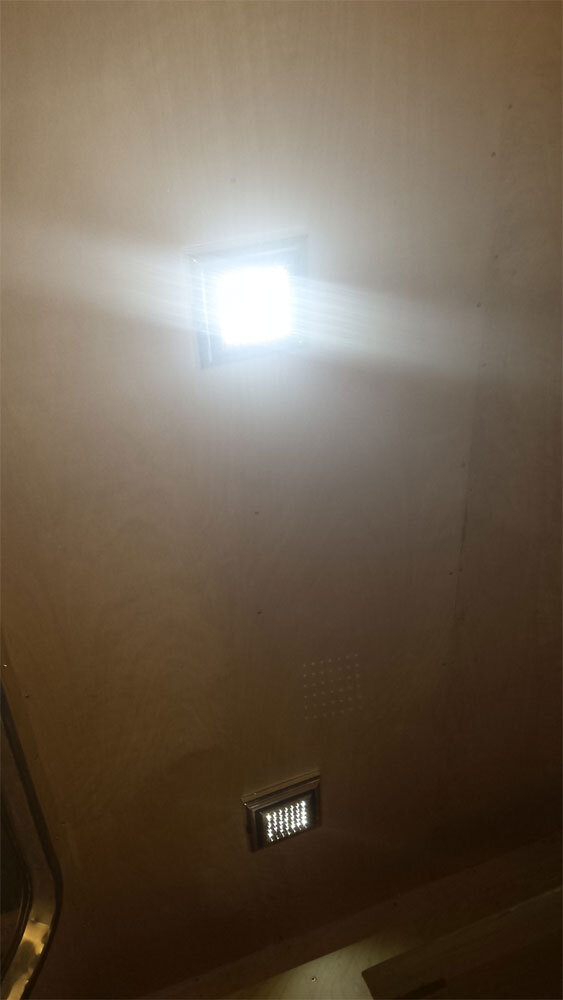
got a small delivery from Hong Kong today 10 no cob lights for the rear kitchen, i have put 2 of these into my trucks interior lights, will post some pics soon, a very good upgrade, clean white light.

that's me, will catch you all soon
 
Last edited:
Rubber rear lights???

I'm curious about those.......
 
hi yogi,

there called rubberlite, im told there trailer rears, i think my pic attachments are rubber also, they keep bouncing back, whats going on?
 
camper

hi all, not able to update my thread for some reason so please bear with me, seems all my various tabs are missing like attachment, quote, and so on, aint got a clue to whats going on catch you all soon
 
hi all,

well i havn't been to busy lately small progress and all that, so here go'es

looking back the last post was fitting all the lower skirt finishing the trim around the roof and the the equal angle around the sides

looking at the paint work, it has grown on me sought of shows the ally trim in a better light.

my interior lights turned up

20140206_204508.jpg

20140206_204521.jpg

these are just cheap led's from hong kong with switches, there bright enough

20140206_204538.jpg

20140208_162139.jpg

finished back door, i will have to get some pics of the led reg lights

with the door finished i set about fitting.
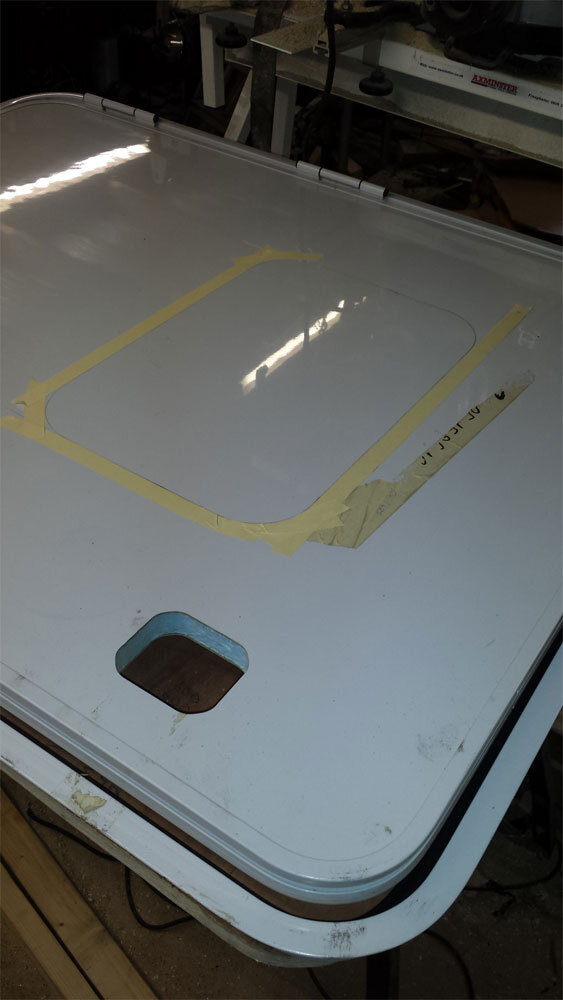
i have also have fitted a vent in the lower half.

20140208_162059.jpg

20140208_162121.jpg

20140208_162041.jpg

just got to fit the twin locks these are both left handed and are standard with many caravan/motor home

on the market for a kampa geyser after a little chin wag with Chris, thanks, will suit me perfectly,
just picked up a small stainless sink which at this stage will be foldable or built into a pull out draw under the geyser, early days.
fitted a new 13 pin euro plug on the truck and the camper, i bought a power sensing relay for the fridge.
thats me for this evening, will finish the post in the morning, so catch you all later
 
hi all,

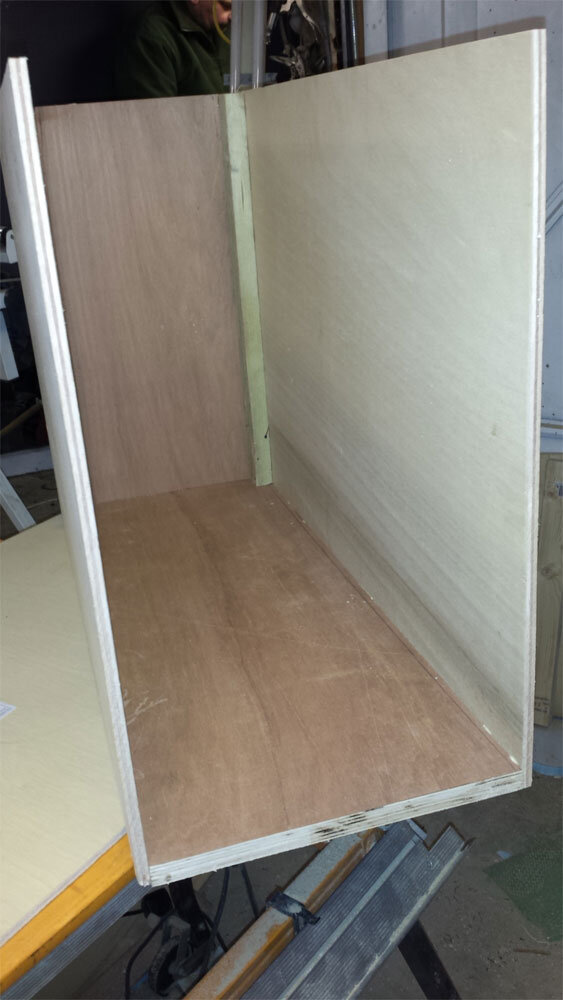
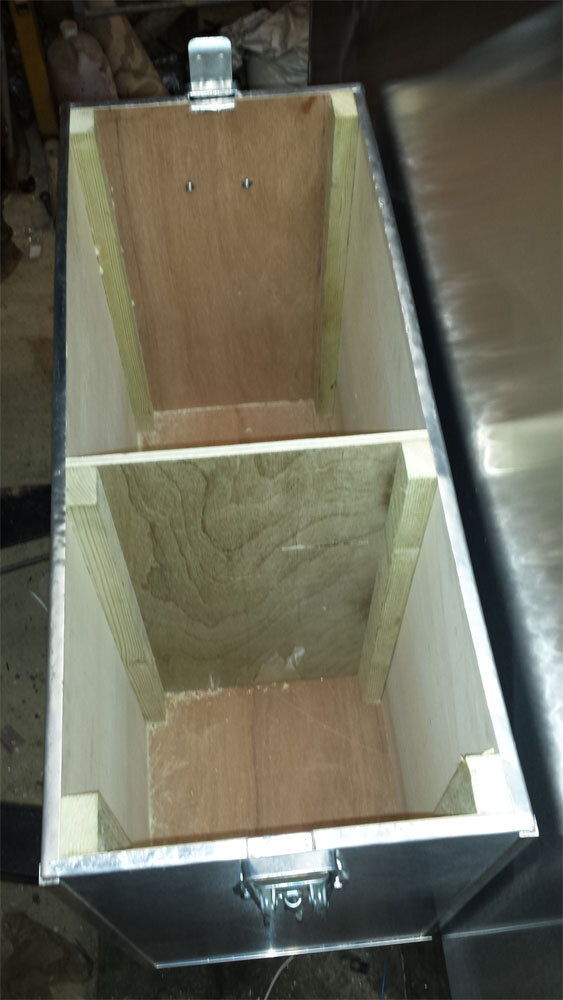
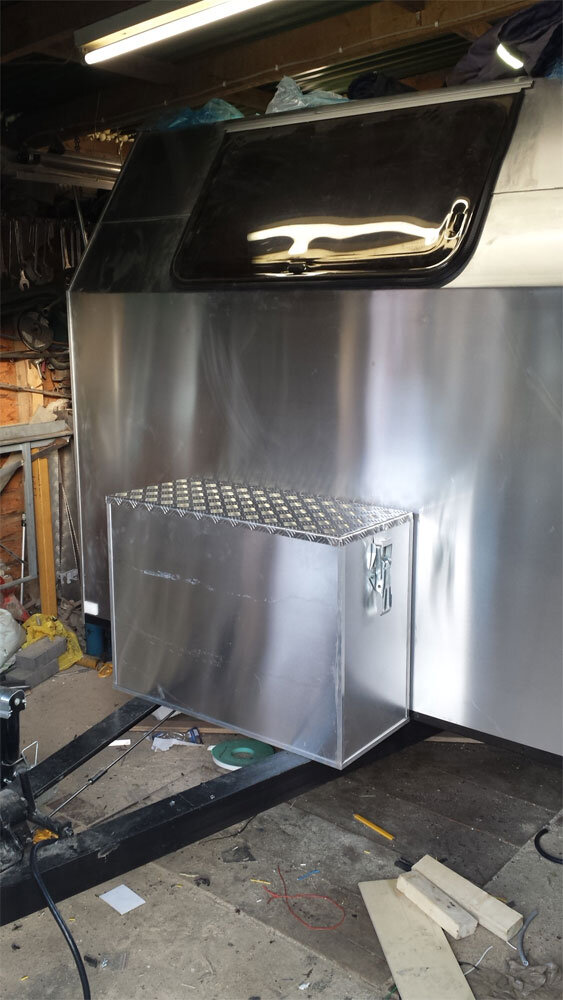
just started to build the battery/gas bottle box, im using 2 x 55ah gel batteries at the moment with a view of changing later, the box is built using marine ply, lathe frame, glued and screwed then lined with ally and 1/2 equal trim, the box is split into two sections is vented and im going to fit the fuses in here as well.
20140211_203019.jpg

20140211_203030.jpg

20140215_151038.jpg

20140215_151048.jpg

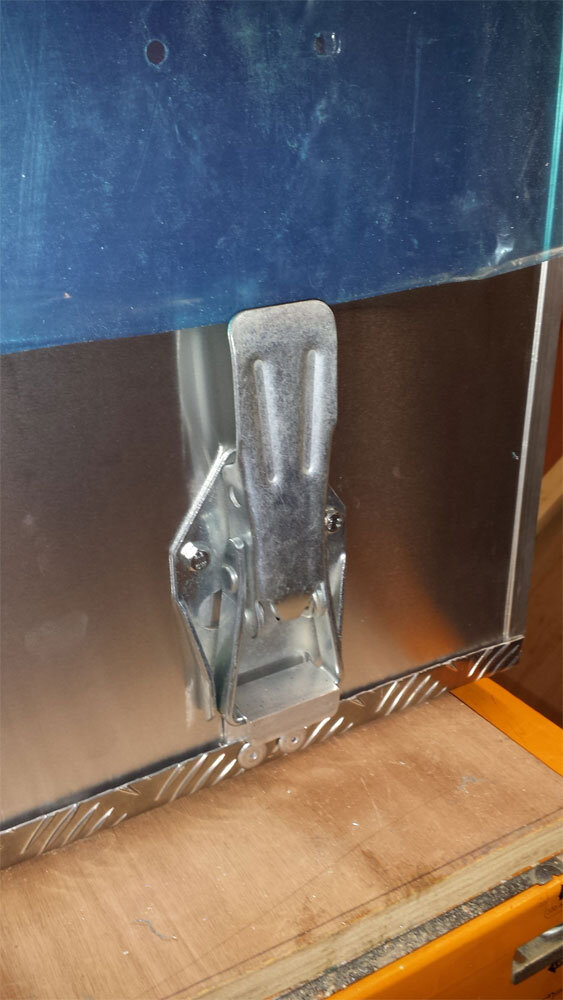
i didnt want a hinged lid as you have to space the box off the wall to open, so opted for over the centre catches simple p seal around the top to seal, built the lid with 18mm ply as i can see myself standing on top.

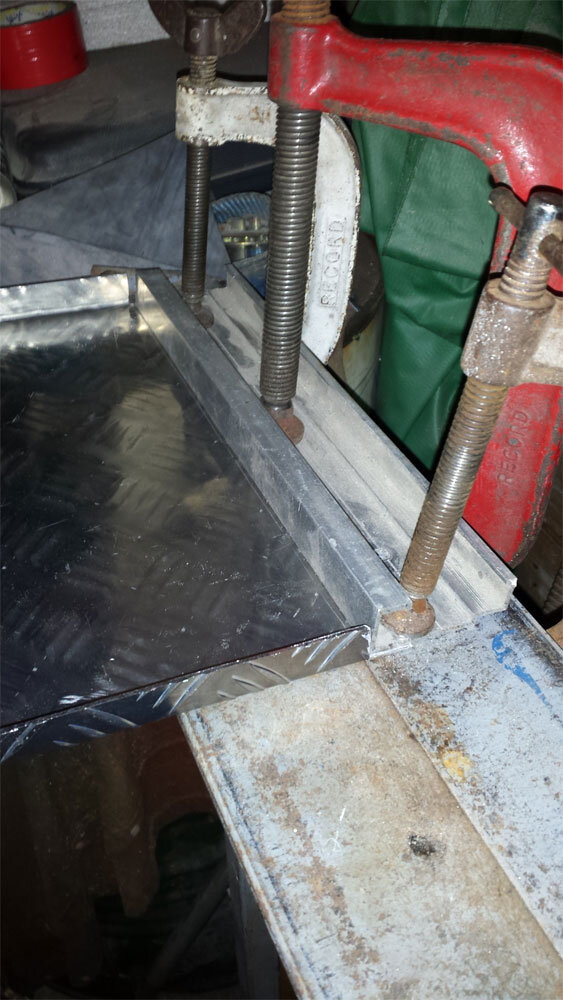
checker plate for the top folded on each face 20mm.

20140215_152857.jpg

20140215_152908.jpg

home made folder

20140215_154616.jpg

centre catch fitted

20140218_205838.jpg

now fix it to the frame and feed the cable and hose in to it
should be taking the camper out of the garage today, fingers crossed

thats me for now gents
 
hi all,

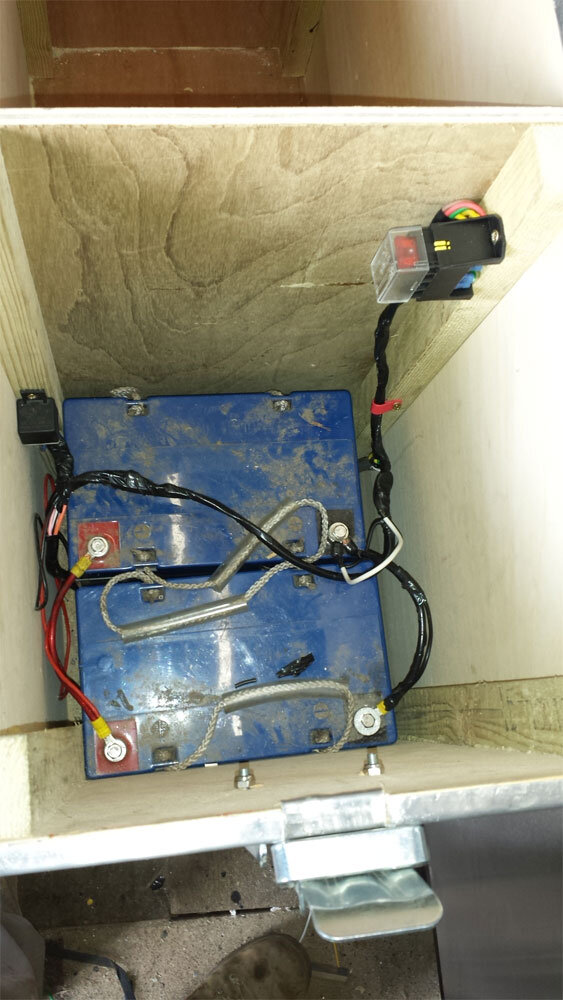
fitted the battery box to the rails and threaded the cables

027.jpg

electrics aint my bag so paul got on with the batteries relay and fuse box

032.jpg

i did buy a habitation relay, but could not find a good diagram with the same colour coding and paul didnt want to blow it, so he fixed a 5 pin relay, he says it will do the same thing

with the electrics finished i had to fit the lid and get a pic, i think it looks good.

033.jpg

didn't get the camper out of the garage today, and still have the gas side of things to sort out.so maybe next weekend
well thats me till next time catch you later
 
hi all,

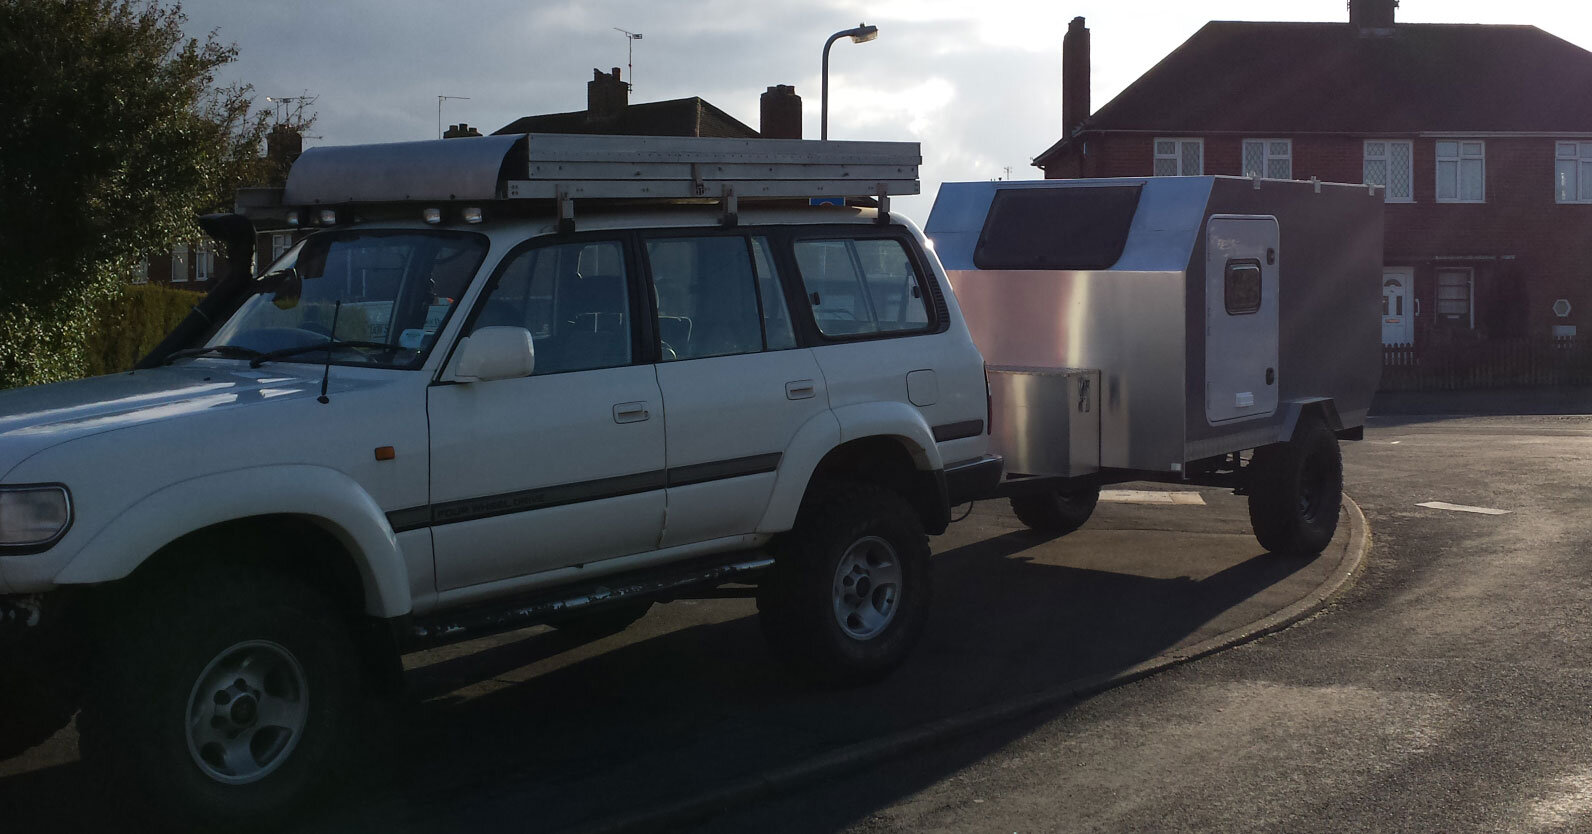
well its out at last

20140301_153320.jpg

20140301_170554.jpg

20140301_152834.jpg

20140301_152858.jpg
first impression, its grey and ugly like me, :icon-biggrin: front end is heavy, like me :icon-biggrin: it, will grow on me, i hope

my kampa geyser water heater turned up Thursday, only to find it leaks, so will have to wait for a replacement spun it up and its not that bad for a small unit shut the shower head down and the pump continued on, thats when i found the leak, it still thought it was in demand, oh well.
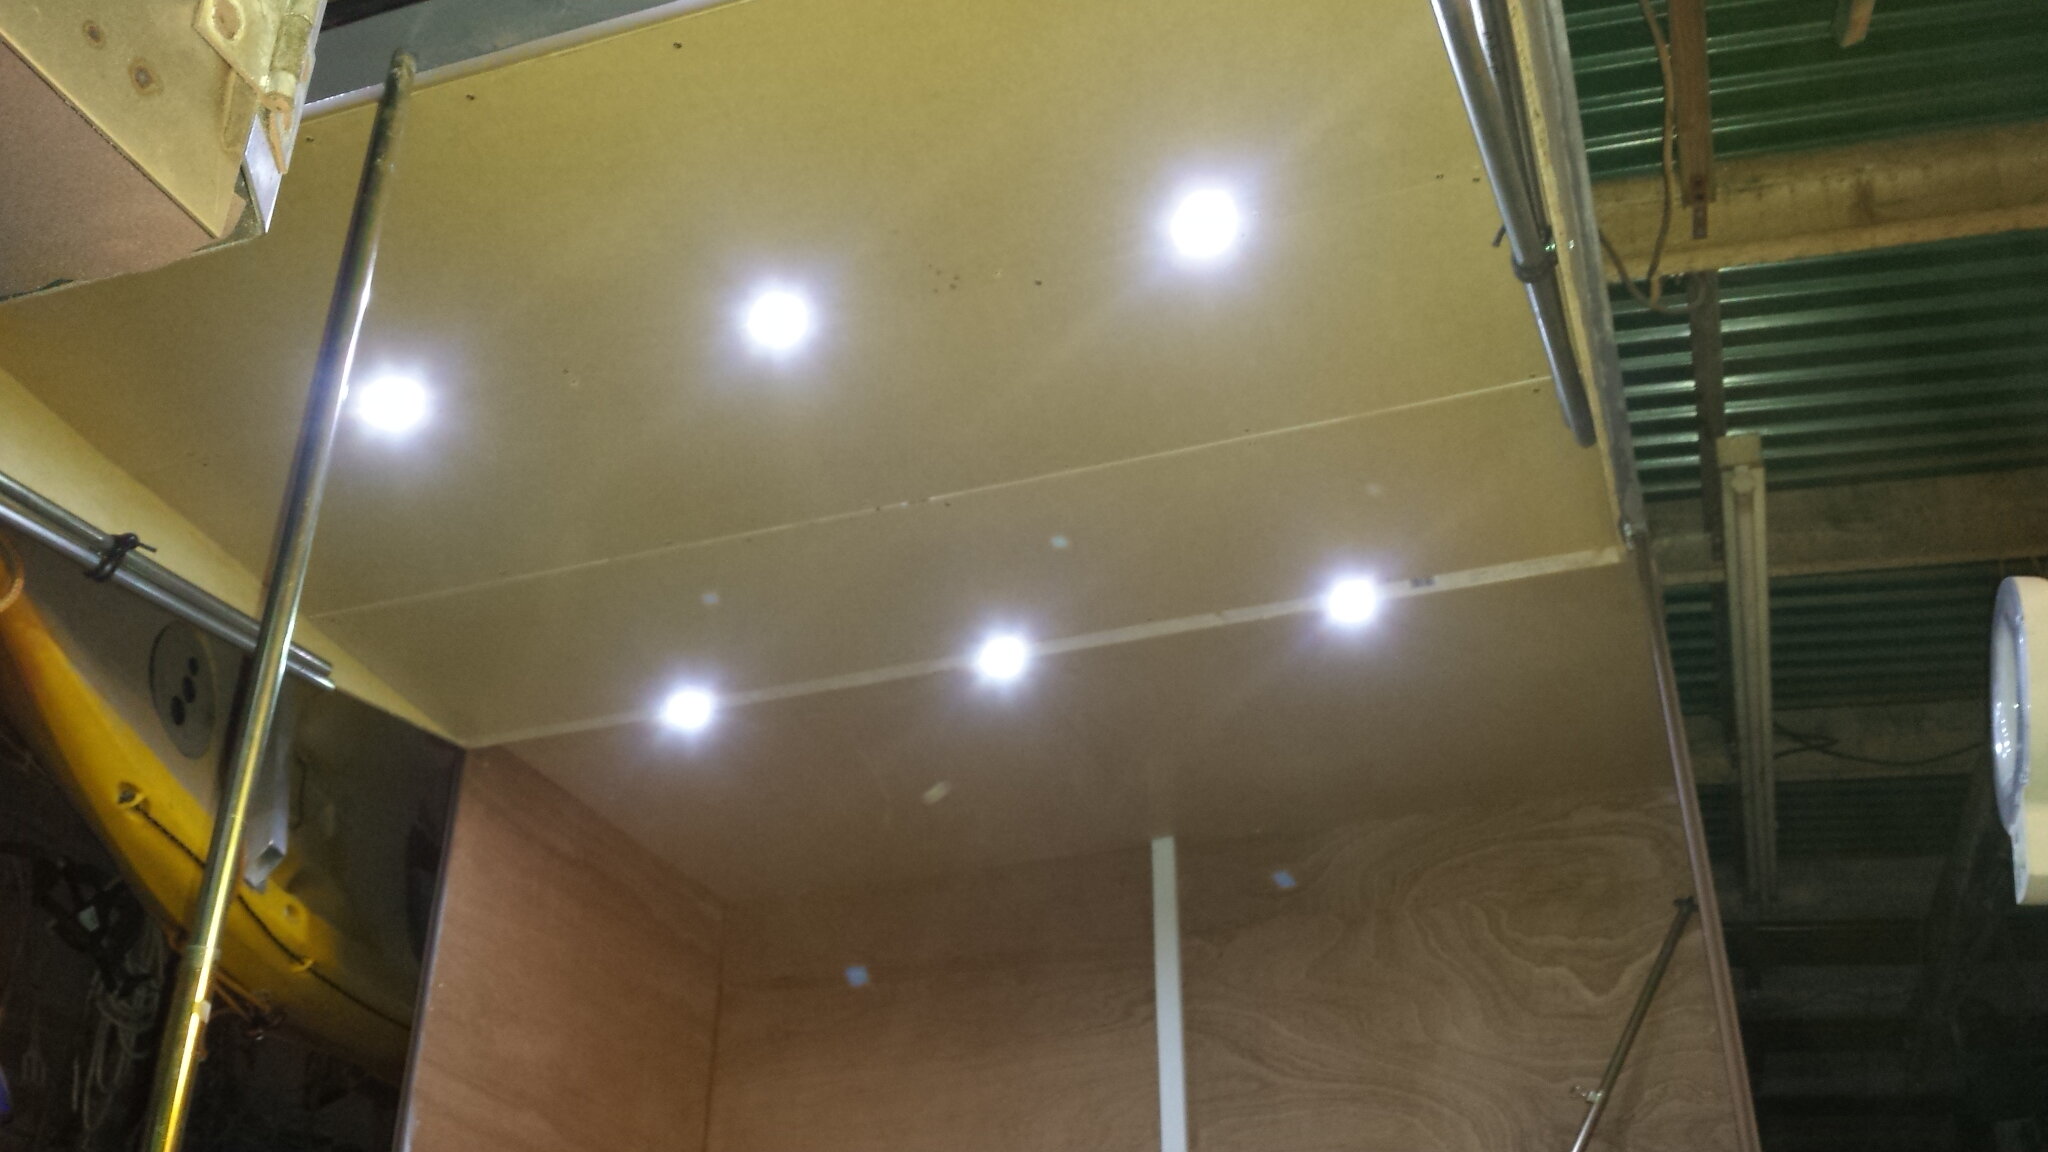
fitted the legs to the rear door, these fold up and fastened with a toggle, they can be adjusted to suit the ground, and the door is lined and the kitchen lights are fitted,

20140225_204246.jpg
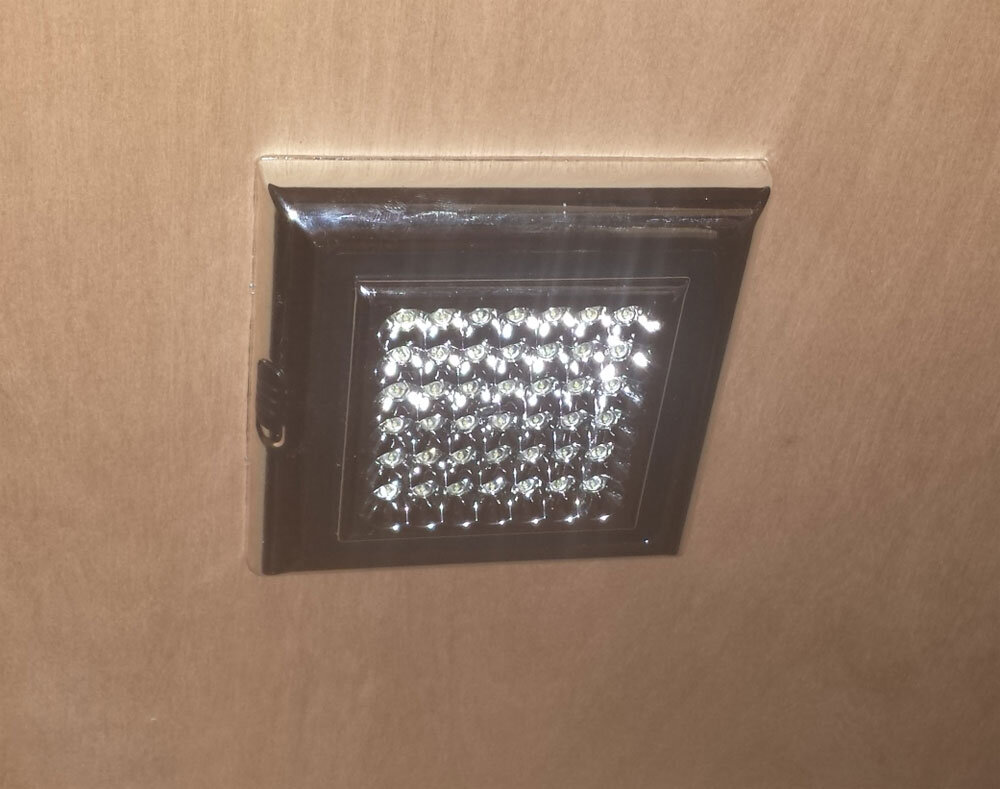
these are cob lights from china, fitted with a remote control unit, i think they are designed for interior light replacement as they come with three different fittings, they are spot on, pun intended.

now the kitchen
 
Back
Top