Don't like the adverts? Click here to remove them
You are using an out of date browser. It may not display this or other websites correctly.
You should upgrade or use an alternative browser.
You should upgrade or use an alternative browser.
TLC HJ61 total reconditioning
- Thread starter oding
- Start date


oding
Well-Known Member
- Joined
- Jan 11, 2015
- Messages
- 423
- Country Flag

Do you use oxy- acetylene mix for all your heating,brazing etc? Just recently a young engineer mate talked me into using
lpg- oxy mix for heating and cutting.Appeciate your comments.You have a very tidy shop.
Hi Pat, I do not use this oxy-acetylene for cutting and/or welding metal. I do not have the know how. I have this gardener who knows how to use this equipment but is not really that good. What I know is that this is an old tech. Plasma cutters and Mig/Tig welds are the new tech. They are much easier to use. You have to be skilled using the oxy-acetylene weld and are tedious, bulky and comes out expensive to maintain. They heat the metal to a very high temp and ends up warping it. Personally, Tig welding is the best but costs more than the Mig welding.
We have lots of skilled welders who are really good at using this low tech welding equipment. But they are getting to be a pain in the neck. Most of the good ones have migrated to Canada and Australia. The ones left are products of being too proud and being just plain lazy. But I've seen very good welders that you can hardly see or feel the welded joints.
Lpg-oxy mix is used here for the purpose of cutting steel only. Try the Mig or Tig weld because they are very easy to use and cheap.

I learned to oxy-acetylene cut & weld as a teenager, but I've never welded with anything electric.
One secret with o/a is to choose the right nozzle. Too big and you're blowing holes, too small and you end up piling in loads of heat without getting a weld pool. But IMO once you get a weld pool going at the tight temperature (i.e. not burning) the welds you can achieve are lovely and smooth and well penetrated. You can see what you're doing at all times, particularly that critical moment when the steel "sweats" indicating it's really close to melting point.
I watched Ben's thread with interest when he was learning and I don't think it's possible to weld better than he can now.
For thin body panel welding, there are several tricks you can deploy to stop or reduce stray heat warping. I had some asbestos type putty (not asbestos but a similar material that could be re-hydrated) which when mixed correctly, could be applied around the weld to absorb unwanted stray heat.
One advantage with o/a is that rust is burned away as you go, so for eg. on a rusty floor pan, you know when you have good steel to weld to.
It's also very versatile, for brazing, cutting, and even soldering let alone freeing off rusted nuts and bolts and seized pivot bearings, bushings and the like.
Now I'm garage/workshop-less, I miss my o/a kit more than I would ever imagine.
Don't like the adverts? Click here to remove them
oding
Well-Known Member
- Joined
- Jan 11, 2015
- Messages
- 423
- Country Flag
I learned to oxy-acetylene cut & weld as a teenager, but I've never welded with anything electric.
One secret with o/a is to choose the right nozzle. Too big and you're blowing holes, too small and you end up piling in loads of heat without getting a weld pool. But IMO once you get a weld pool going at the tight temperature (i.e. not burning) the welds you can achieve are lovely and smooth and well penetrated. You can see what you're doing at all times, particularly that critical moment when the steel "sweats" indicating it's really close to melting point.
I watched Ben's thread with interest when he was learning and I don't think it's possible to weld better than he can now.
For thin body panel welding, there are several tricks you can deploy to stop or reduce stray heat warping. I had some asbestos type putty (not asbestos but a similar material that could be re-hydrated) which when mixed correctly, could be applied around the weld to absorb unwanted stray heat.
One advantage with o/a is that rust is burned away as you go, so for eg. on a rusty floor pan, you know when you have good steel to weld to.
It's also very versatile, for brazing, cutting, and even soldering let alone freeing off rusted nuts and bolts and seized pivot bearings, bushings and the like.
Now I'm garage/workshop-less, I miss my o/a kit more than I would ever imagine.
I would love to learn oxy-acetylene welding. Just do not have the time anymore. Thanks Clive for the input.


oding
Well-Known Member
- Joined
- Jan 11, 2015
- Messages
- 423
- Country Flag
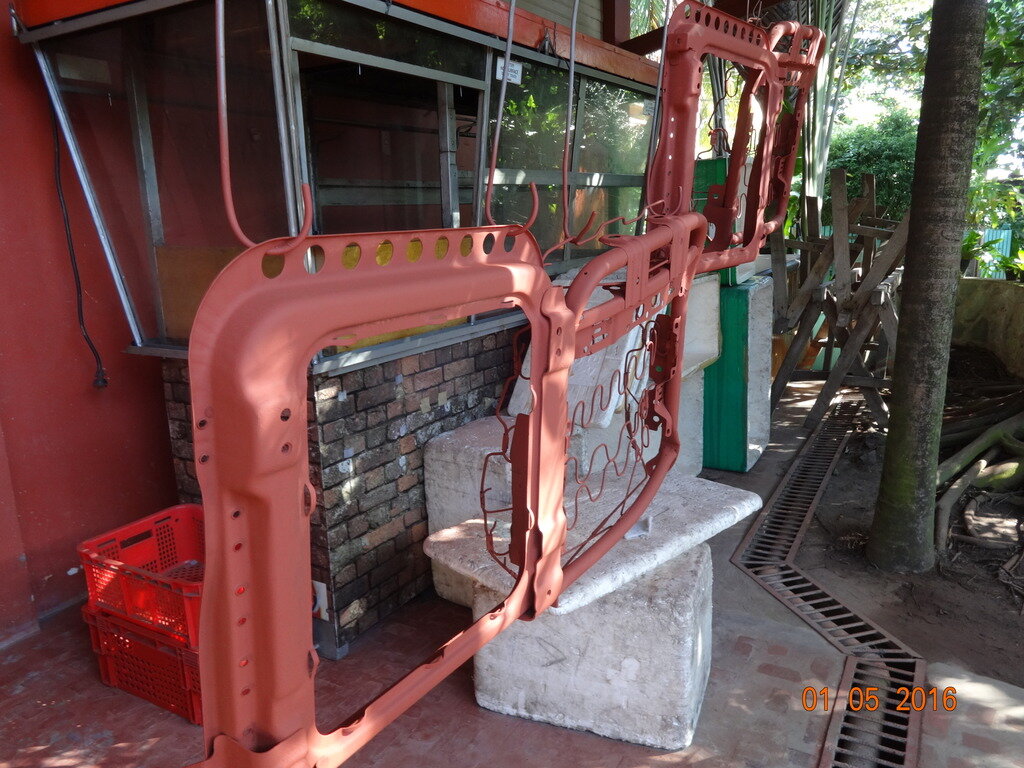
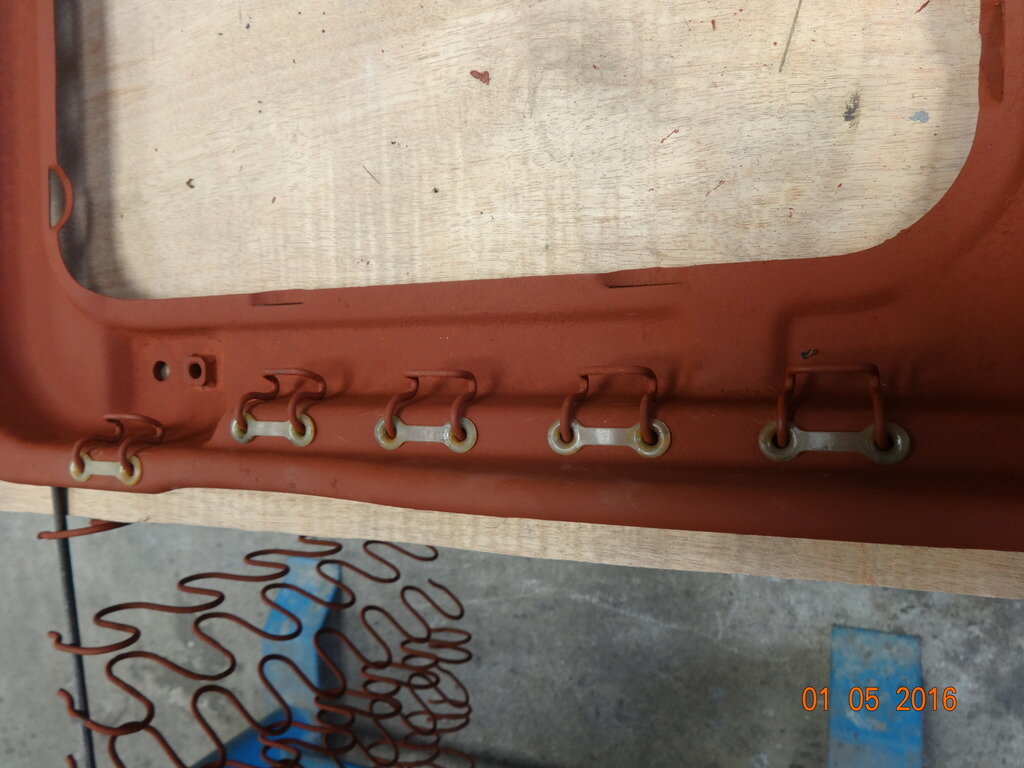
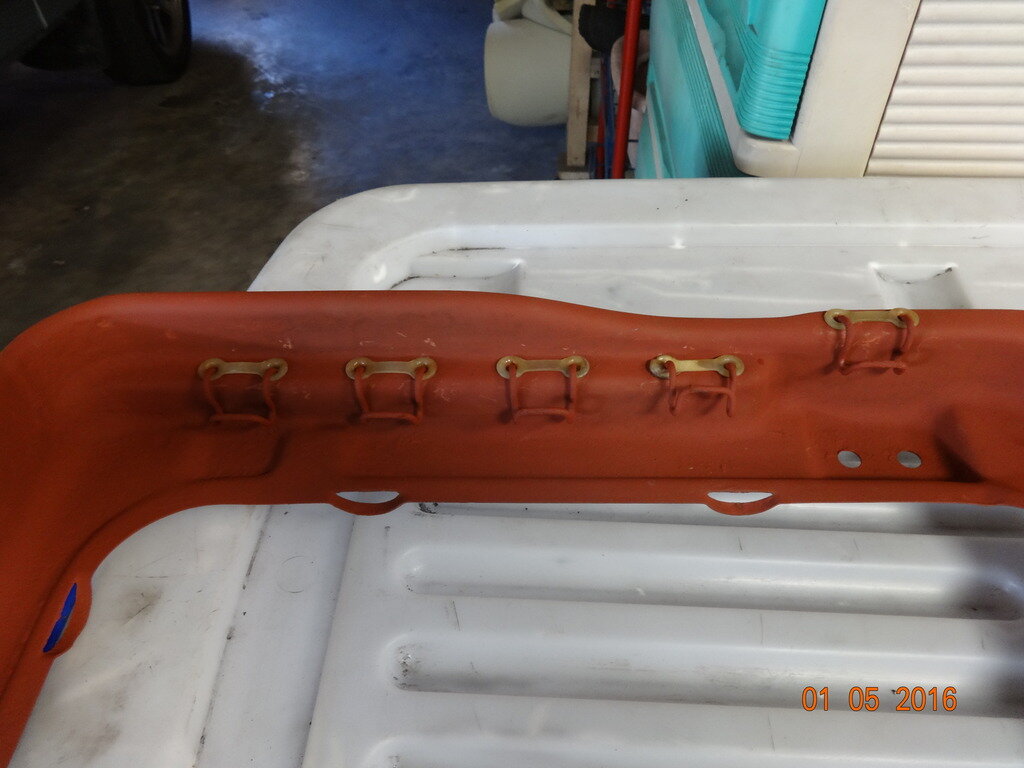
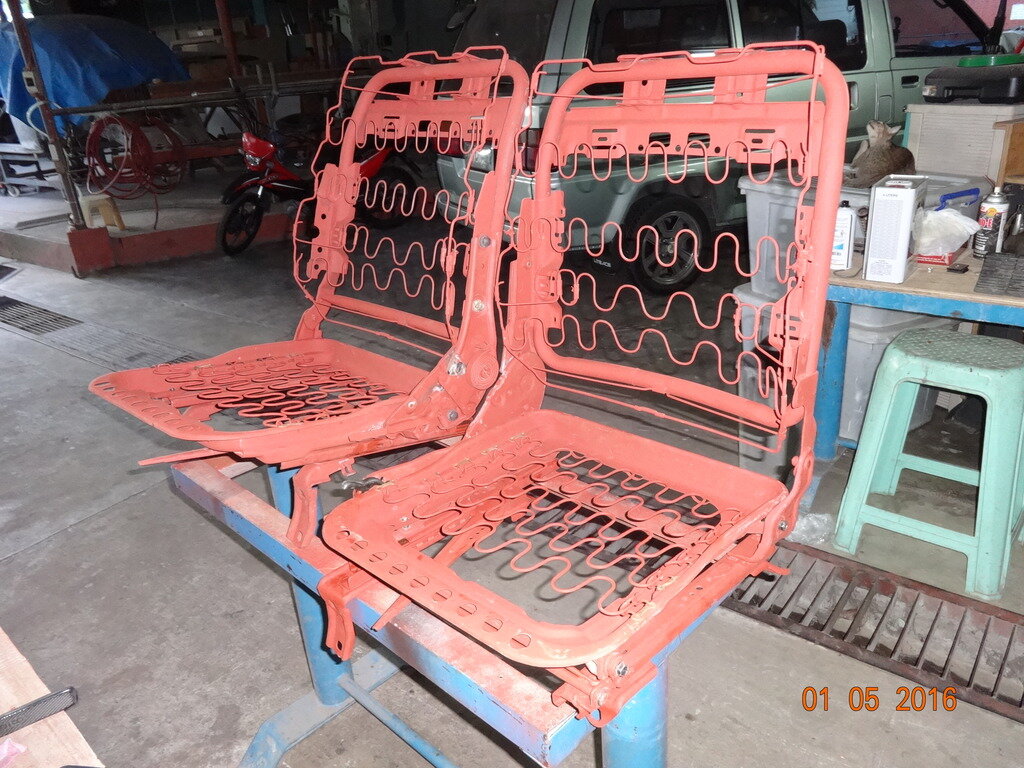
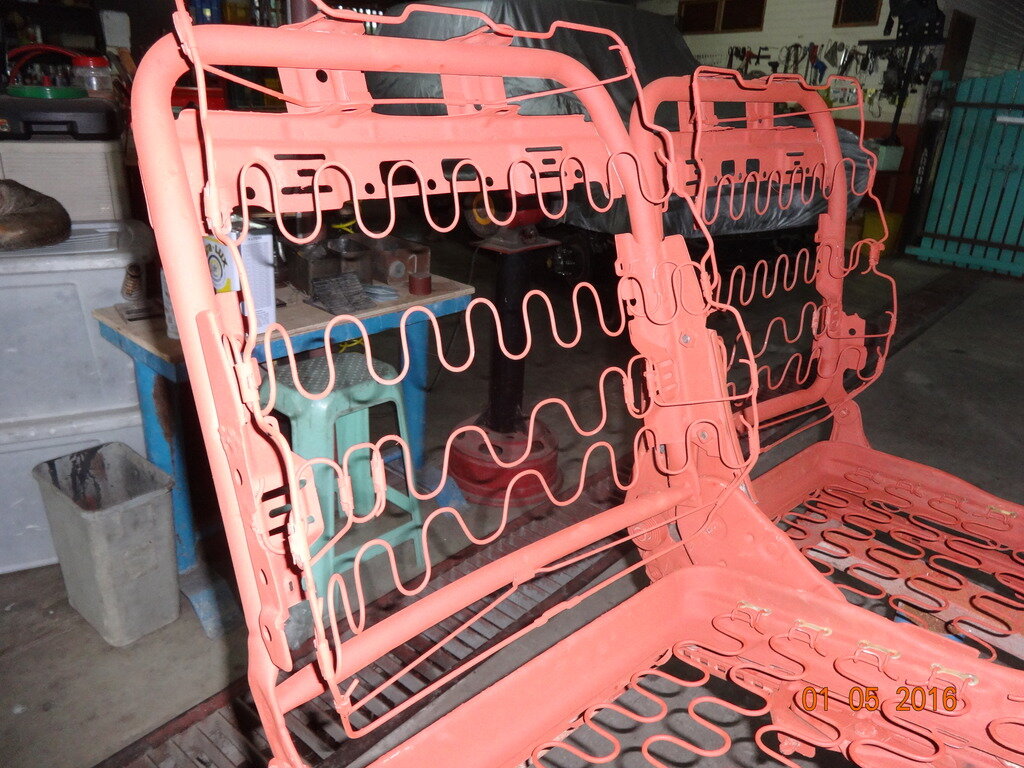
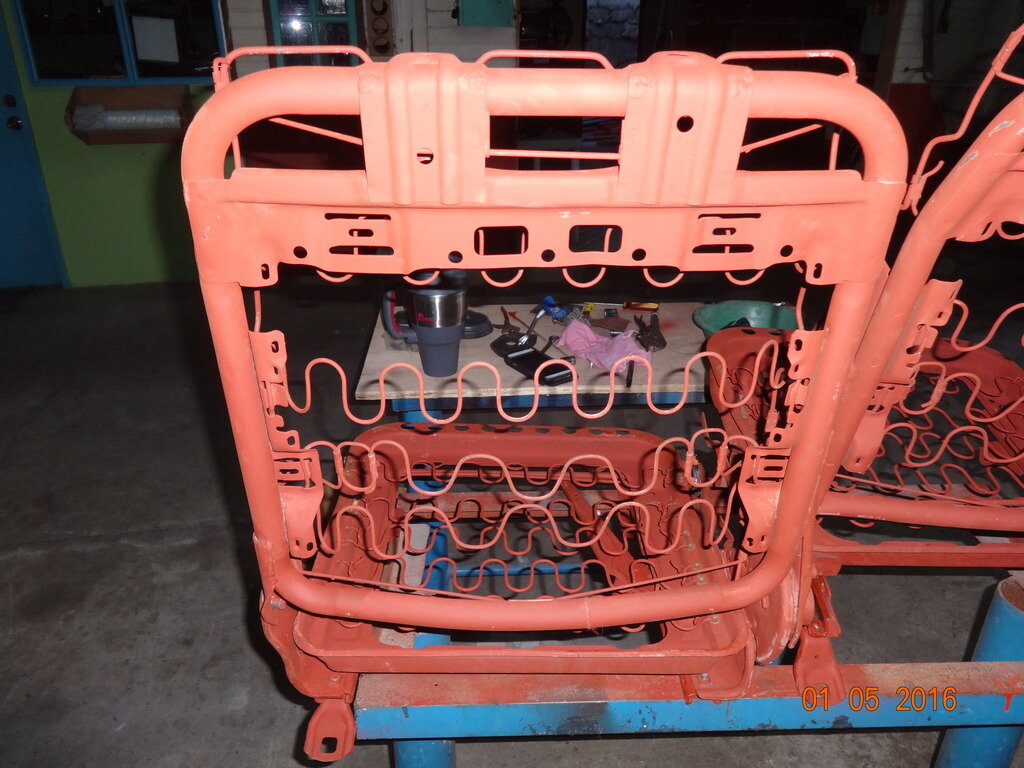
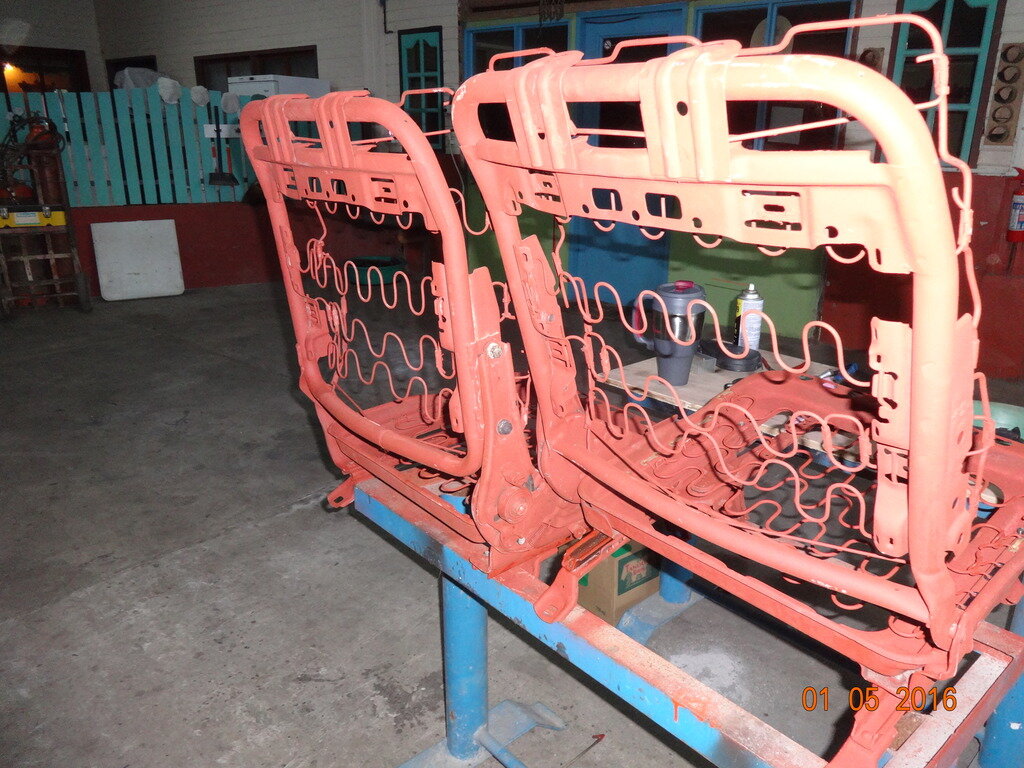
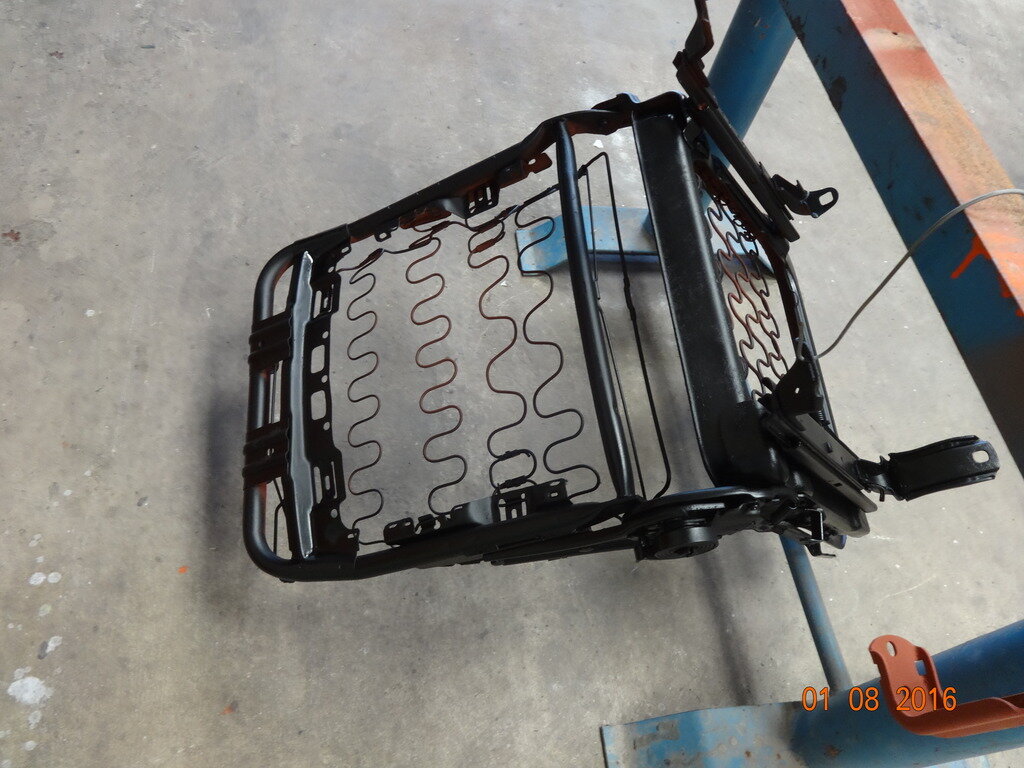
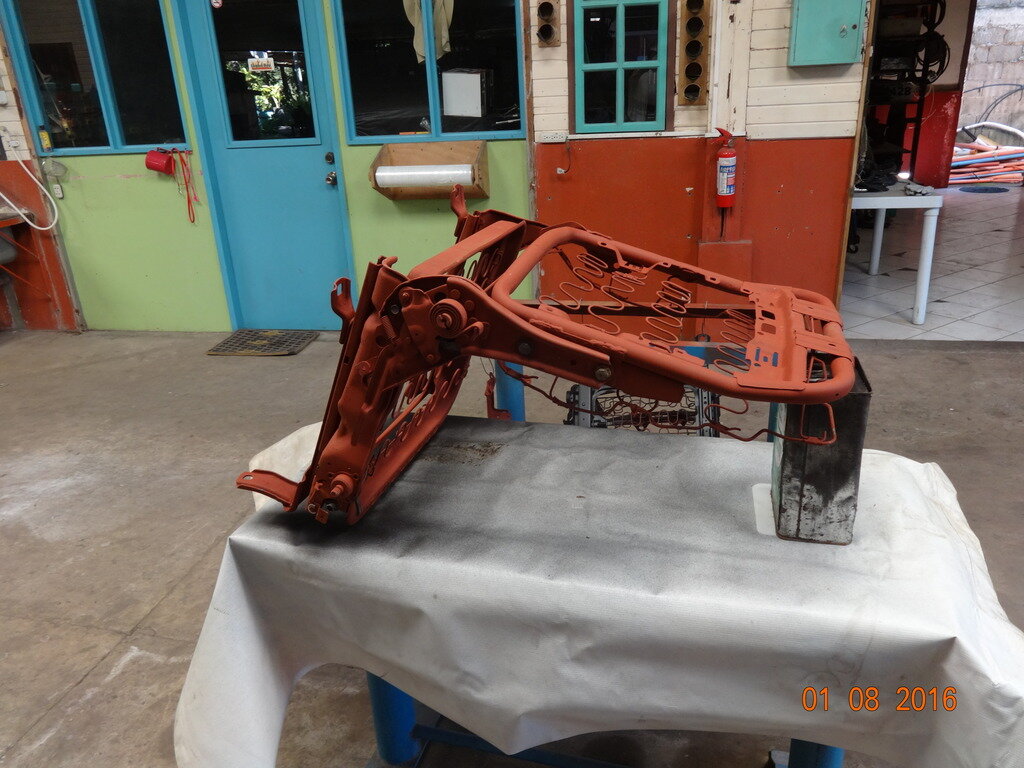
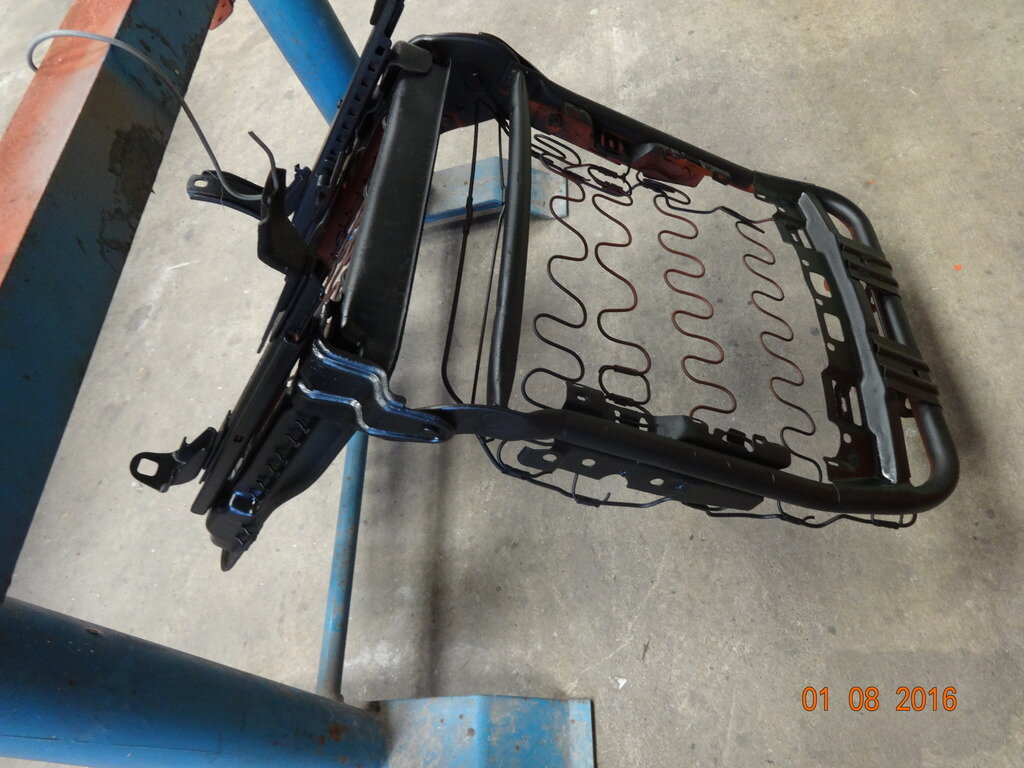
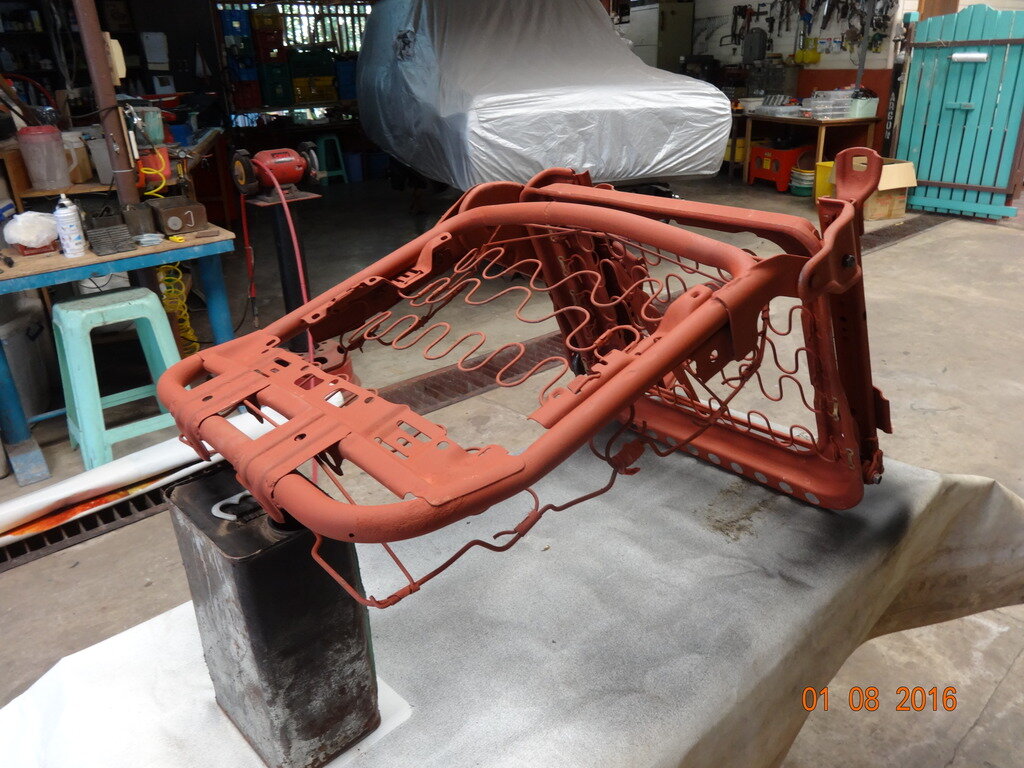
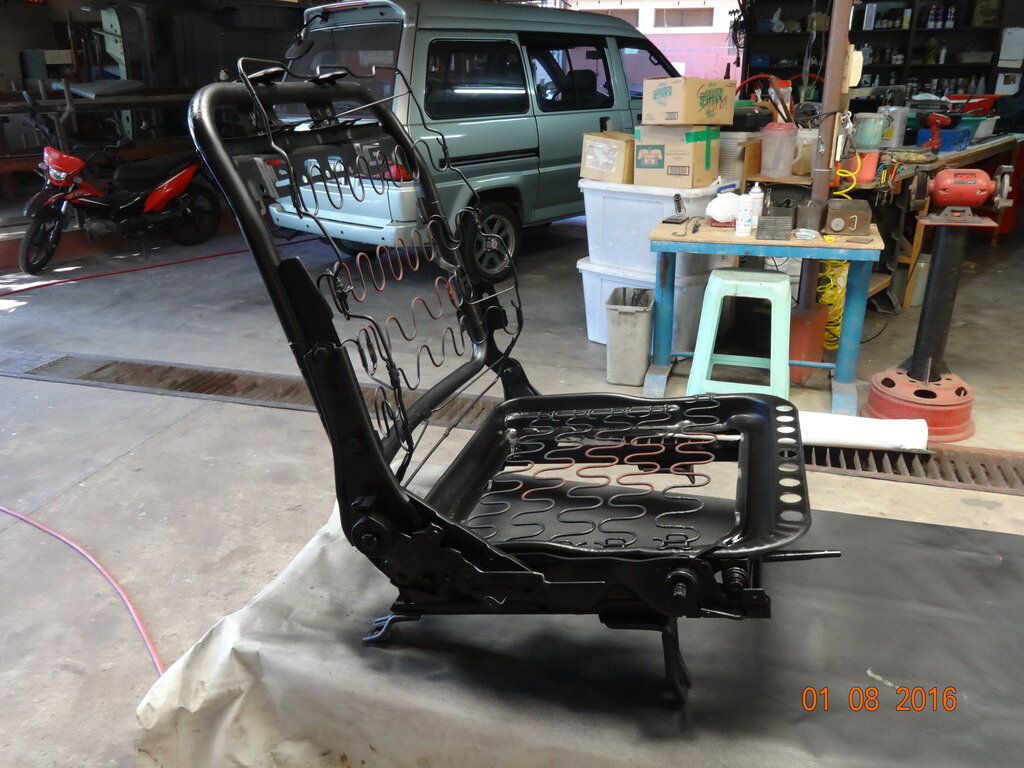
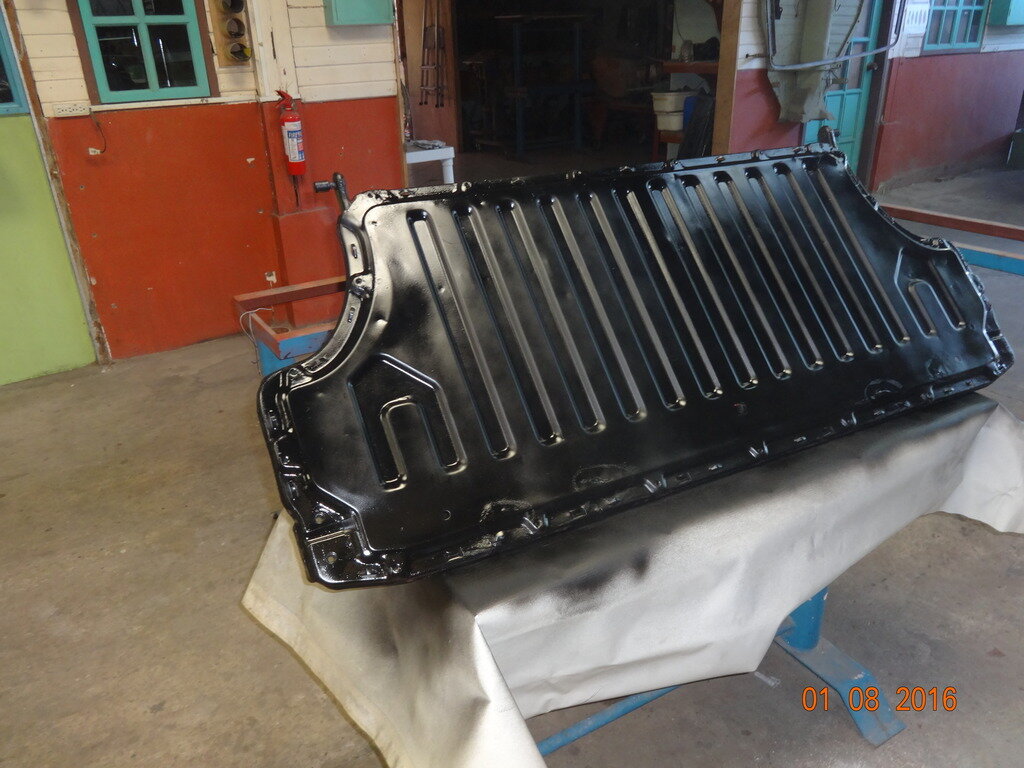
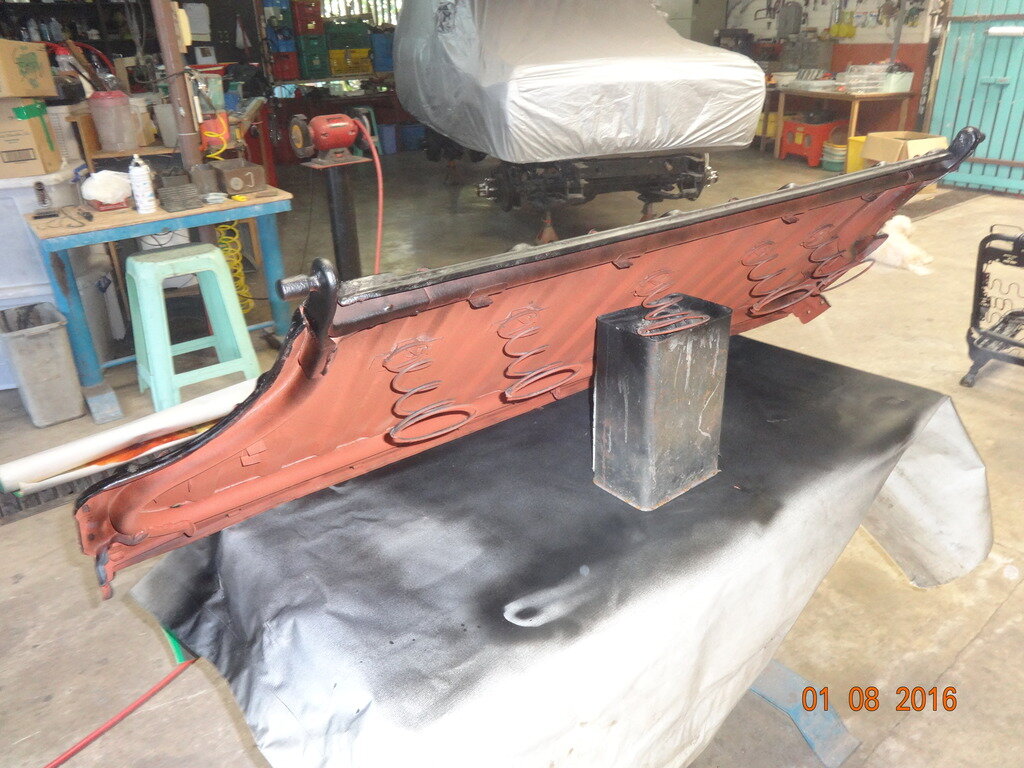
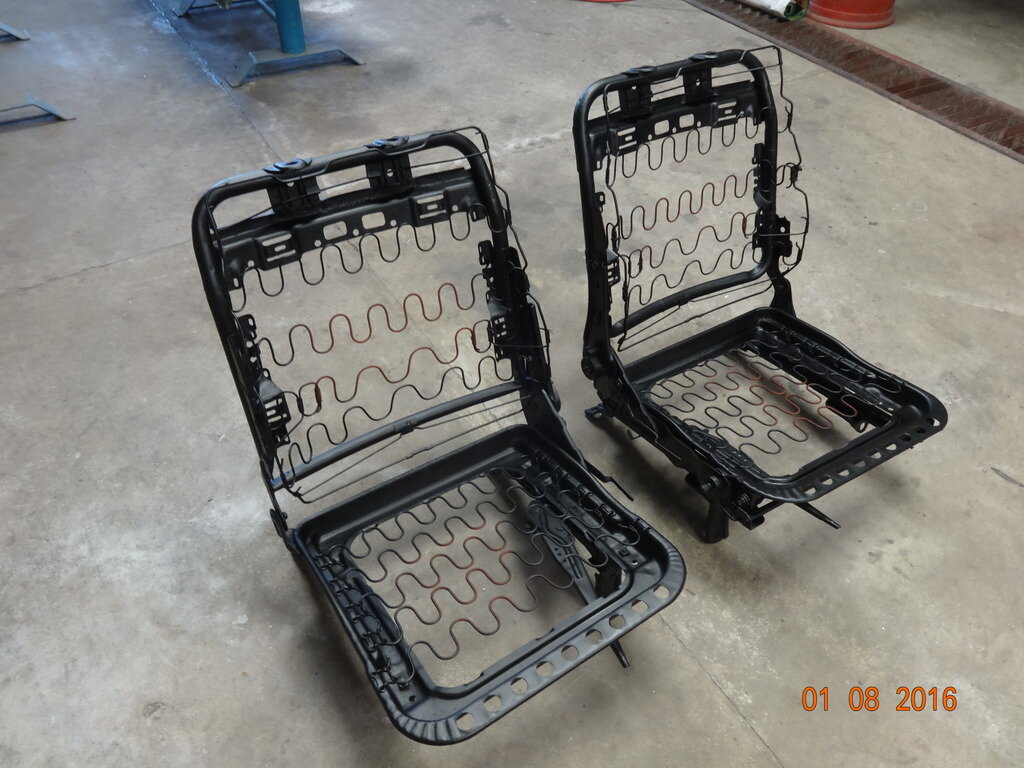
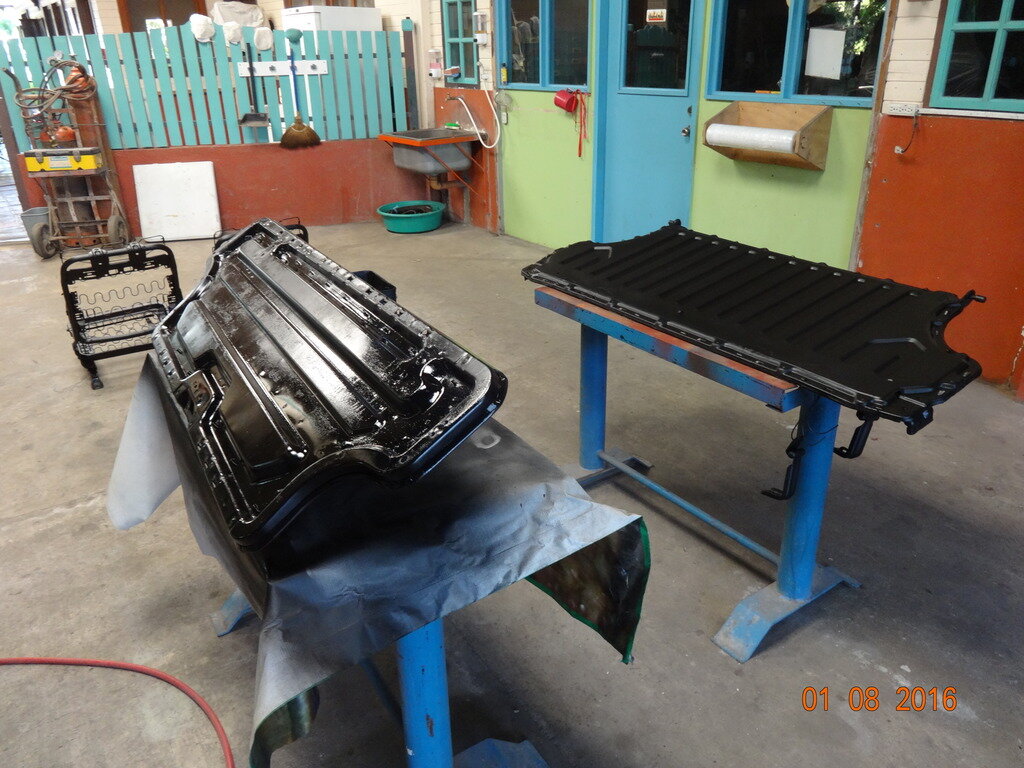
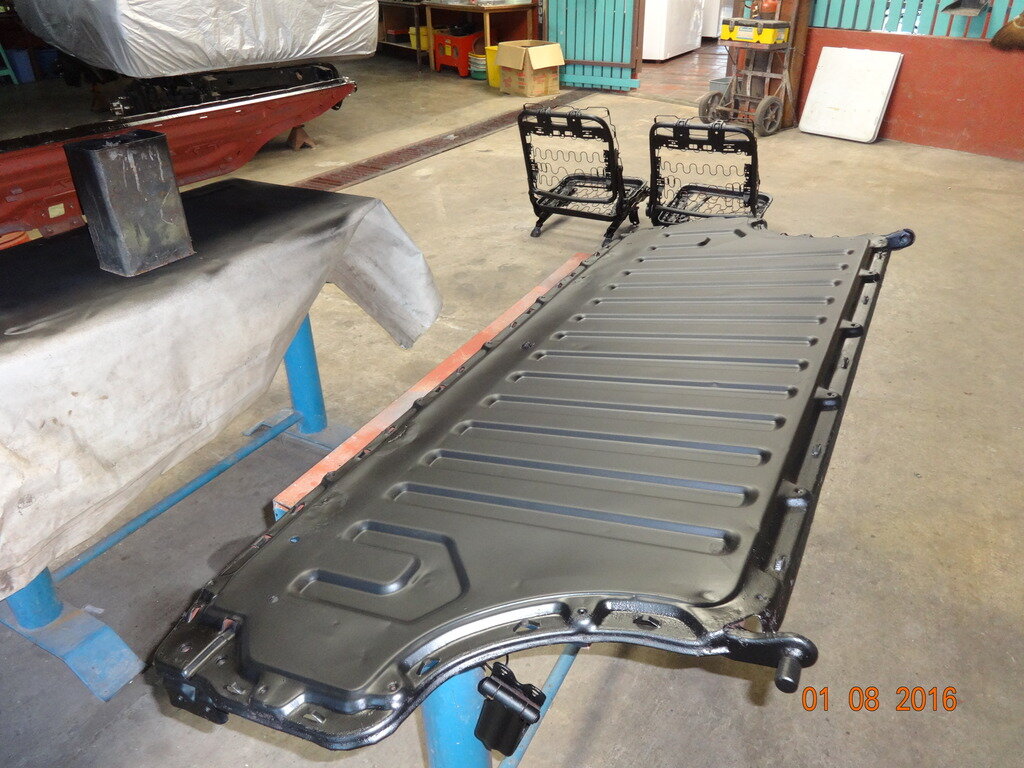
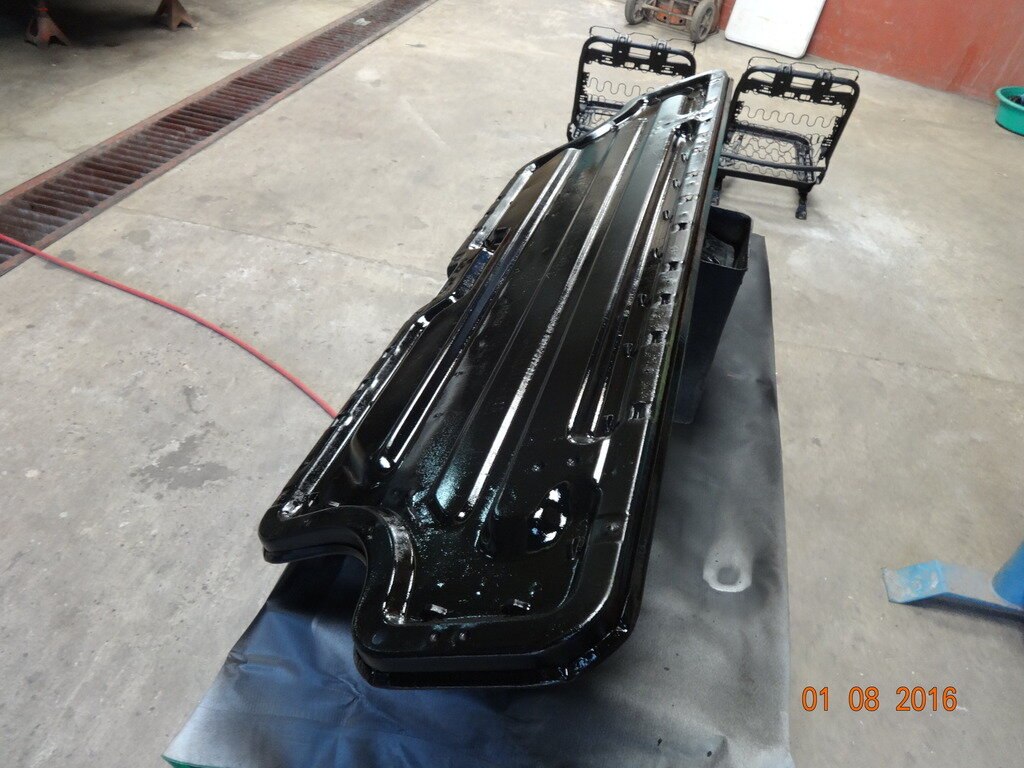
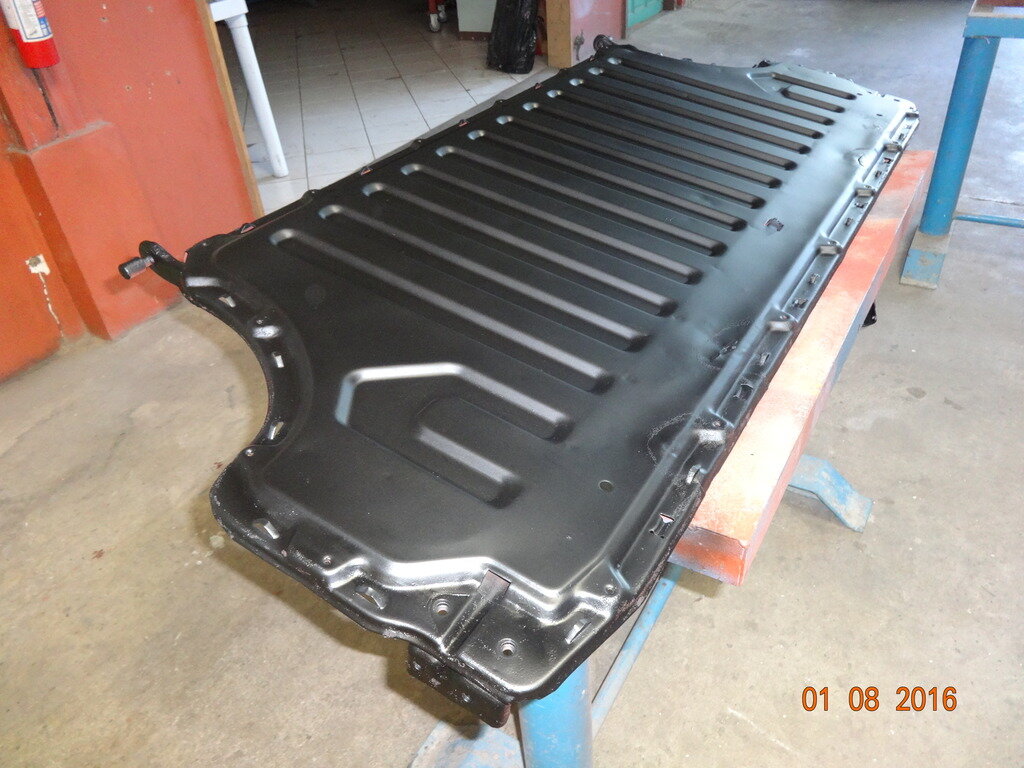
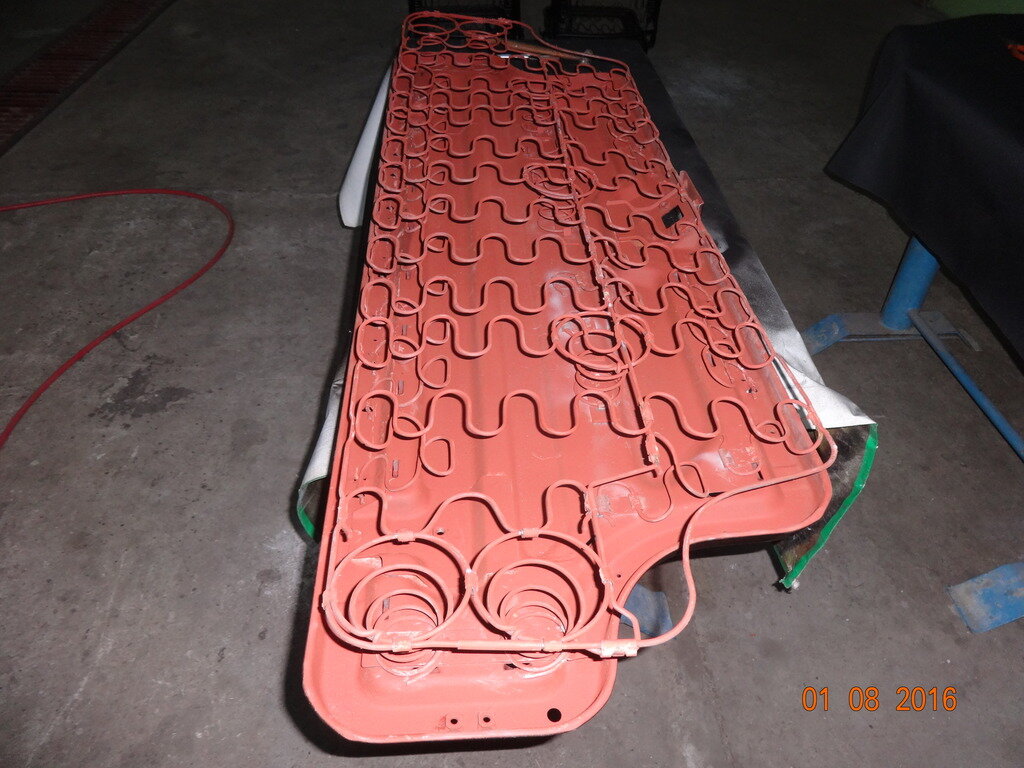
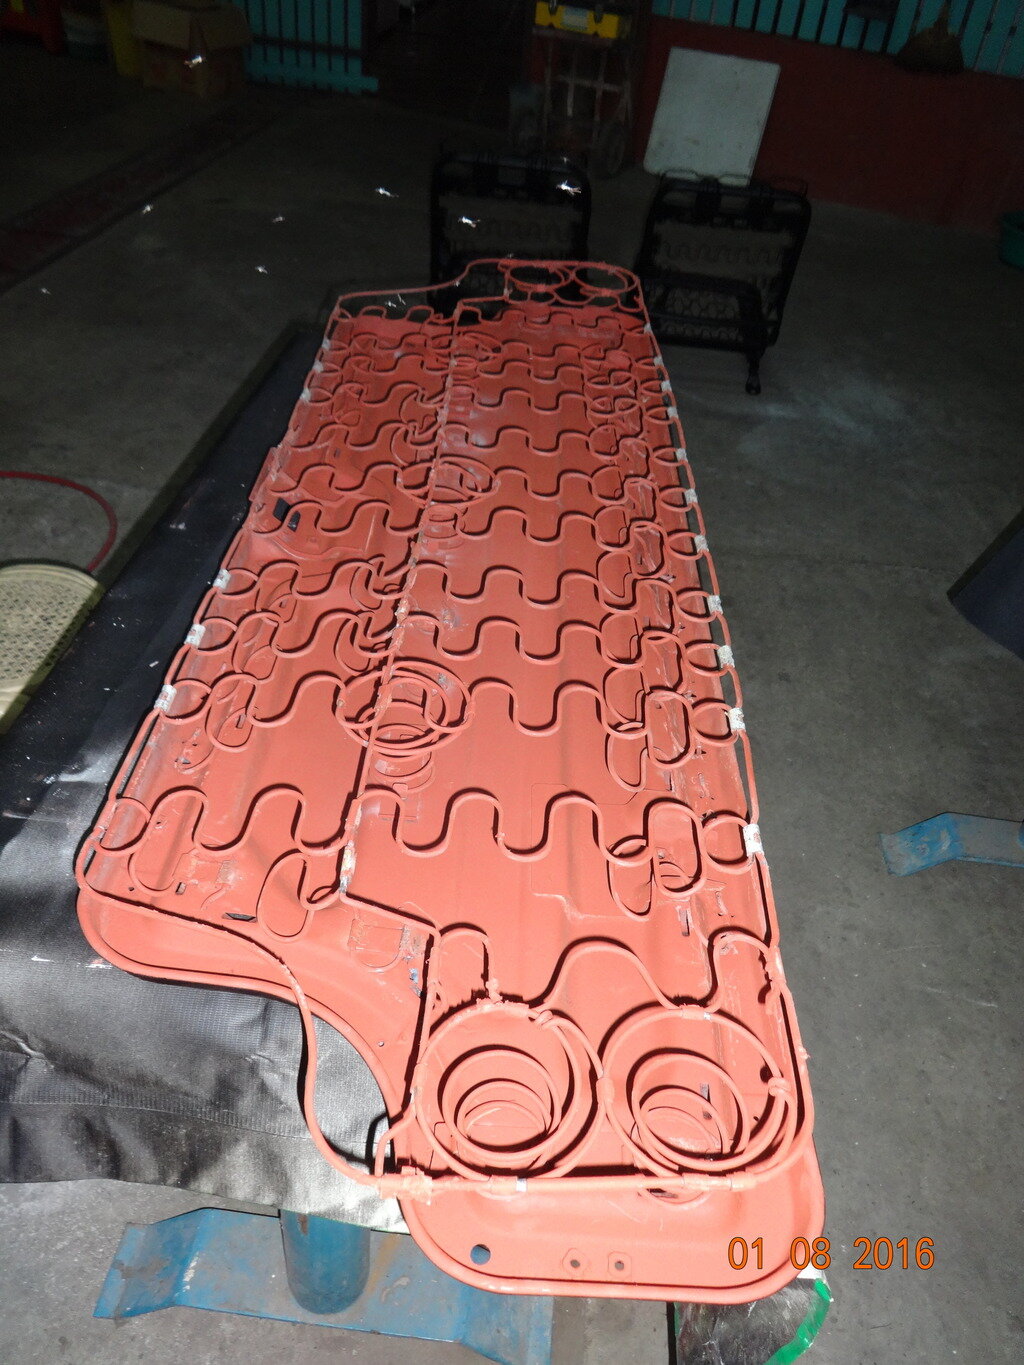
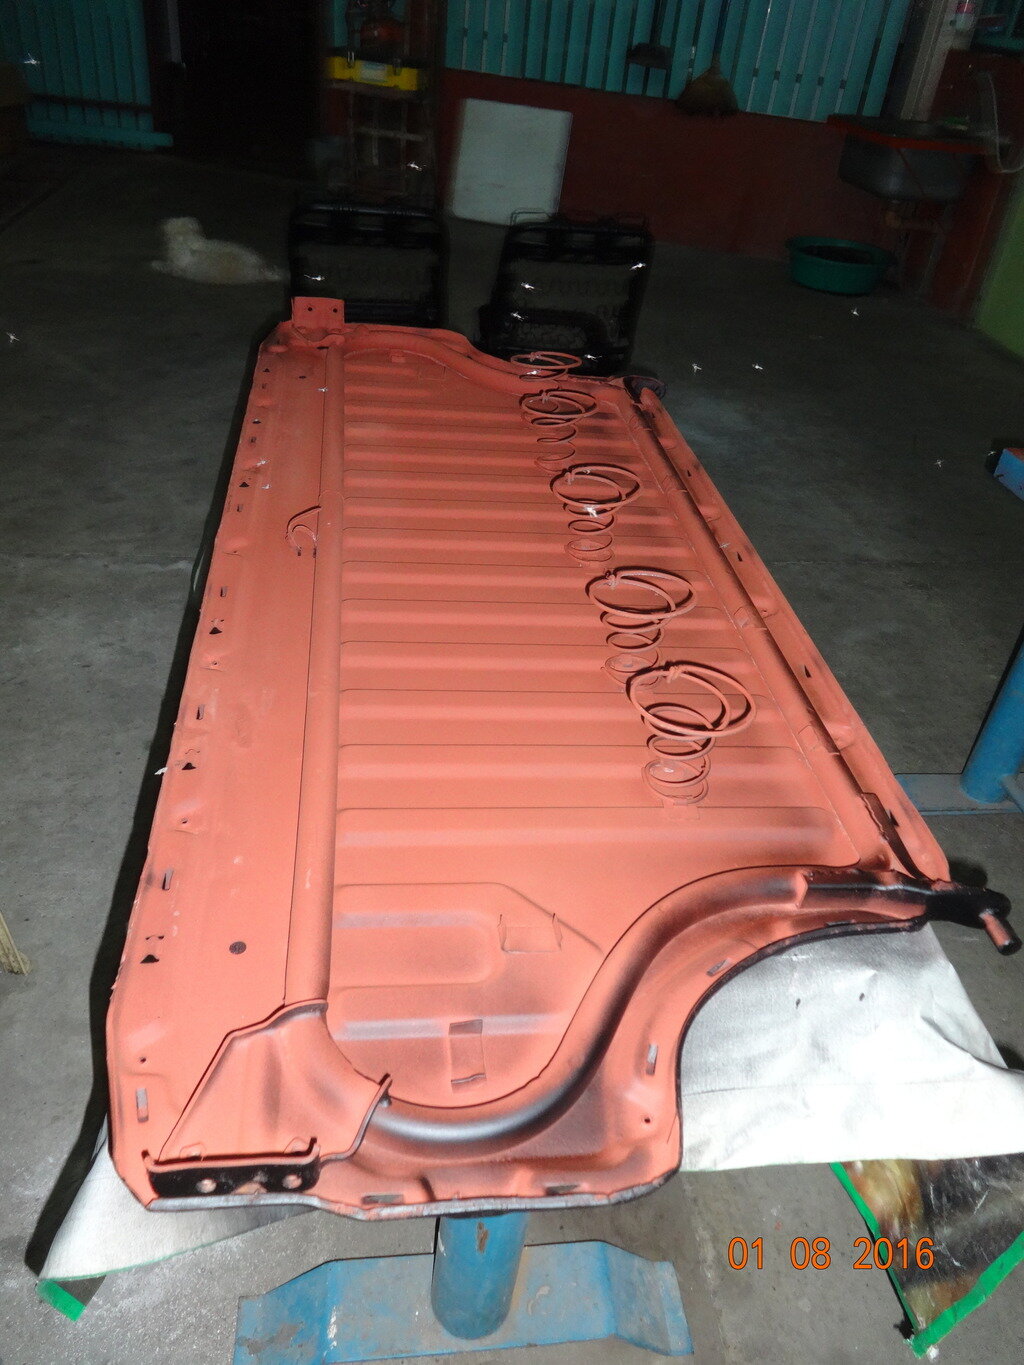
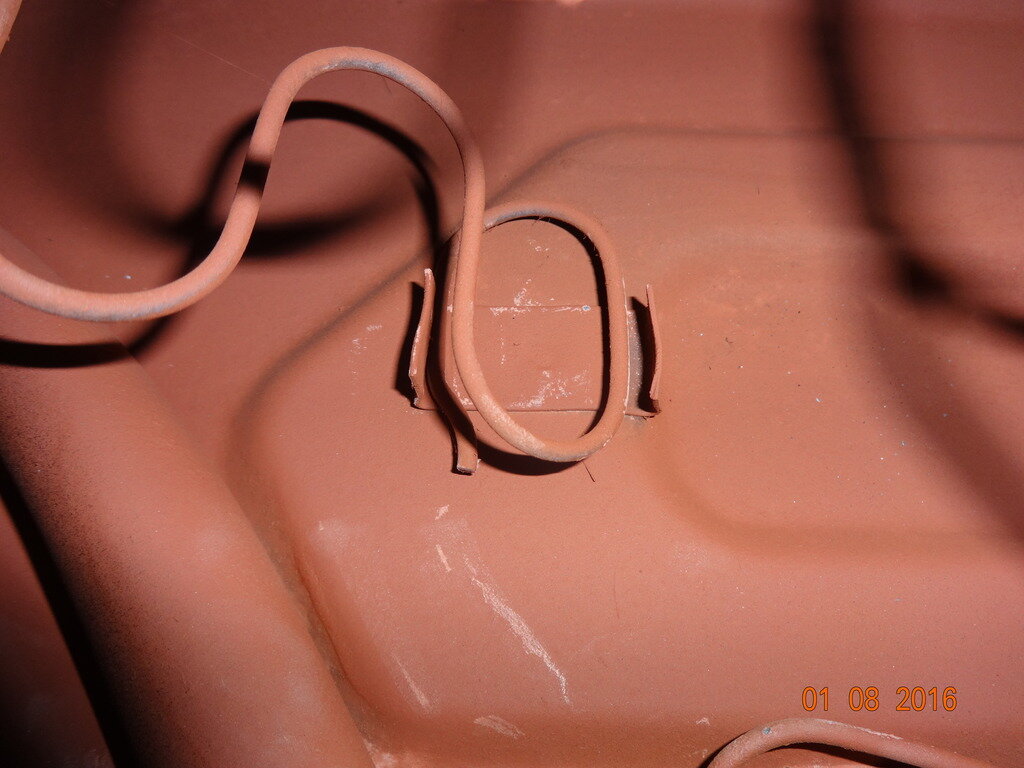
The seats were stripped bare and treated with rust converter. Spray painted red oxide primer. Assembled temporarily before painting flat black color.


Attachments
-
 DSC02777.jpg296.9 KB · Views: 55
 -
 DSC02778.jpg250.8 KB · Views: 65
 -
 DSC02779.jpg305.8 KB · Views: 88
 -
 DSC02782.jpg224.3 KB · Views: 69
 -
 DSC02783.jpg172.6 KB · Views: 62
 -
 DSC02784.jpg249.1 KB · Views: 77
 -
 DSC02785.jpg219.9 KB · Views: 68
 -
 DSC02786.jpg335.6 KB · Views: 60
 -
 DSC02787.jpg332.1 KB · Views: 70
 -
 DSC02788.jpg524.9 KB · Views: 79
 -
 DSC02789.jpg268.2 KB · Views: 70
 -
 DSC02790.jpg261.6 KB · Views: 69
 -
 DSC02791.jpg281.9 KB · Views: 65
 -
 DSC02792.jpg325.8 KB · Views: 72
Last edited:
oding
Well-Known Member
- Joined
- Jan 11, 2015
- Messages
- 423
- Country Flag
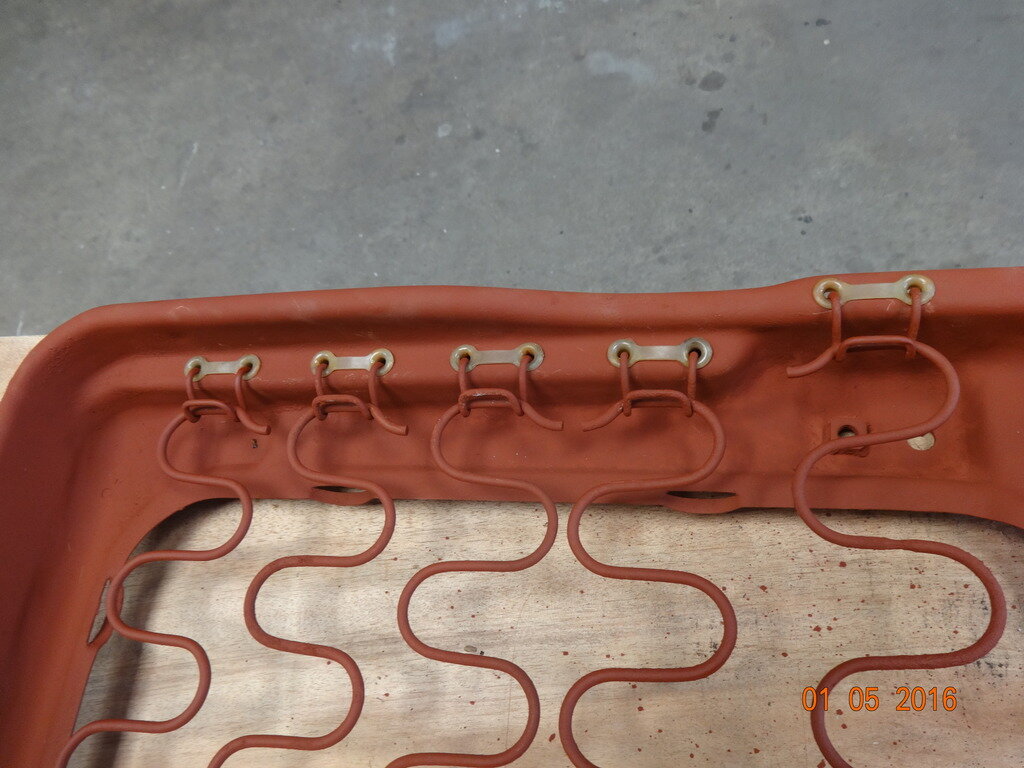
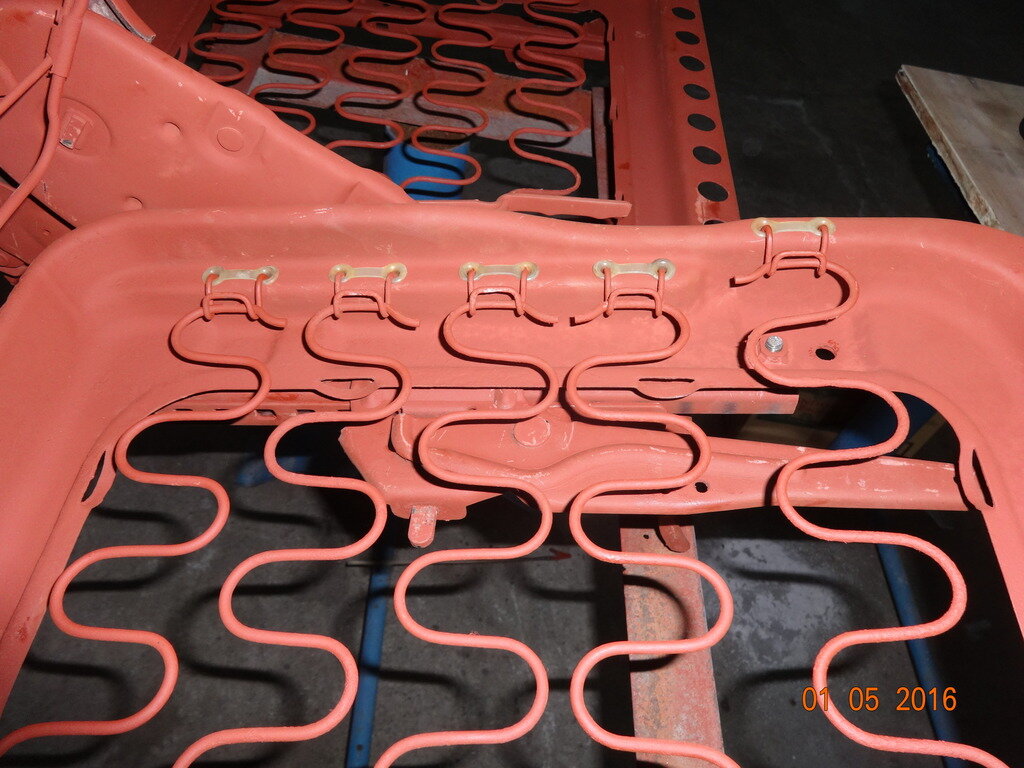
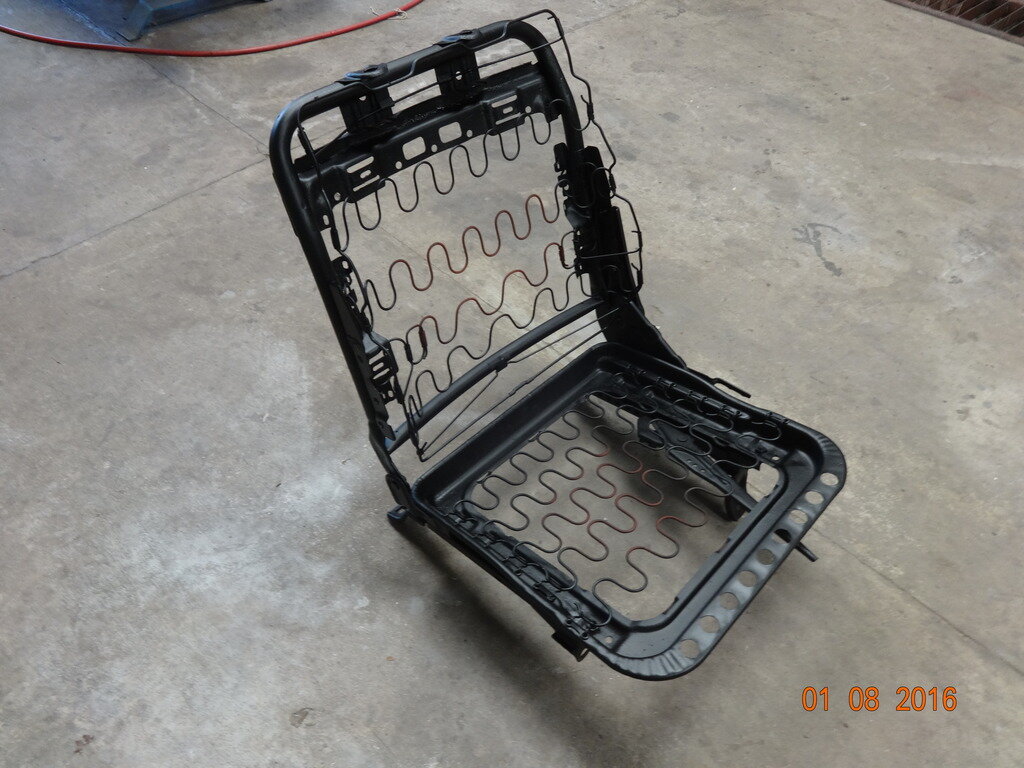
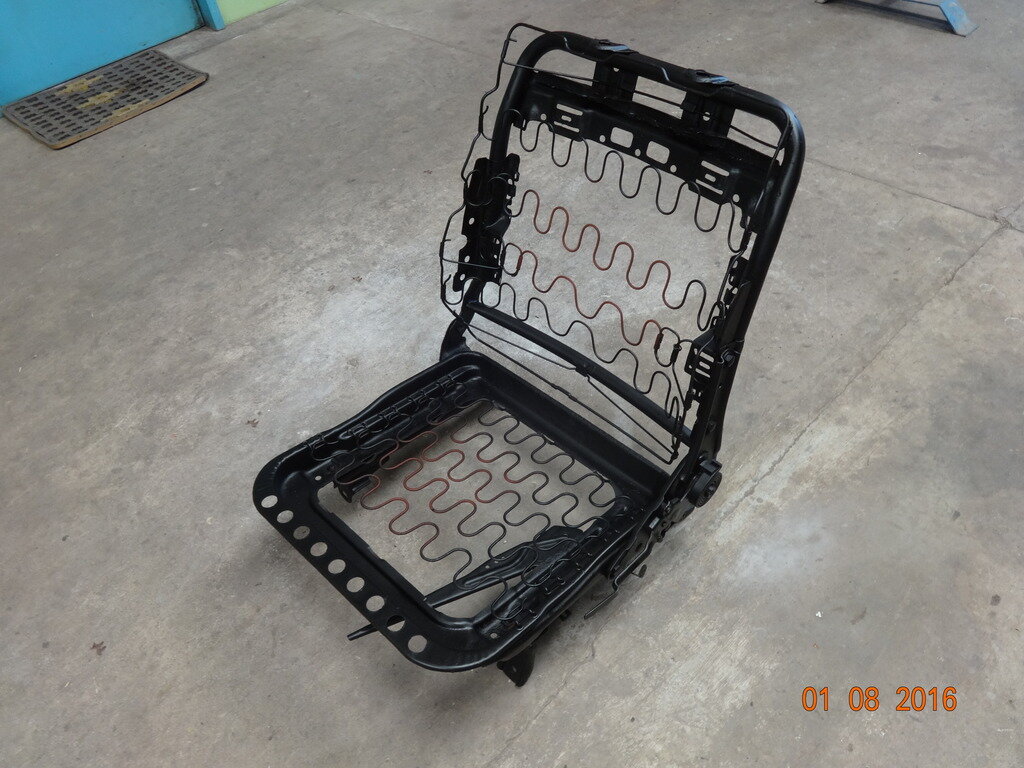
Update on the seats.


Installing the springs.


http://i468.photobucket.com/albums/...ive Restoration/HJ61 Recondition/DSC02819.jpg[/IMG
http://i468.photobucket.com/albums/rr44/oding912/Automotive%20Restoration/HJ61%20Recondition/DSC02820.jpg
Hope you enjoy the pictures. Everything is self explanatory. I would be willing to answer questions if any.
Have a great weekend everybody. :thumbup:
Installing the springs.
http://i468.photobucket.com/albums/...ive Restoration/HJ61 Recondition/DSC02819.jpg[/IMG
http://i468.photobucket.com/albums/rr44/oding912/Automotive%20Restoration/HJ61%20Recondition/DSC02820.jpg
Hope you enjoy the pictures. Everything is self explanatory. I would be willing to answer questions if any.
Have a great weekend everybody. :thumbup:
Attachments
-
 DSC02798.jpg241.7 KB · Views: 71
 -
 DSC02799.jpg257.3 KB · Views: 66
 -
 DSC02800.jpg262.6 KB · Views: 76
 -
 DSC02801.jpg292.9 KB · Views: 58
 -
 DSC02802.jpg280.7 KB · Views: 71
 -
 DSC02803.jpg244.3 KB · Views: 62
 -
 DSC02804.jpg255.8 KB · Views: 60
 -
 DSC02805.jpg239.3 KB · Views: 73
 -
 DSC02806.jpg278.4 KB · Views: 63
 -
 DSC02807.jpg264 KB · Views: 72
 -
 DSC02808.jpg283 KB · Views: 62
 -
 DSC02809.jpg280.4 KB · Views: 68
 -
 DSC02810.jpg242.7 KB · Views: 74
 -
 DSC02810.jpg242.7 KB · Views: 65
 -
 DSC02811.jpg287.5 KB · Views: 69
 -
 DSC02812.jpg250.5 KB · Views: 65
 -
 DSC02813.jpg285.3 KB · Views: 65
 -
 DSC02814.jpg261.8 KB · Views: 58
 -
 DSC02816.jpg223.8 KB · Views: 60
 -
 DSC02817.jpg410.7 KB · Views: 79
 -
 DSC02818.jpg351.9 KB · Views: 69
 -
 DSC02820.jpg192.3 KB · Views: 79
Last edited:


I was thinking it looked like a kebab house there for a minute Oding. [emoji4]
More good work there. [emoji4]
More good work there. [emoji4]
Last edited: