Don't like the adverts? Click here to remove them
You are using an out of date browser. It may not display this or other websites correctly.
You should upgrade or use an alternative browser.
You should upgrade or use an alternative browser.
TLC HJ61 total reconditioning
- Thread starter oding
- Start date
oding
Well-Known Member
- Joined
- Jan 11, 2015
- Messages
- 423
- Country Flag
Great work Oding. Super hats off. BTW, I sent you a pm. Sam
I replied to your message and thanks again.
oding
Well-Known Member
- Joined
- Jan 11, 2015
- Messages
- 423
- Country Flag
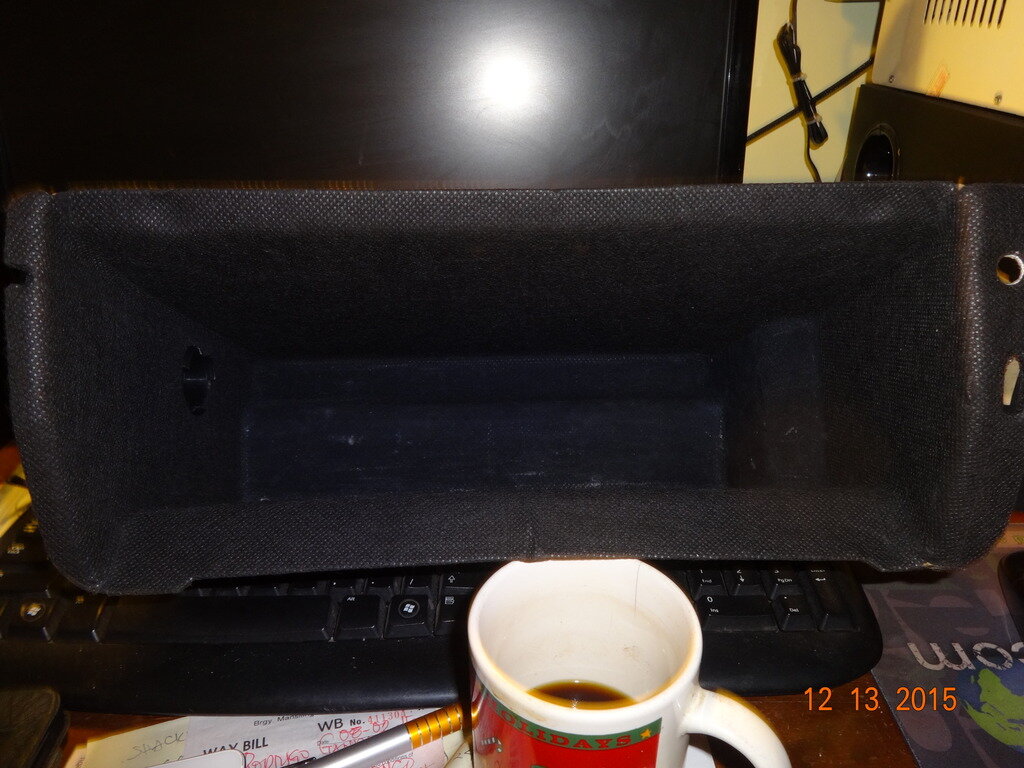
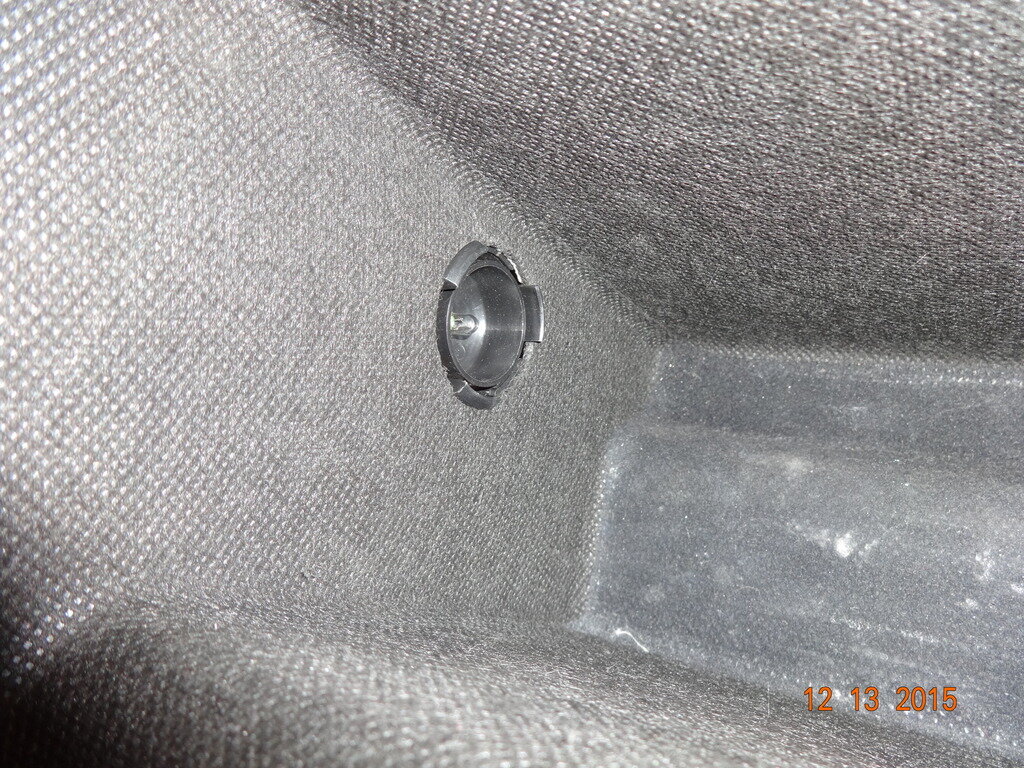
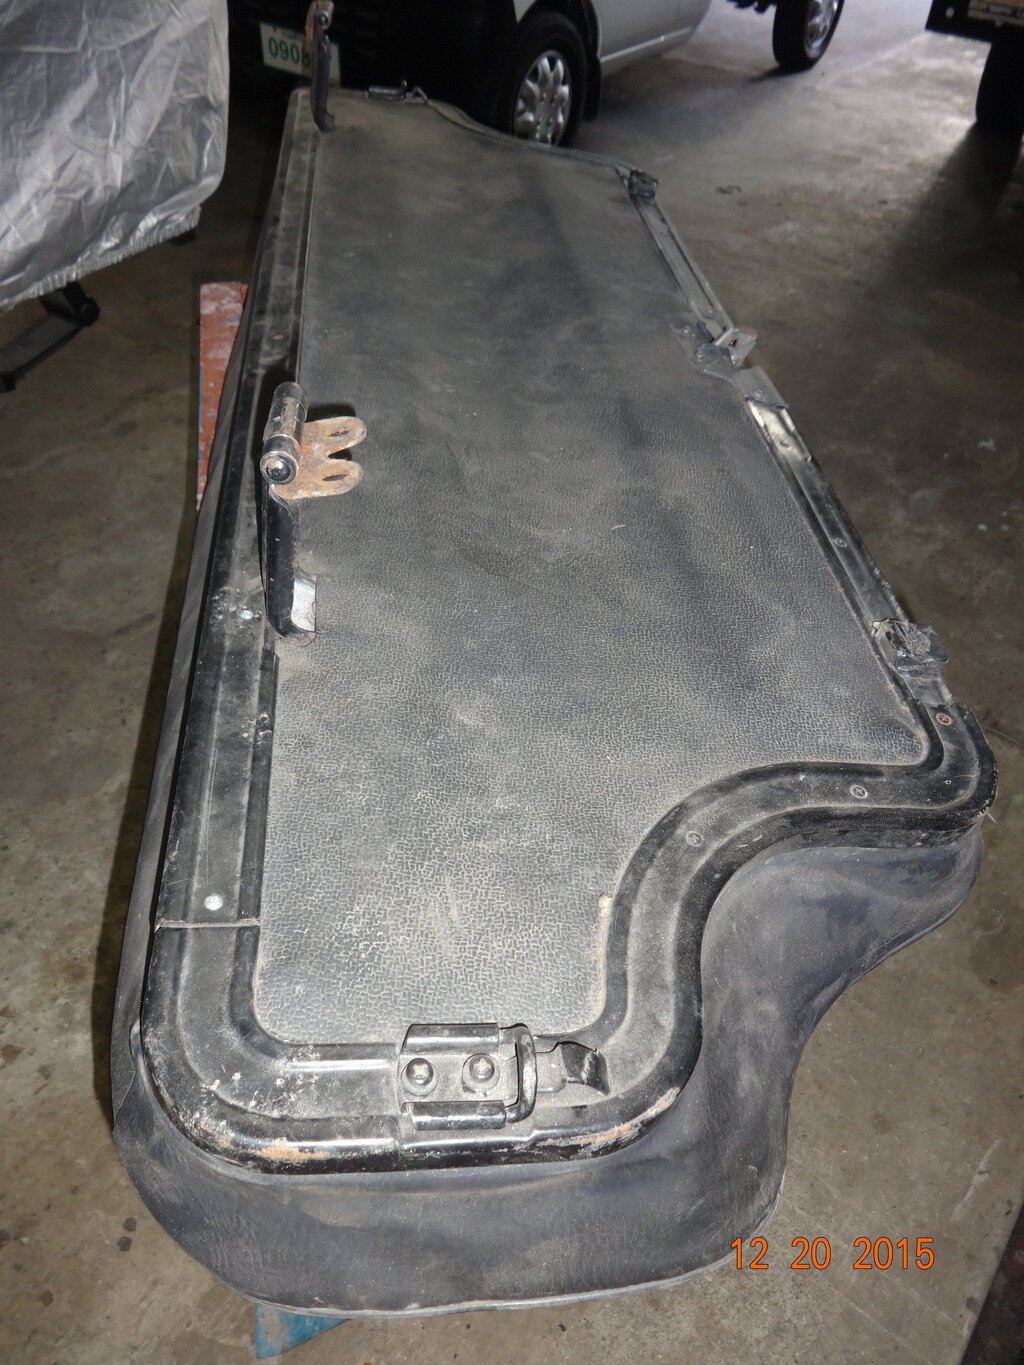
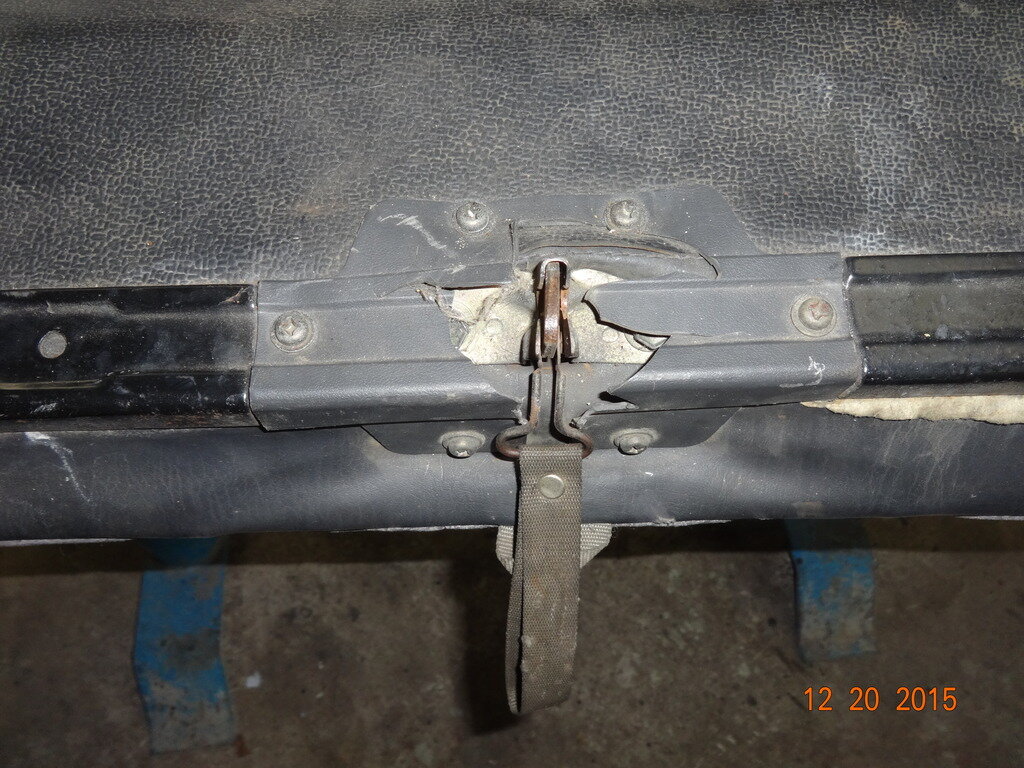
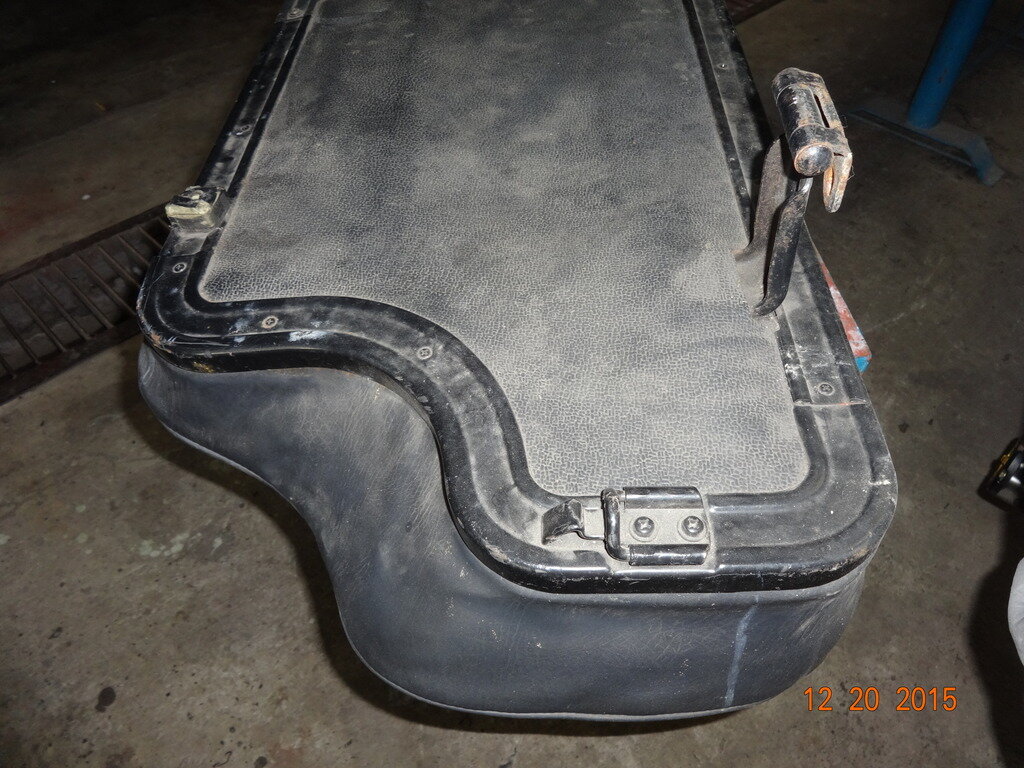
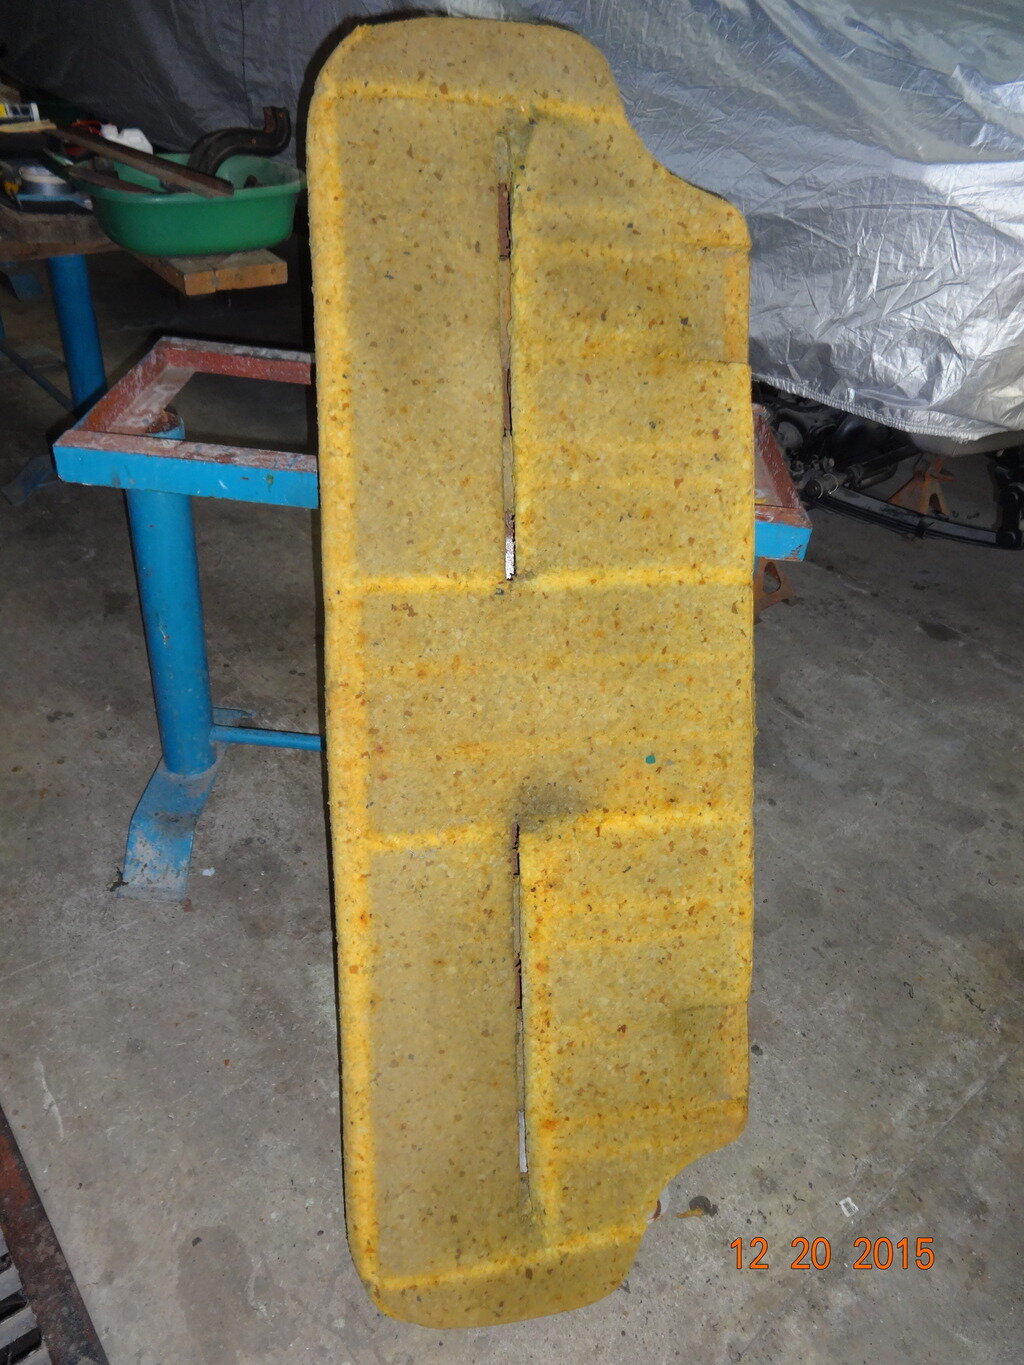
I tried to tinker with a material I bought from Ebay. They sell this as an anti-rattle sticker to be installed over a console or the glove compartment. To make the glove compartment I bought from Ebay look better, I thought I'd tinker and have some fun.
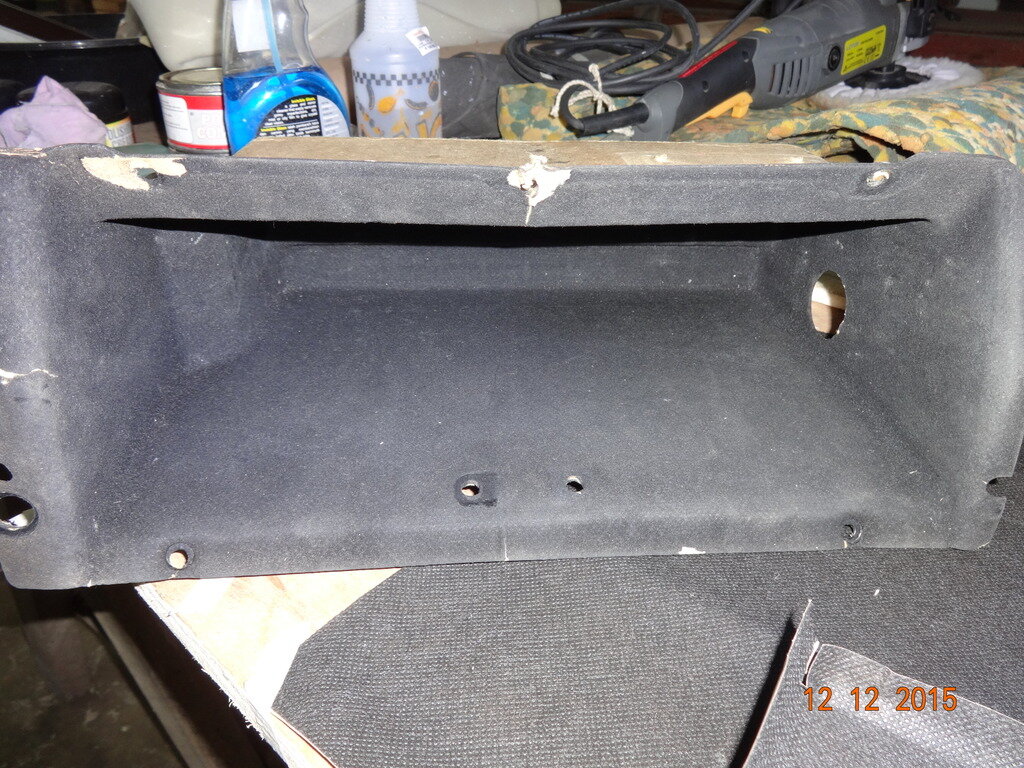
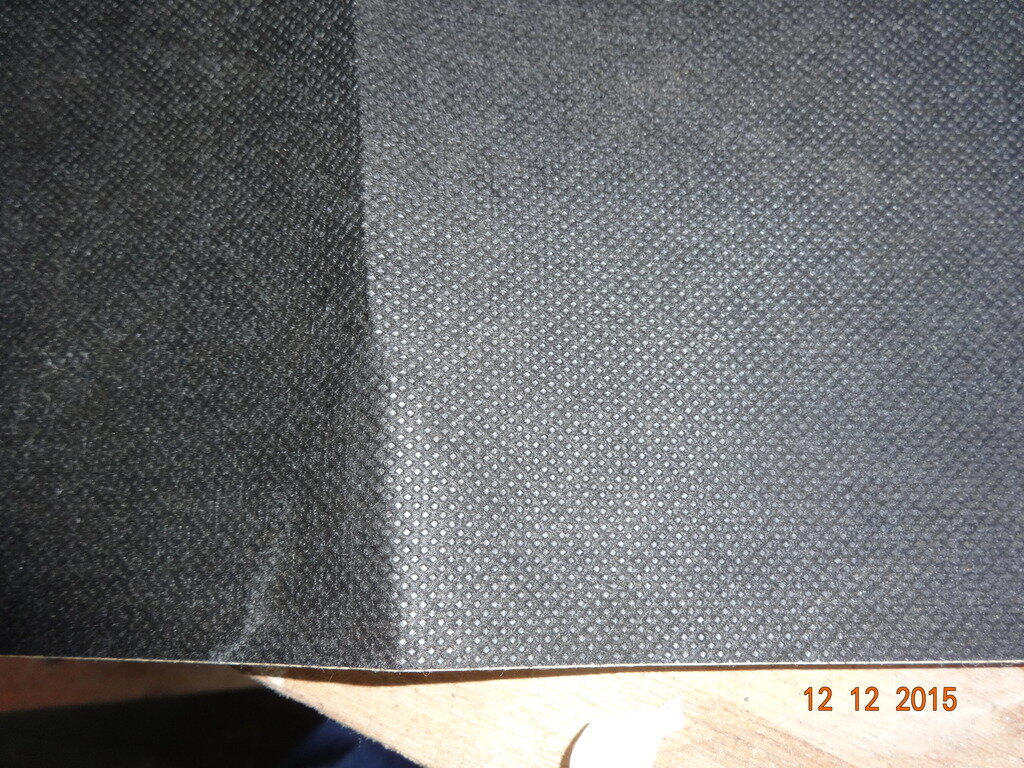
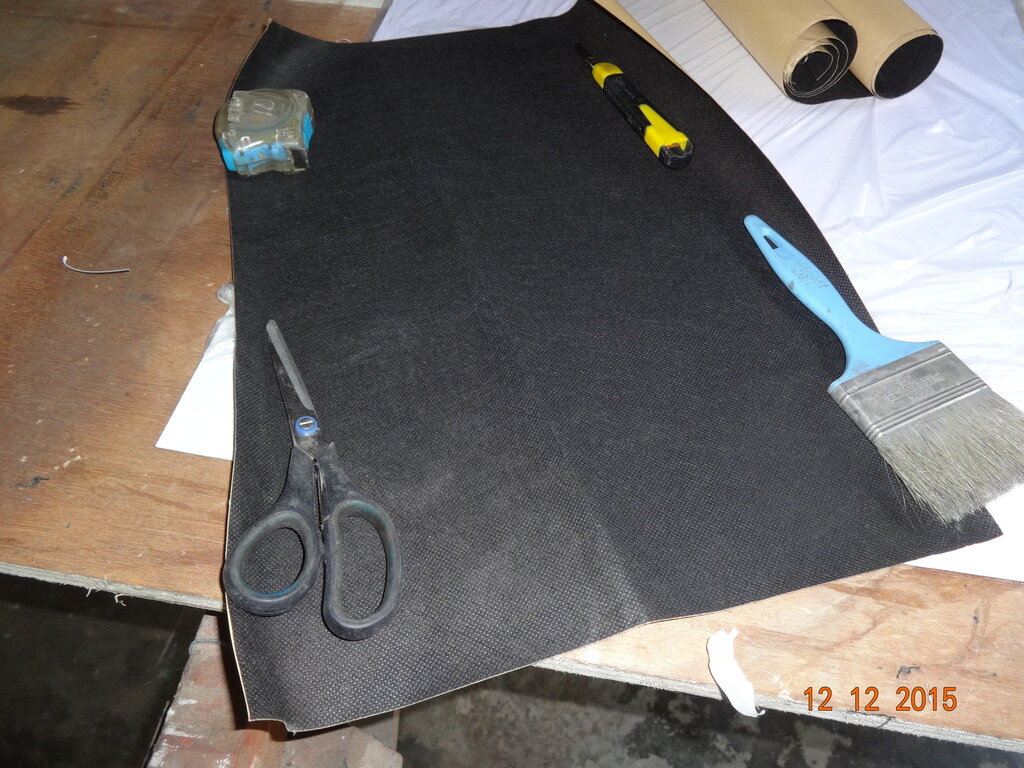
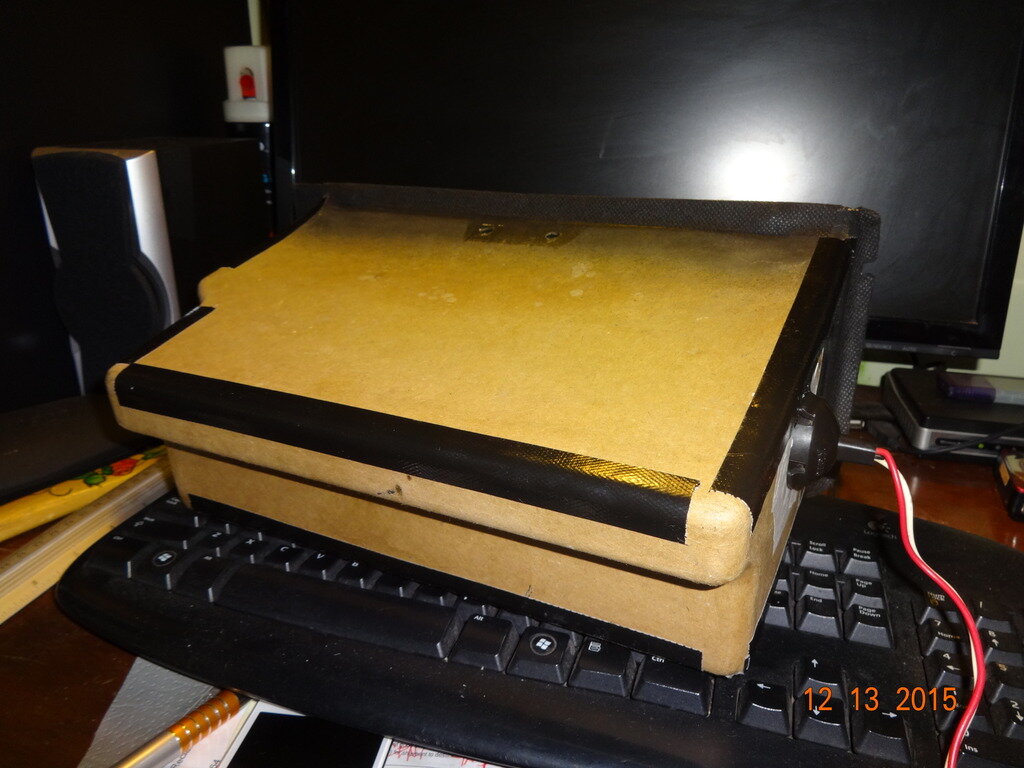
The spray adhesive that I used to reinforce some cracks with illustration board on the glove compartment.
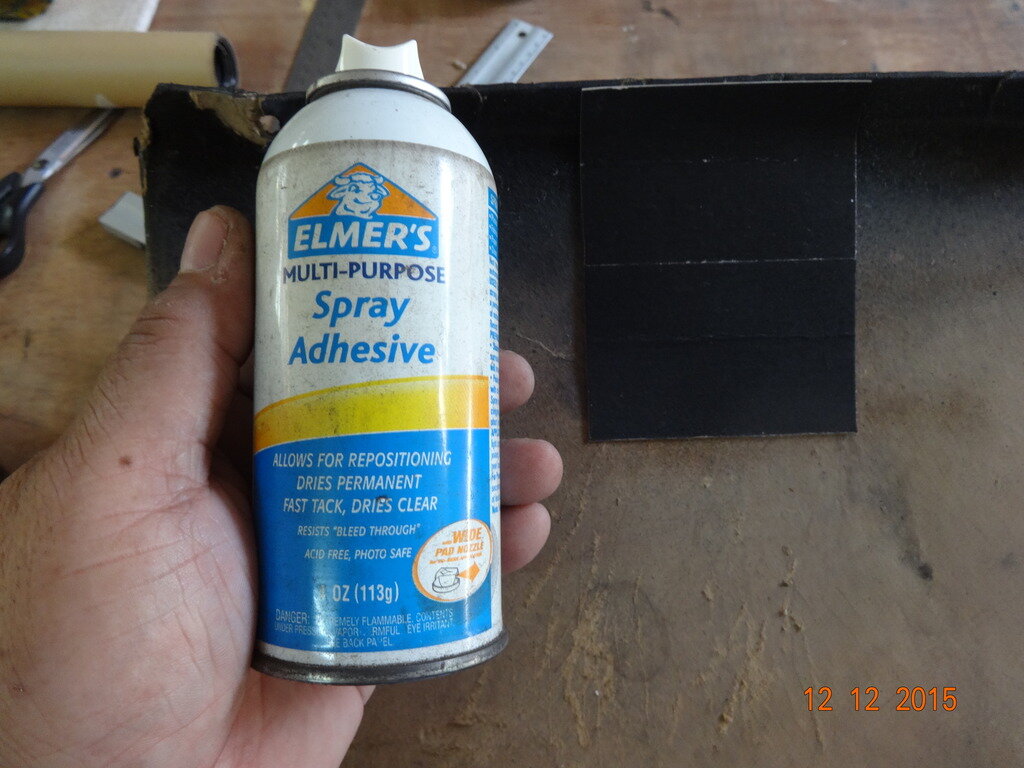
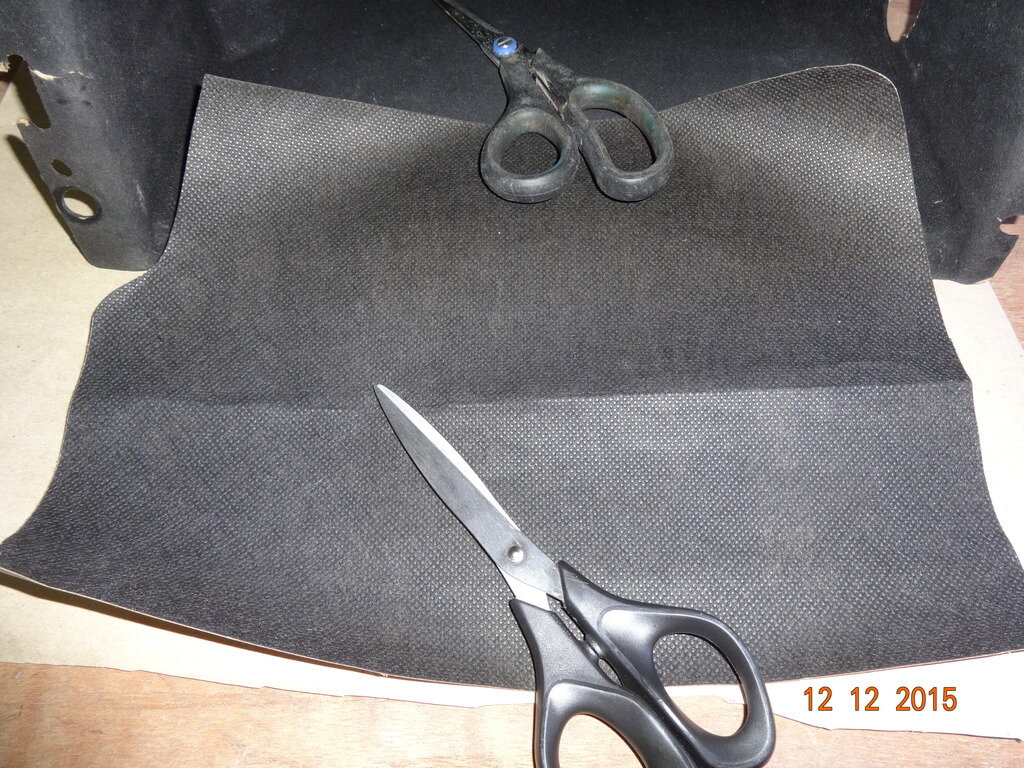
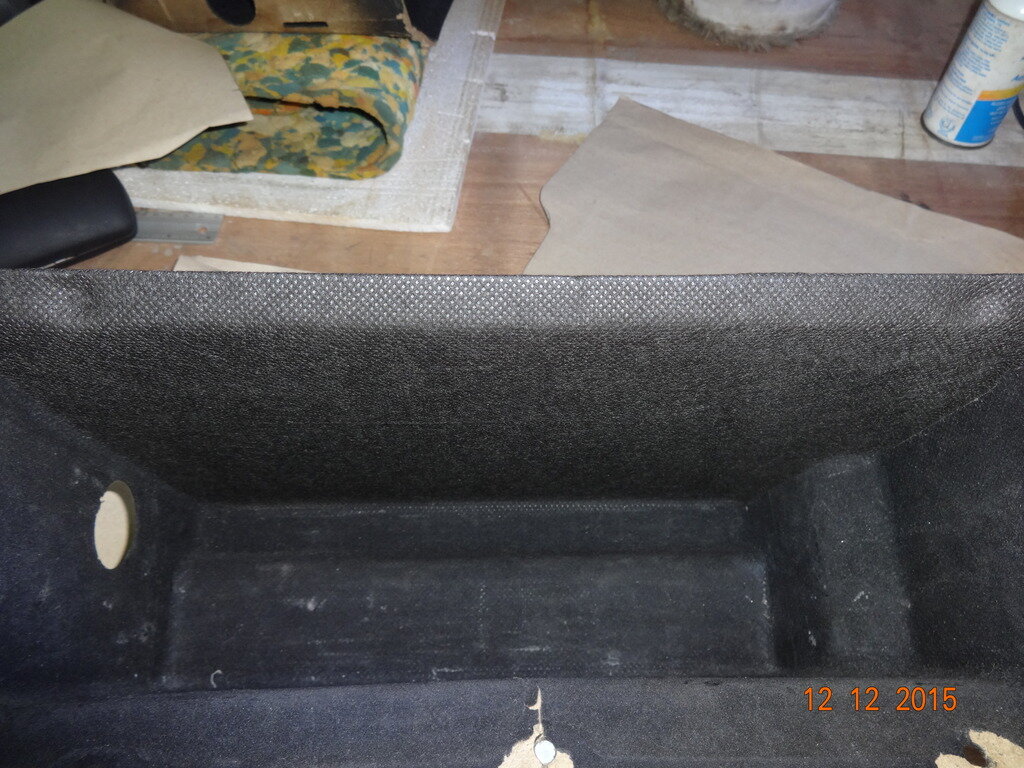
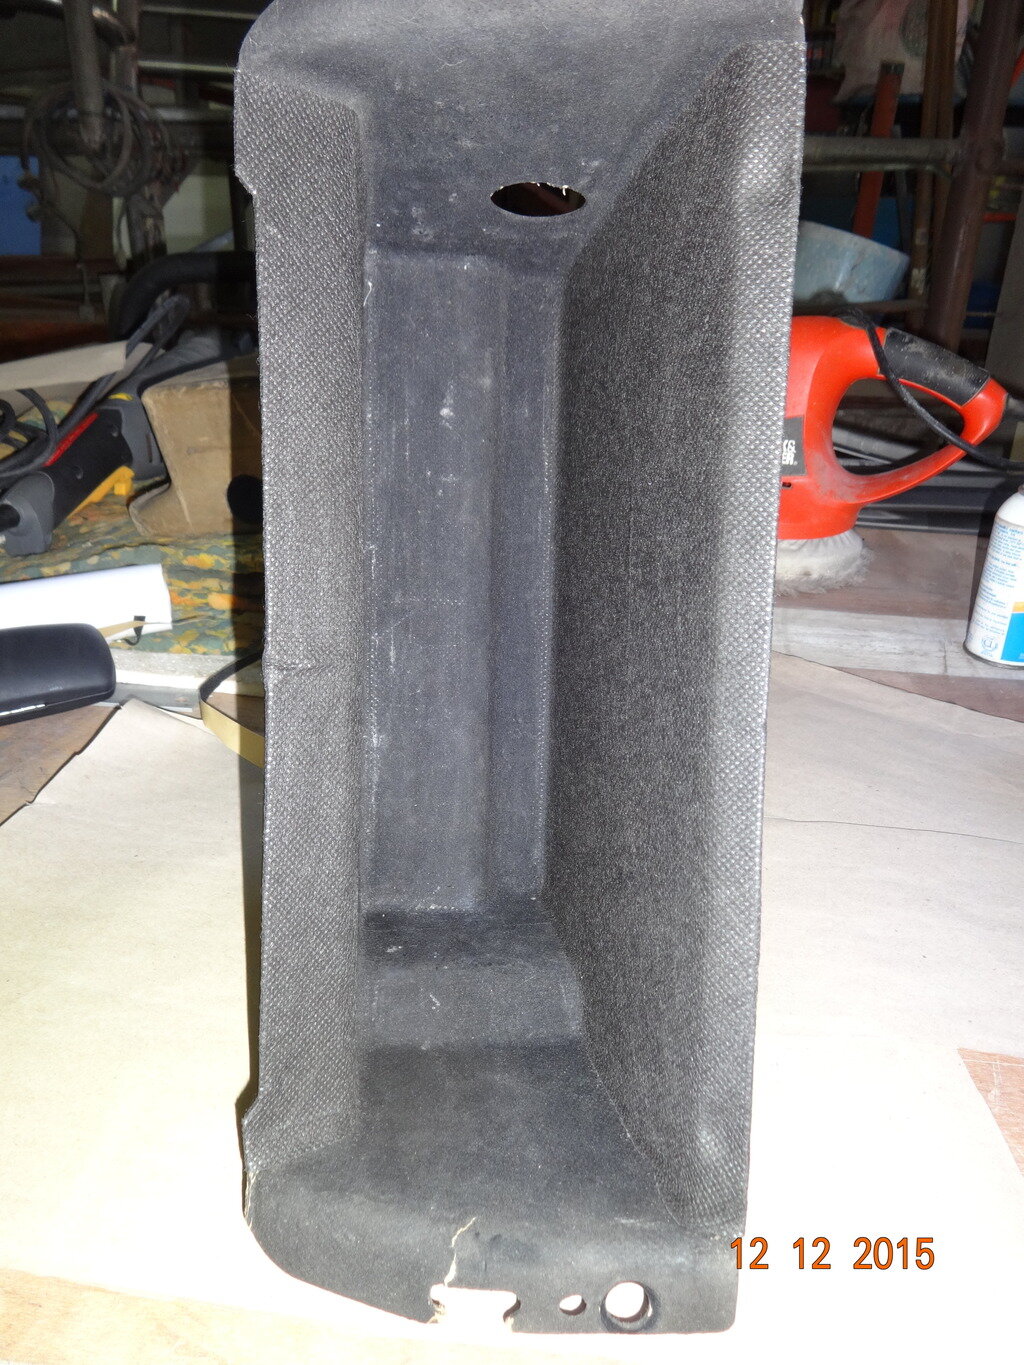
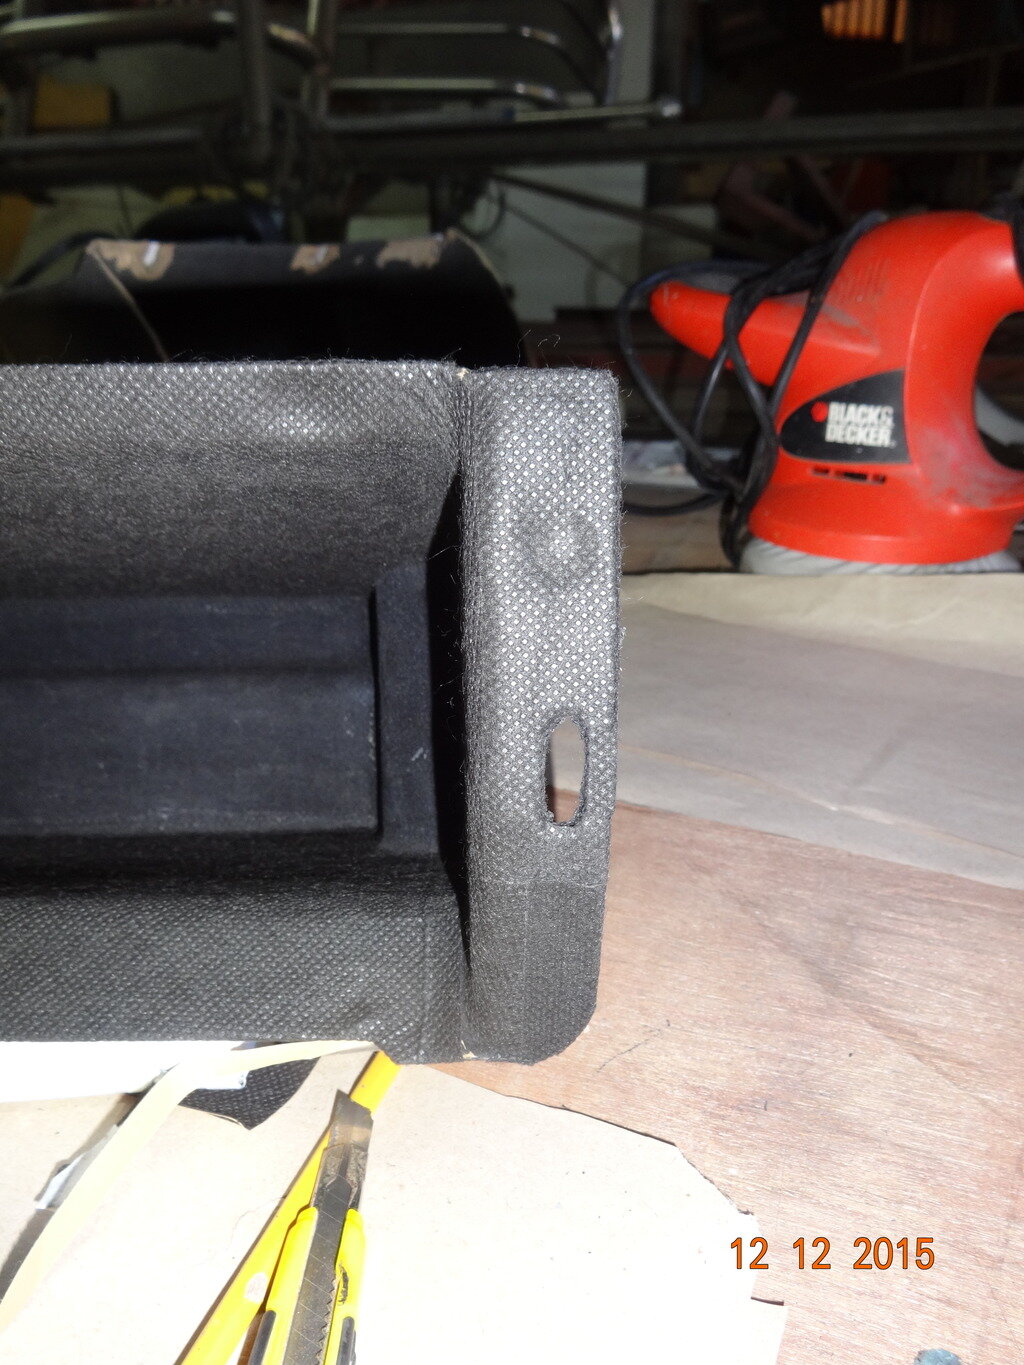
Came out pretty neat. Not only did it make the compartment look good but made it stronger.
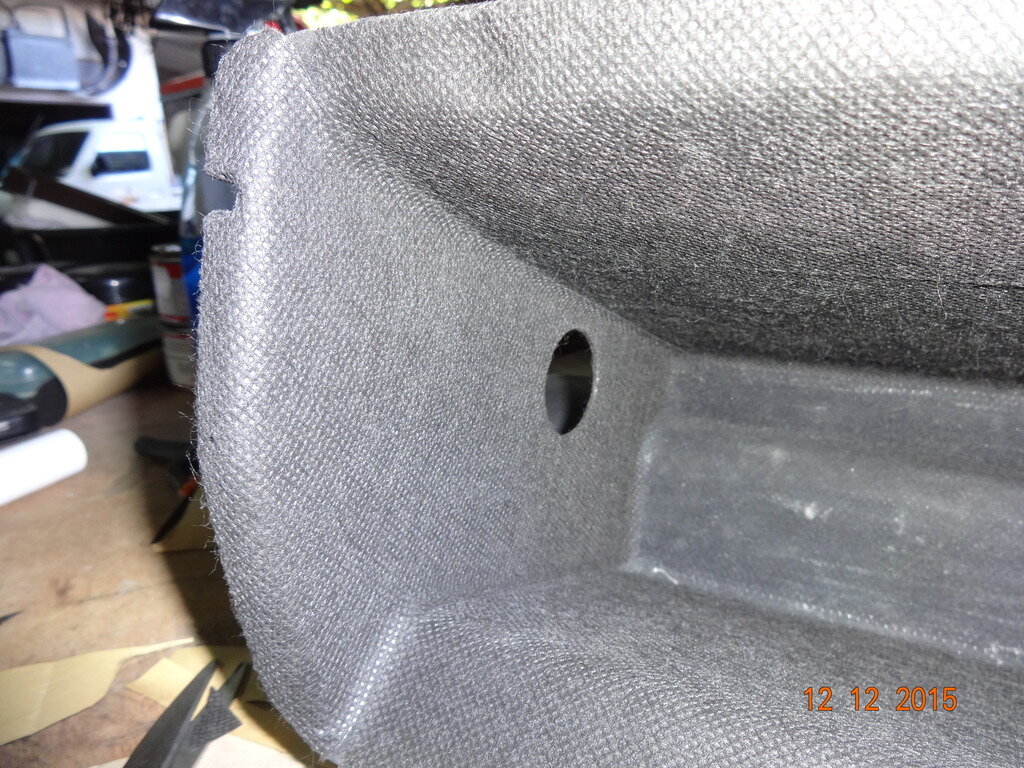


The spray adhesive that I used to reinforce some cracks with illustration board on the glove compartment.


Came out pretty neat. Not only did it make the compartment look good but made it stronger.

Last edited:
oding
Well-Known Member
- Joined
- Jan 11, 2015
- Messages
- 423
- Country Flag
Here is the link if ever you would want to order some.
http://www.ebay.com/itm/150971252966?_trksid=p2057872.m2749.l2649&ssPageName=STRK:MEBIDX:IT
or
http://www.ebay.com/itm/Adhesive-No...321420?hash=item257ad1370c:g:d~oAAMXQZdFRGv9f
http://www.ebay.com/itm/150971252966?_trksid=p2057872.m2749.l2649&ssPageName=STRK:MEBIDX:IT
or
http://www.ebay.com/itm/Adhesive-No...321420?hash=item257ad1370c:g:d~oAAMXQZdFRGv9f
Last edited:
That's really rather neat Oding. Nice work…again! [emoji122][emoji108][emoji3]
Don't like the adverts? Click here to remove them
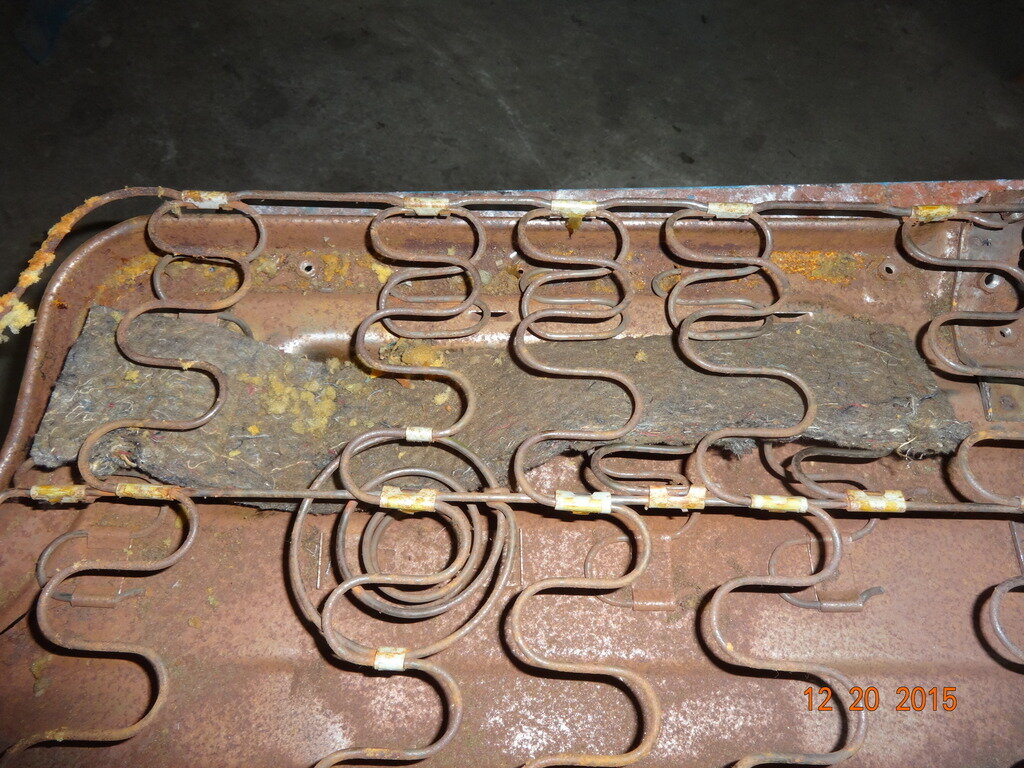
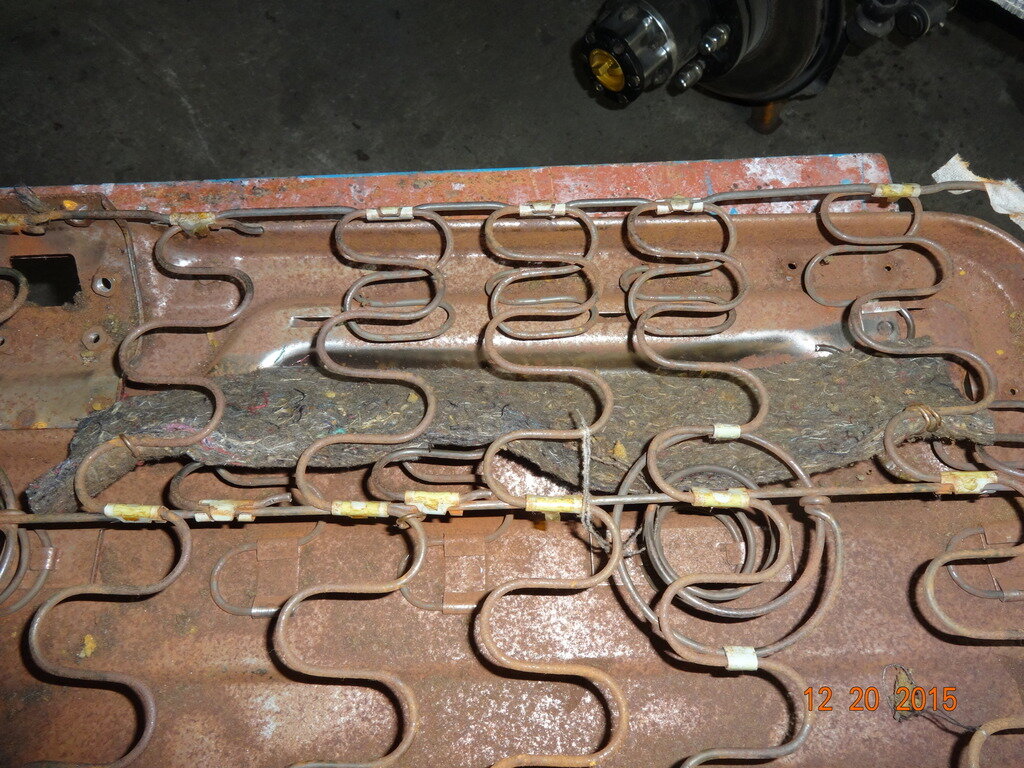
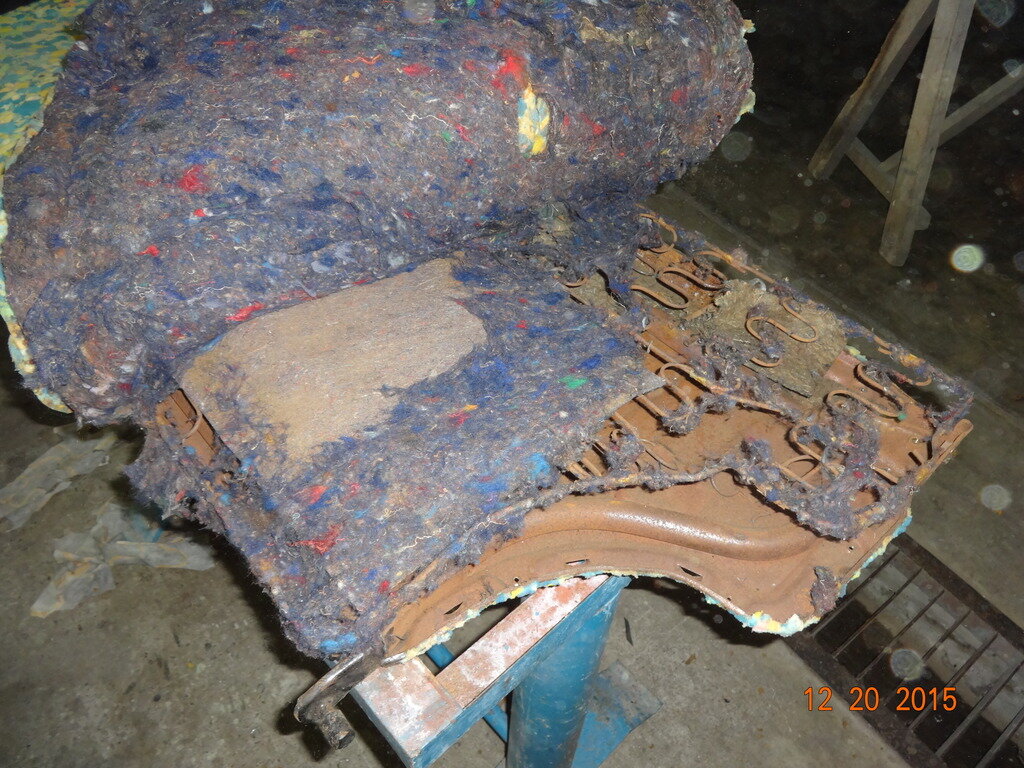
That looks painful Oding, let alone painstaking.
I had one and a half of those zig-zag wires poke out of the side of my driver's seat on the 80, and the foam had gone brittle and had broken into several pieces.
Thankfully I've been able to replace them, I really don't think I'd have the patience to do what you're doing Oding.
Well done for your stamina, this truck is going to be beautiful and renewed, not just a refurb...
oding
Well-Known Member
- Joined
- Jan 11, 2015
- Messages
- 423
- Country Flag
That looks painful Oding, let alone painstaking.
I had one and a half of those zig-zag wires poke out of the side of my driver's seat on the 80, and the foam had gone brittle and had broken into several pieces.
Thankfully I've been able to replace them, I really don't think I'd have the patience to do what you're doing Oding.
Well done for your stamina, this truck is going to be beautiful and renewed, not just a refurb...
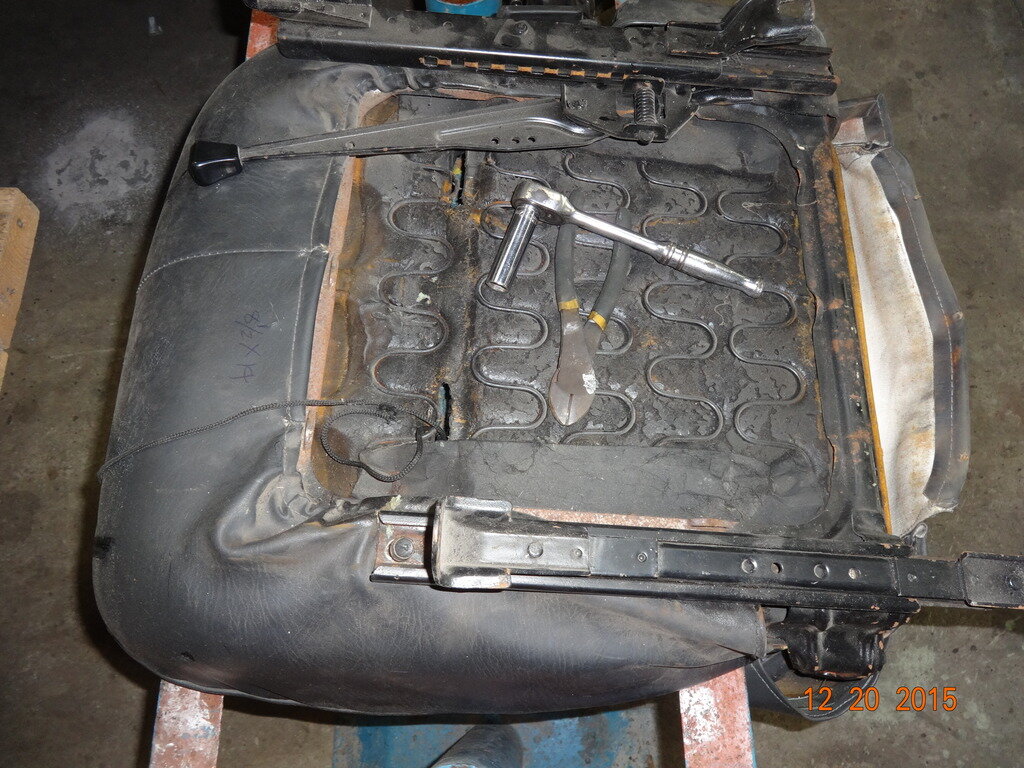
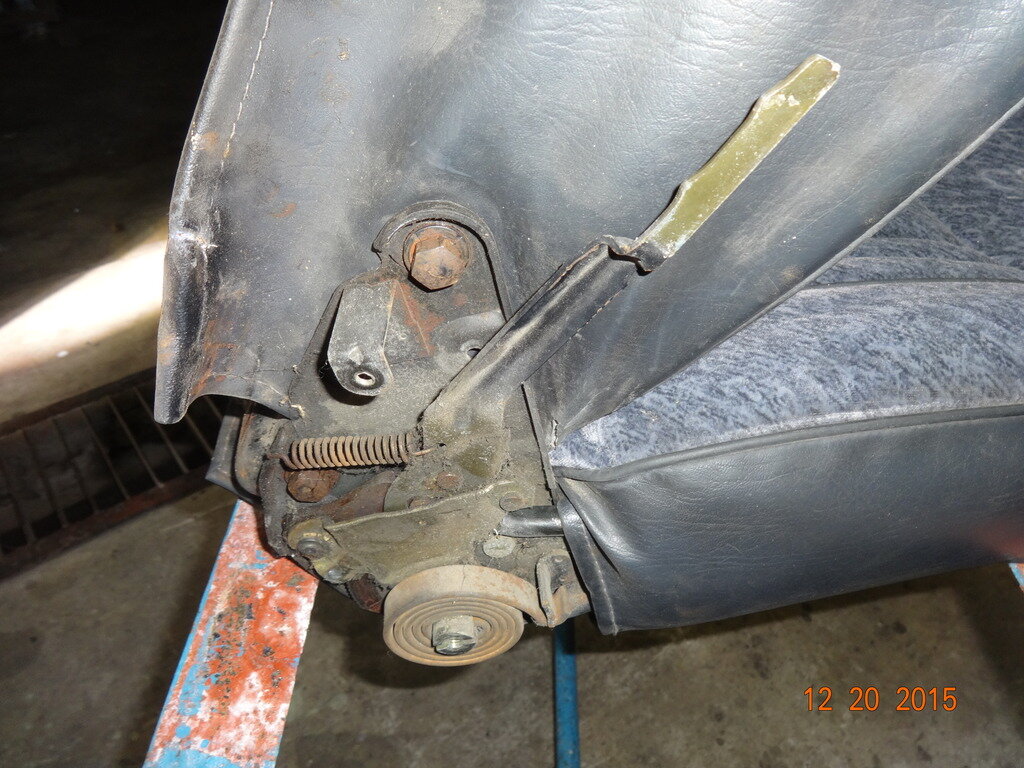
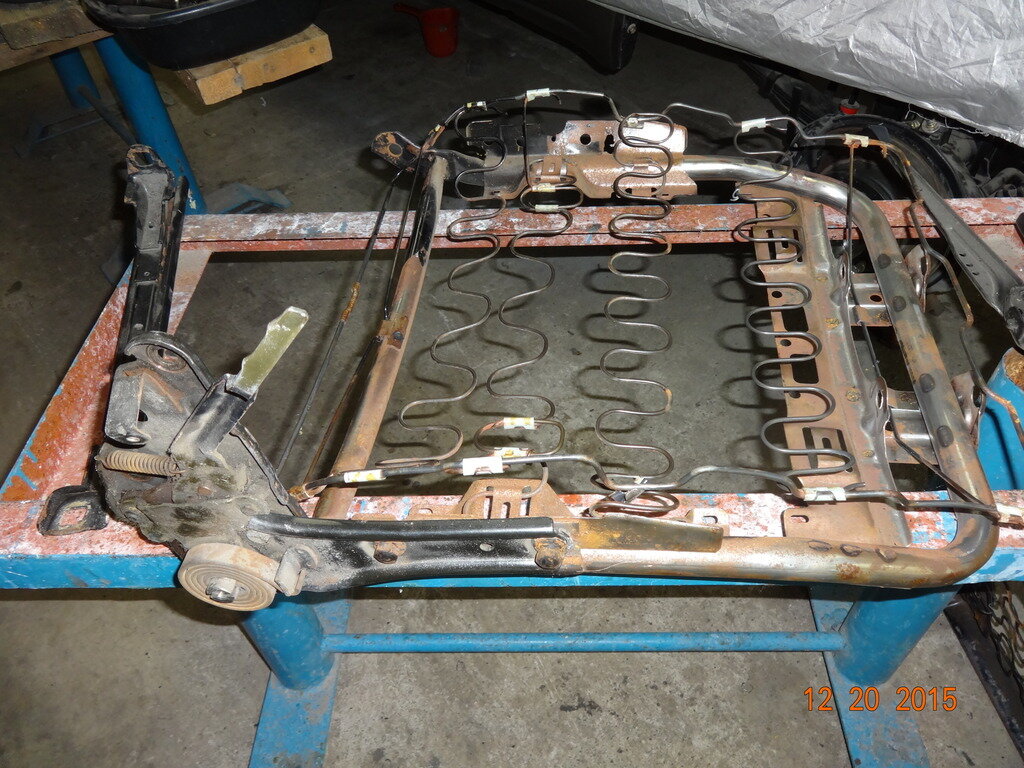
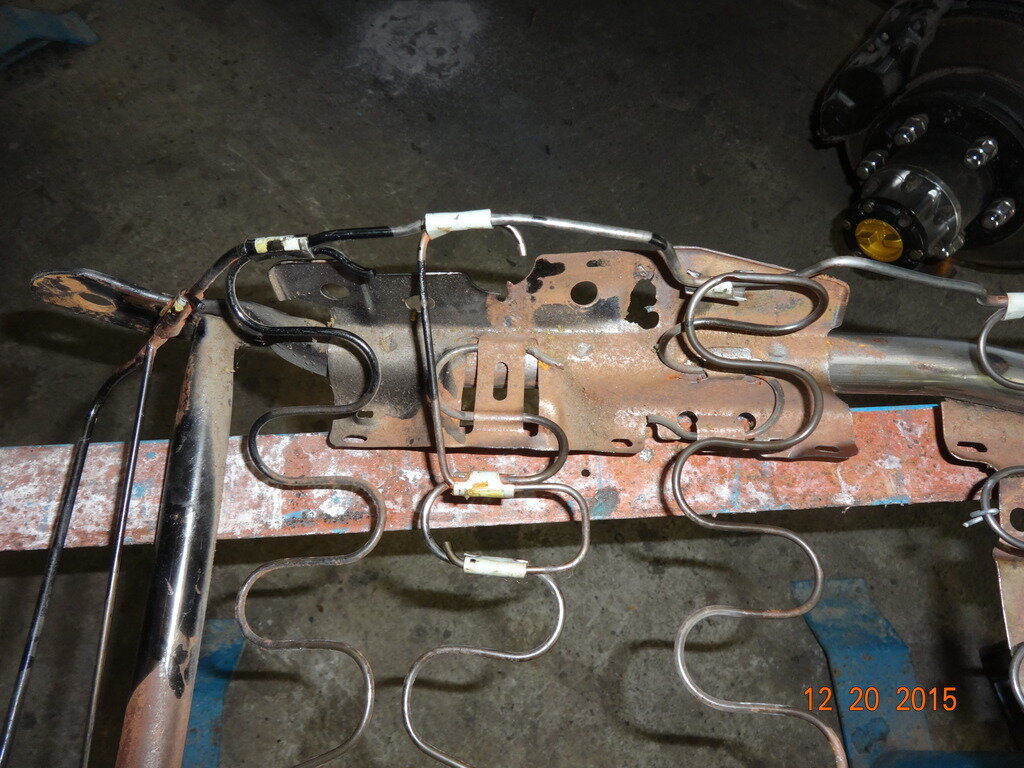
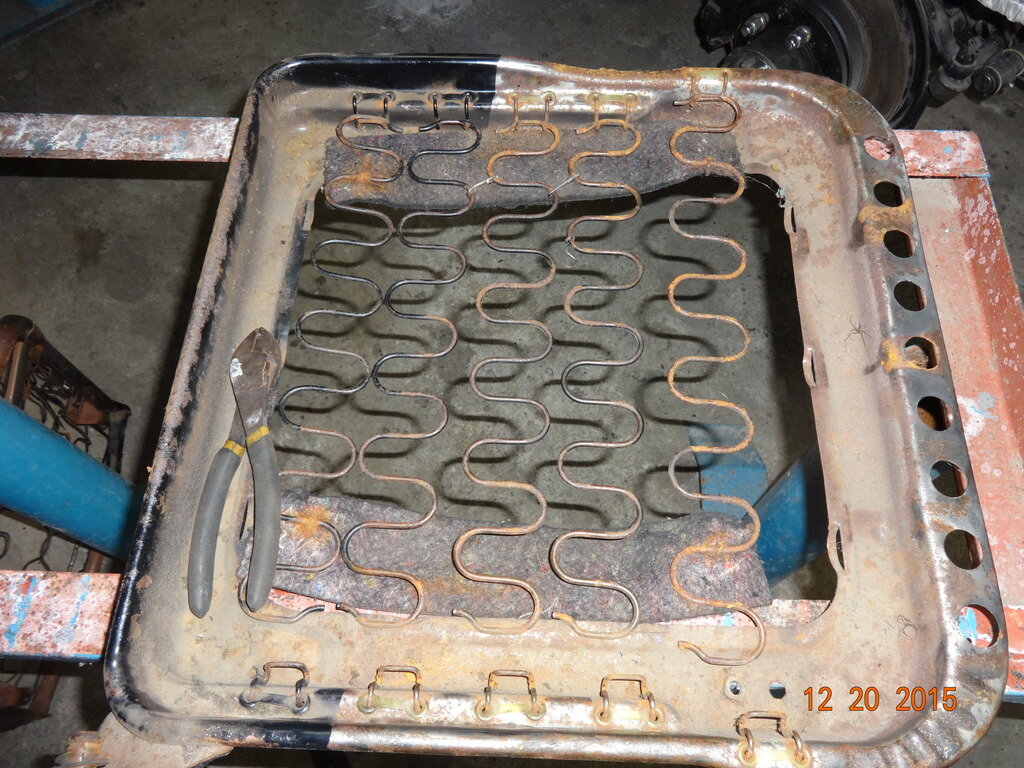
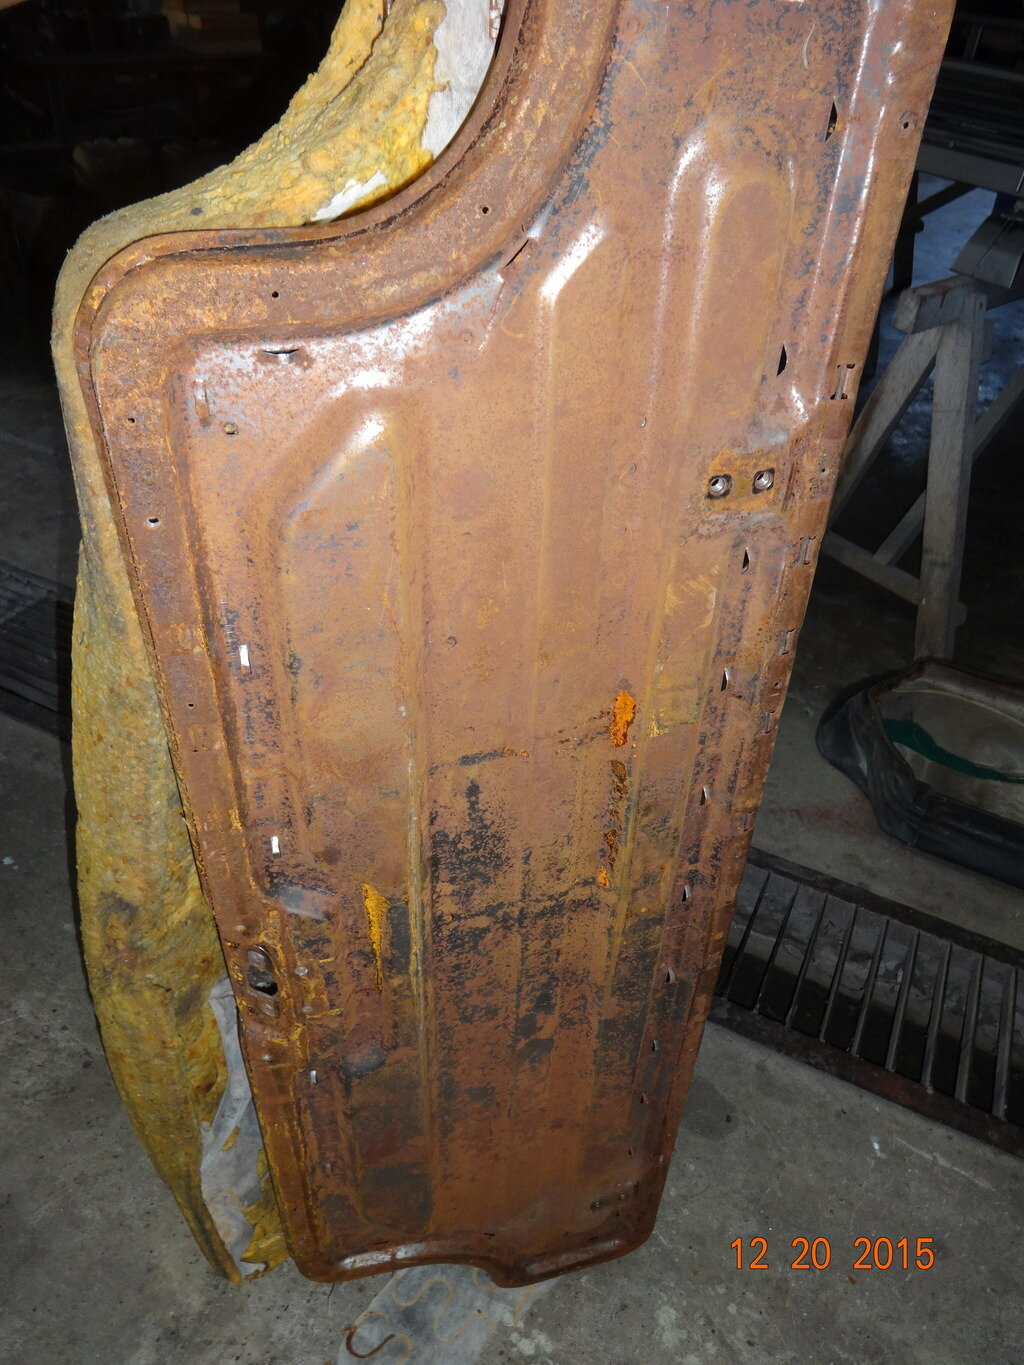
There was really something wrong with the seats that I just had to look into it. As you can see, the foams are all worn out and needs to be re-padded with a more dense foam. There were some welded parts that came apart. Bolts and plastic bushings were also missing. C clips were replaced with GI wires. And because this is were the driver and passengers will judge the condition of the vehicle, I just had to do it. To be honest, I love to take things apart and put them back together and be able to understand what and how it works. Crazy me.
And a very merry Christmas to you too Oding,
.....and a good well deserved rest as well, methinks.
.....and a good well deserved rest as well, methinks.
Merry Christmas Oding. Have loved seeing your fabulous work and attention to detail.
Best wishes to you and your family.
Richard
Best wishes to you and your family.
Richard
Nice Oding, very nice. That has turned out far better than I imagined. [emoji108][emoji122]
oding
Well-Known Member
- Joined
- Jan 11, 2015
- Messages
- 423
- Country Flag
Have you ever come across this broken indicators? I've been looking for this part over the internet but can't find one in good condition. All that I have come accrossed have broken or melted lens.
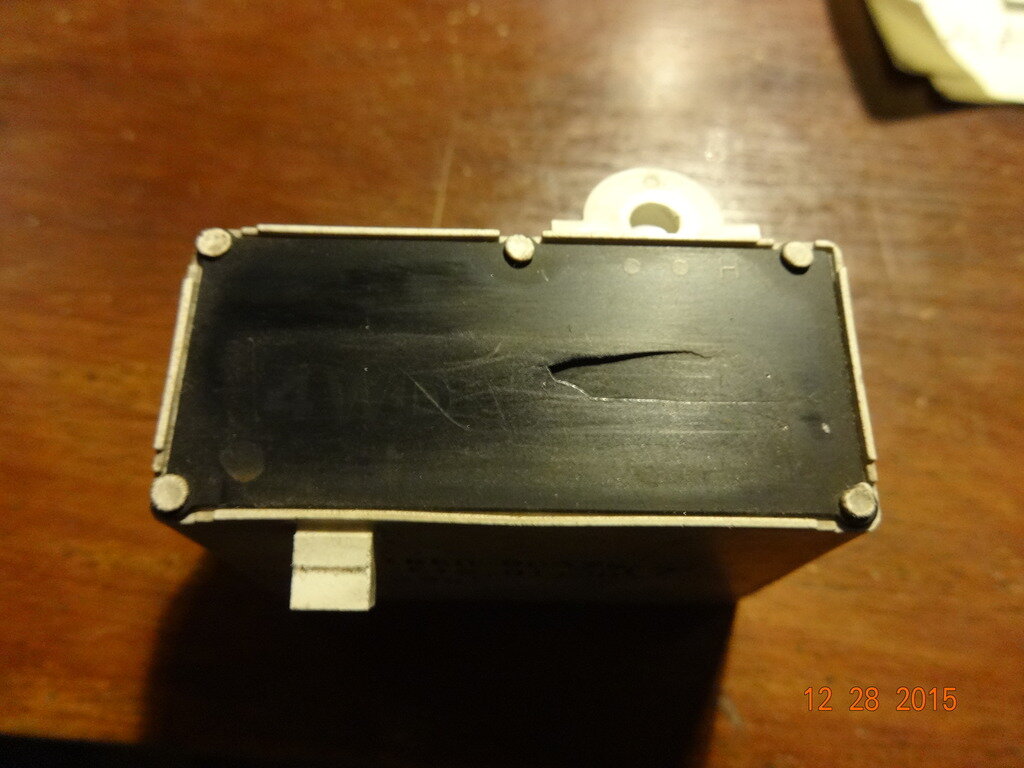
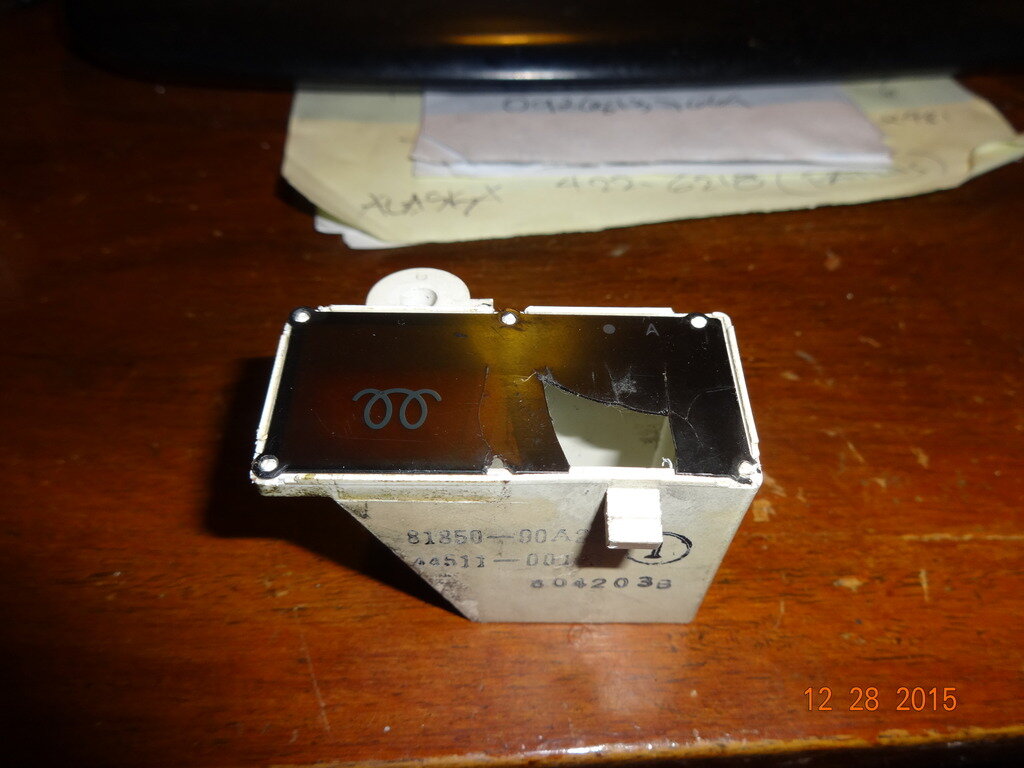
So for temporarily replacing the lens, I used old negative films of photo. Like the kodak roll!!
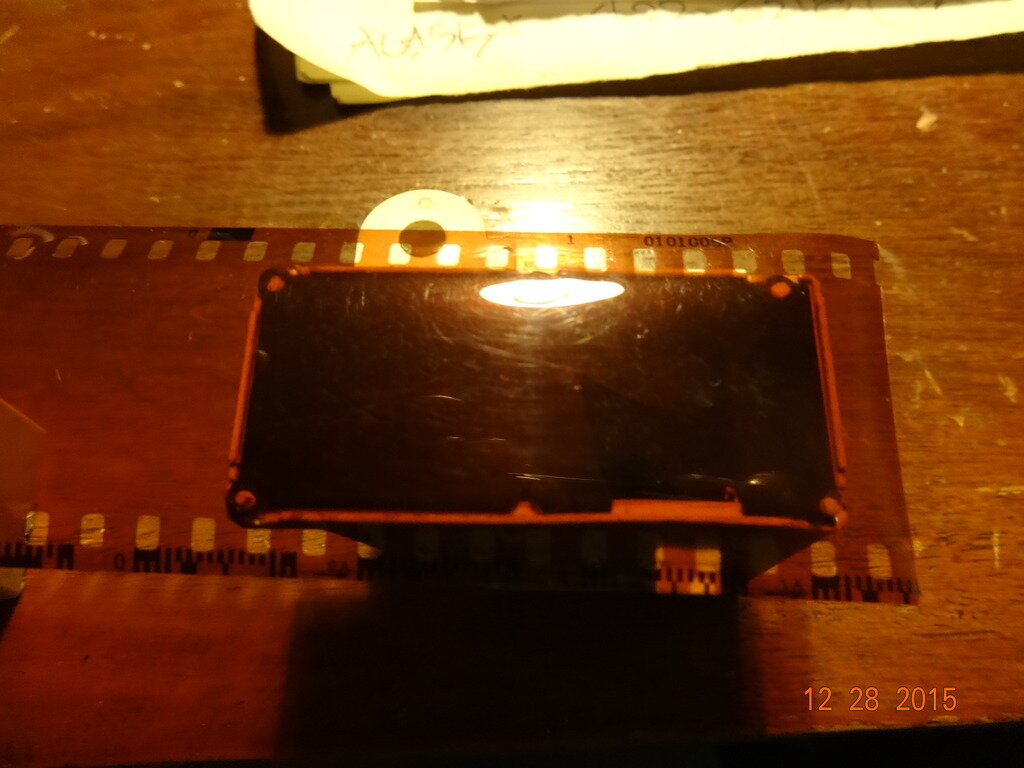
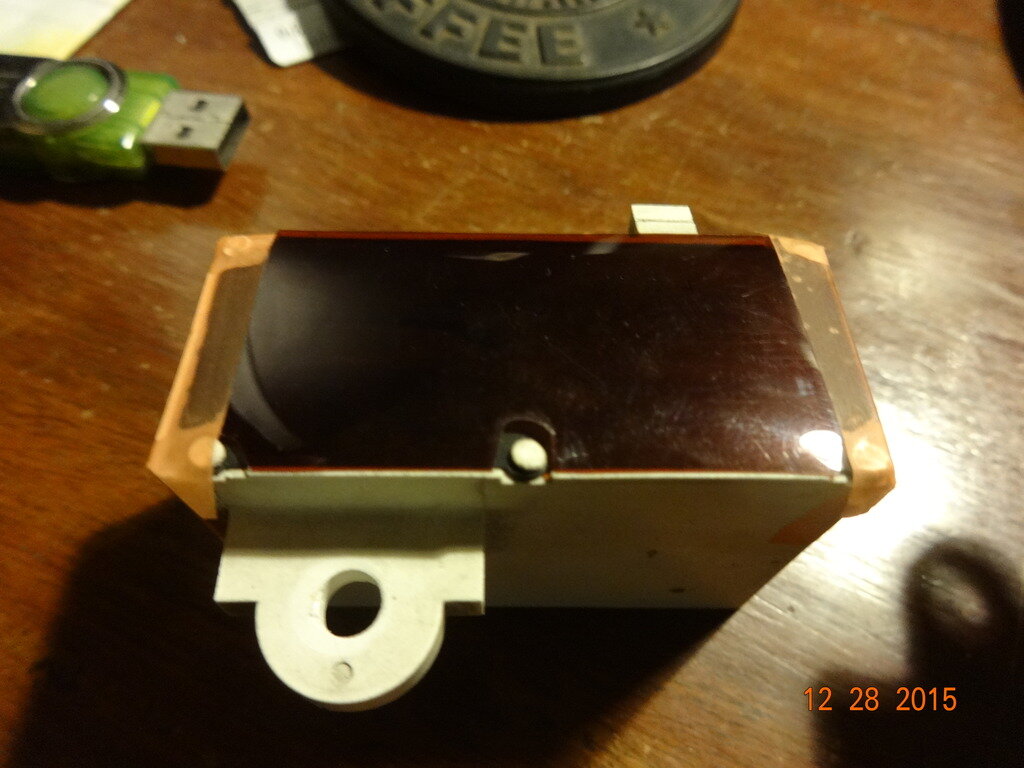
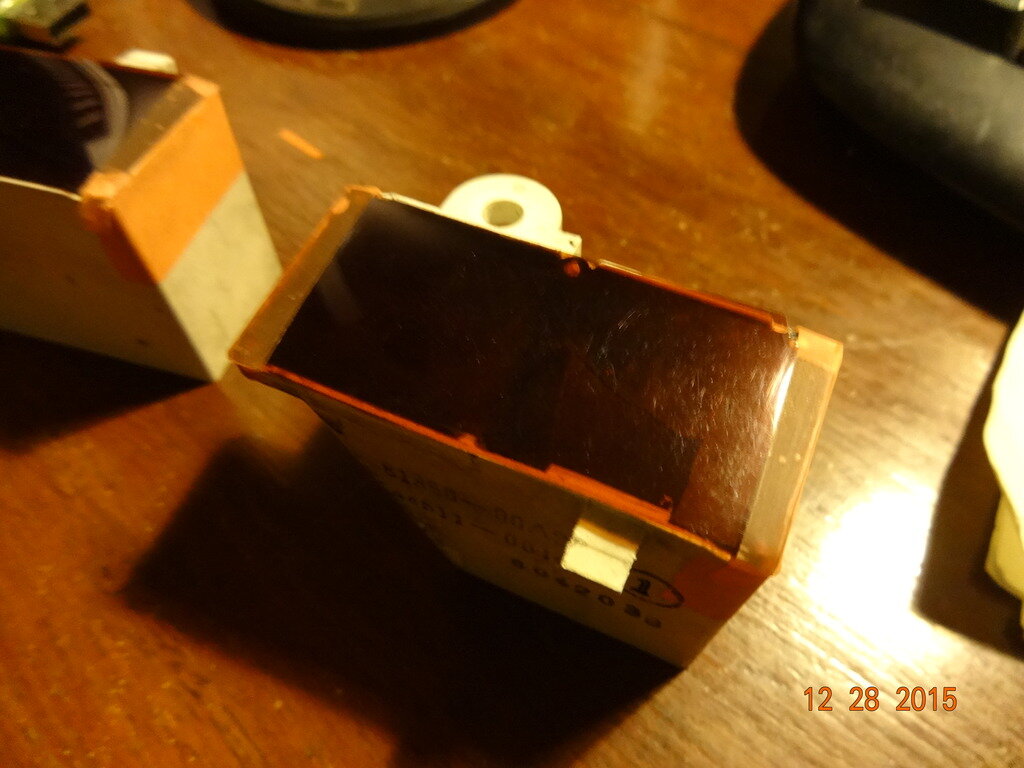
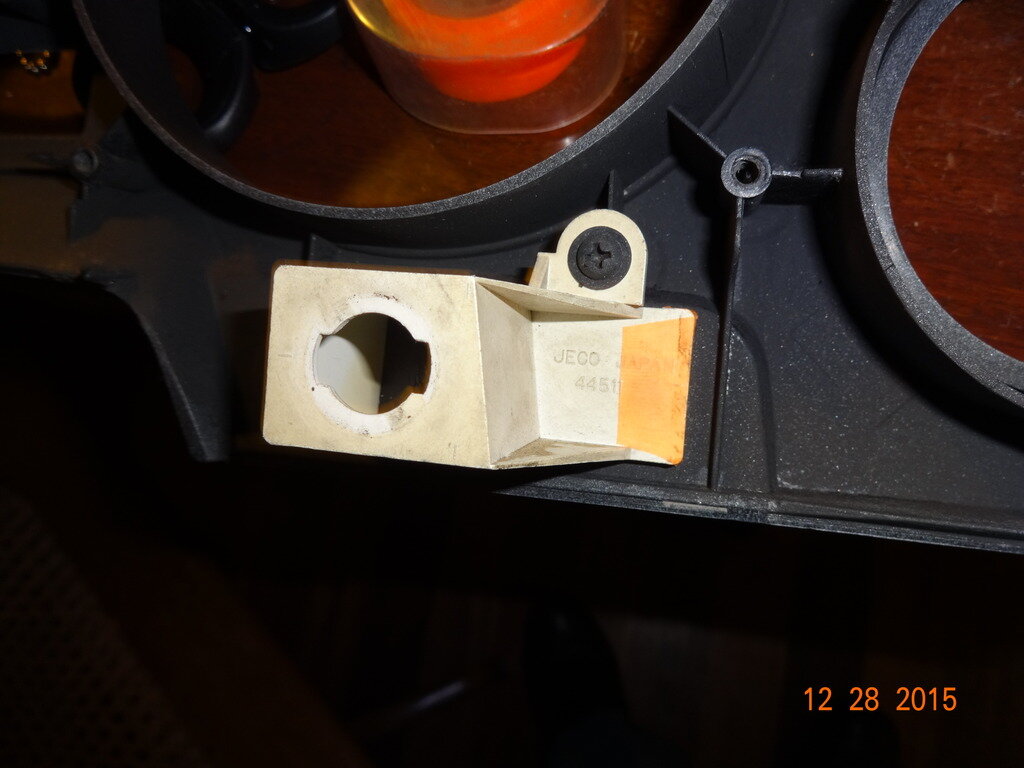
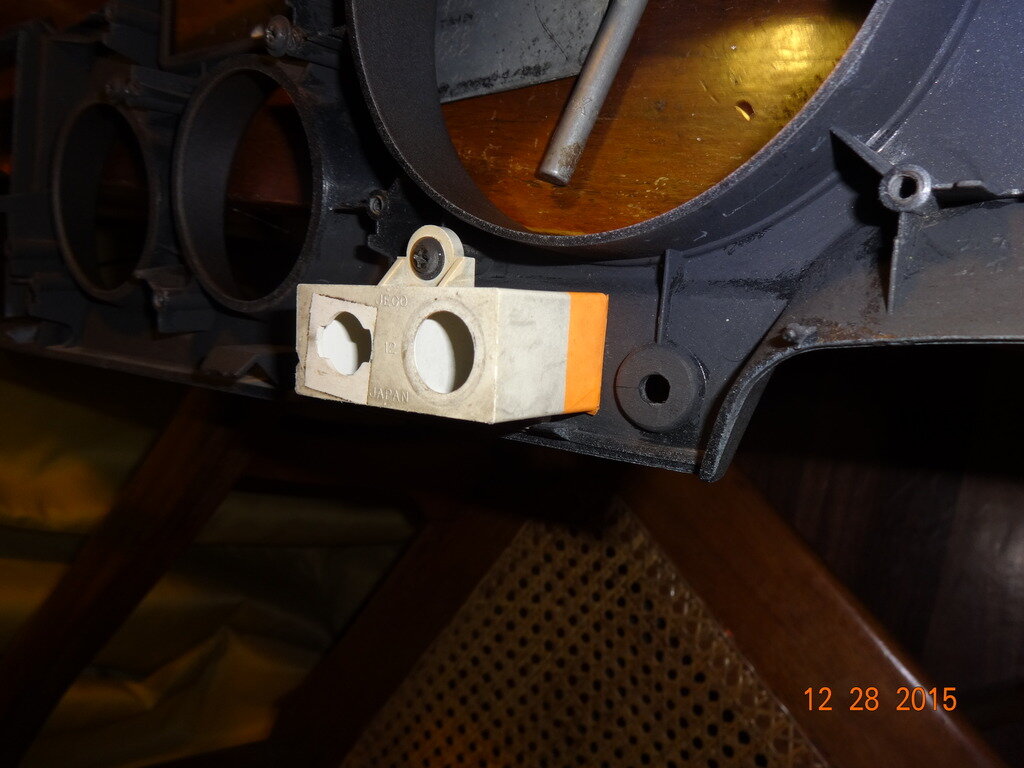
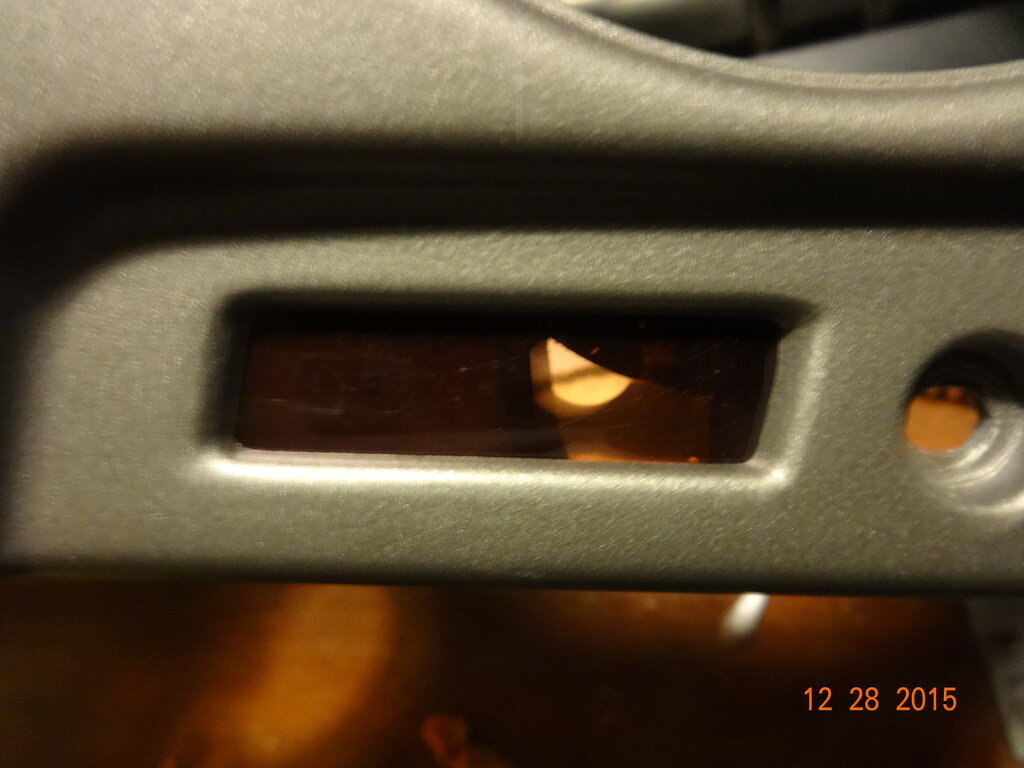
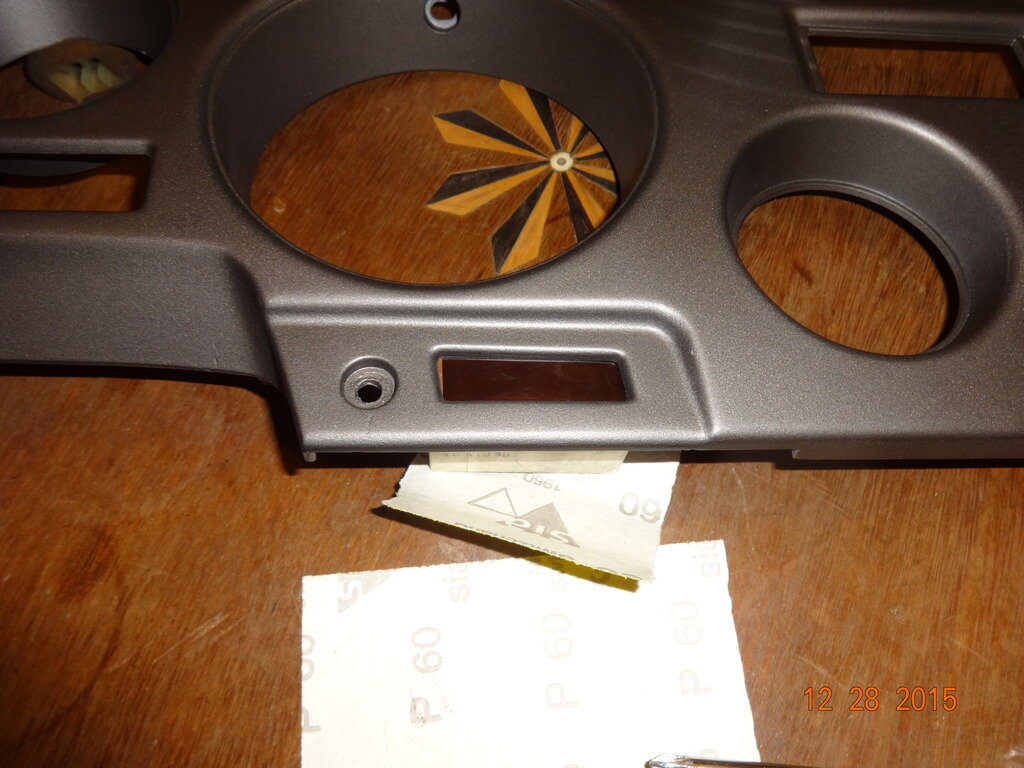
Came out neat but I would still prefer to replace if it would be available.


So for temporarily replacing the lens, I used old negative films of photo. Like the kodak roll!!


Came out neat but I would still prefer to replace if it would be available.
Last edited:
The only thing I can think of Oding is to get an instrument cluster from any car with the correct symbols on from a car dismantlers and remove the symbols and filter and cut it to fit yours.
Last edited:
Iwan
Well-Known Member
- Joined
- Mar 28, 2011
- Messages
- 1,907
- Country Flag
Hi there Odin.. I have a dash unit that has been split for parts. Its from the second truck I had during the restoration of mine. I had a look earlier and they're in fine condition. PM me if your interested. All the best iwan 
Similar threads
- Replies
- 27
- Views
- 3K


