Don't like the adverts? Click here to remove them
You are using an out of date browser. It may not display this or other websites correctly.
You should upgrade or use an alternative browser.
You should upgrade or use an alternative browser.
TLC HJ61 total reconditioning
- Thread starter oding
- Start date
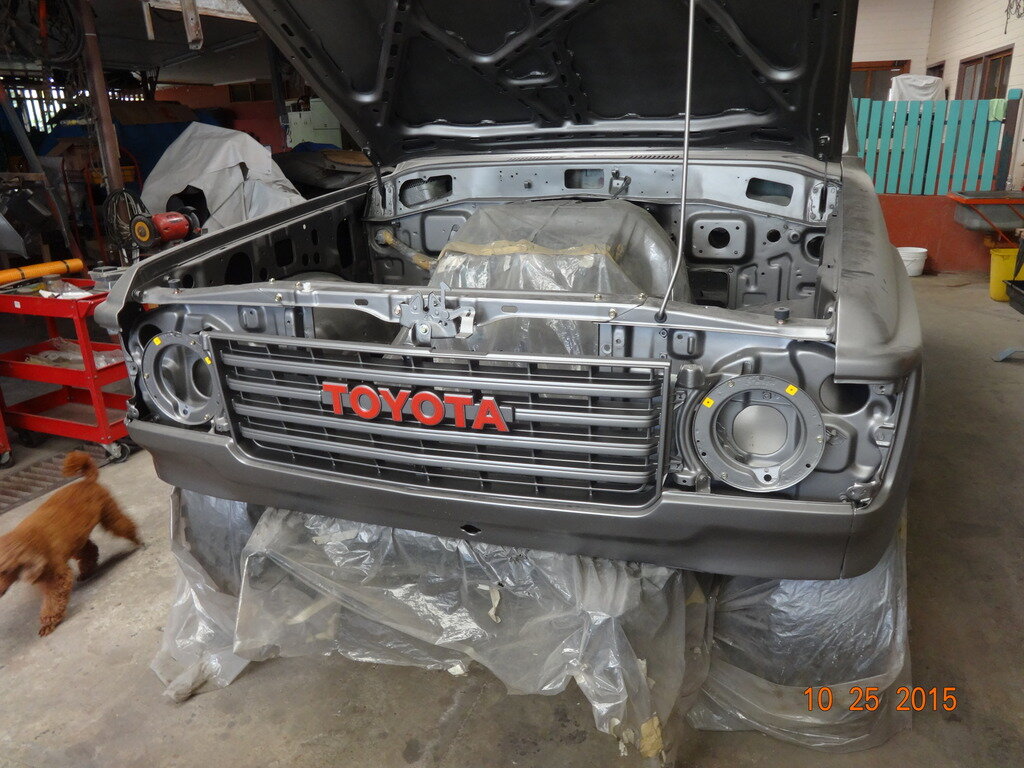
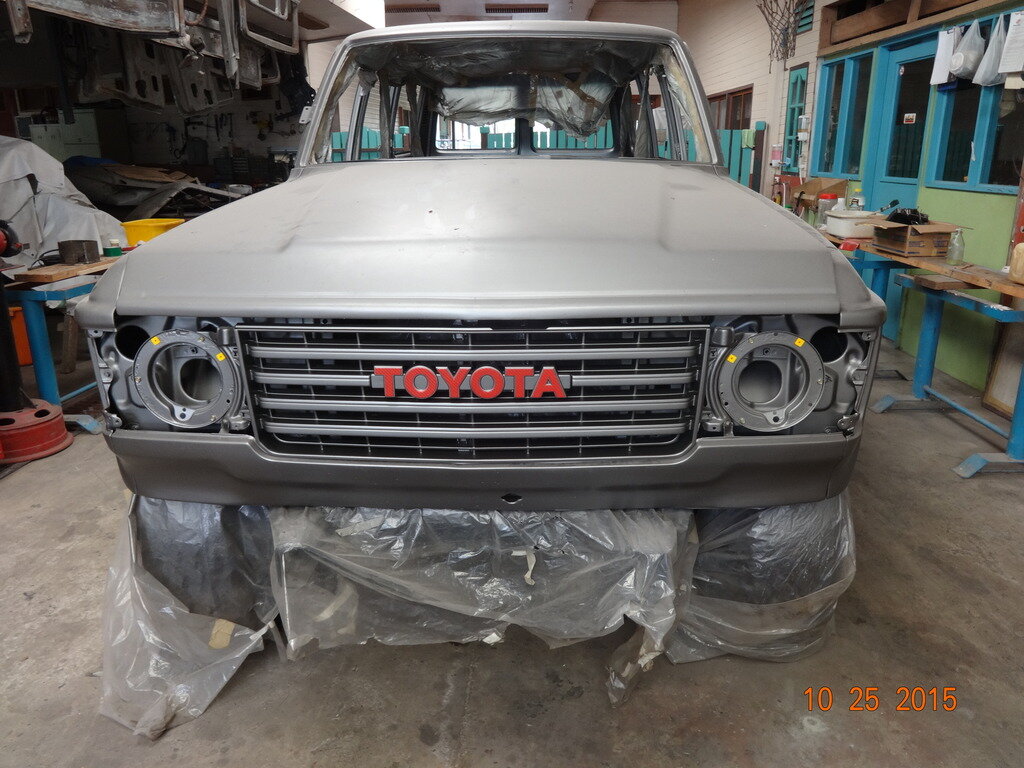
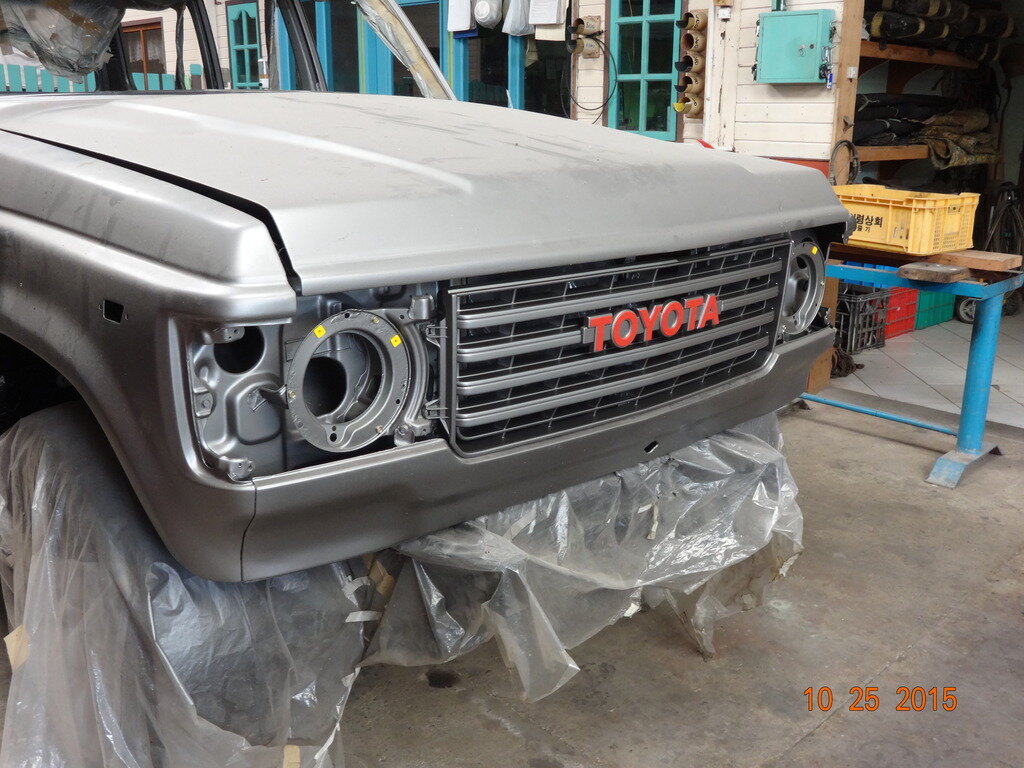
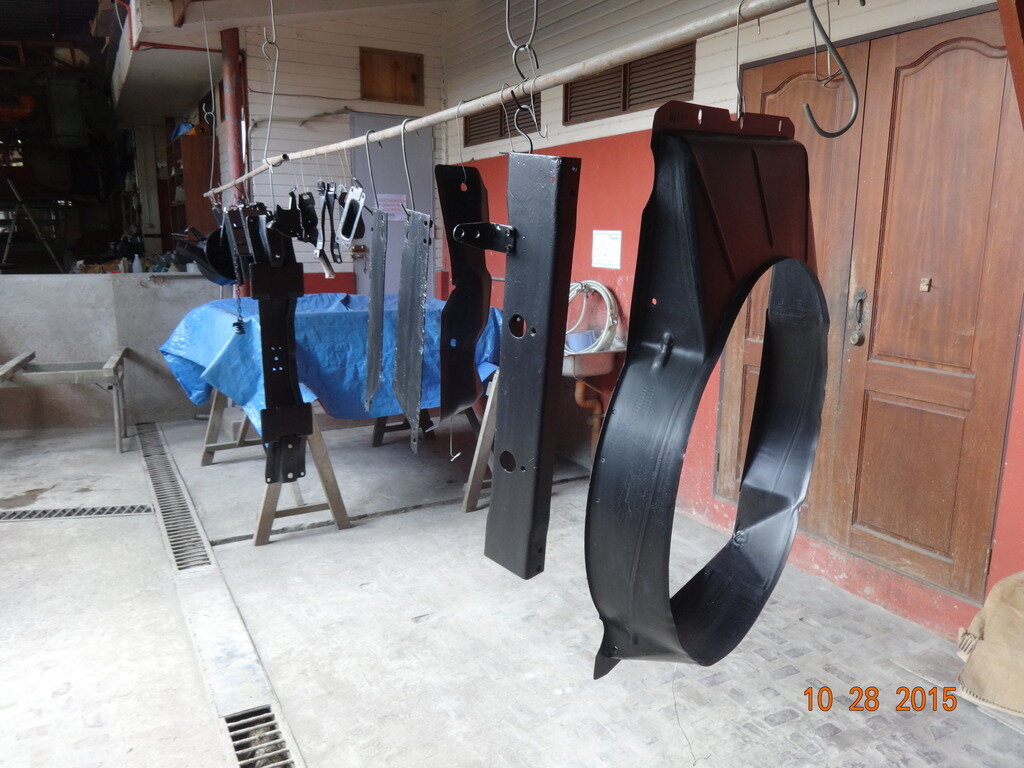
Very smart indeed Oding 

Looking good Oding. The finish line cannot be far away now.
oding
Well-Known Member
- Joined
- Jan 11, 2015
- Messages
- 423
- Country Flag
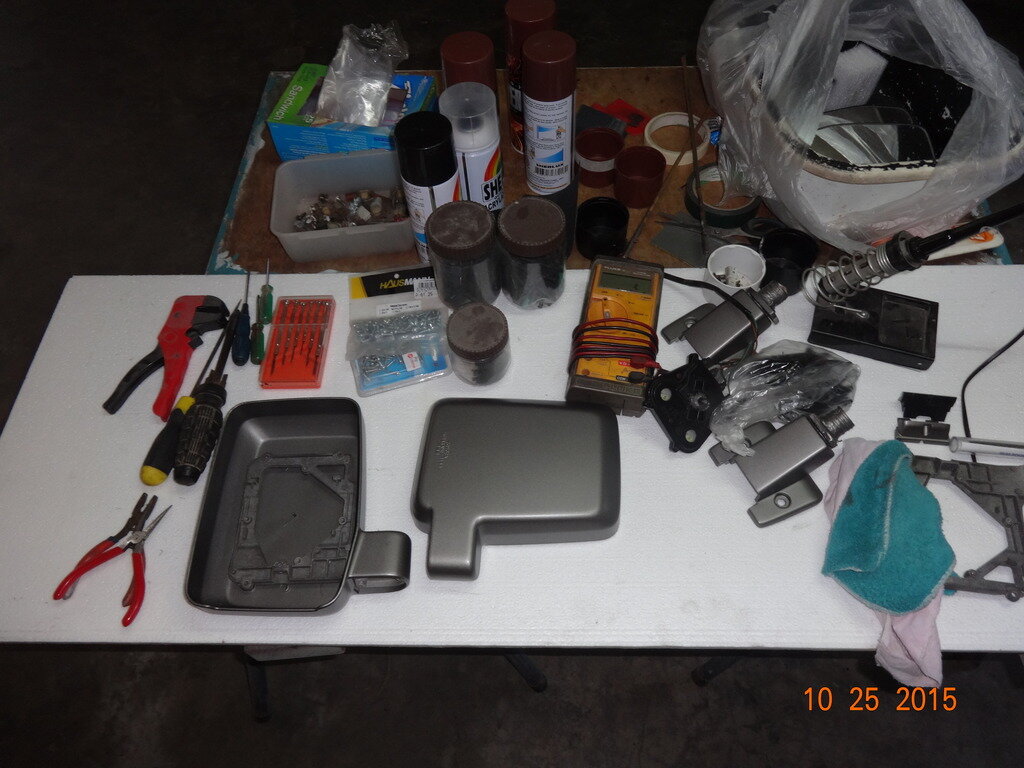
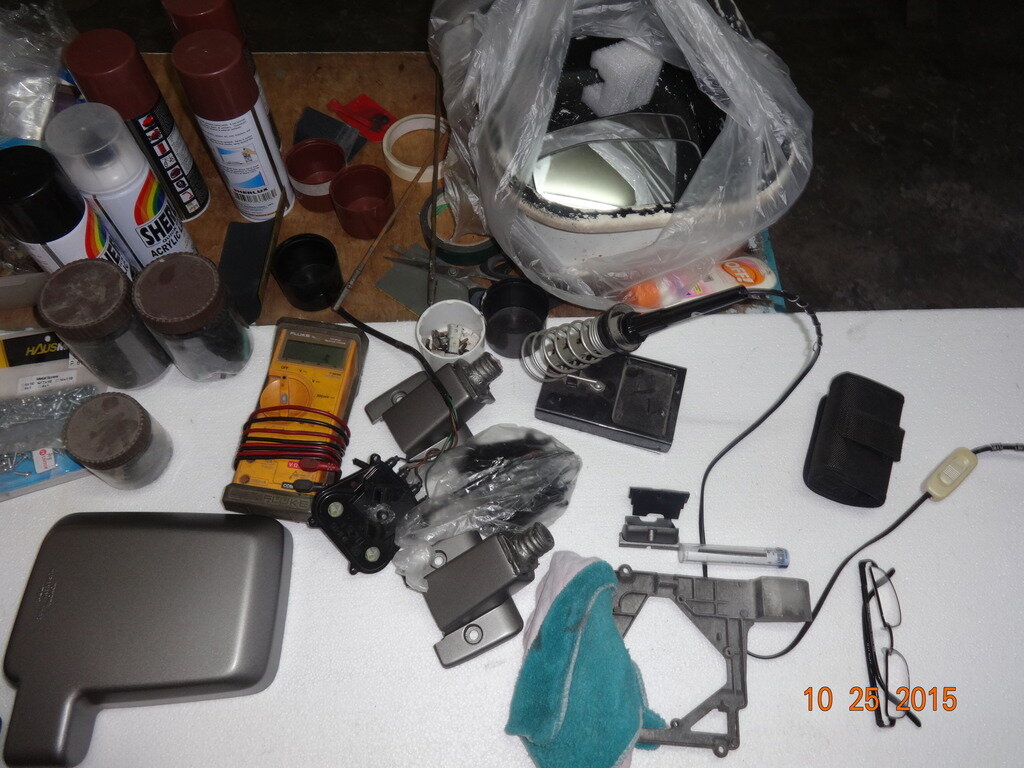
I got the same Fluke as you there Oding. Brilliant meters, just watch the leads as the insulation cracks right next to the plugs through wrapping the leads around the meter.
I tested a boiler was live once and my colleague offered to hold the meter. As I put the test prods into a connector he went hopping off across the boiler room, the meter went up in the air and I was left holding two test leads with no meter on the end. He's never forgiven me for calmly saying 'that's live then…'
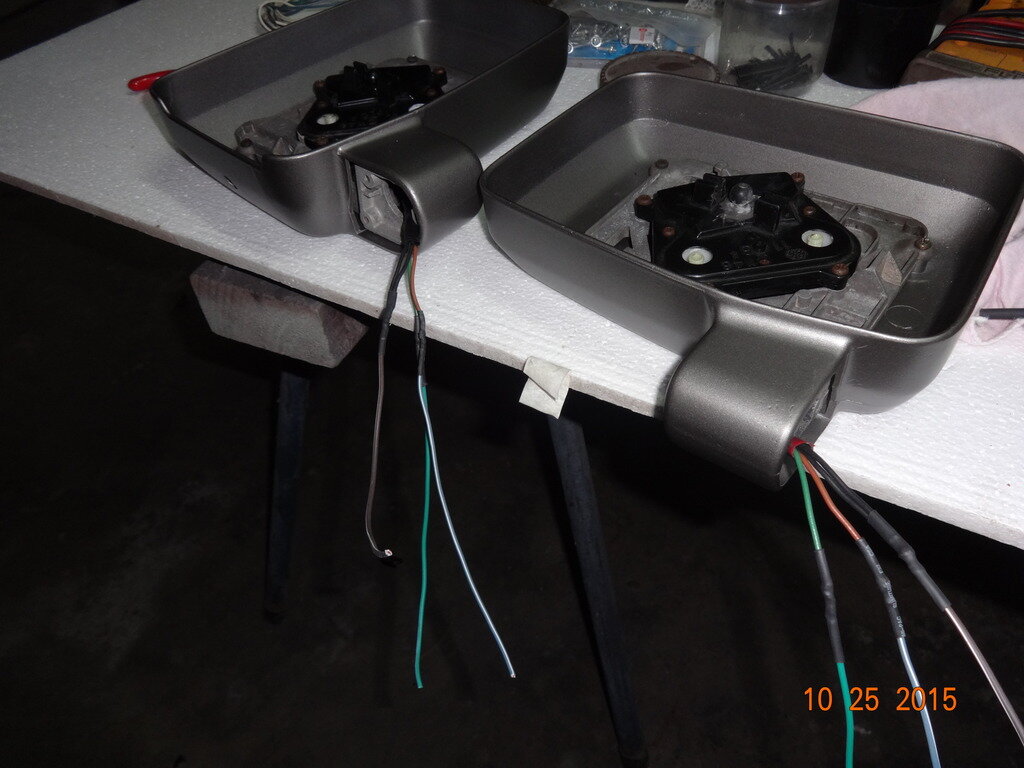
Anyway, all looking good. You obviously know your way around wiring (along with everything else) looking at the neat splices with heat shrink there.
Last edited:
oding
Well-Known Member
- Joined
- Jan 11, 2015
- Messages
- 423
- Country Flag
I got the same Fluke as you there Oding. Brilliant meters, just watch the leads as the insulation cracks right next to the plugs through wrapping the leads around the meter.
I tested a boiler was live once and my colleague offered to hold the meter. As I put the test prods into a connector he went hopping off across the boiler room, the meter went up in the air and I was left holding two test leads with no meter on the end. He's never forgiven me for calmly saying 'that's live then…'
Anyway, all looking good. You obviously know your way around wiring (along with everything else) looking at the beat splices with heat shrink there.
I got this meter 1990, when I went to school at Universal Technical Institute, Phoenix, Arizona campus. This was the standard issued to the students. One of my favorite subject was electronics and automotive electrical circuits. It is one of the difficult area in a vehicle. Splicing, connecting, soldering and insulating were basics taught in the subject of electricity. Troubleshooting failed electrical circuit is a brain twister. Reading through a map of electrical diagram has always been a challenge.
I am now on the assembly phase of this project. I have to carefully work on the wiring. This is a 30 year old car and who knows how many got their hands twerking on the juice highway.
Don't like the adverts? Click here to remove them
I think all my meters are Fluke. That one I got about the same time as you. One of the things that really gets my interest is electrical troubleshooting. Especially when I find the problem [emoji4]. Good to have drawings but sometimes easier without depending on the drawing and what has occurred since.
oding
Well-Known Member
- Joined
- Jan 11, 2015
- Messages
- 423
- Country Flag
I have always referred to the diagrams. This maps made things easy for me. Only then if no drawings are available will I use the principles of electricity. But with the internet, nothing is hidden anymore.
This fluke meter has been with me since I graduated from UTI automotive school. I believe it is the best.
This fluke meter has been with me since I graduated from UTI automotive school. I believe it is the best.
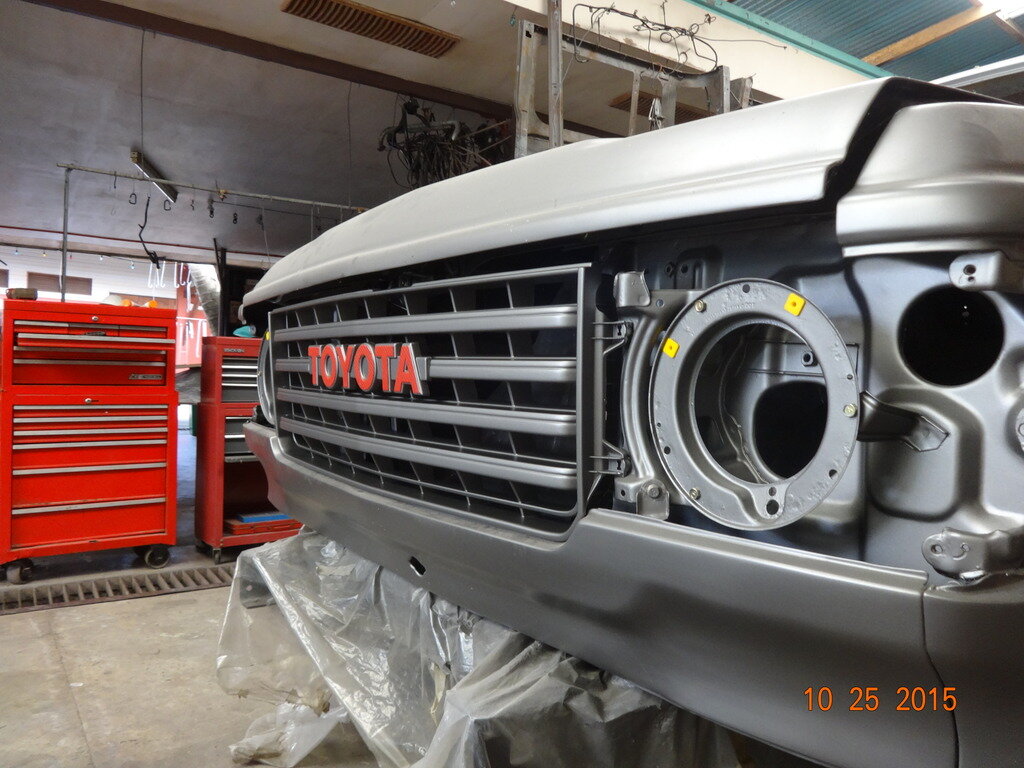
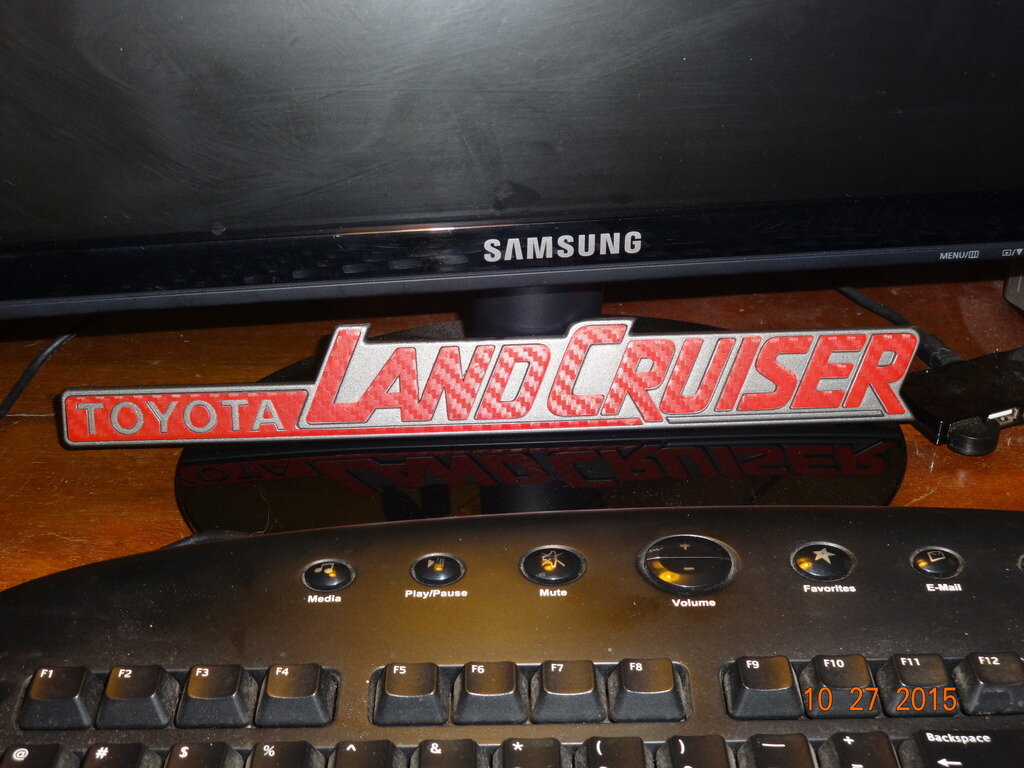
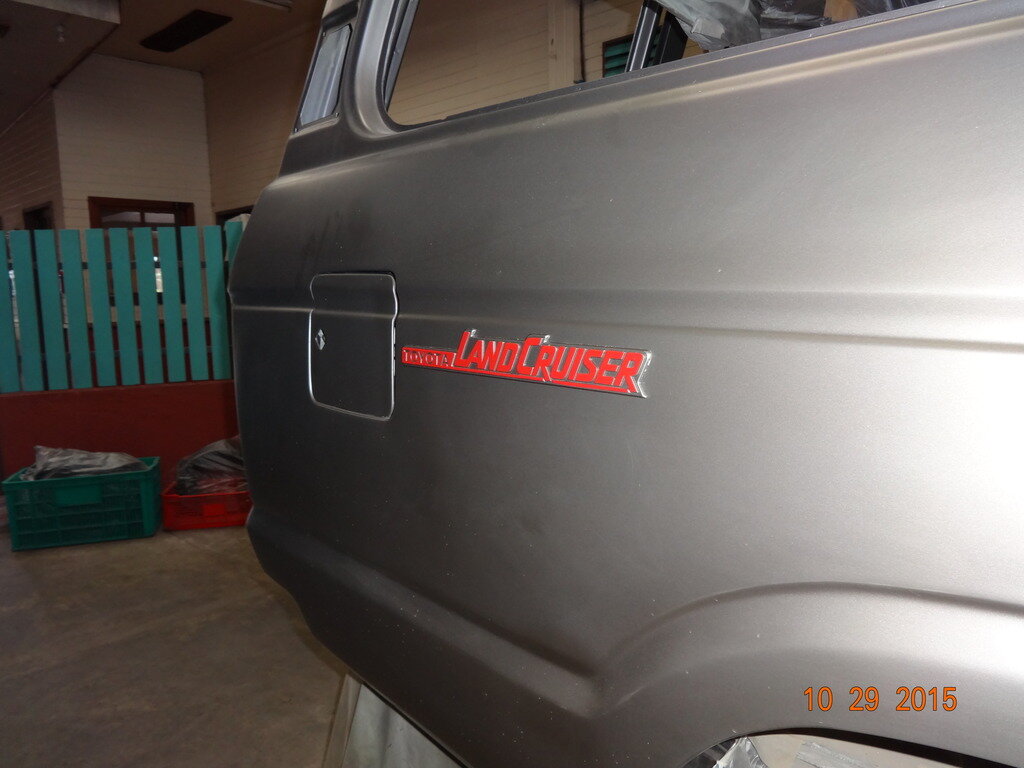
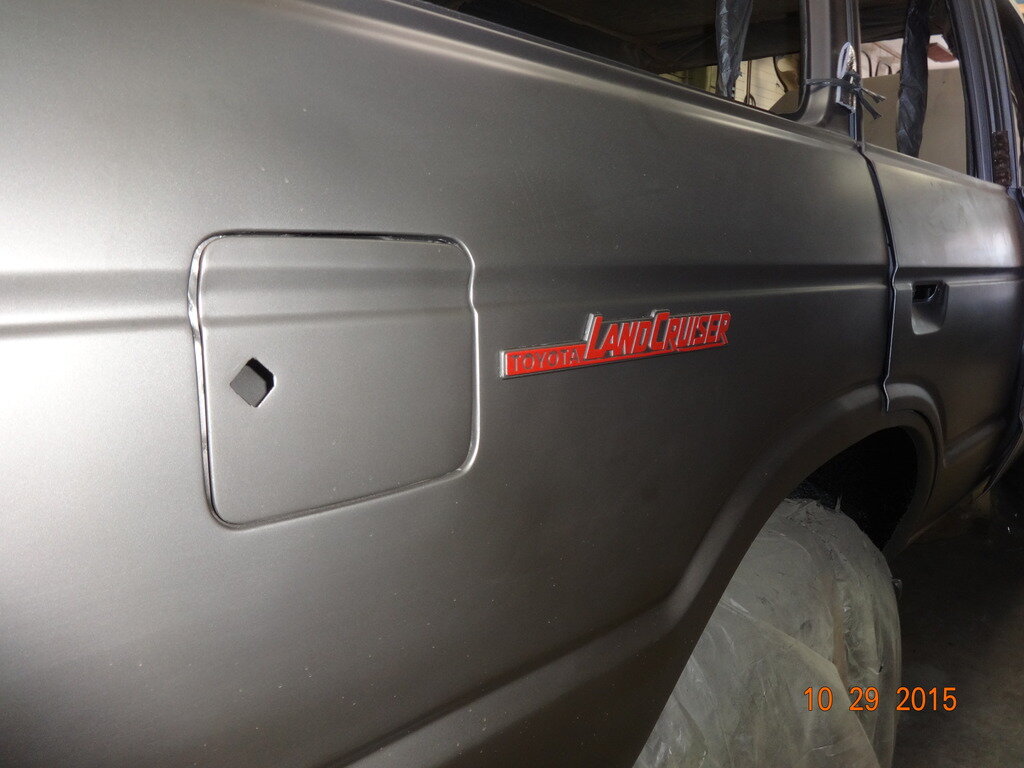
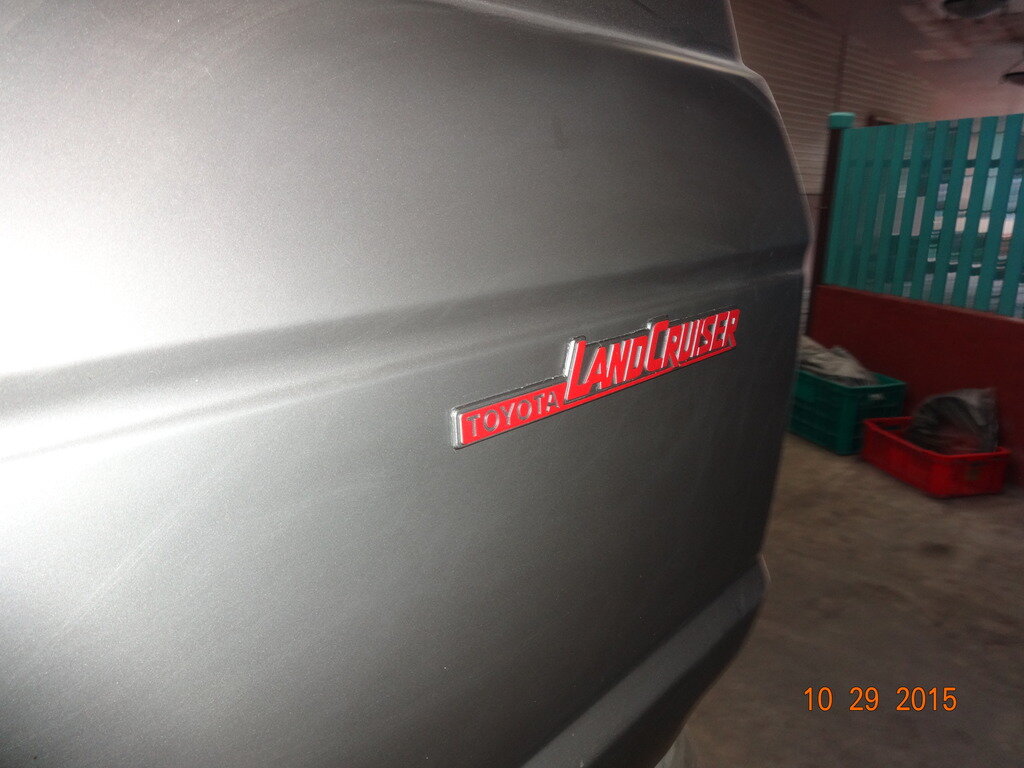
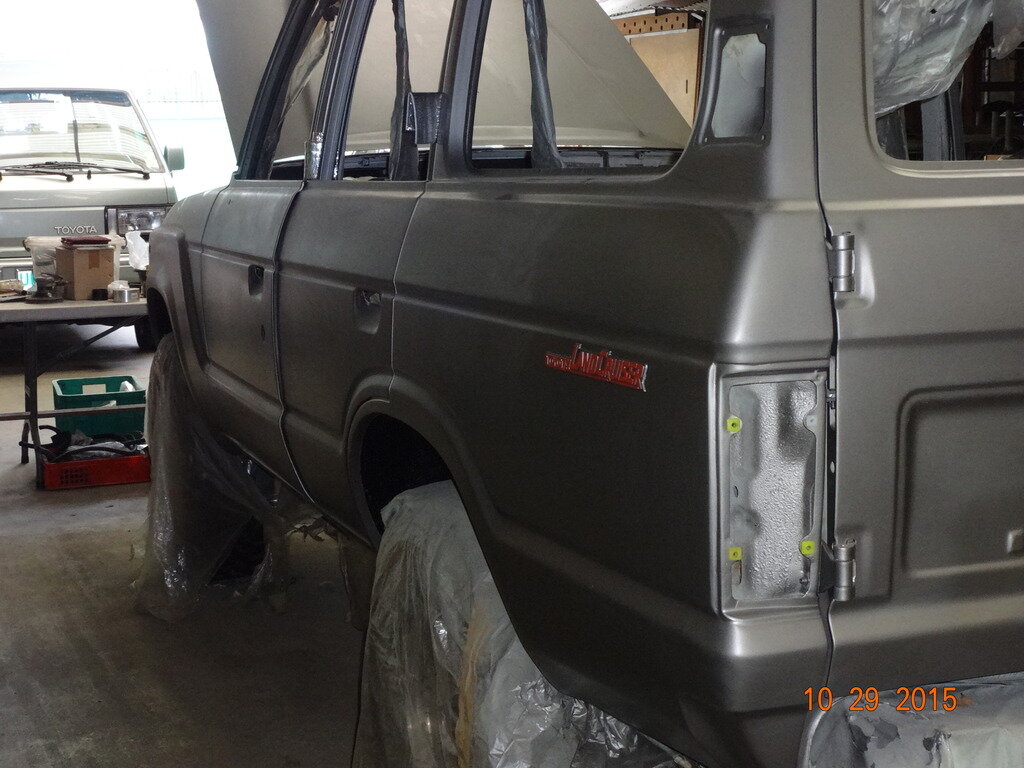
These badge restorations are great Oding, will you be laquering them to seal the printed matter, or are they final, as seen?
oding
Well-Known Member
- Joined
- Jan 11, 2015
- Messages
- 423
- Country Flag
These badge restorations are great Oding, will you be laquering them to seal the printed matter, or are they final, as seen?
I still have to test how the sticker would react to the acrylic top coat. But definitely, I will seal this with some type of flat clear coat to make it stand through the weather.
oding
Well-Known Member
- Joined
- Jan 11, 2015
- Messages
- 423
- Country Flag
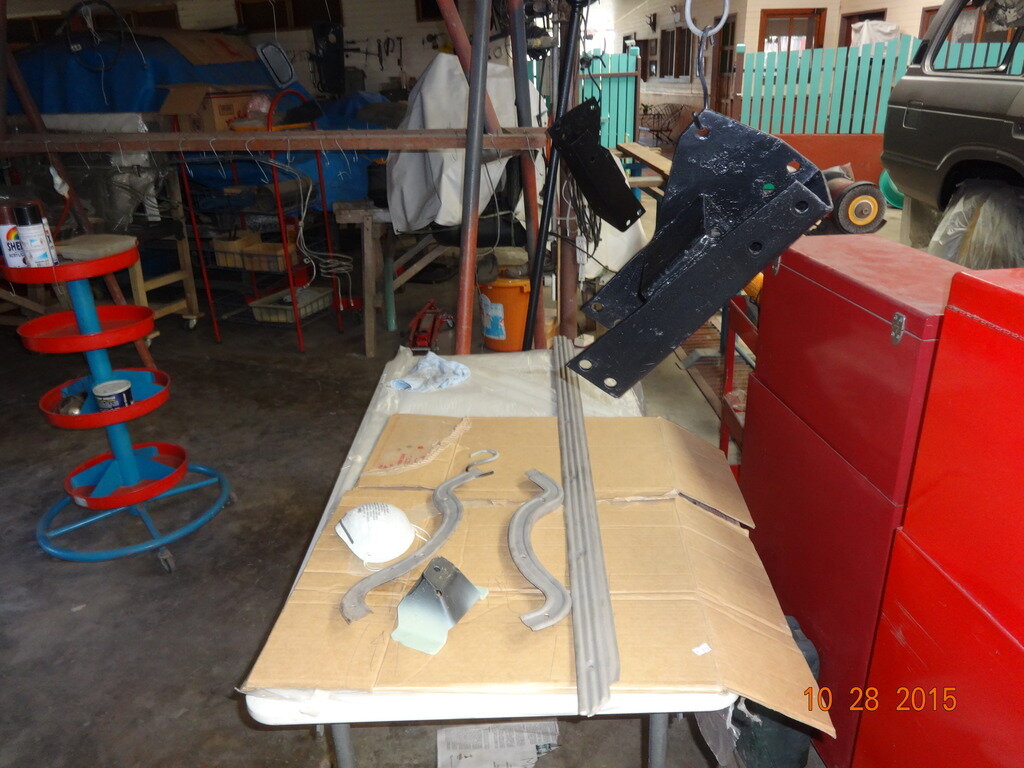
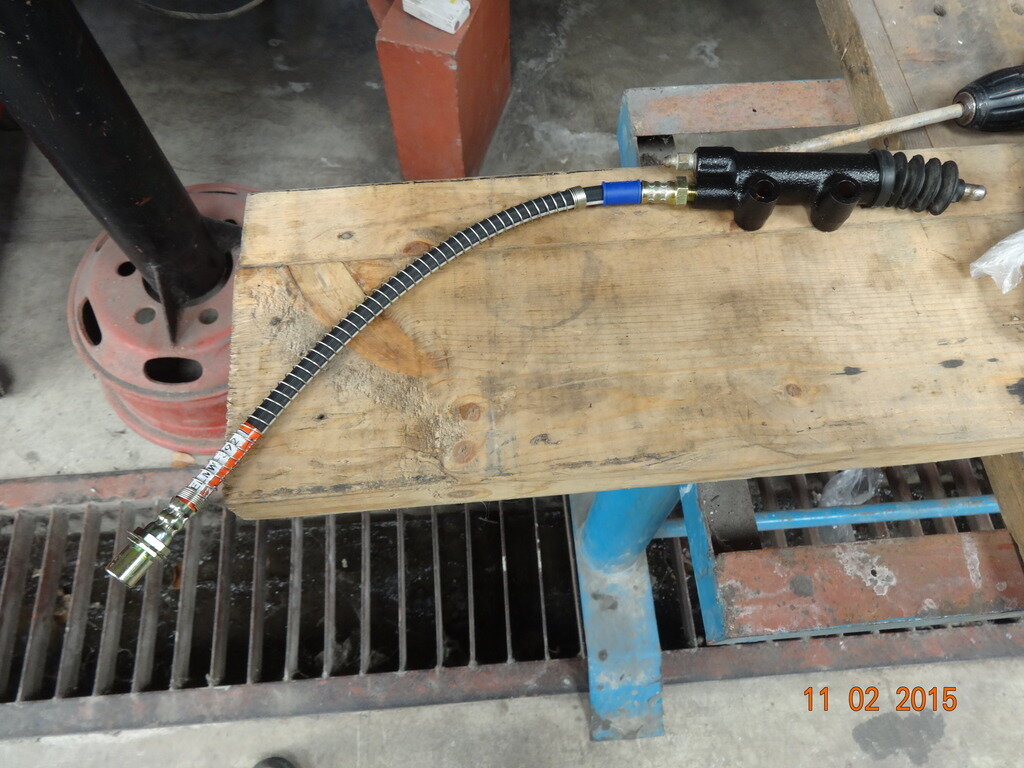
Looks good Oding. I'm sure I would have dropped many bits through that grating in the floor if it were me doing it. [emoji19]
oding
Well-Known Member
- Joined
- Jan 11, 2015
- Messages
- 423
- Country Flag
Looks good Oding. I'm sure I would have dropped many bits through that grating in the floor if it were me doing it. [emoji19]
I sure did myself a few times. Even dropped my camera on the floor. LOL

tonytoyota
Well-Known Member
- Joined
- Sep 9, 2010
- Messages
- 1,800
- Country Flag
Hi that is looking a top job keep it up a big from Tony.


