Don't like the adverts?  Click here to remove them

Who is doing what maintenance today?

I got a quote from Mr T for a new intake hose... $140... so I remembered I'd read about a mod you can do to remove/replace the resonator box on YotaTech, so I dug that out... and... that's looking like about a $70 job:
$30 for the 3" mandrel bent 45* exhaust length
$20 for the silicon sections to join the above to the airfilter housing and the throttle body
$20 for the pieces to attach the idle up hose and the cam cover hose dohickey

Now just waiting for the exhaust place to get the section of mandrel bend in...
 
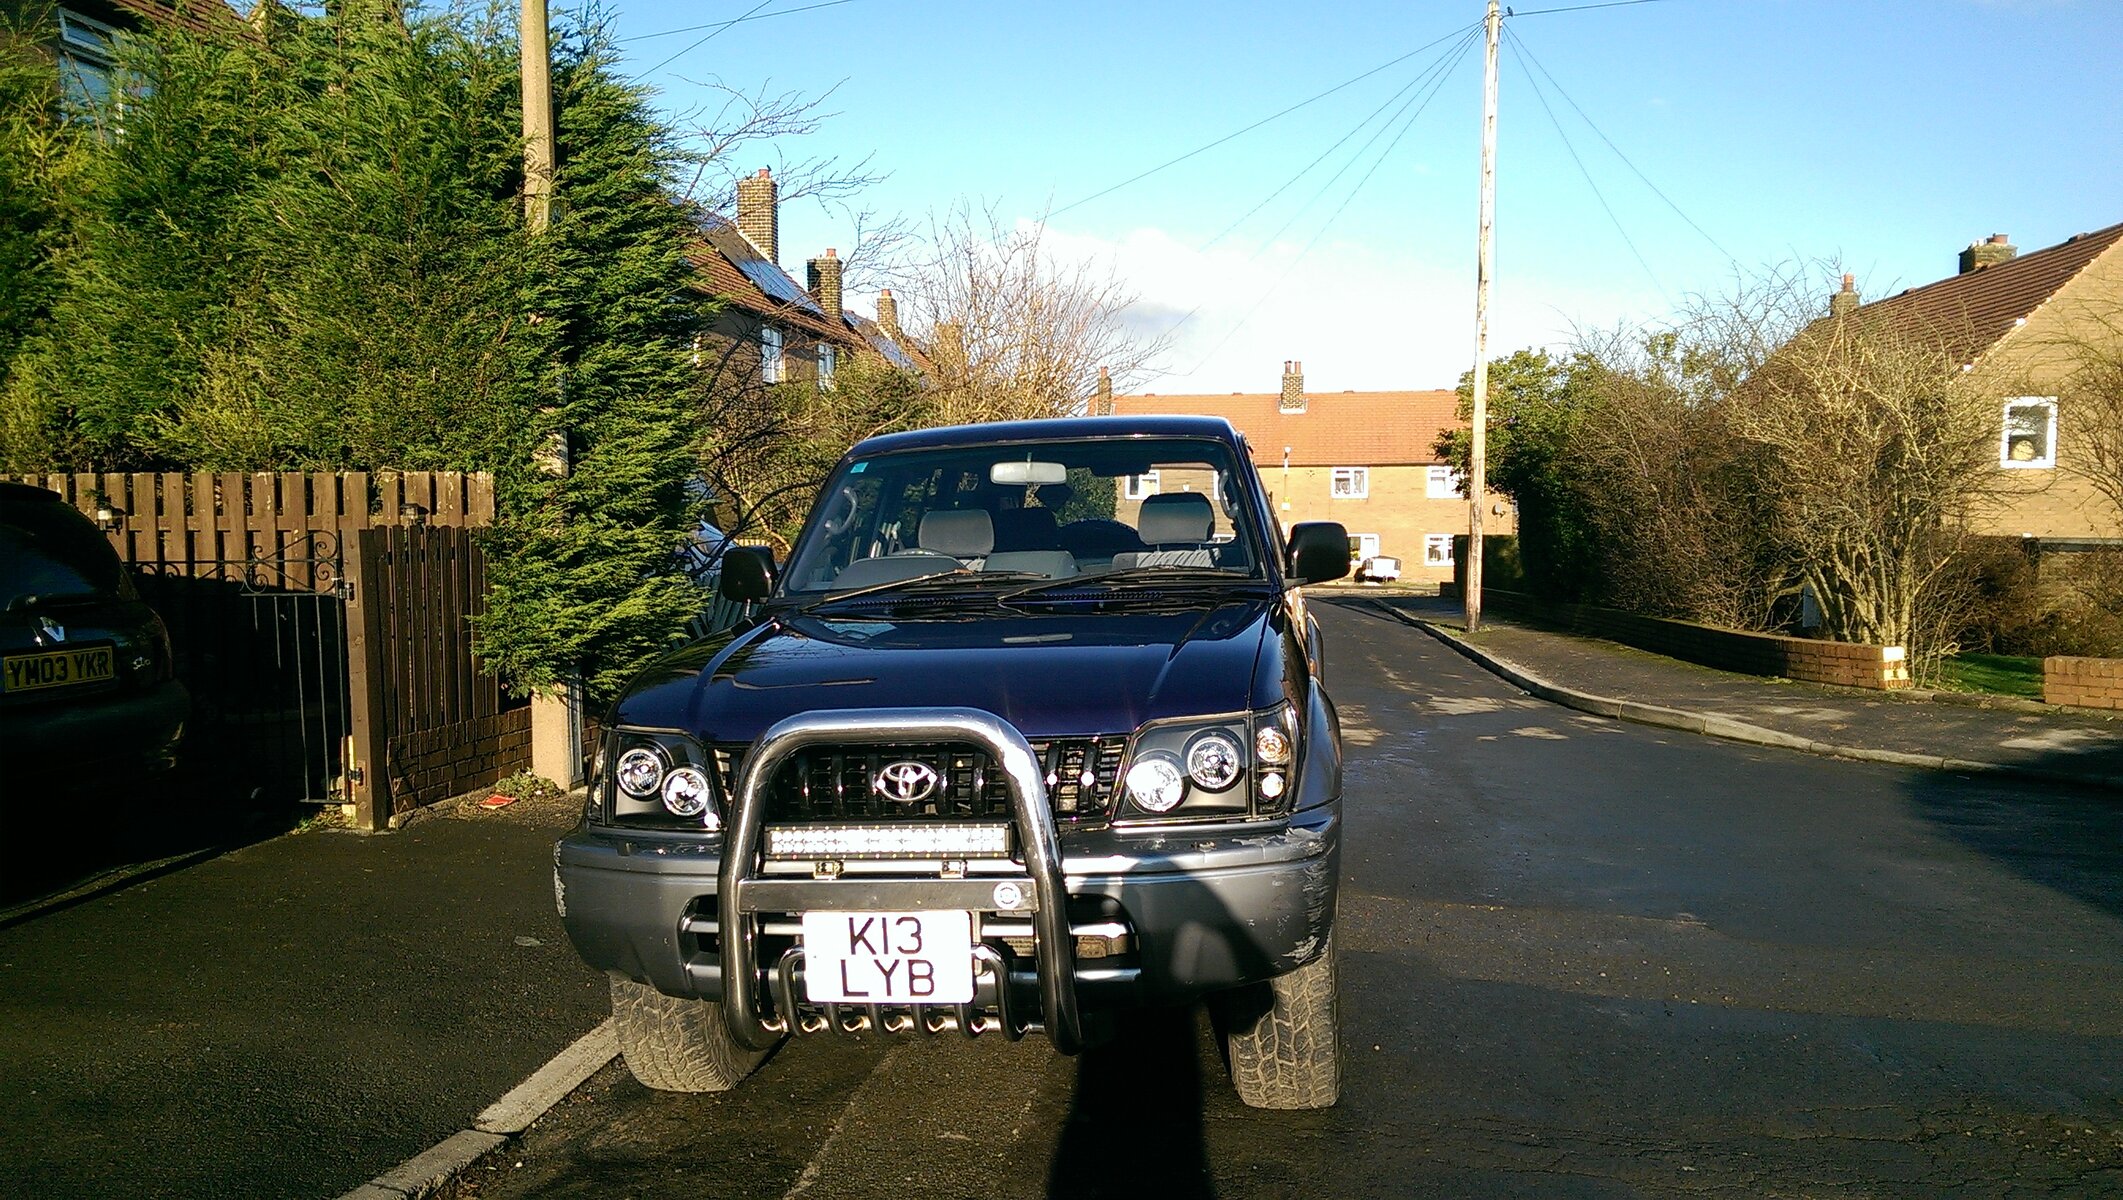
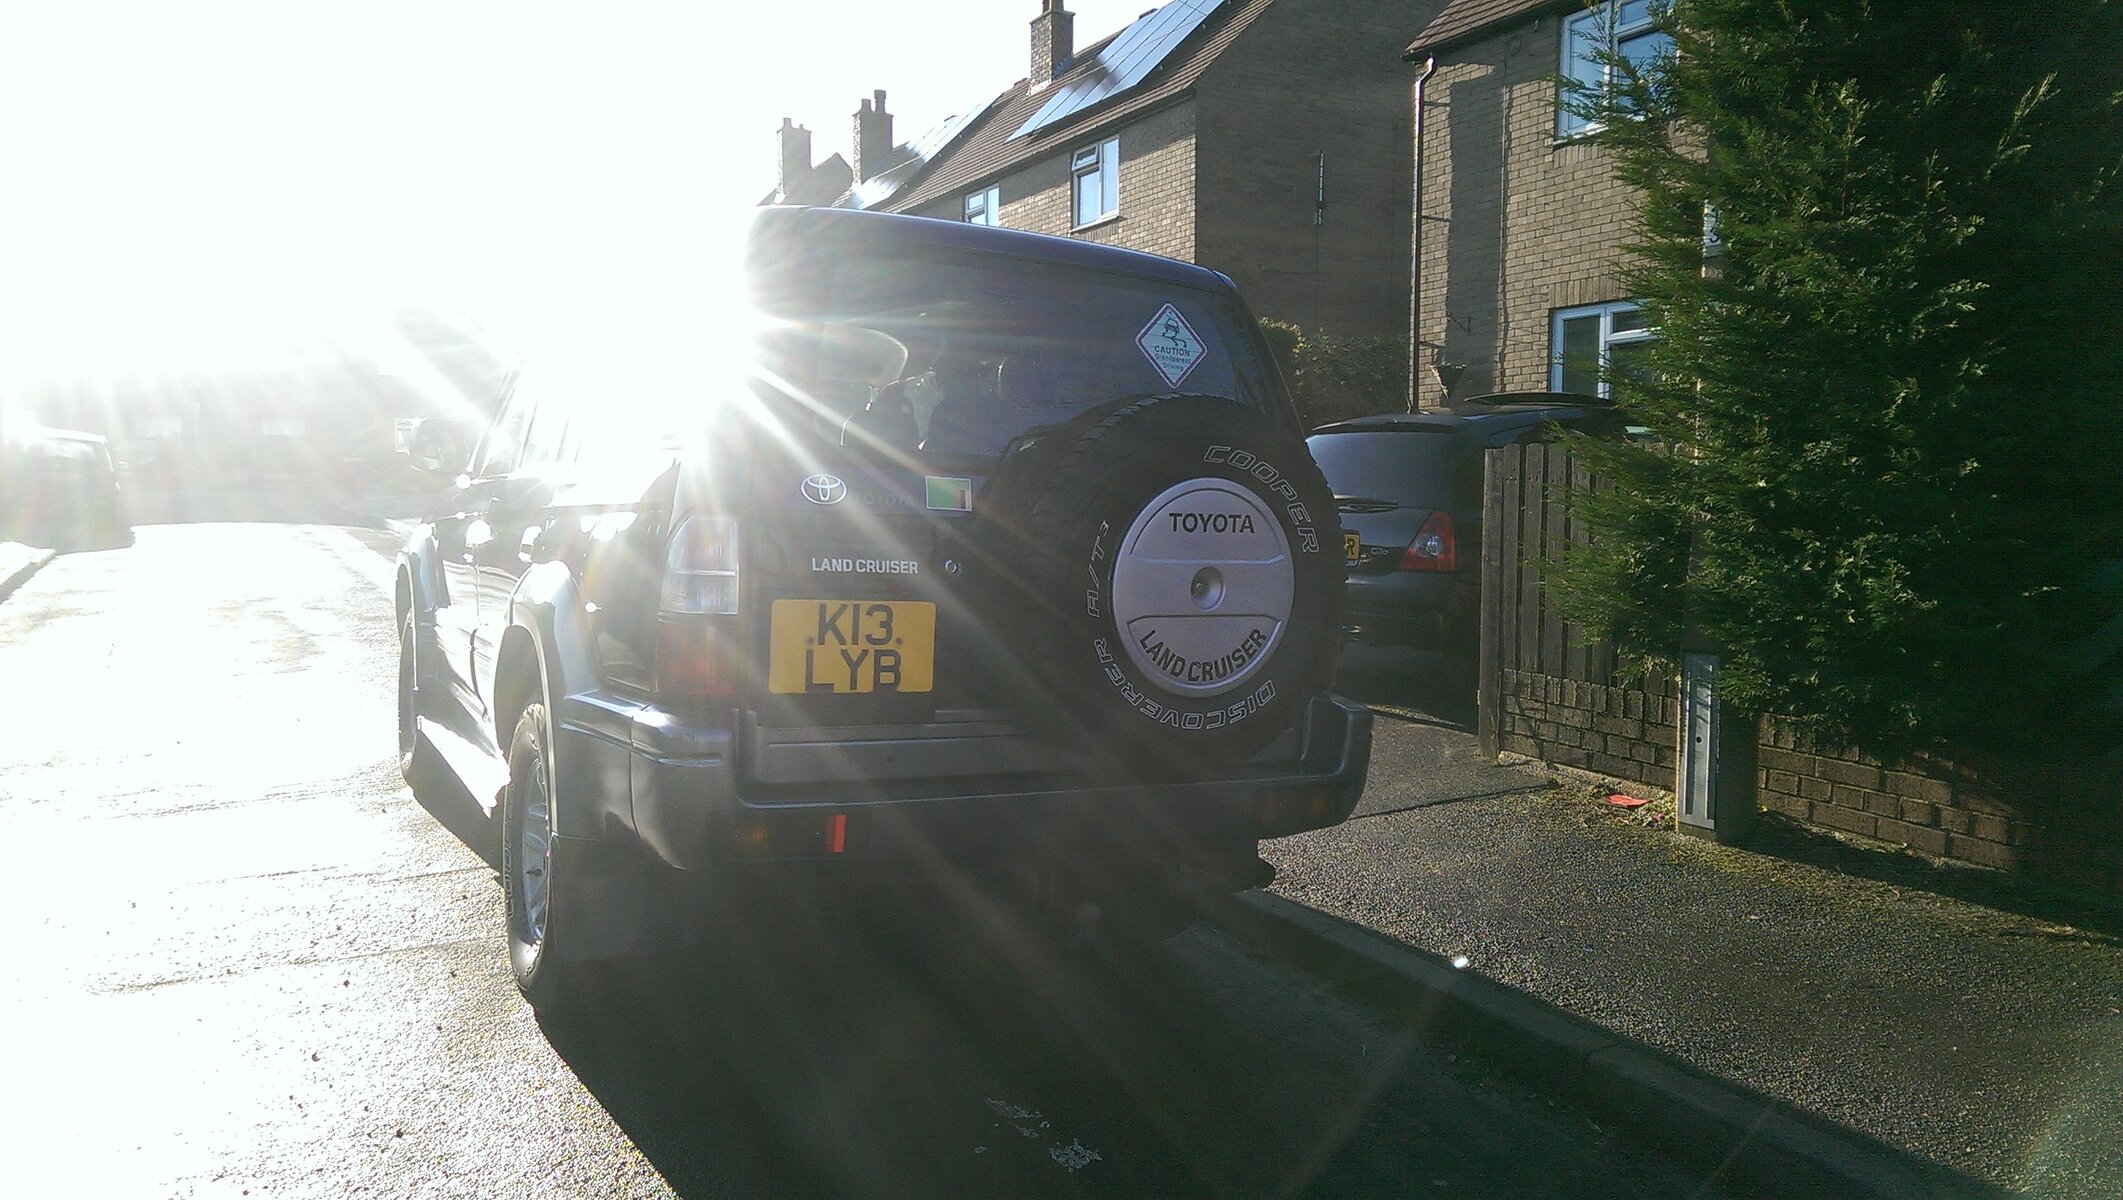
Well nice day so give Bertha a clean today and got rid of the grit off the body work ect
image.jpegimage.jpegimage.jpegimage.jpeg
 
Sag, get that front Bumper resprayed and your truck will look 100% mint! :icon-biggrin:
 
I know what you mean I'm doing all the underneath motor and front and back bumper when weather gets better on the list of jobs to do it needs it.
 
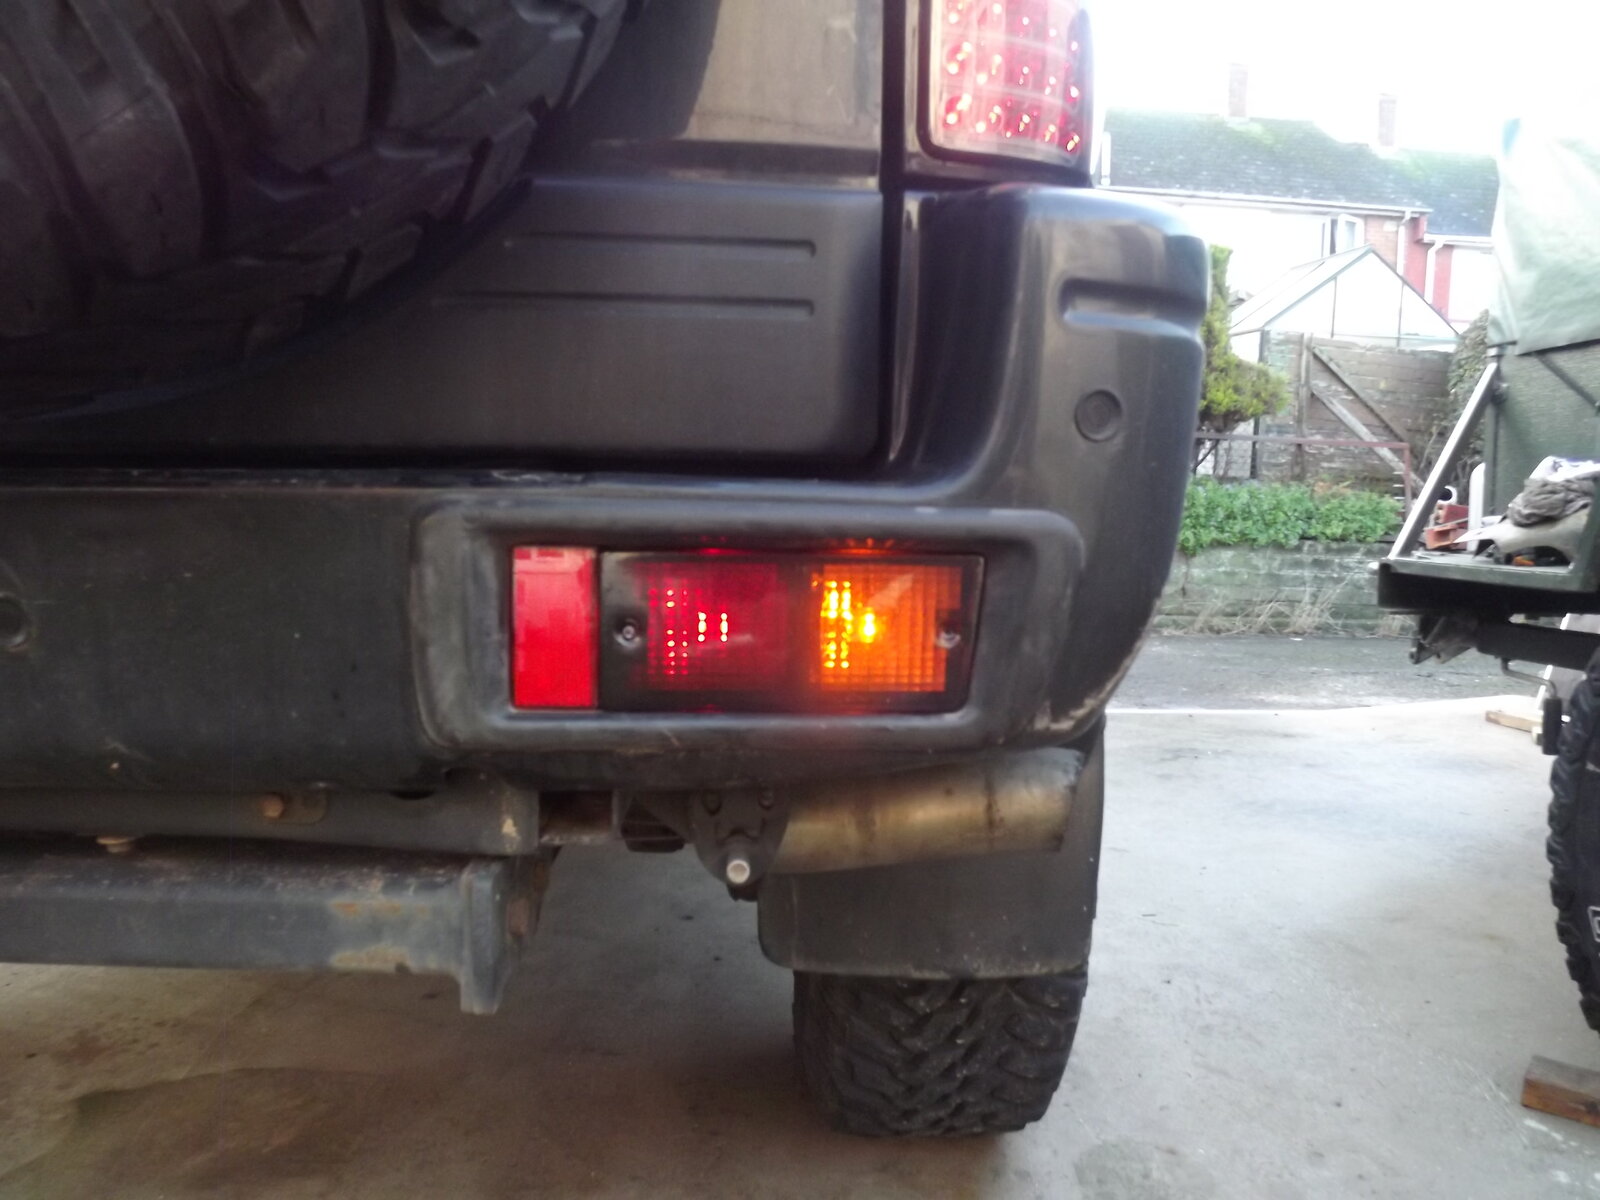
Happy with new upper lights just a shame i didn't notice they include indicators until they were fitted and as my old ones (roughtrax i think) came red/white/red i will have to revisit the wiring .

tint 009.JPG

Not happy with the adhesive tint i had intended to use on the lower lights though , it's sold as mot legal but i feel its too dark

tint 007.JPG

Has anyone used the spray on tint , is it any good ?
 
Don't like the adverts?  Click here to remove them
Looks well Shayne they suit your motor with it been black,the upper lamp indicator wire is on the plug already at the back of the lamps buddy,the spray tint I've used before its ok but don't go mad with it,give it a light coat and if not to your liking give it another but it does darken as its drying.
 
A bit of 'maintenance' to the garage/man cave. Brand new £27.


Fire.jpg
 
Last edited:
Looks well Shayne they suit your motor with it been black,the upper lamp indicator wire is on the plug already at the back of the lamps buddy,the spray tint I've used before its ok but don't go mad with it,give it a light coat and if not to your liking give it another but it does darken as its drying.

Thanks Sag the wiring error resulted from me just copying the old light connection to the new , i will sort it . Not made up my mind about the lower lights any which way , brighter led bulbs might make them ok .
 
Shayne, like the lights. Can I ask, what's the fitment like? Are they sealed well, how do they line up with the body, like OEM? Link to where you got them from?

Also, I've used spray tint before, there are better brands so have a search online. The good thing with the spray is you can go as light/dark as you like. I would also go a step further and clear coat them after the spray tint. It gives a nice smooth glossy appearance.
 
They fit quite well Beau had to lengthen the lowest bolt hole on the hinge side a little but that's hardly worth a mention . Seal :think: should keep rain water out as well as the roughtrax lights they replace , i was a little miffed to see part of the circuit board open at the back of the light but then i thought well heat has to vent .
I got front and rear lights together found them on ebay international , the seller has them listed in such a way as you cannot buy them via ebay here in the uk but i sent them an email and paid paypal .
 
Just finished a front end rebuild of my 95 series RV6 , lower ball joints , the 4 lower swing arm bushes and steering rack bushes , had an issue with the swing arm bushes with the 2 left cam adjusters seized inside the bushes , this required use of the 5" angle grinder to remove and all 4 bushes rusted in the swing arm housing this required me to press out the centre tube and hacksaw thru the bush outer case and then use a steel headed screw driver and mallet to collapse the outer case then punch it out , then a wheel alignment and now drives very well .. cheers Mick
 
They fit quite well Beau had to lengthen the lowest bolt hole on the hinge side a little but that's hardly worth a mention . Seal :think: should keep rain water out as well as the roughtrax lights they replace , i was a little miffed to see part of the circuit board open at the back of the light but then i thought well heat has to vent .

I got front and rear lights together found them on ebay international , the seller has them listed in such a way as you cannot buy them via ebay here in the uk but i sent them an email and paid paypal .

Thanks, just questioning because ages ago I bought my upgraded lights and I had to fab out all the sockets, and a seal to get it to fit right. I paid peanuts for them so didn't mind. However, I am looking at some front/rear lights, just a bit skeptical on quality with items from overseas. Sag's front lights look great. Are they the lights you bought as well or something different?
 
Yeah same as Sag and as far as i can tell there are no other choices for angel eyes i used to feel the same about overseas quality but i would bet everything halfords and similar places sell comes from exactly the same place as the "copies"
 
Last edited:
Not really maintenance but took the fleet for a wash
IMG_5612.JPG
IMG_5614.JPG
IMG_5613.JPG
 
I took the under slung spare off the LC in the week, so this weekend i wire brushed the rear end, and painted any rusty bits with two pack aluminium primer, followed by two pack black. Re fitted the new bigger spare to match my BF's, and it fits (just). also painted my towbar while i had the paint out:icon-biggrin:

Fitted my new whisp cross bars that arrived in the week.

IMG_0651.jpg

IMG_0652.jpg

they fit nicely and i cant notice any noise from them when going along at 70MPH so they can stay on ready for the roof box.

And lastly while i was at the rear end i changed the rear diff oil.
 
10,000kms oil & filter change, took about 20 mins start to finish plus a good power wash underneath to get get rid of the recent salt on the roads!
 
Well yesterday i started to take off the EGR pipe on my 100 .One of the manifold nuts wouldnt budge even with a breaker bar so i had to angle grind the side of the nut off .That went ok got the nut off fitted the blanking plate.The problem is my angle grinder put a hole in the intercooler pipe doh yep i know what a stupid error.Instead of a new pipe ive orderd a coupler section and that should be fine if not il fit a hard pipe .
I had to get back to work so will possibly finish this job today.
The rubber breather pipe thats attached to the EGR pipe in two places i am attaching to itself with a brass pipe coupler.
Id there anything else i need to do ? Ive seen a video where the vacume pipe is reattached to itself and the section that the vacume pipe attached to on the intake is replaced.
 
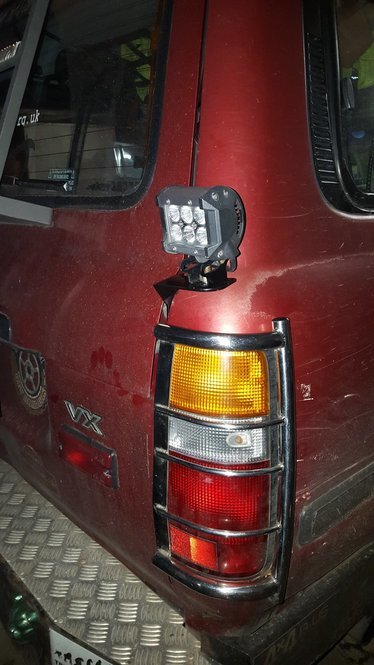
A couple of mods done today. A while back I reversed into a post and cracked passenger side rear light, having got a replacement from Karl :thumbup: I thought it was time I fitted it I also got a pair of light guards which got fitted too.
I bought a light bracket from Tom Lundstrom at West Coast 4x4 £28 inc P&P :thumbup:, (can be supplied for either side) that bolts in place of the locating bracket for the top tailgate, it has the necessary bit to attach the rubber buffer too.

Changed some of the bulbs to LED's while I was at it. The LED lamp will be an extra reverse light, not wired yet as my fingers were too cold to fiddle with wires, I'll finish off tomorrow.

rsz_1rsz_1hdj_80_light_bracket_4.jpg
 
Back
Top