Don't like the adverts?  Click here to remove them

Project 80: Codename Grey Ghost

Sorry Steve, not sure you're quite picking up the point there. I got the wheels off the ground and it WAS a bit lumpy. I turned the prop again and it was smoother. Back on the road, whilst I couldn't do a motorway test as such. I had it up to 70 for a short spell and it seems much improved. Can't hear the dub dub anymore. So I think that it IS sorted. Might be worth playing around but if I turn the prop again on the splines, effectively I am just coming back round again. There are only so many off set positions you can have essentially between 0 and 90 degrees with splines set roughly at 20 degrees.

Once the snow has gone I'll get out on the fast roads, but it seems quieter all round by some margin.
 
Sounds promising. Not jealous of the snow either lol
 
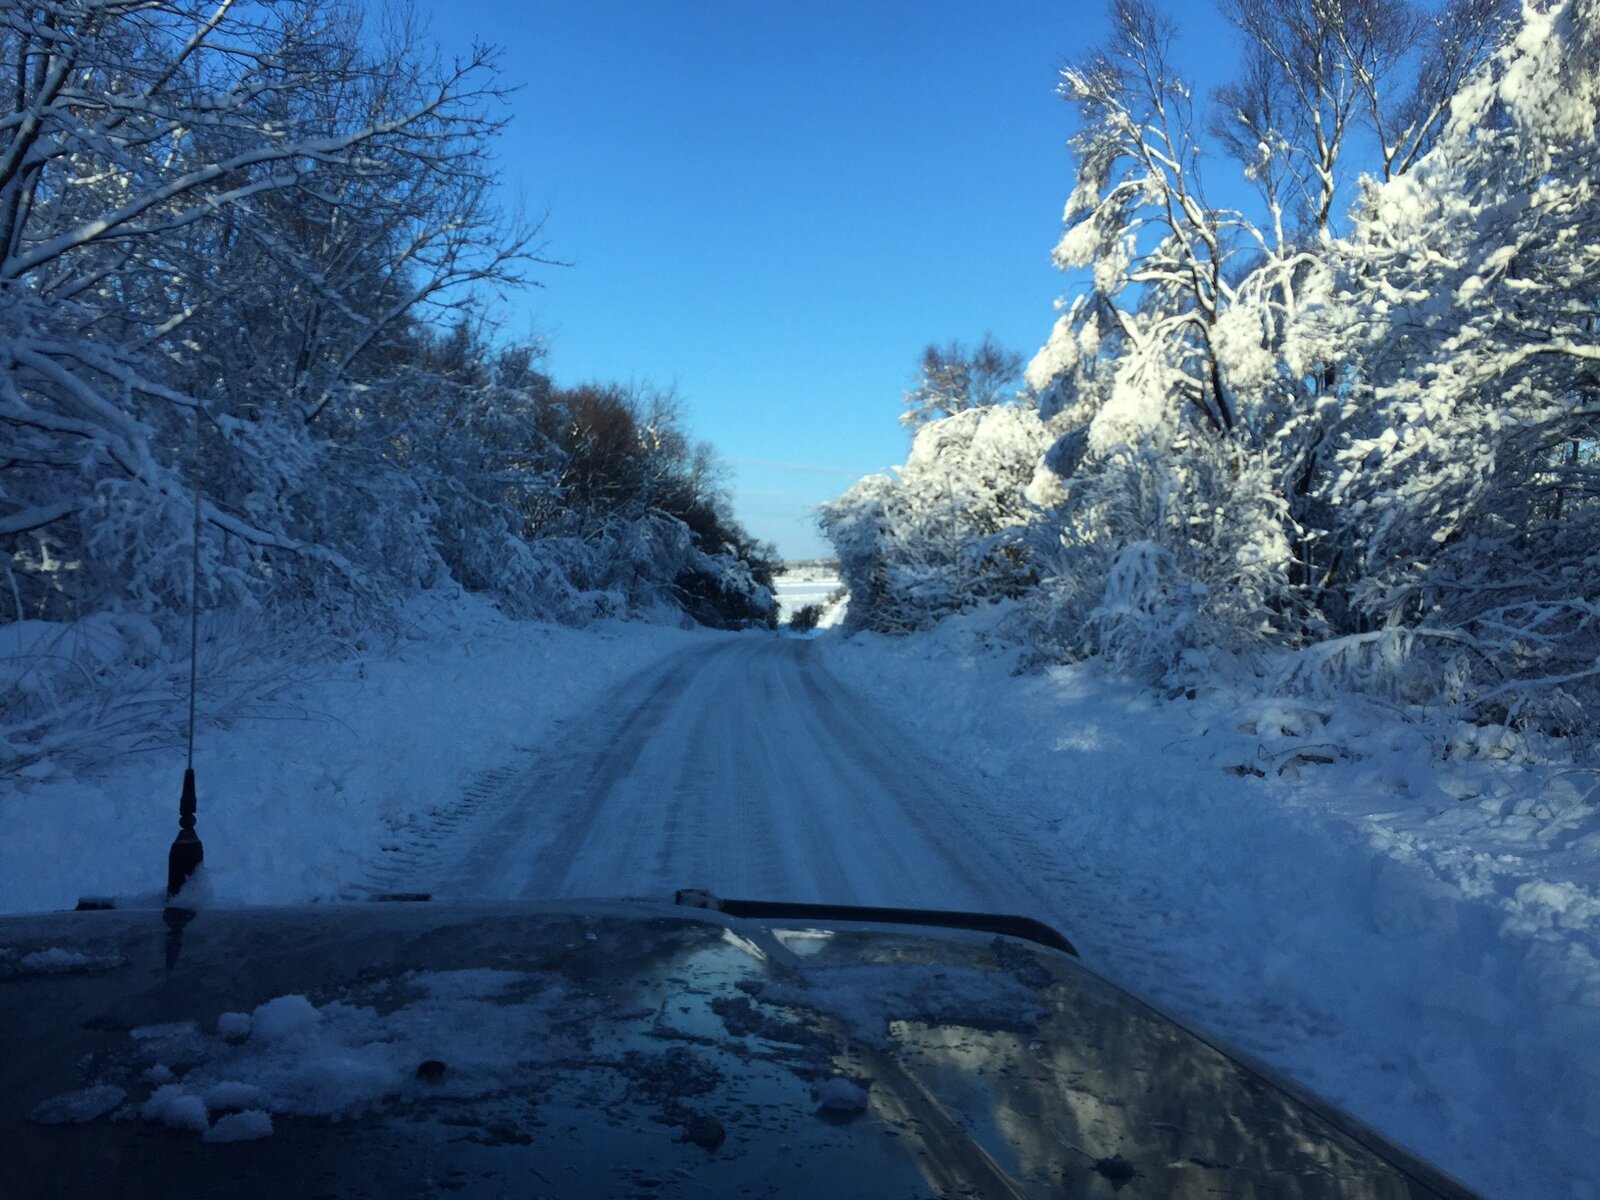
It's beautiful up here. And it's proper snowed. Not a bit of white fluff that turns to slush. I mean it went for it. We had 6" in one dollop and now it's frozen. With the sun out it's really stunning,. You could have come down today Gary and it would still have been here. See you in the morning then!!!


Snow 14.JPG
 
I would've loved to come over and have a play but been busy sorting the house out for a couple of days, 7 weeks till little un due and I'm away with work mid Jan! Back to the grind in the morning too :cry:

Great pic btw.
 
Got to get something done or I am never going to catch up with Ben's build post numbers!
Still frozen and white out there. -7 last night and the water in the truck is frozen. Engine started first click on it's 12v so there.

Following a conversation with a new 80 owner on here (Welcome Gary, by the way) I set about making some seat brackets so that I could sit further back. Now JW kindly sent me a guide from the web that used a kit. Man I lost interest at step 107. It seemed very involved. Then Gary sent me a link to something incredibly simple.

Here's the first bit. a very simple bracket. You make two of these. They're 8" long, bent at 70 degrees parallel at 50mm from each end, drilled 10 mm 20mm from each end.
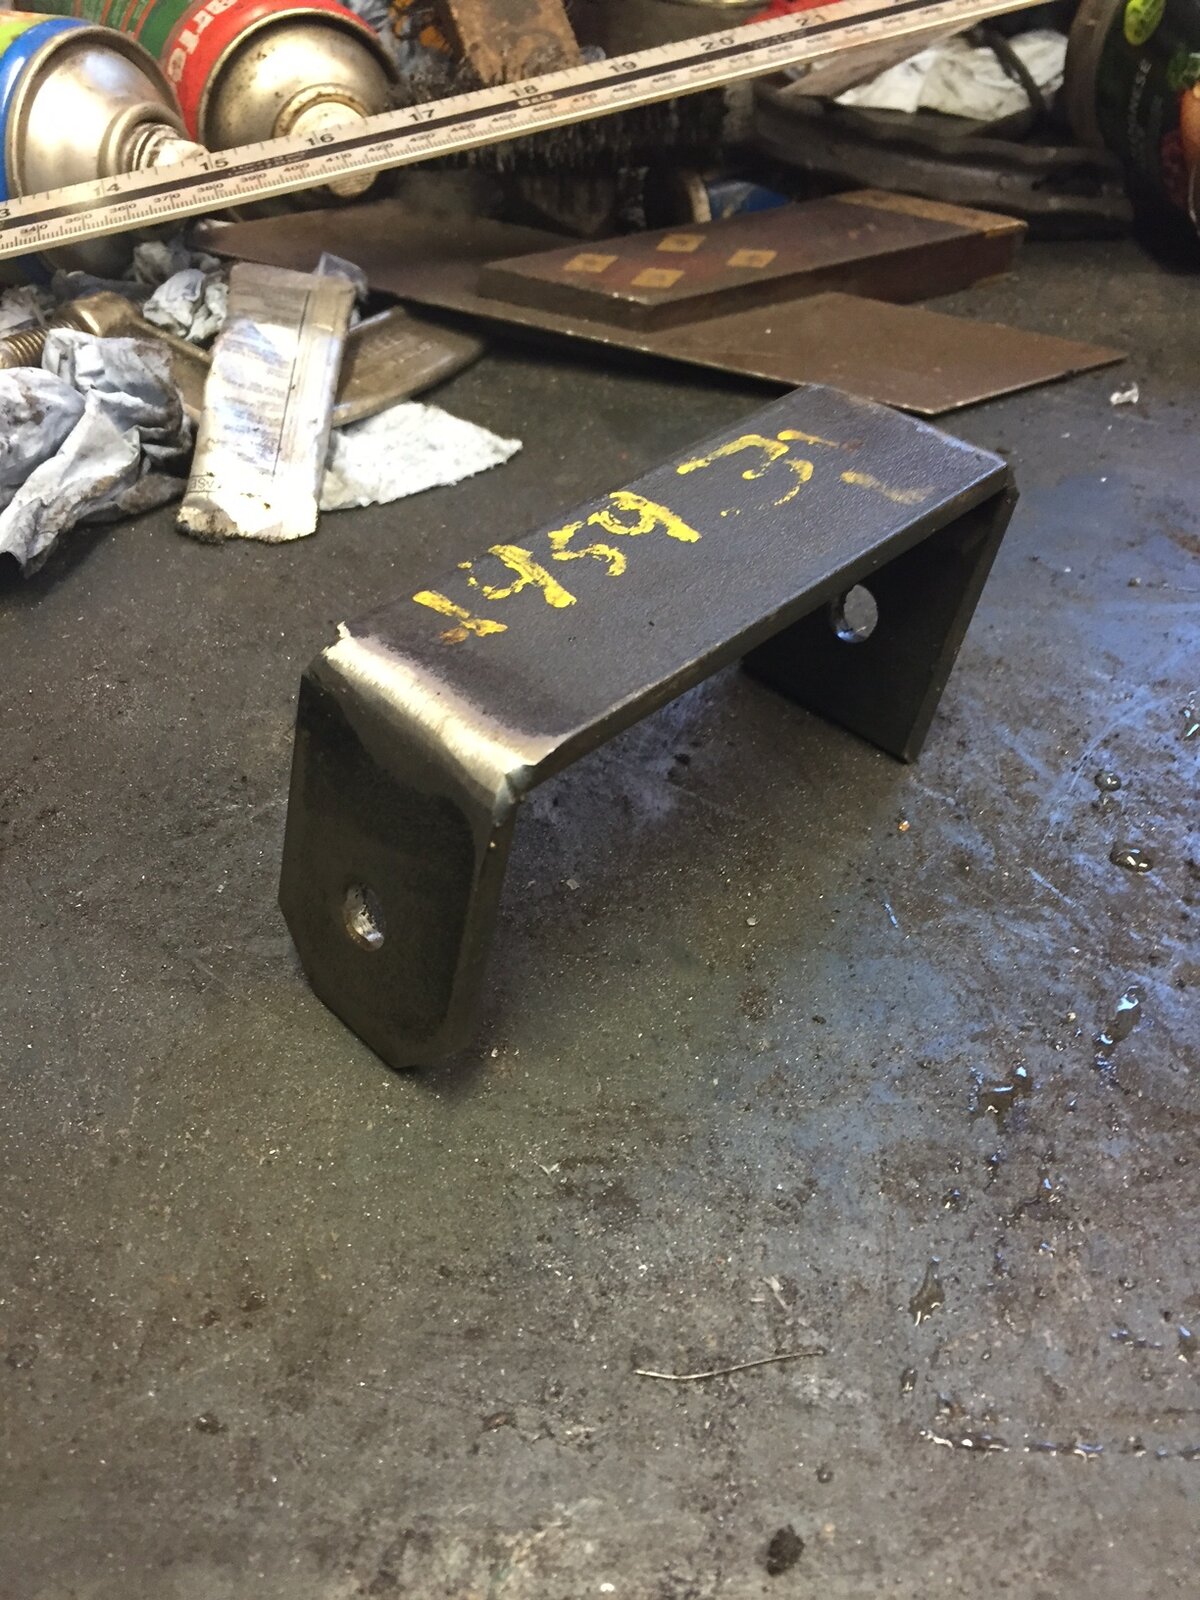
IMG_0949.JPG

Next I made a supporting leg. This was slotted for adjustment. I had to go around the heat exchanger so some fine tuning was necessary. This takes the weight on the seat against the floor pan. One I got them settled in and square, I actually tacked them with the view to fully welding them before painting. But having the adjustment made things a lot easier. If I made another pair, I suppose I could copy the set dimensions and make them from a single piece. But as many of you will know, making one offs is the hardest bit.
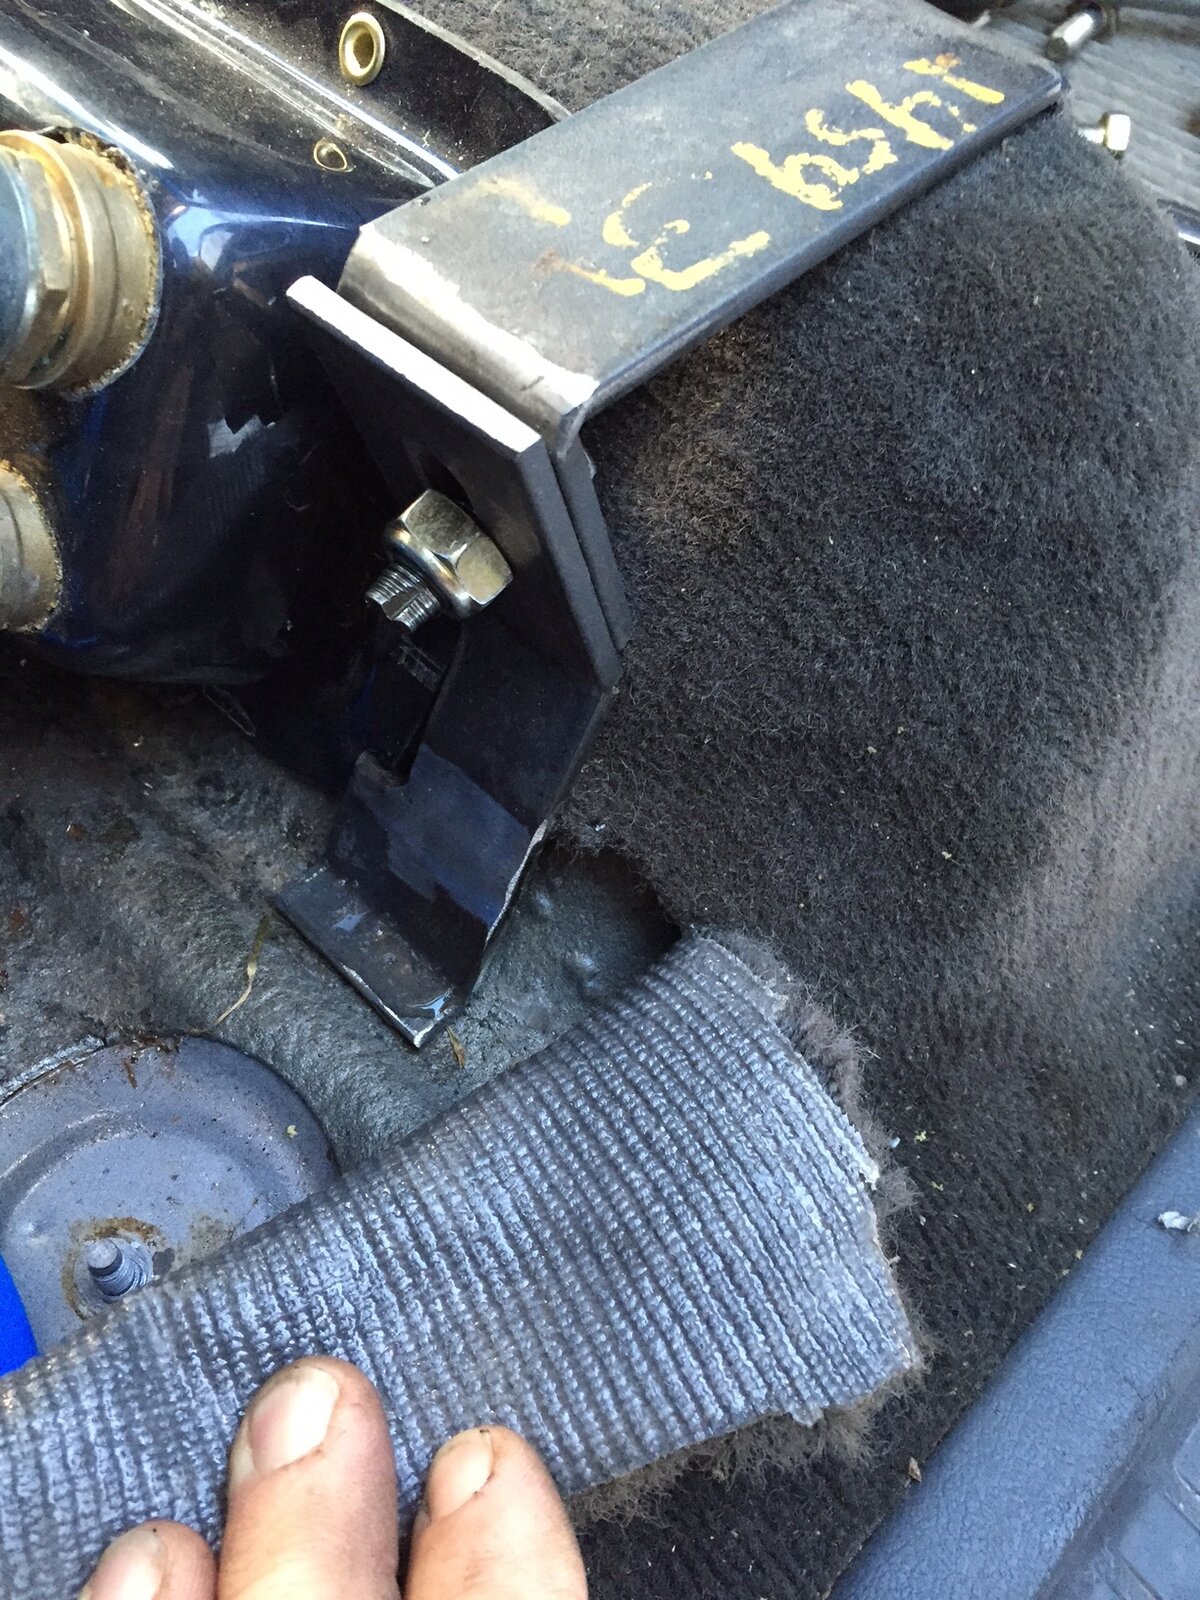
IMG_0950.JPG

I did the same on the other side too. Much easier to make and set these without the seat. Get them in and level, remove the whole thing with the leg still bolted in place, tack them, remove the slider bolt and THEN bolt them to the seats.
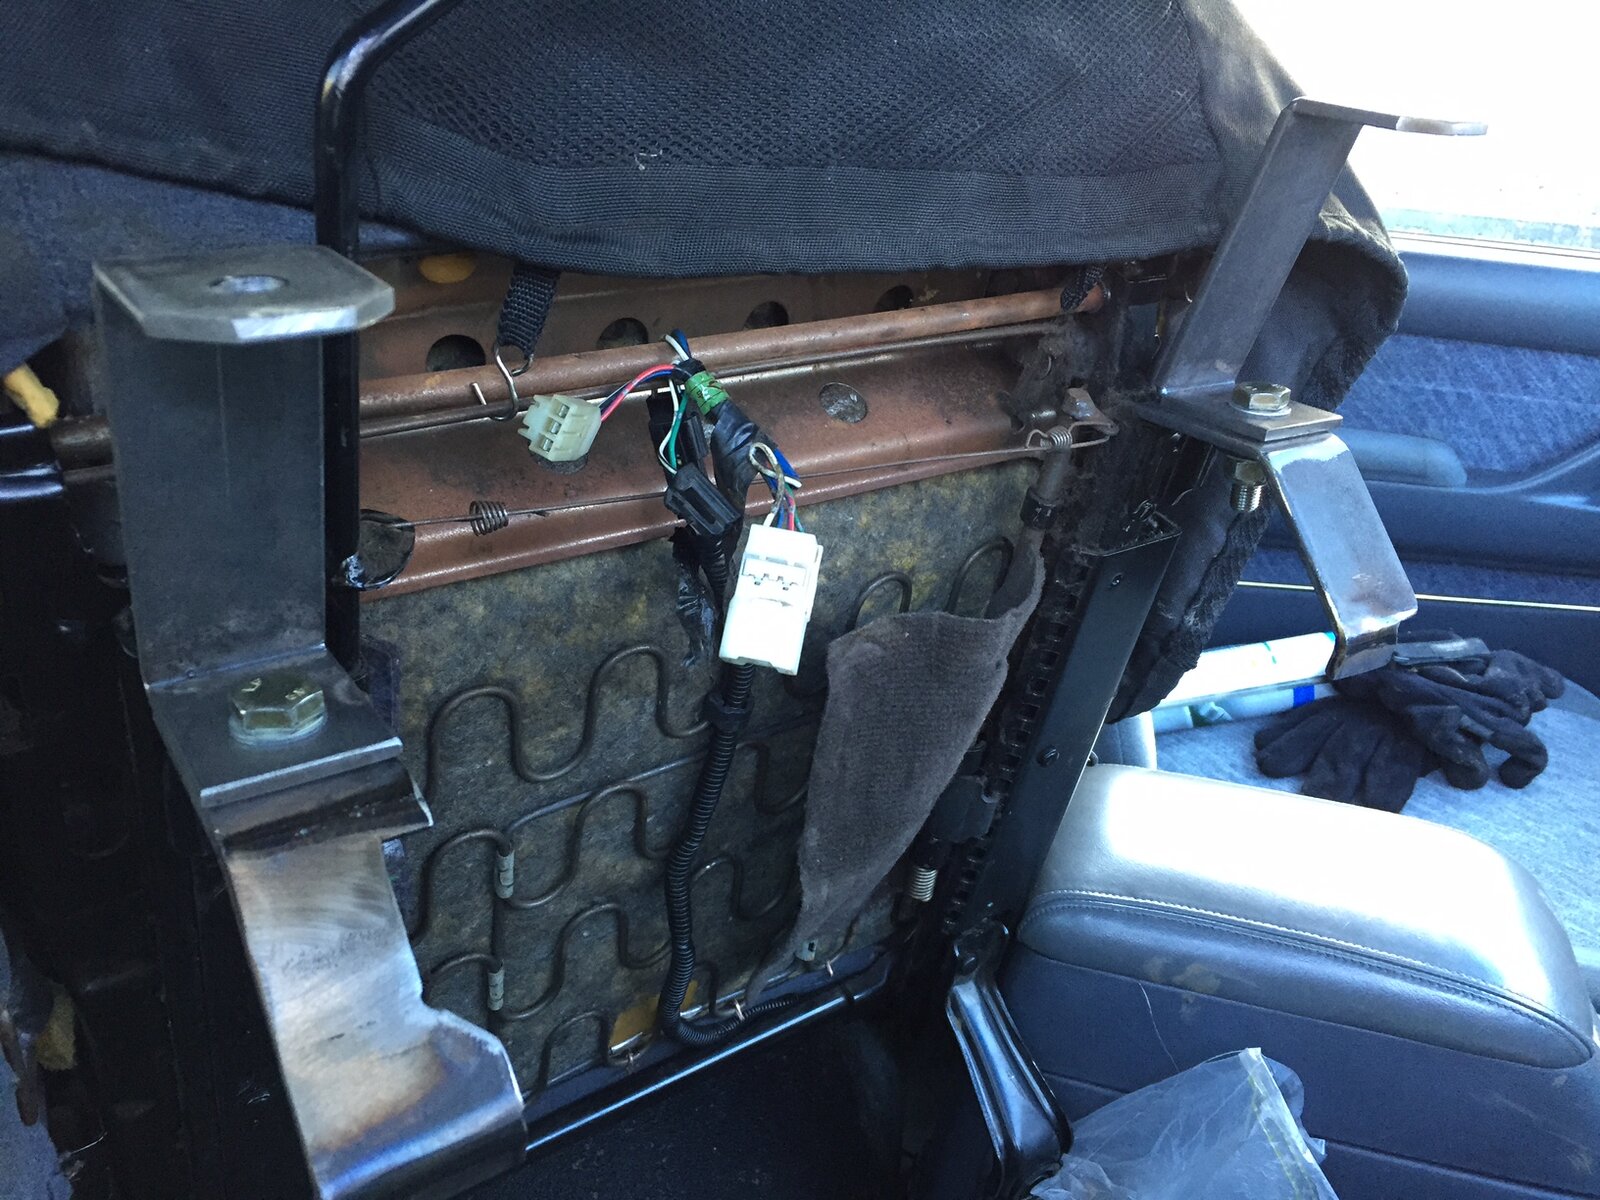
IMG_0951.JPG

Because it's fiddly under there, nip them at this point so that final tighten one settled is one or two turns on the spanner.

Here's the bracket in place. Get the idea now?
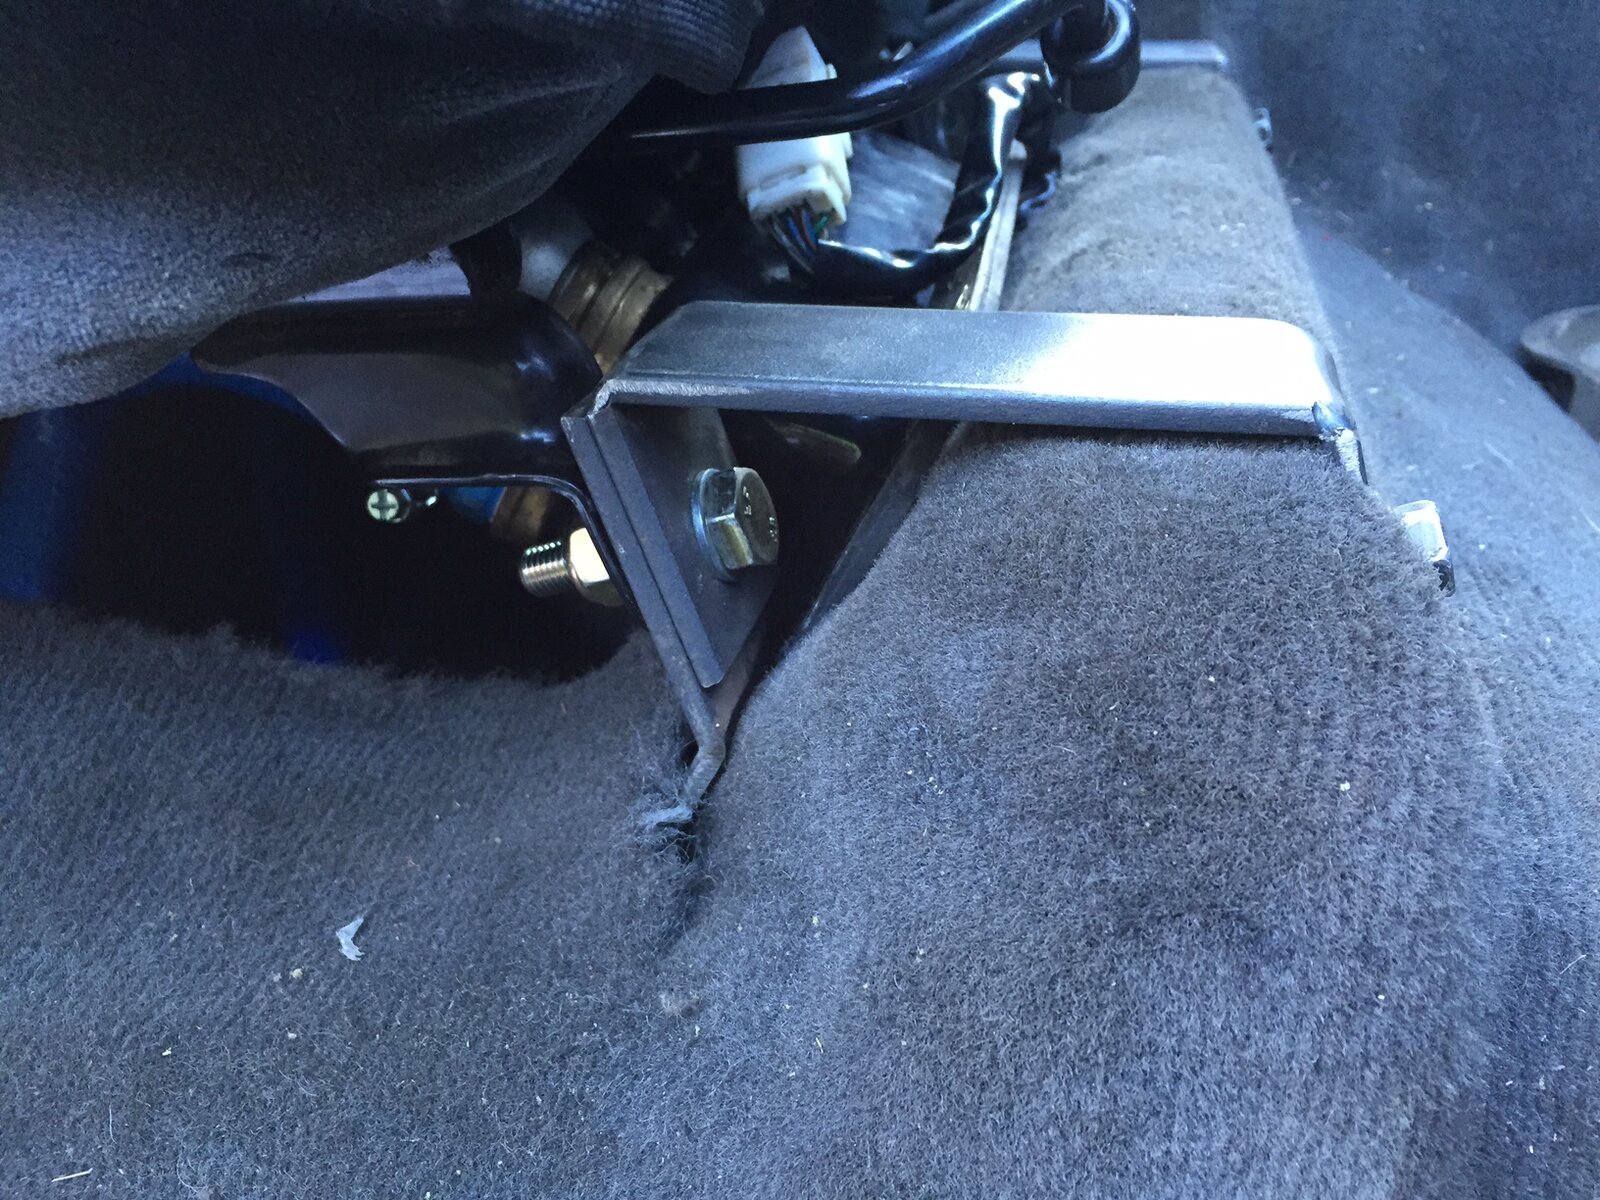
IMG_0952.JPG

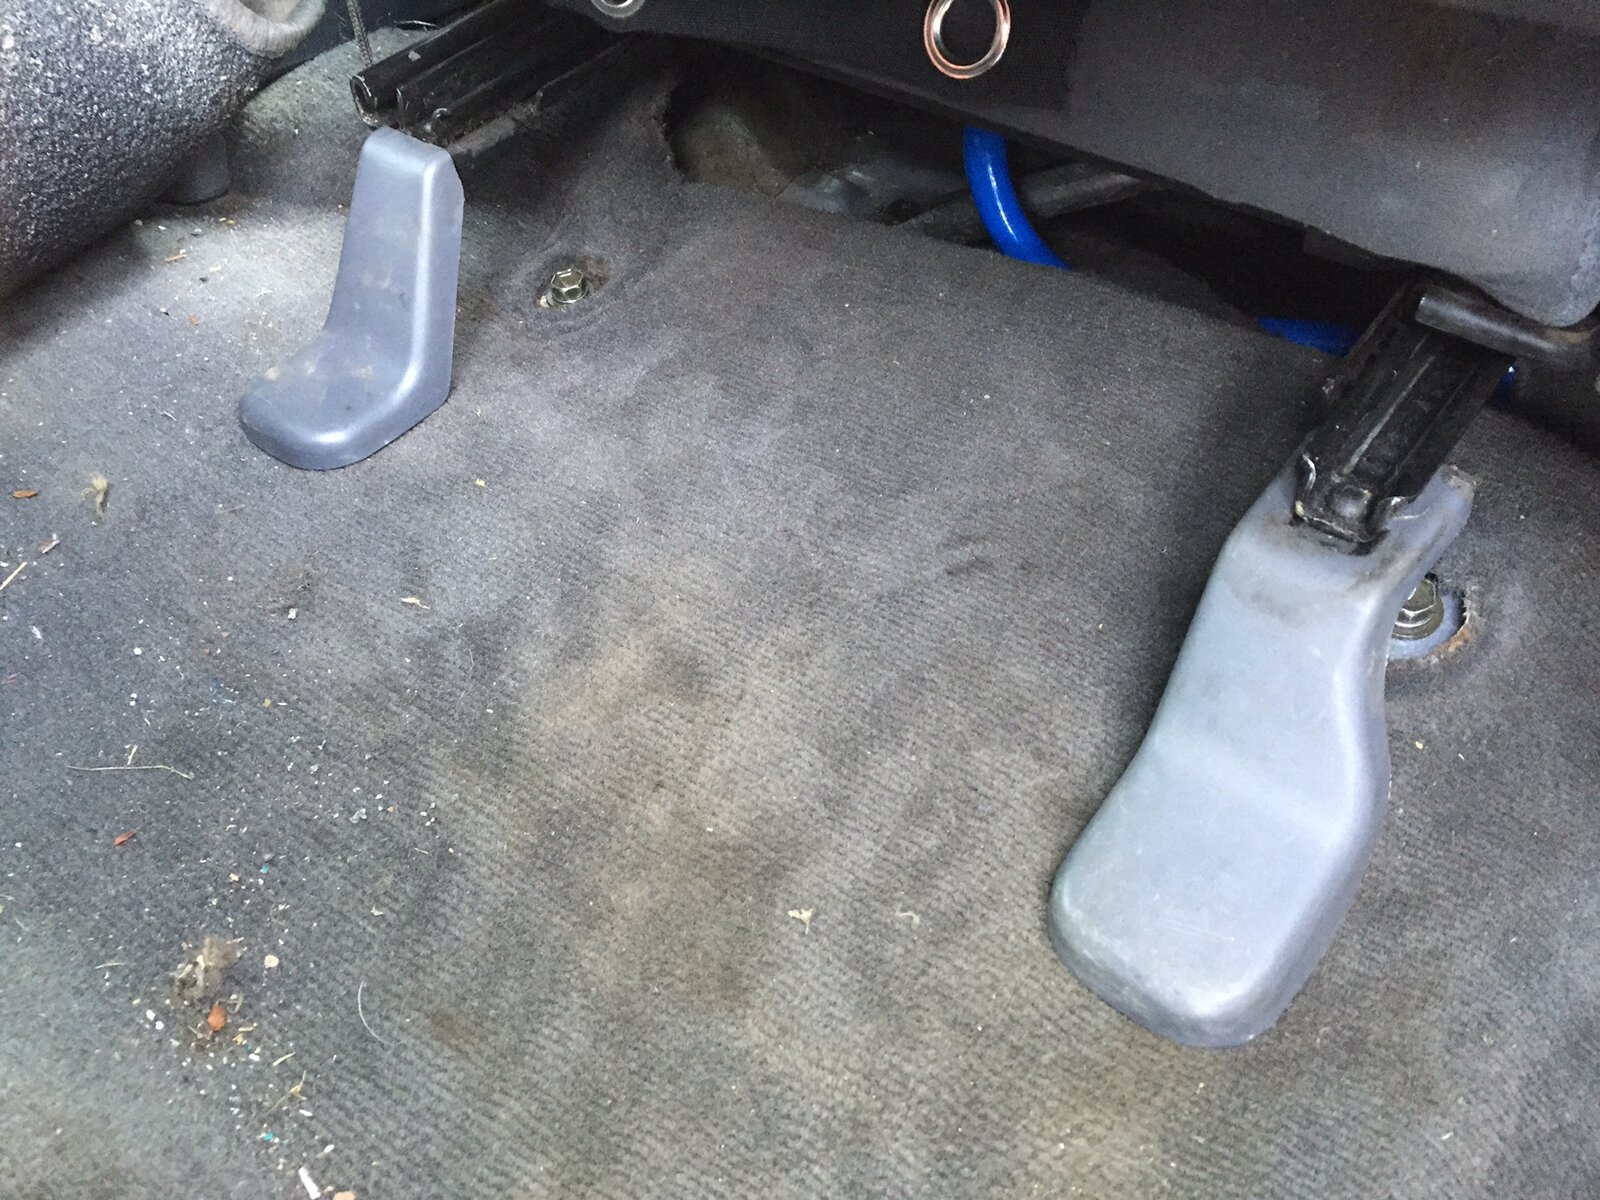
At the back, there is no need for brackets really. I intend to just drill straight through the floor and bolt through as Toyota did with a big fat plate under there so that it doesn't tear through. The sill side runner does need a small spacer though at it's higher one side than the other on the original mounting points. I made the brackets to give about 4" additional rear travel. They don't need that much. With it fully back I can barely reach the pedals. Come forward half of that and it's perfect. But going back all the way does mean you could have a snooze in the driver's seat without discomfort. But your rear passenger might feel the pinch.

IMG_0953.JPG

So effectively all I have done is move the holes, not modify the seat at all. Easy to take out. I will see if it will swap to the auto with electric seats. That would be neat because on a long run, that is very hard on my knee. So I need to finish the rear mounts so that I don't eat the airbag in a crash and paint them up. Pretty easy to make if I am honest and something that I think would be of interest to other 80 owners. Set up to make a few sets and it's one thing that you very probably could just knock out (as people tend to say). I can't see any MOT issues here and like I say they are removable in minutes.

Forgive the slightly rough appearance, these are very much prototypes and proof of concept. They really need a jig making.
 
Very neat solution Chris, something that would be useful for sleeps in the driver seat, unfortunately my fridge is positioned immediately behind my seat with no room for anymore rearward movement. :icon-cry:
 
Don't like the adverts?  Click here to remove them
Yup well done. Sometimes simple is better - and cheaper than the $180 alternatives out there! If they work on the leccy seats I'll pay for a set!
 
Great work Chris, nice simple solution. :thumbup:

My only slight concern would be whether the seat bases will stand up to being bolted to the bracket like that. As in effect now isnt it relying on the 10mm bolt to take the weight of the driver/passenger, where as before the bolt was just to sort of to locate the seat and not actually taking weight? :think:

Fingers crossed it will be fine. But we get a few 4wds in at work where accessories have been designed and/or fitted wrong and parts of the car have fatigued and cracked, particularly after driving on corrugations. I've had to weld up cracks in a few 100 series engine bays now from auxiliary battery trays being fitted wrongly. :thumbdown:
 
I would be up for a set chris. Group buy again. You must be mental.
Stu
 
Ben, wise words and understand that completely. Thing is though when I took the seats out, it didn't look in fact as though the seat was actually resting on the hump in the floor pan. Hardly a mark in the carpet. I think that in this case the seat really is supported on the bolt and friction against the front of the hump. With the leg that comes down onto the floor pan I think there is sufficient load bearing capacity even for a major pie eater like me. The seat is still very well supported on four legs and where the weight is most situated (toward the back of the seat) the two rear legs are acting as they always did, so I reckon it's fine. This isn't my idea and has been around sometime on ih8mud. I could beef up with say 8 or 10mm flat too I suppose. Like I say I shall weld these all round when I taken them off again.

Gary you'll be pleased to here they work out at only $175 per set. You have to provide your own holes though.
 
Hmm - you know I'm from Zim, right?? So $175 Zim is about, uh let me see .... Umm I think you owe me about £2.36 in total...
:)
 
Had a quick peek at the lecky seats Gary. They don't look quite the same. But once you're down here and we pull yours out, I'm sure we can bodge something up
 
She already has Gary. She already has.
 
Good solution, if secure etc there'd be no mot issue, seats just need to be secure, adjust forward and backwards and lock into position.
 
Certainly more comfortable Gary. Very pleased.
 
Got to get something done or I am never going to catch up with Ben's build post numbers!
Still frozen and white out there. -7 last night and the water in the truck is frozen. Engine started first click on it's 12v so there.

Nice write-up Chris, as usual, but I don't think my little legs will need it!

It's a bit nippy here tonight at -14 and due to be -20 tomorrow night... Looks like my phone needs more of a charge than the truck batteries :lol:

image.jpg
 
Finished off the seats today. Welded the brackets up fully, primed and painted them. Once welded they felt pretty darn strong. Given that the seat is only pressed tin plate, I think we'll be fine.


IMG_0954.JPG


IMG_0955.JPG
 
Today, I mostly let some air out of my tyres. Running these big 35's on my trip to France this year, I could see pressures and temps climbing when fully loaded so I upped the pressures a bit and that stopped the flexing especially on the rear. 4 people, RTT fuel etc etc. Now since fitting the EFS monster springs and shox, I have been aware that it's all been a bit hard. Not harsh as much as just plain hard. So I let some air escape today and went down to 32 psi. I can confirm that it now feels a whole lot gentler. We'll see how it does fully loaded on the highway when it's warm, but for now, it's most definitely softer.
 
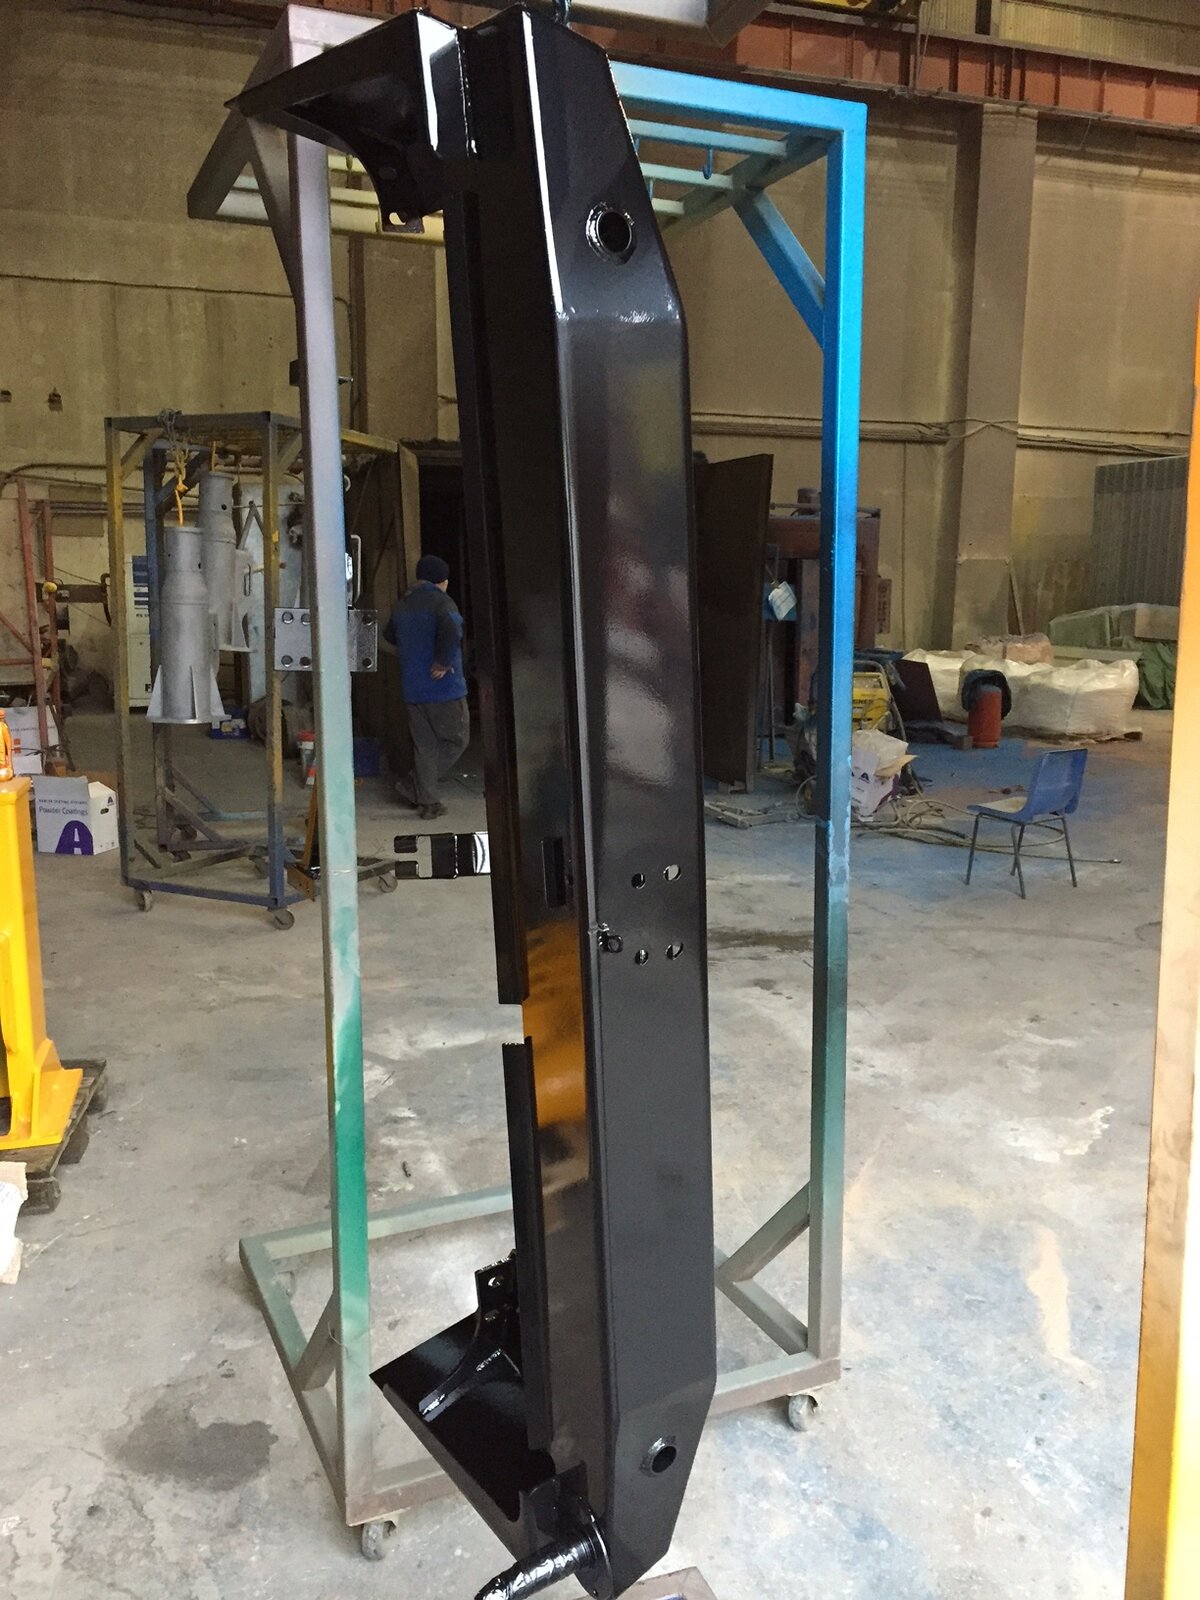
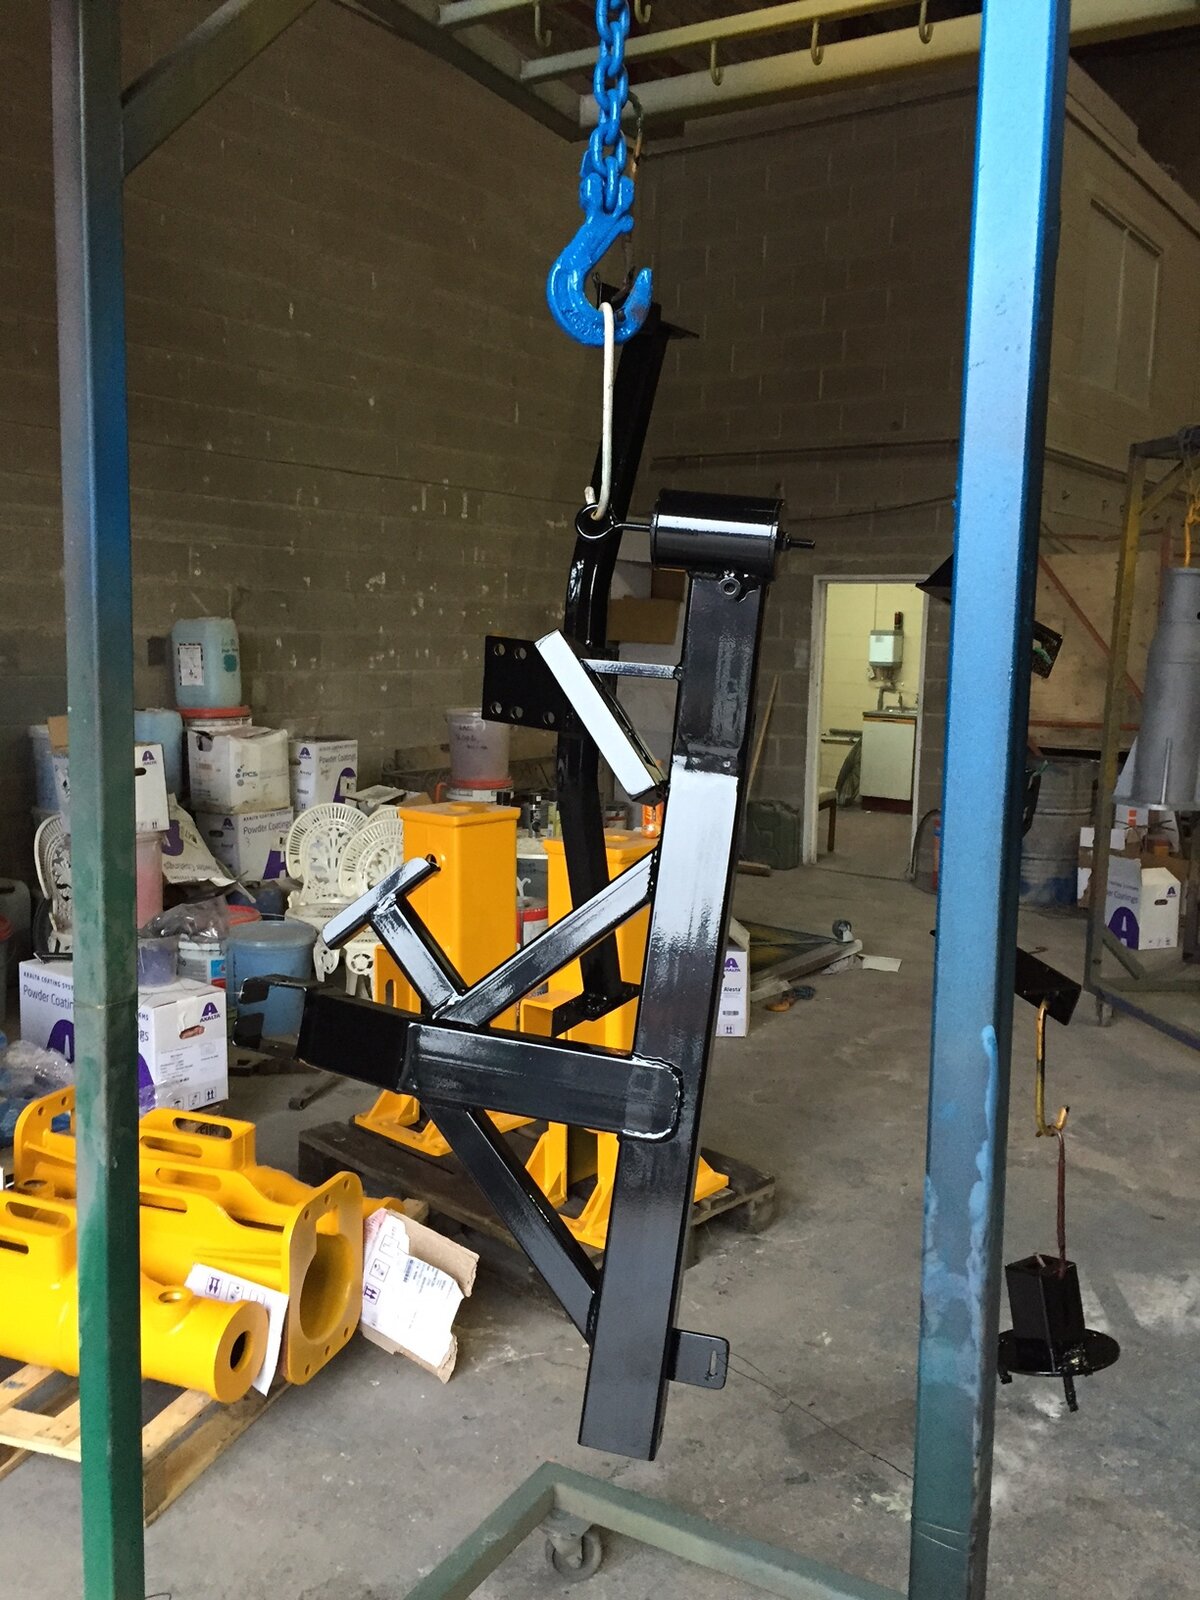
Dropped into the powder coater today. Still slightly warm but ready! Should look pretty smart. It's another thing off the list anyway.

IMG_0962.JPG

IMG_0961.JPG
 
YYY
Back
Top