Fitting instructions for Gullwing doors.
You will need:-
A length of stout cord (para cord is ideal) about 3-6mm or so in diameter. Braided is best but not essential.
Rubber safe lube such as rubber/nylon lubricant or glass cleaner.
Black electrical tape.
Window/trim removal tools, or pieces of plastic, such as plastic window packers, broad lolly sticks or the like.
Soft mallet, or hammer and wood block.
Small piece of wood approx 1/2" x 1" and about 6" long. (13x 25, 150 long)
1, remove your internal rear side guard rail (if fixed window type) if fitted.
2, remove your existing side window by prising back the rubber inside around the window. This can be done by hand with the aid of some stiff pieces of plastic and is the same process whether fixed or sliding Windows are fitted. Take care not to damage the head lining and work round from a top corner along the top and down the side. Feel your way, if it becomes difficult then go down the other side, away from the corner. E.g. Start at the rear and for every 6" along the top do 3" down the rear side, that sort of thing. There is a video from Yodateq here
though I believe starting at the top is easier.
Having someone on hand to grasp the window as it emerges on the outside and check that the plastic vent moulding doesn't get dislodged is useful but not essential. If you leave the doors open and don't push it fully out from inside, you can do it on your own but do check that the rubber is not caught on the vent moulding in the early stages of removal (it breaks easily!).
Once you've worked 2/3 of the way down each side and all the way across the top, that is the time to go outside and wiggle the rubber and window upwards and free.
3, if you plan to reuse the rubber (and you have the fixed window cruiser), note where the pre-formed corner goes on the glass and remove the rubber from the glass.
4, clean off the rubber if necessary. I find a bath load of hot water and a Brillo pad is really good at cleaning off rubbers. [emoji4] just watch out as it can leave black marks so take care doing it and do it when alone in the house unless you have an understanding wife and clean the bath afterwards.
5, refit (or fit) the rubber to the rear (fixed) frame of the Gullwing door, smooth side out and with the pre-formed corner in the correct orientation on the correct corner that you noted earlier. This is the tightest corner on the gullwing, top right on the right hand side and top left on the left hand side (looking from the drivers view).
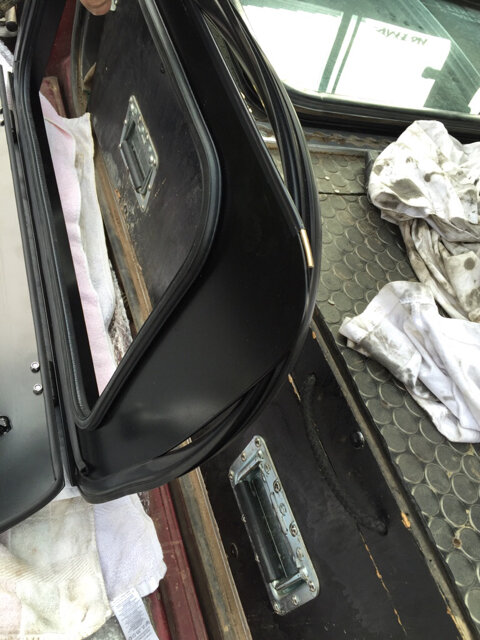
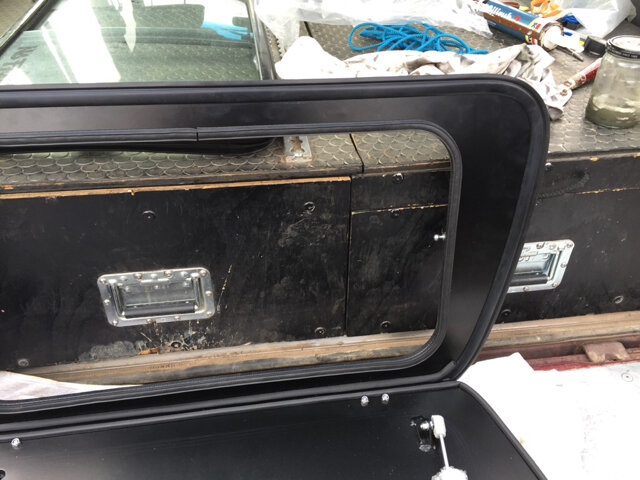
Make sure the metal sits correctly in the rubber and that the rubber is not turned under itself. New rubbers need a fair bit of working to and fro to get them in place. You may find it easier to open the door up to do this but the top needs care as it is underneath the top hinge angle and is tight in places, especially around the hinge nuts, but it will go, take care not to dislodge the secondary stuck on seal.
6, treat any rust around the opening and apply paint as necessary and leave to dry.
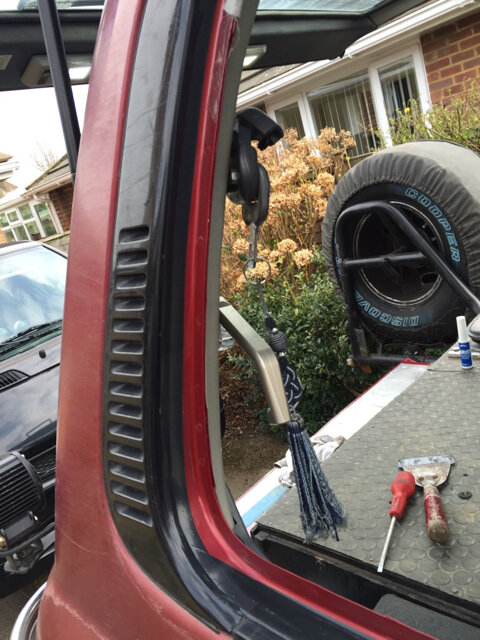
7, Tip…if replacing sliding Windows, clean the area where the rear plastic vent moulding meets the metal of the car body in the frame and run a length of black electrical tape from top to bottom without stretching it. This will help cover the join left by the difference in the fixed and sliding window mouldings, and is mostly covered by the rubbers.
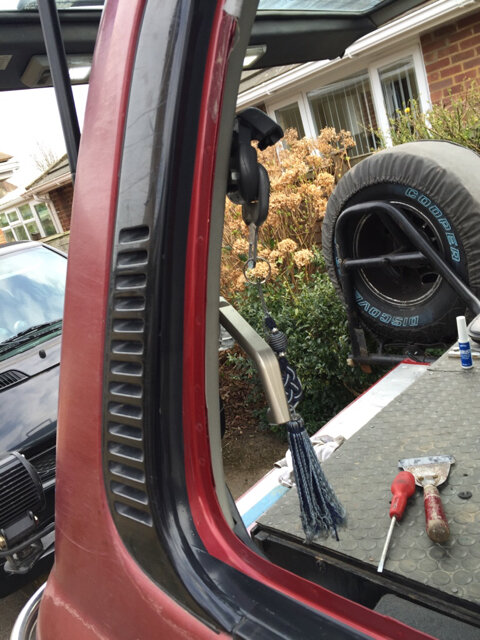
Without the tape, a small area of frame remains uncovered.
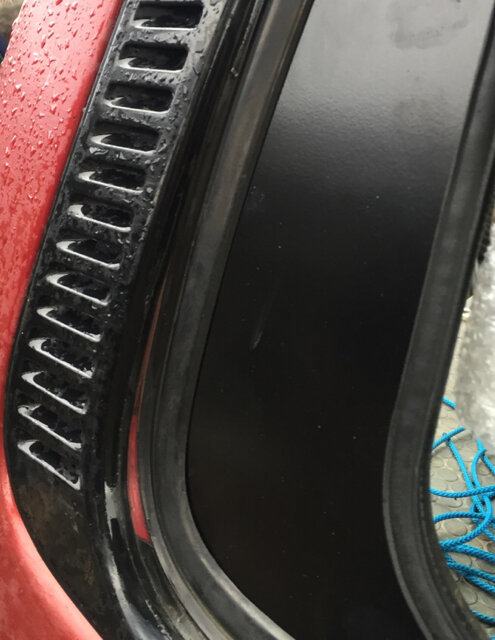
8, take the length of cord and lay it in the channel in the rubber that will end up holding onto the cruiser bodywork. Start and finish at the bottom in the centre.
A small amount of lubricant can be applied to the rubber, but ensure what is used is rubber safe (such as glass cleaner) and minimal to prevent contamination on to the head lining. Lube the corner nearest the internal cabinet frame as a minimum.
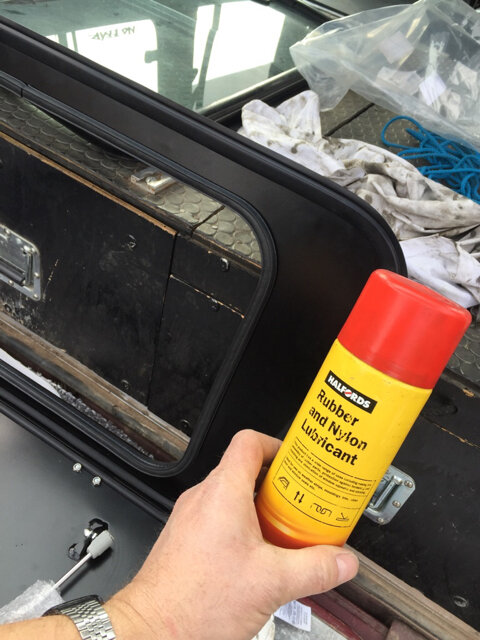
9, hold the Gullwing up near the outside of the opening and throw the tails of the cord in through the opening.
10, Place the lower acute corner so that the channel with the cord sits over where the body panels are welded together, then pass the other bottom (obtuse) corner down again over the body weld. Open the door up and press the frame down.
11, With the door in the open position, fit the gas strut by pressing the free end onto the ball in the side of the cabinet frame.
12, With an assistant holding the Gullwing outside and pressing lightly, from inside begin pulling the rope out in order to fold the rubber out and over the body. Work round from the base and part way up the side.
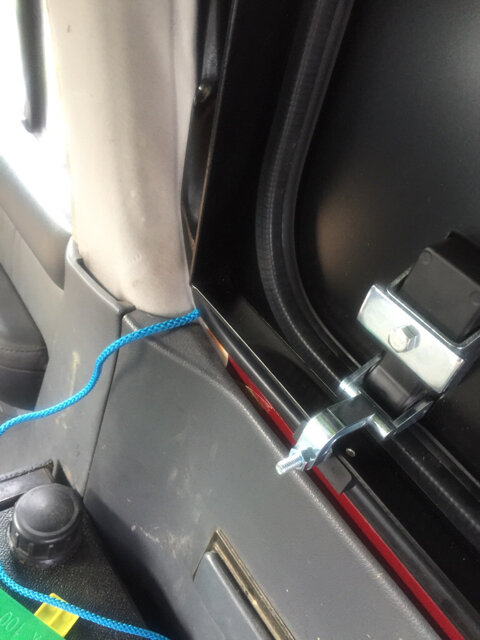
Then do the same with the other end of the cord.
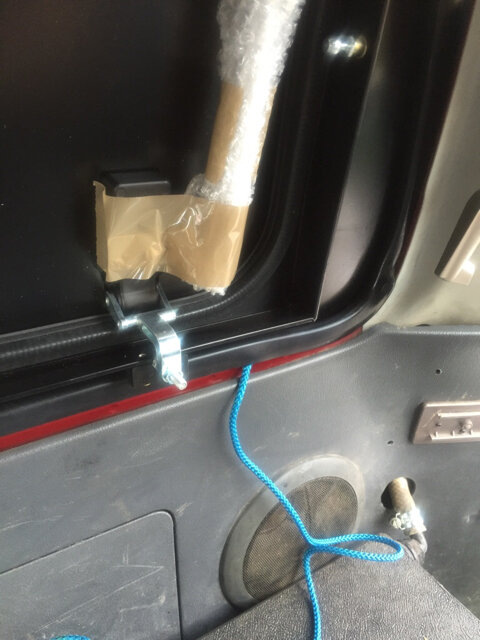
Keep an eye on the rubber to ensure it has enough to begin to overlap the body and pause to push the frame down fully home. Give a push on the door frame from outside inwards to bring the rubber in, or pull the frame from inside, working around and finishing at the top rear most corner where it may be difficult. * Take care not to split the rubber, they can take some tugging but if it needs this then the frame will need pushing away, like trying to push it back out again but not quite. A screwdriver or small plastic spatula may help pull the last bit around.
Note*:- I haven't yet tried it, but it may be easier to do this tight top corner before the front one and finish at the front.
During this process, it may be necessary to push the frame in and down to seat it, use the mallet and block of wood on the inside edge of the opening to gently tap it down once the cord is clear of the bottom channel and a check has been made that the rubber is in the correct position and not caught up anywhere.
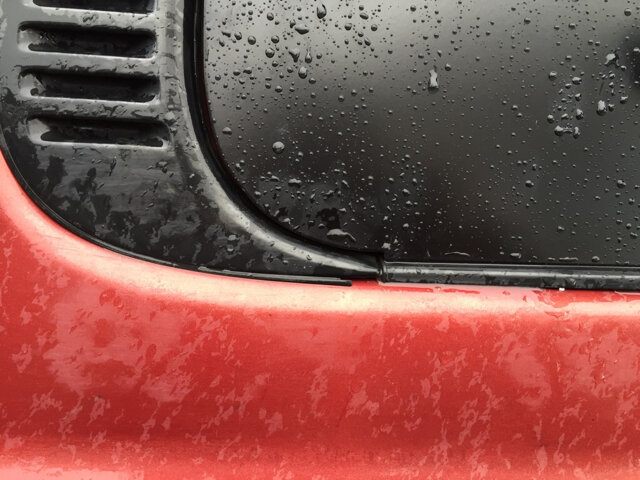
13, gently lower the door and check for correct fit around the edges especially at the junction at the lower rear of the vent plastic with the step in the door. If the door touches the body here it will be necessary to use the mallet and block of wood to raise the top rear corner by knocking the frame upwards in the rubber. If this still does not give enough clearance (it seems the window area varies very slightly here and with the alignment of the body panels). If necessary take the small piece of wood and use it with the mallet to tap down the body panel at this point. This can be very successful and non damaging, easily gaining the 1mm or so essential clearance to stop the door rubbing against the body panel and causing a corrosion point.
14, Fully close the door and latch it shut. Should the door need closing tighter or looser, the catches can be adjusted by slackening the nuts on the catch arms and screwing the bolt in or out to suit. Re tighten the nut once the bolt is set.
Your new Gullwing door is now fitted and ready for use.
The rear cabinet mounting frame can be drilled to attach whatever you build to fit it.
Please post photos of your doors installed. [emoji4]


