Don't like the adverts?  Click here to remove them

Big End Bearings!

You can get a broken rod, bolt or shell on any make of engine. If you specialise in any type of make you'll see them. The new rods and shells are not individually checked, only sample ones. I've seen Jaguar rods being shot peened locally for stress relief. The boxes they came in were all muddled up with no rhyme nor reason and you could not tell easily, by looking, which ones had been done.

I would think the LC engines after 12 valve ones are no less prone to failure than any other make. You could change the shells and actually put a defective one in without knowing.
 
Thanks for the replies. I’m now thinking about undertaking the procedure myself. I feel like I can do anything after rebuilding my CVs!
Is there a video or some pics of the process so I can follow along ? Cheers.
 
We're here to help. Don't worry. It is pretty simple to do. Here's a quick guide missing out the 'make it easier steps'

Get the car in the air
Remove anti roll bar, maybe the steering rod too. Can't remember
Undo all the 6mm sump bolts after draining the oil
Prise the sump off, using a thin blade to cut the old gasket as you go
Turn the engine over by hand until you have a pair of big ends at bottom centre
Undo the cap bolts, take the old bearing out, put the new ones in
Replace the cap and torque the bolts, then turn another 90 degrees
Do this three times to cover all 6 cyls
Replace the sump with new goop
Replace the sump bolts.
Replace the bits you took off, put oil in and fire it up

OK that's a rough order. It's not a full method. Just so you can see the level of technical knowledge involved. So read the full procedure for torque settings, lubrication yadda yadda


Will do. Thanks so much. So much more satisfaction doing it oneself.
 
Don't like the adverts?  Click here to remove them
If you have standard suspension you may have to support the vehicle on stands under the chassis rails so the front suspension/axle can sag and leave more room the manouver the sump free. I found I couldn’t get it out without doing this. If you have a suspension lift this may not be necessary.
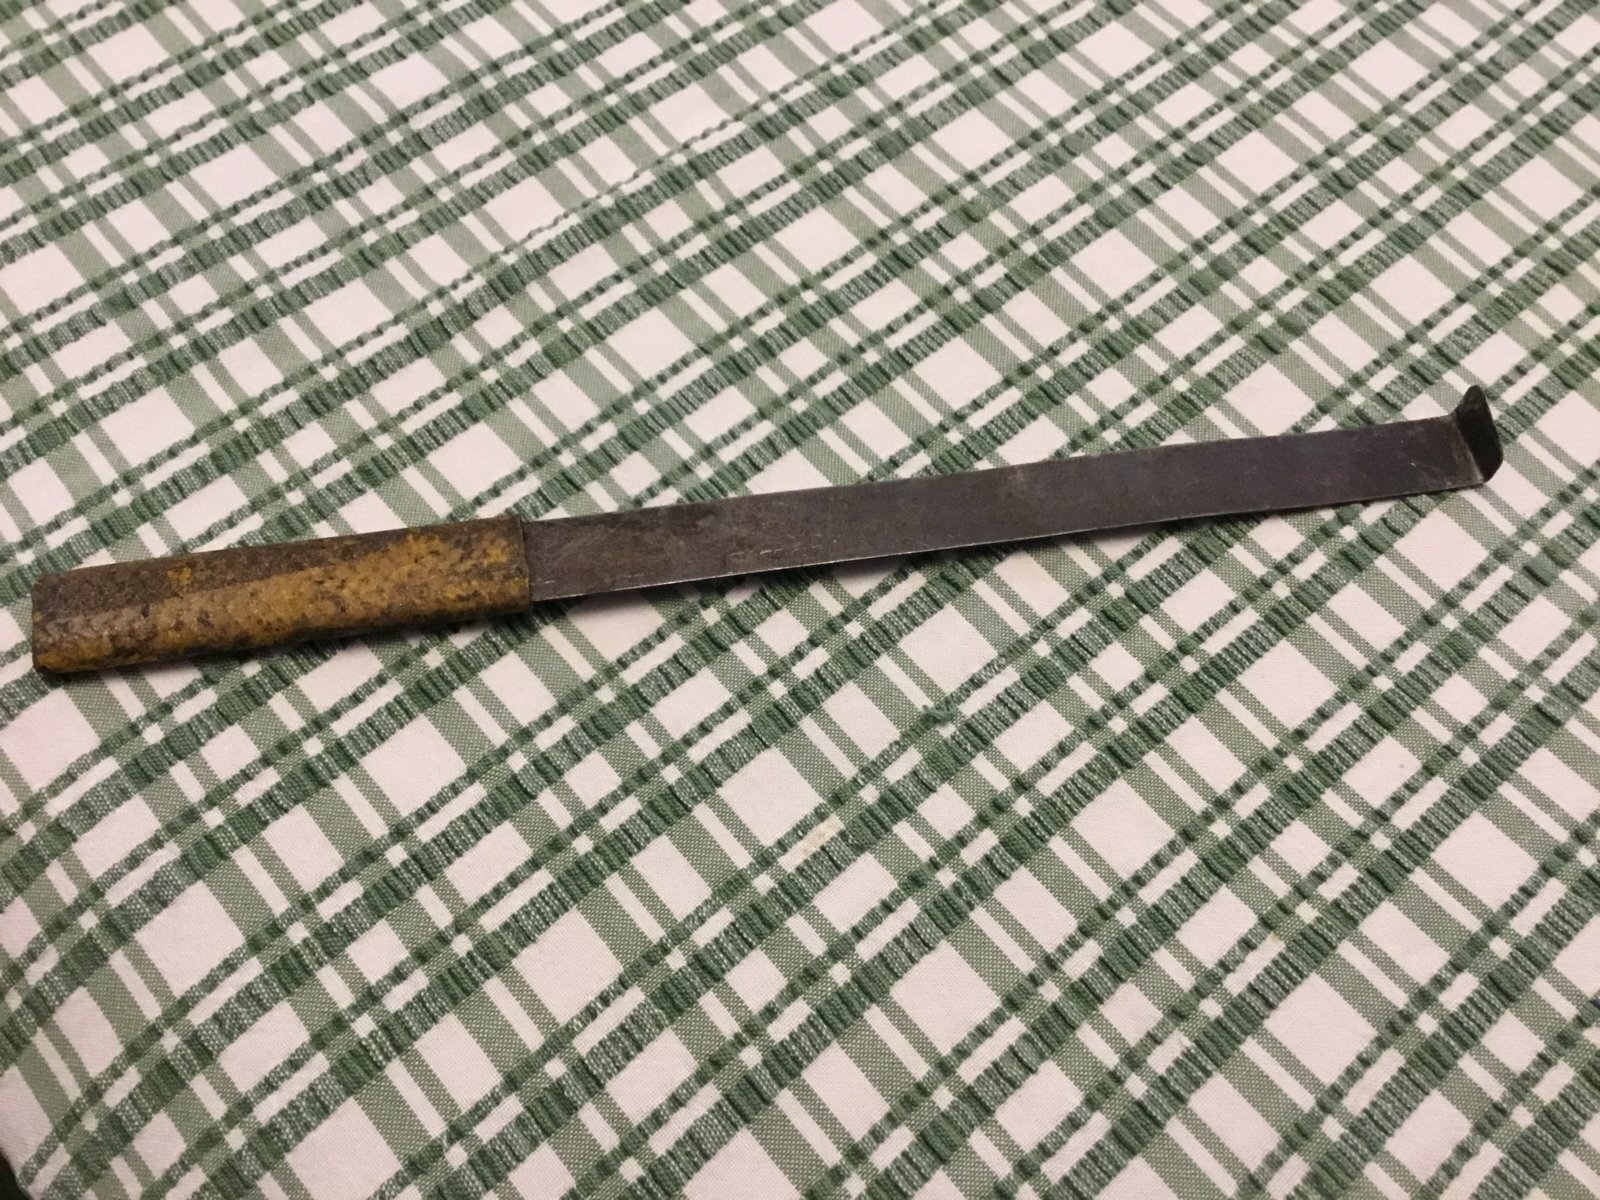
If you don’t have some sort of fancy sump removal tool, make up something like this. Just tap the end in between sump and block, them tap it round the joint and it breaks the seal without ant chance of bending the sump edge....

03D8D957-4D40-4F45-A253-8685FFA969F1.jpeg
 
If you have standard suspension you may have to support the vehicle on stands under the chassis rails so the front suspension/axle can sag and leave more room the manouver the sump free. I found I couldn’t get it out without doing this. If you have a suspension lift this may not be necessary.
If you don’t have some sort of fancy sump removal tool, make up something like this. Just tap the end in between sump and block, them tap it round the joint and it breaks the seal without ant chance of bending the sump edge....

View attachment 159842


Great. What product should I use when fixing the sump back on ?
 
Some quality silicone RTV sealer. I think there’s a Toyota branded one available (Toyota FIPG) but the stuff I used was made by Loctite IIRC. I do know it was blue!
 
After the first tightening of the bolts I found it useful to mark their positions with a centre punch at the front of the bolt. That enabled me ,
1. To establish that all the bolts had been tightened.
2. To establish later that they had all been turned 90 degree.
I do get muddled easy.
 
I'd always replace the bolts for the sake of £75. A customer has just snapped a new bolt when doing the job due to having the wrong settings.
 
I'd always replace the bolts for the sake of £75. A customer has just snapped a new bolt when doing the job due to having the wrong settings.
Hi Karl, Do you have a new sump for the 2001 100 Series Auto 1HD-FTE and an idea on price please ..
 
Hi indie.
I havnt but I could get a price Monday all being well.
 
Thanks Karl, much appreciated.. any advice on removal and refitting ?
Removing the Sump isn't too bad, most of the work is removing the other stuff before you get to that stage.
 
Back
Top