Don't like the adverts? Click here to remove them
You are using an out of date browser. It may not display this or other websites correctly.
You should upgrade or use an alternative browser.
You should upgrade or use an alternative browser.
TLC HJ61 total reconditioning
- Thread starter oding
- Start date
oding
Well-Known Member
- Joined
- Jan 11, 2015
- Messages
- 423
- Country Flag
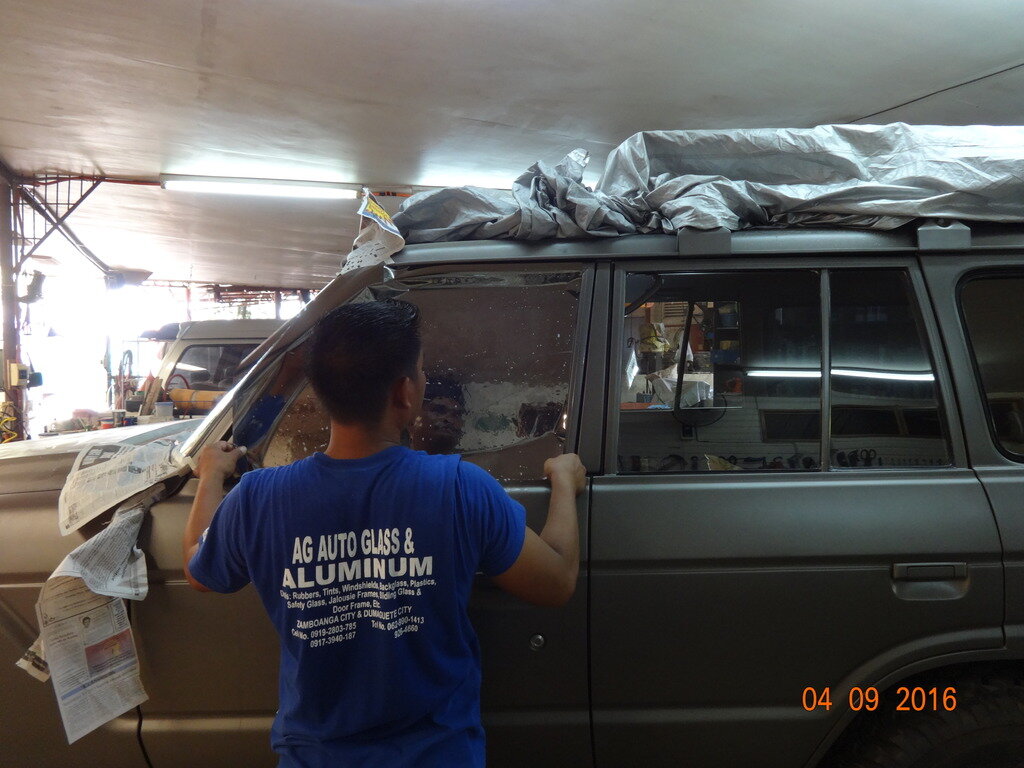
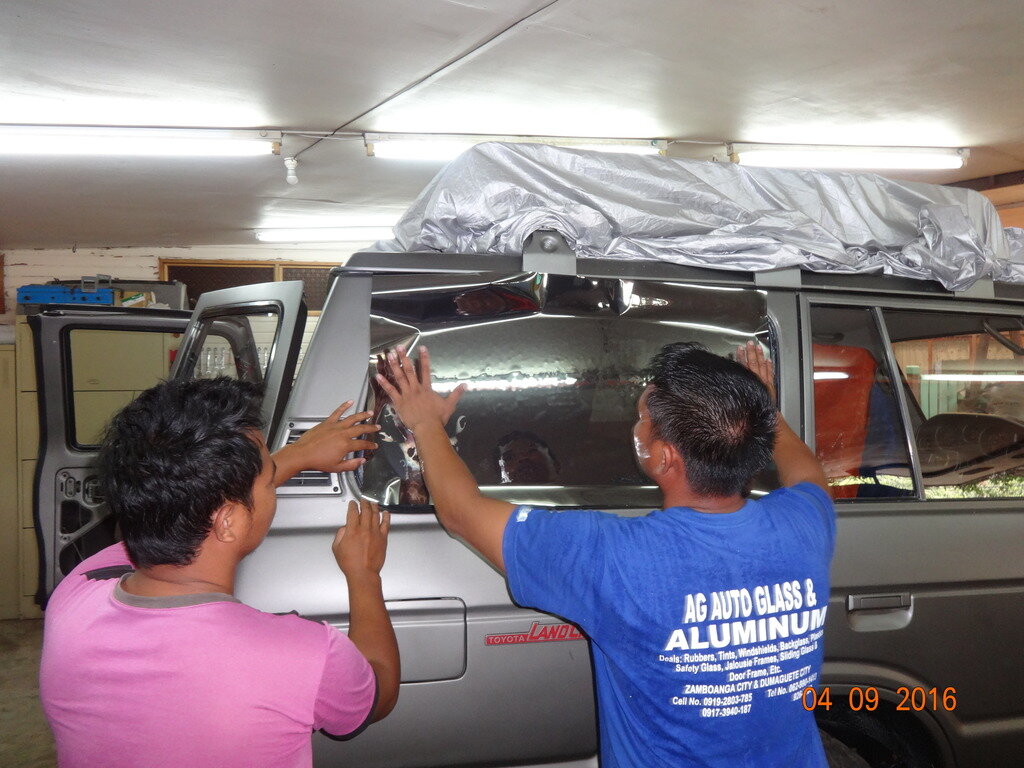
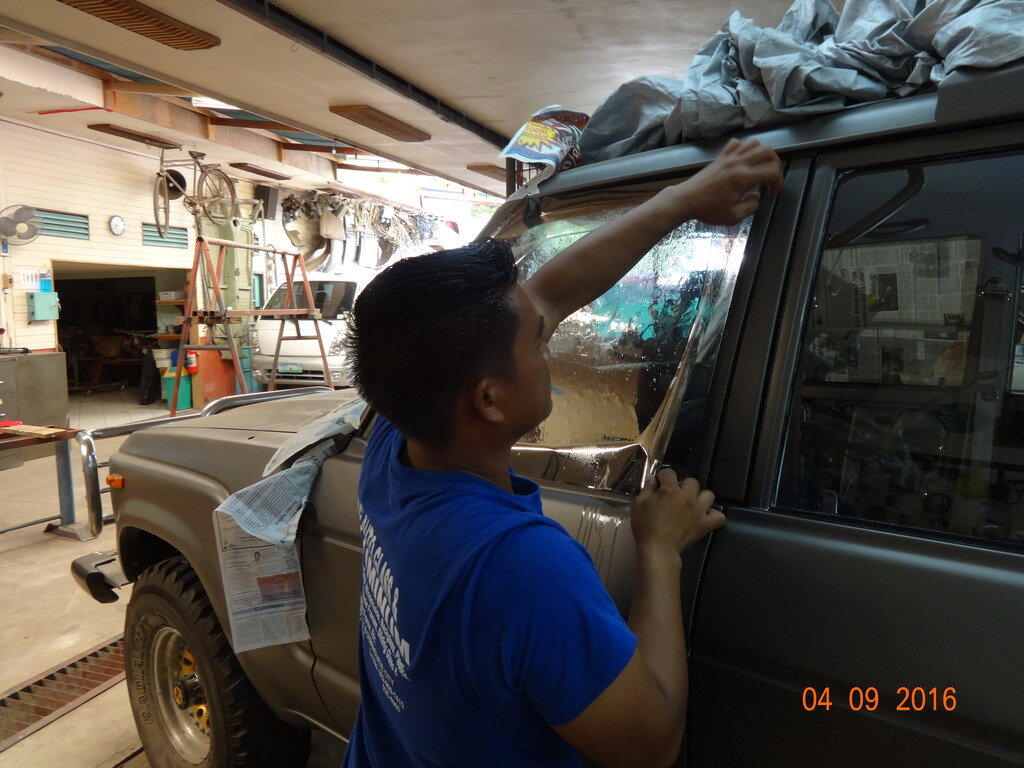
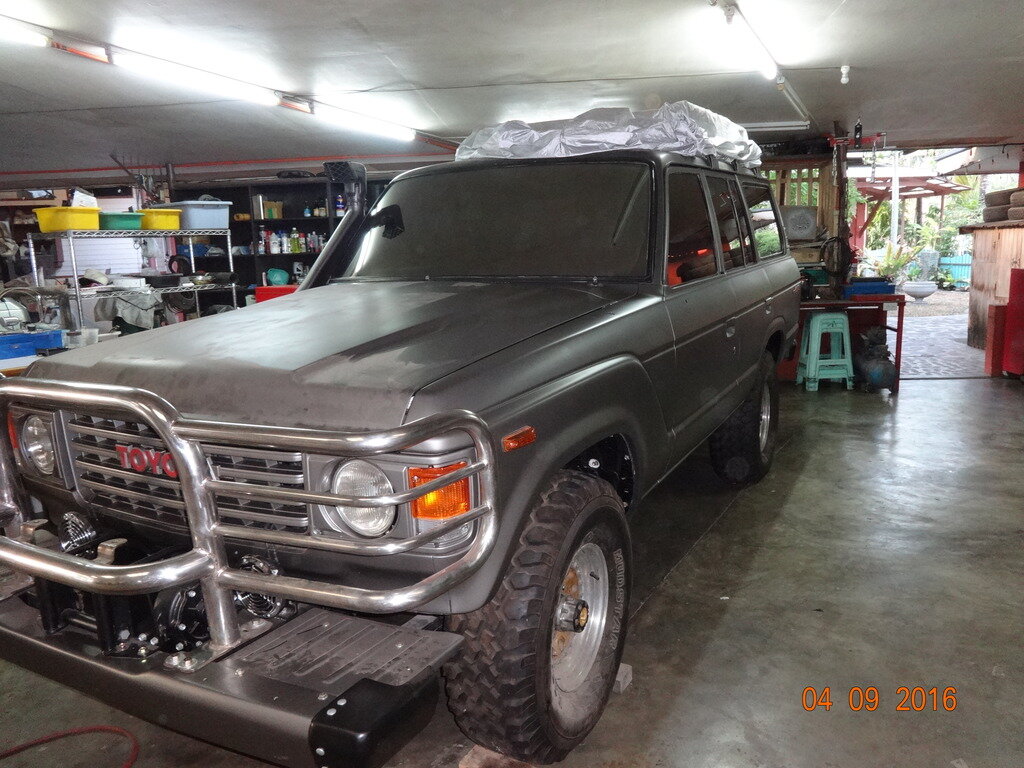
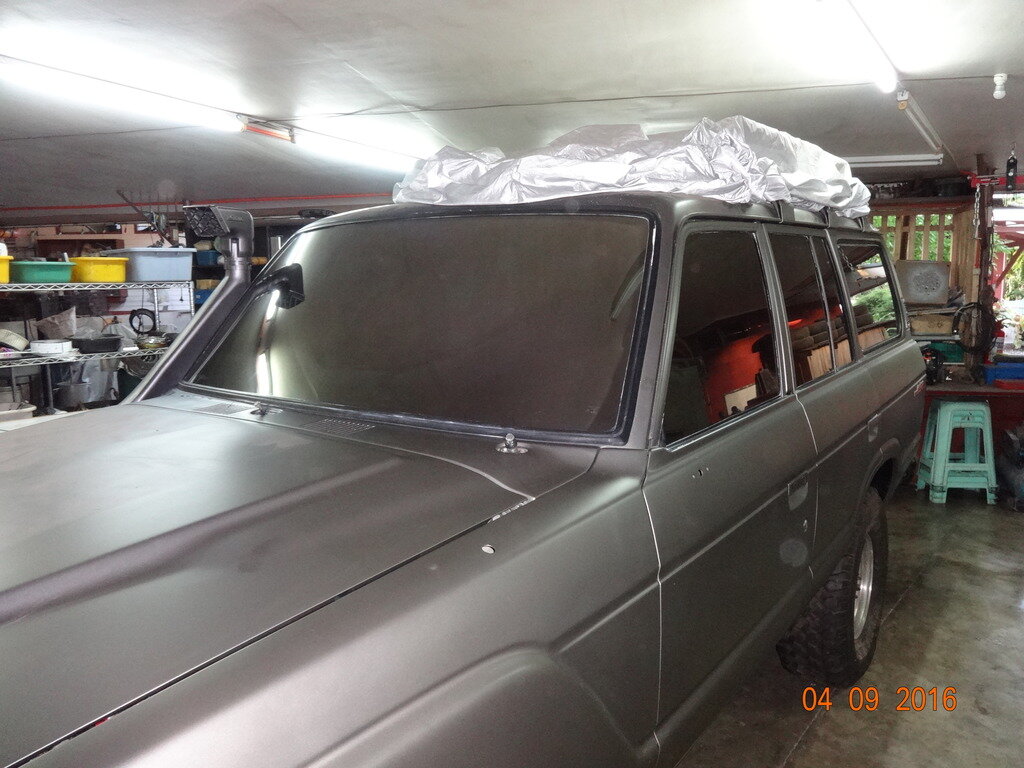
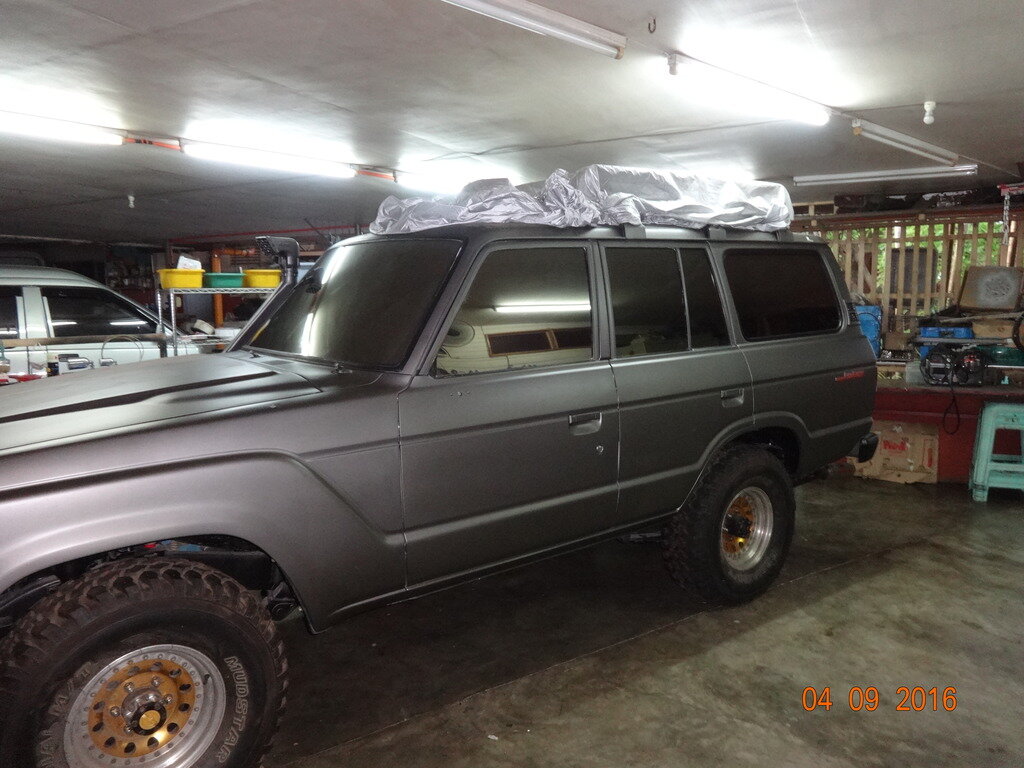
Have you had your windscreen tinted as well,not allowed that over here,looks well that though buddy
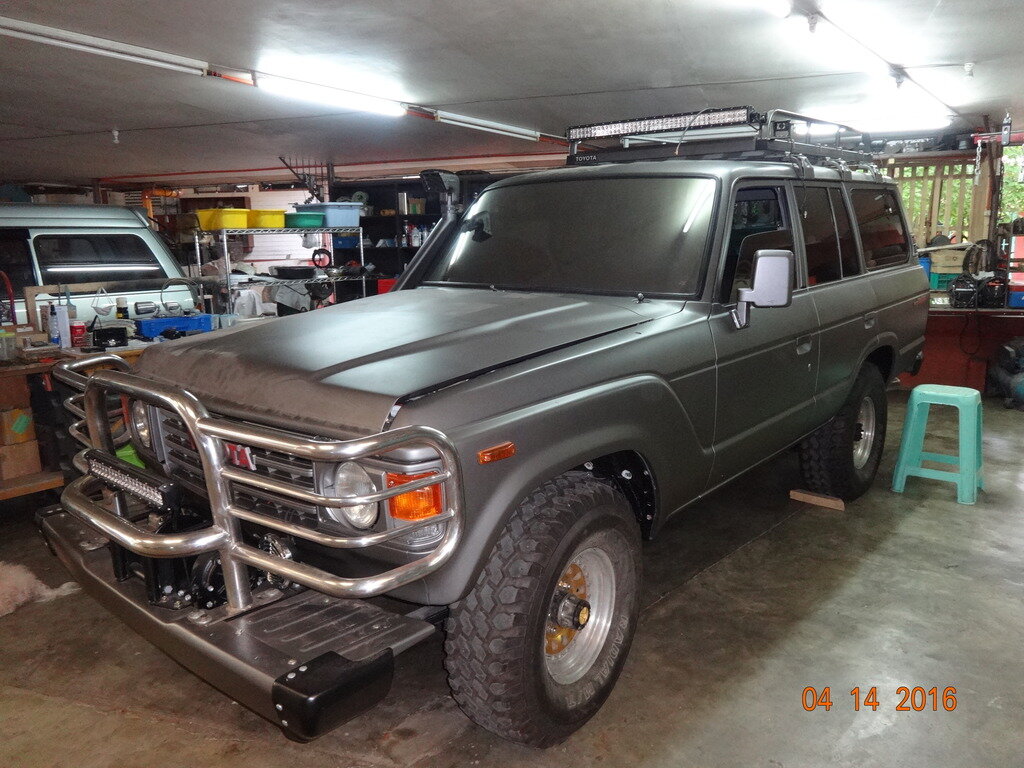
It is street legal here. You can only go far enough when it comes to a dark tint. Driving at night would be like driving with your eyes half closed. It really helps with the heat down here, it reaches up to 110 degrees. That is hot.
oding
Well-Known Member
- Joined
- Jan 11, 2015
- Messages
- 423
- Country Flag
Like the tints Oding, you're lucky to be able to have them on the widescreen. 
Don't like the adverts? Click here to remove them
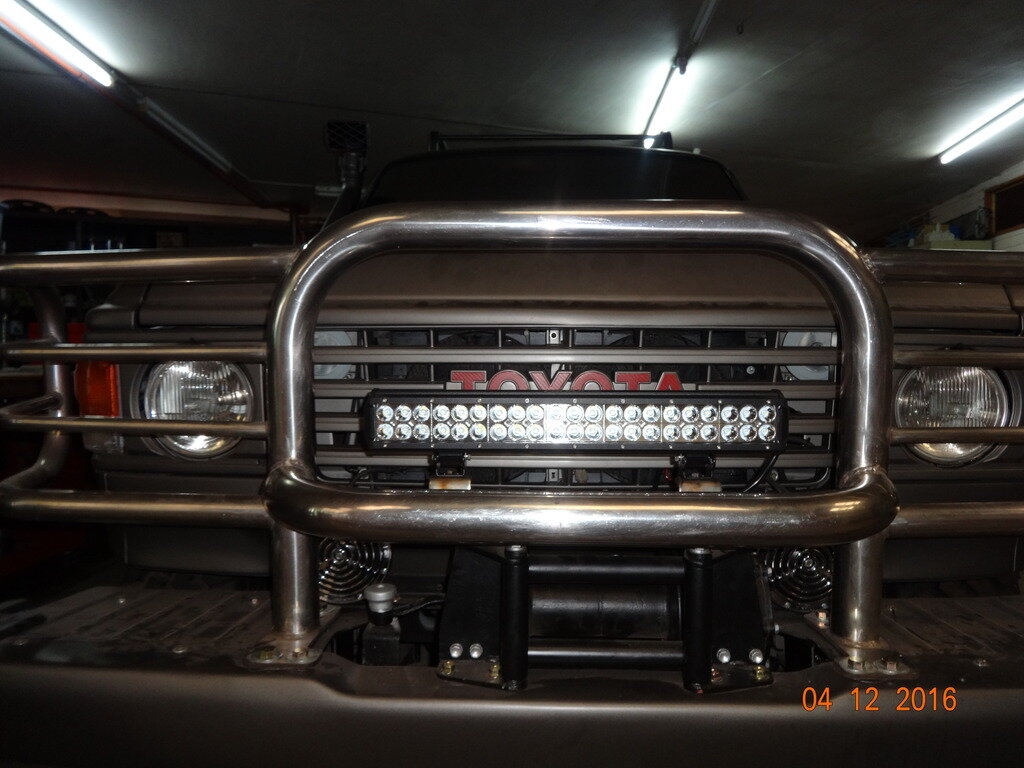
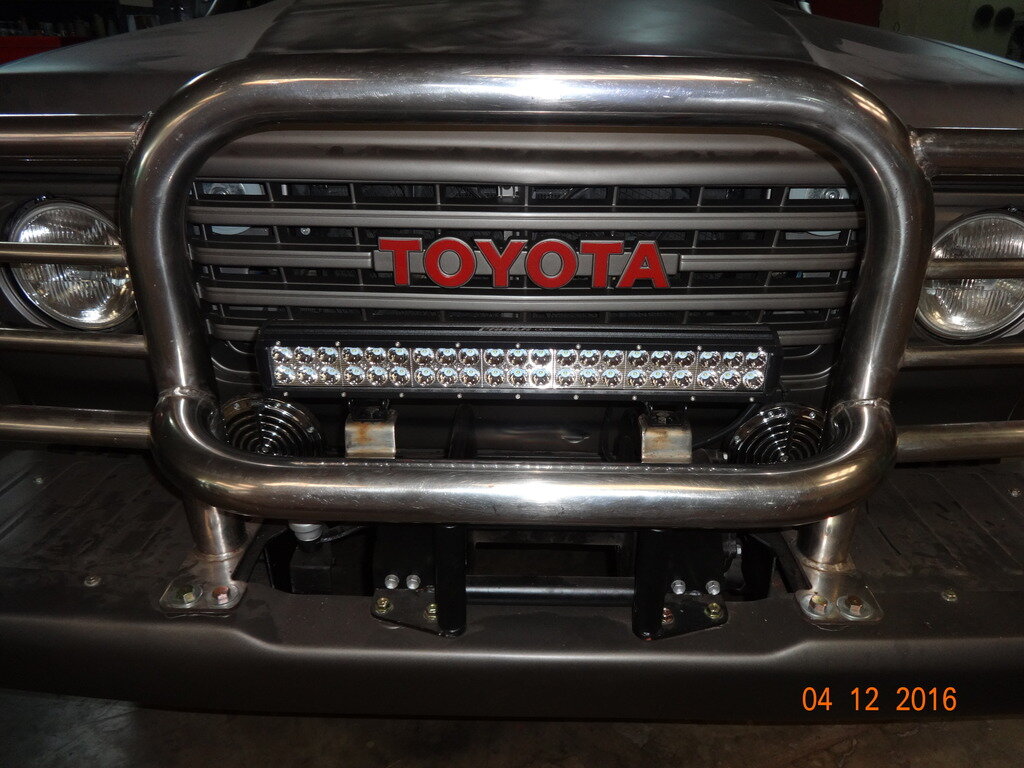
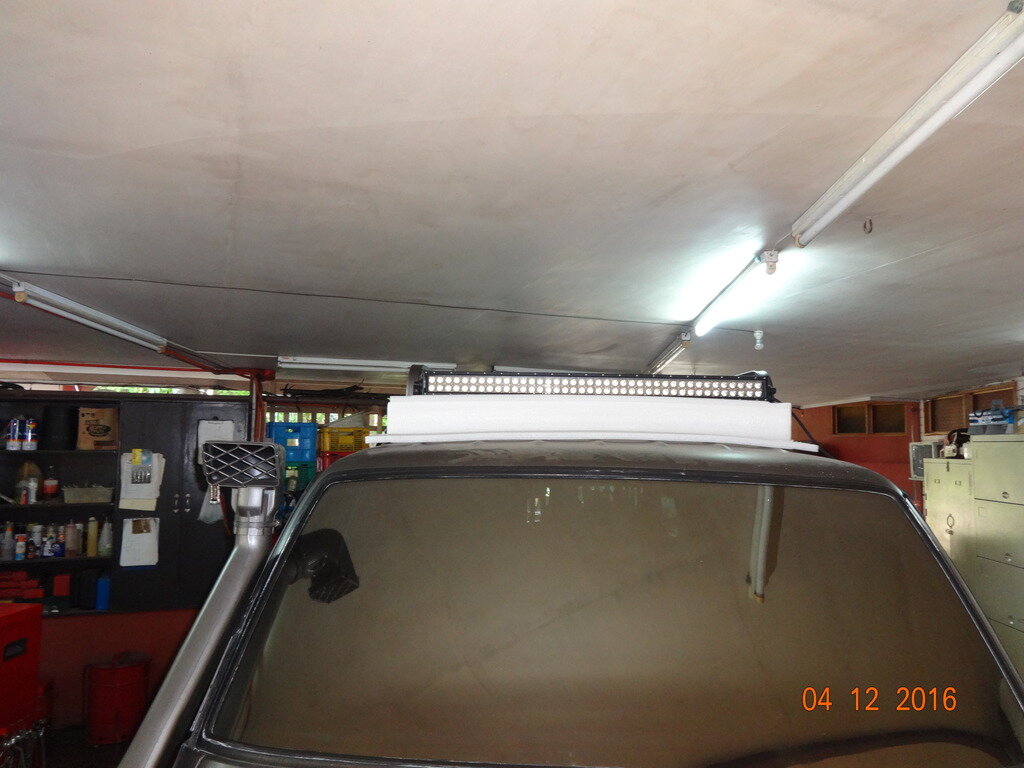
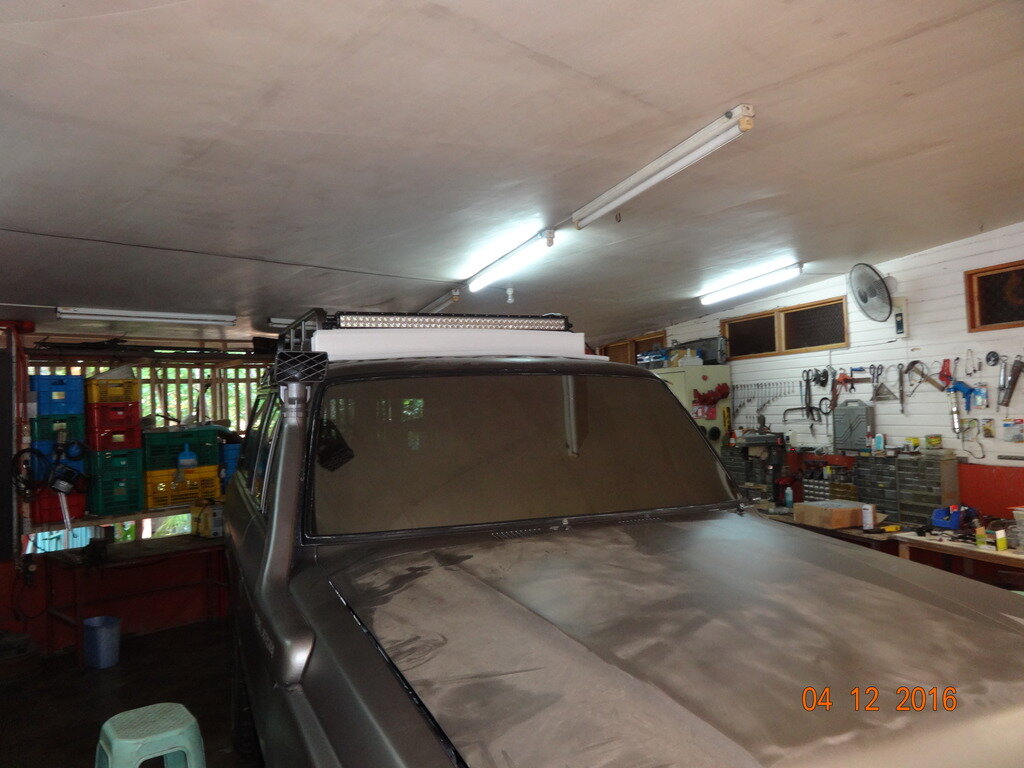
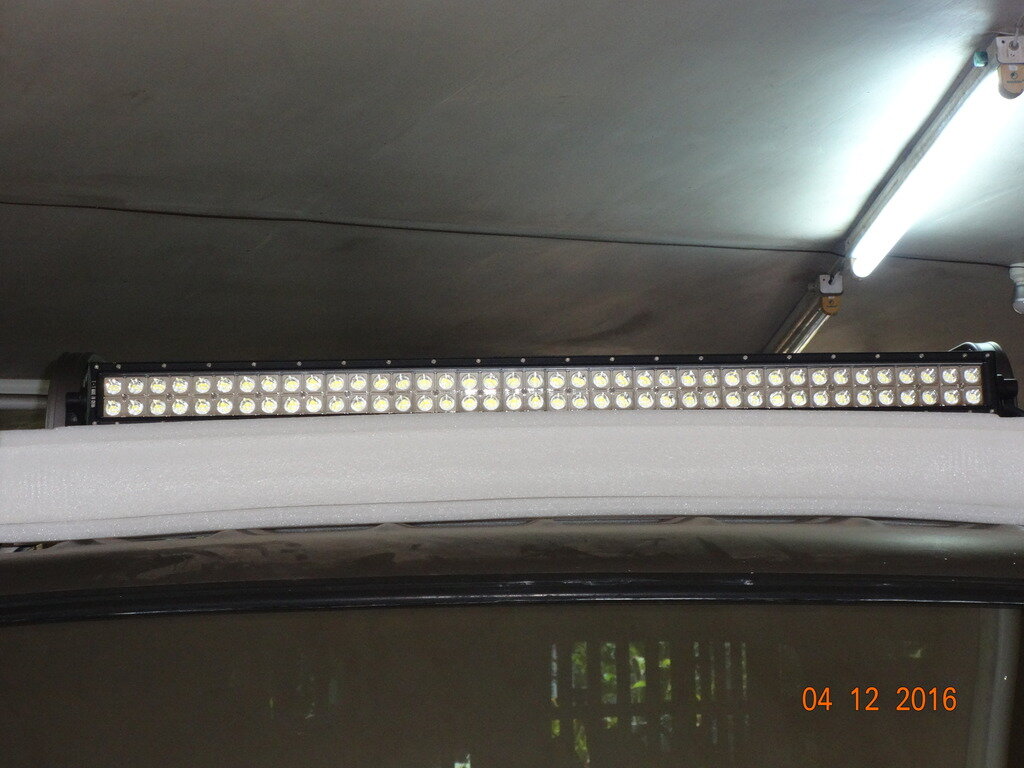
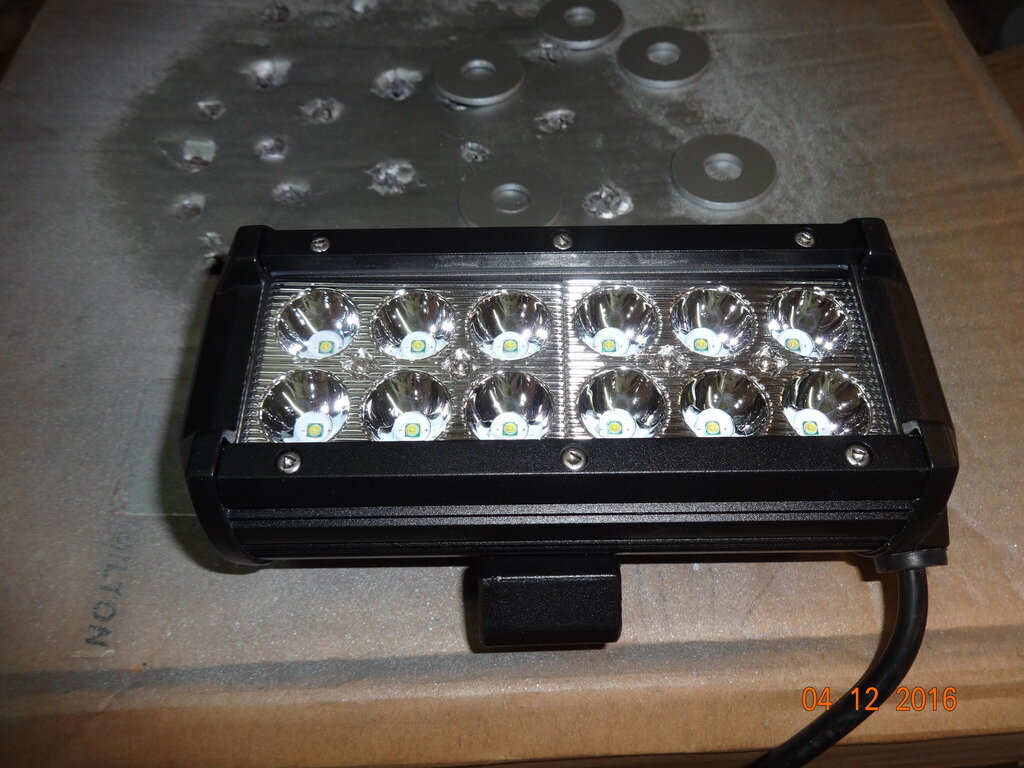
What I've found with my light bars is that the roof mounted unit has little effect in addition to the one mounted between the headlights, other than illuminating at a higher level. This is useful when tracking through trees and bushes, especially on narrow tracks, but it doesn't give any more penetration forwards.
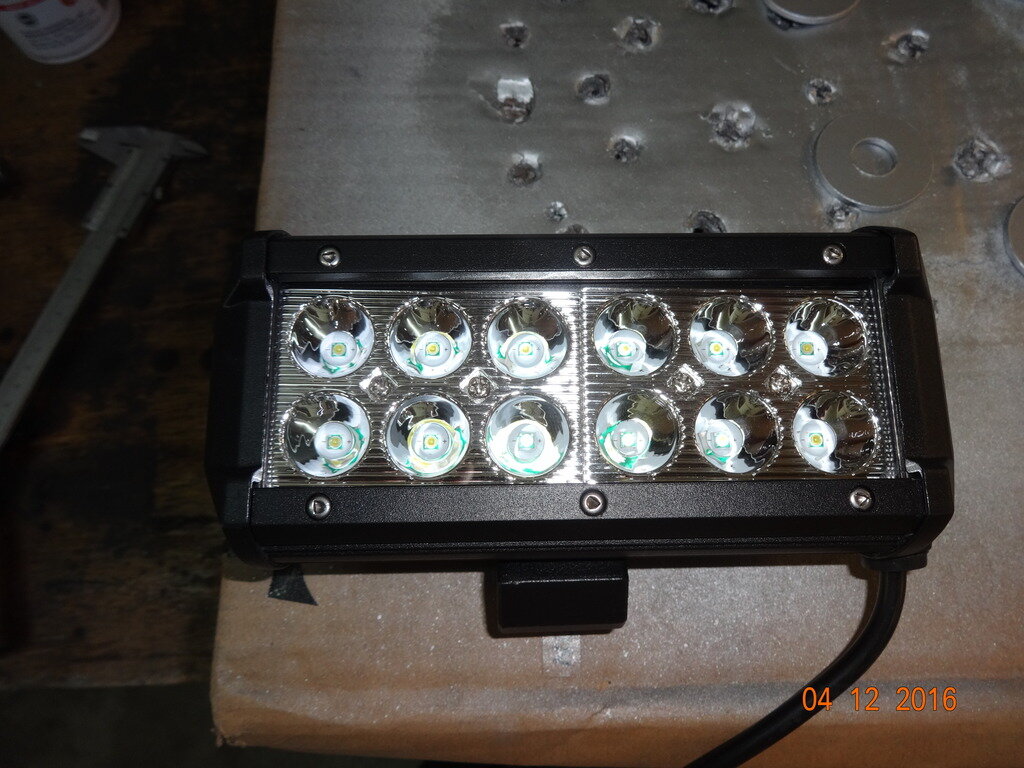
And unless a specifically long reach beam type is chosen, it's MO that light bars don't give the forward penetration that high quality "traditional" spot lamps can give. Both my units are combination bars, dispersed beams on the outer LEDs and penetrating LEDs on the inner. Maybe I should have chosen a beam only unit for the roof?
Still, they deliver a lot of light and even night-time road driving (when there's nobody coming the other way) is much more of a pleasure.
oding
Well-Known Member
- Joined
- Jan 11, 2015
- Messages
- 423
- Country Flag
My purpose really is to have an auxiliary light in aid of night driving and in bad weather. LED bars are common because you can mix a bar with spot and flood together and it is very efficient. Not only does it look good but also very handy.
oding
Well-Known Member
- Joined
- Jan 11, 2015
- Messages
- 423
- Country Flag
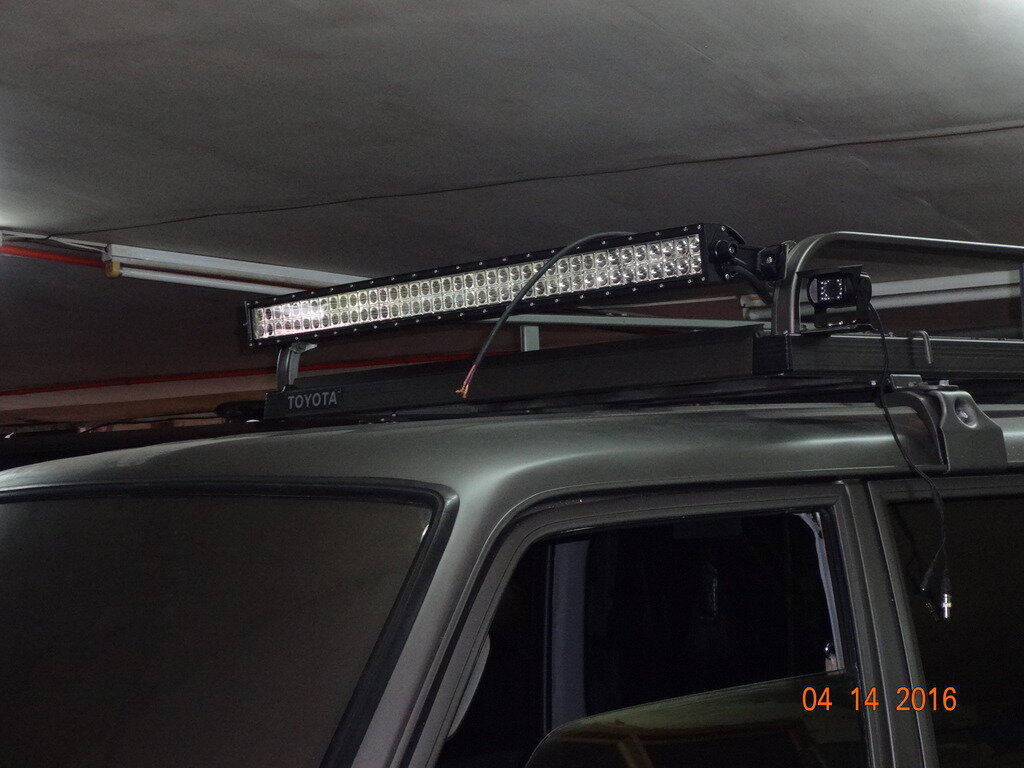
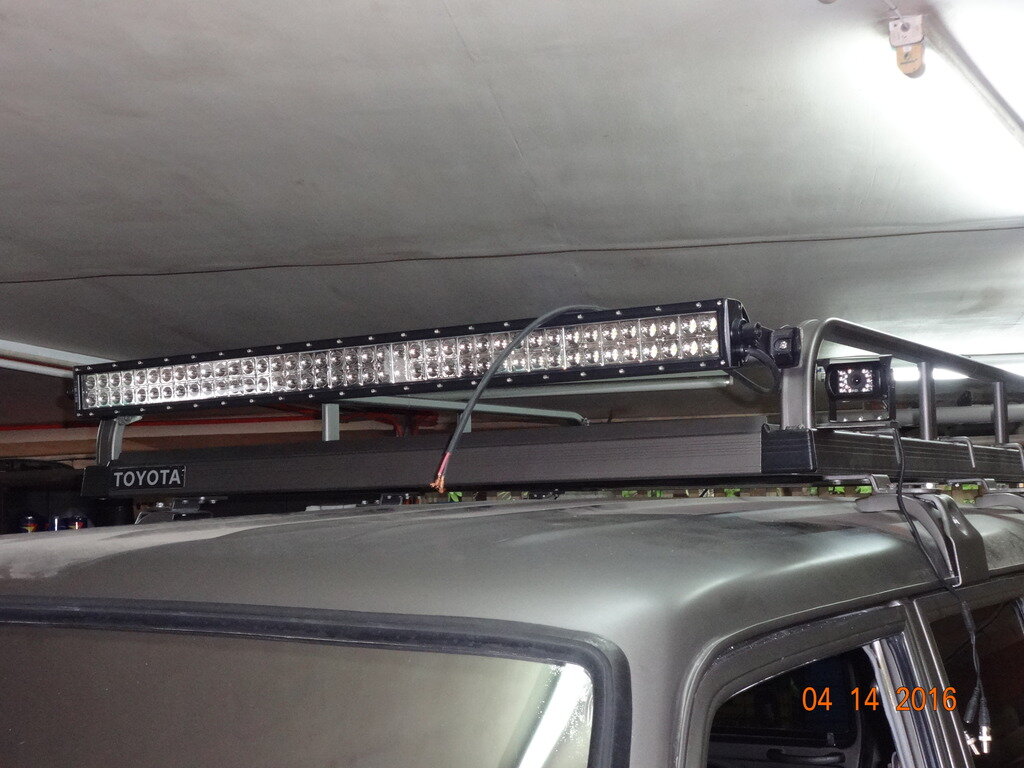
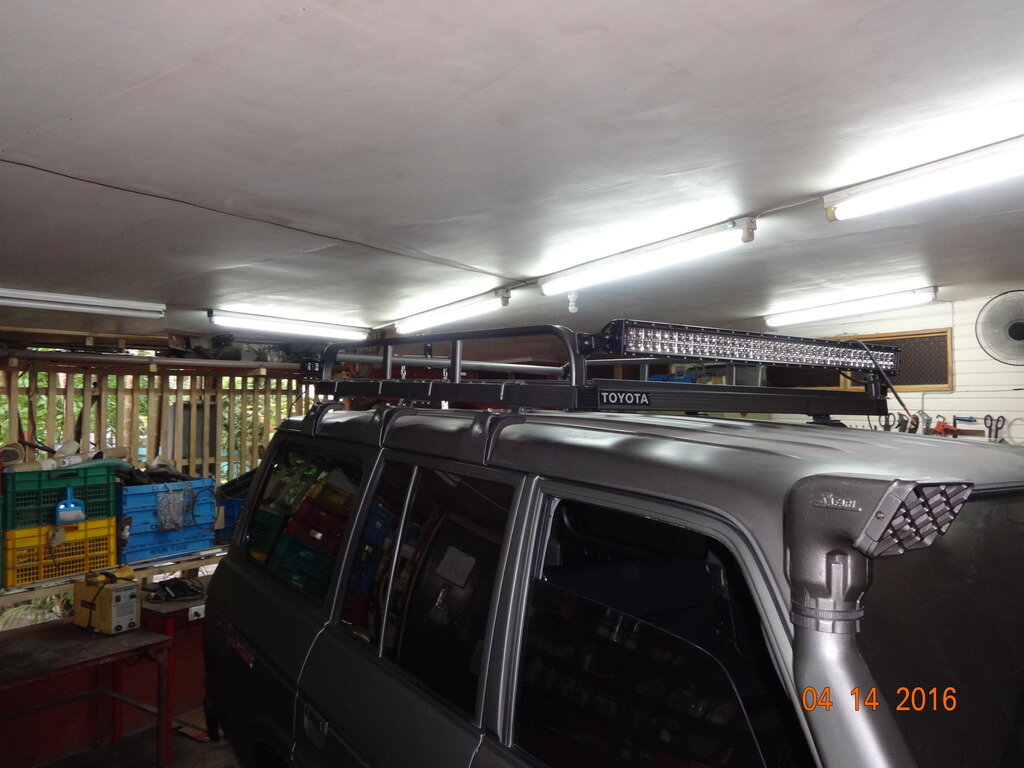
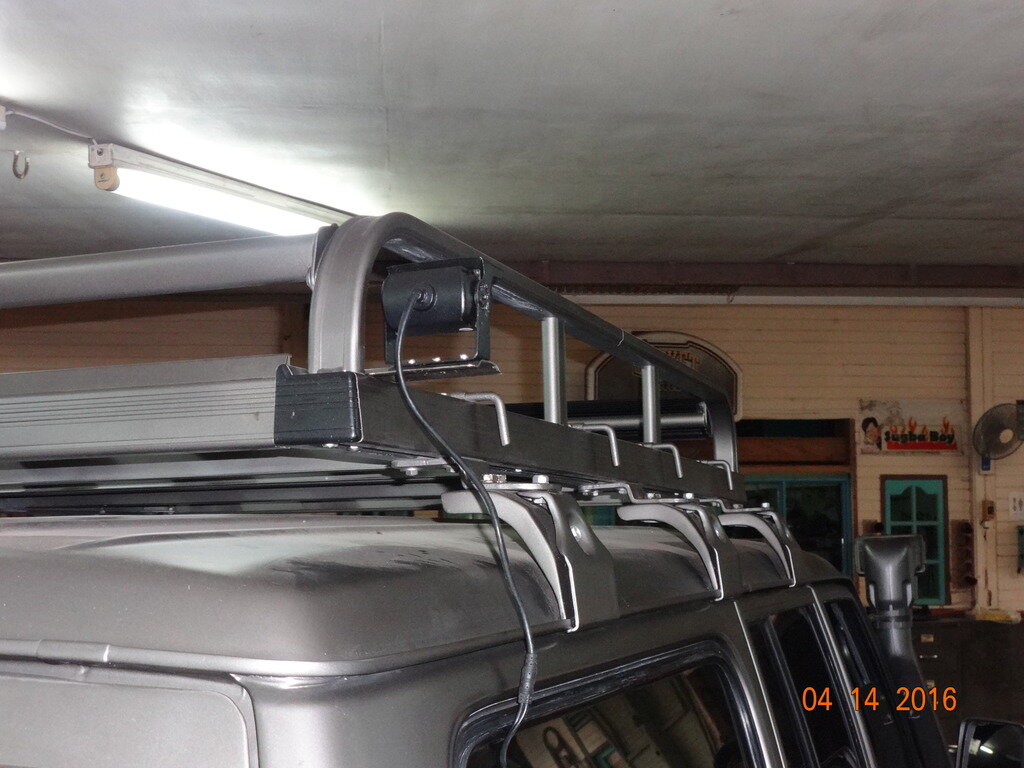
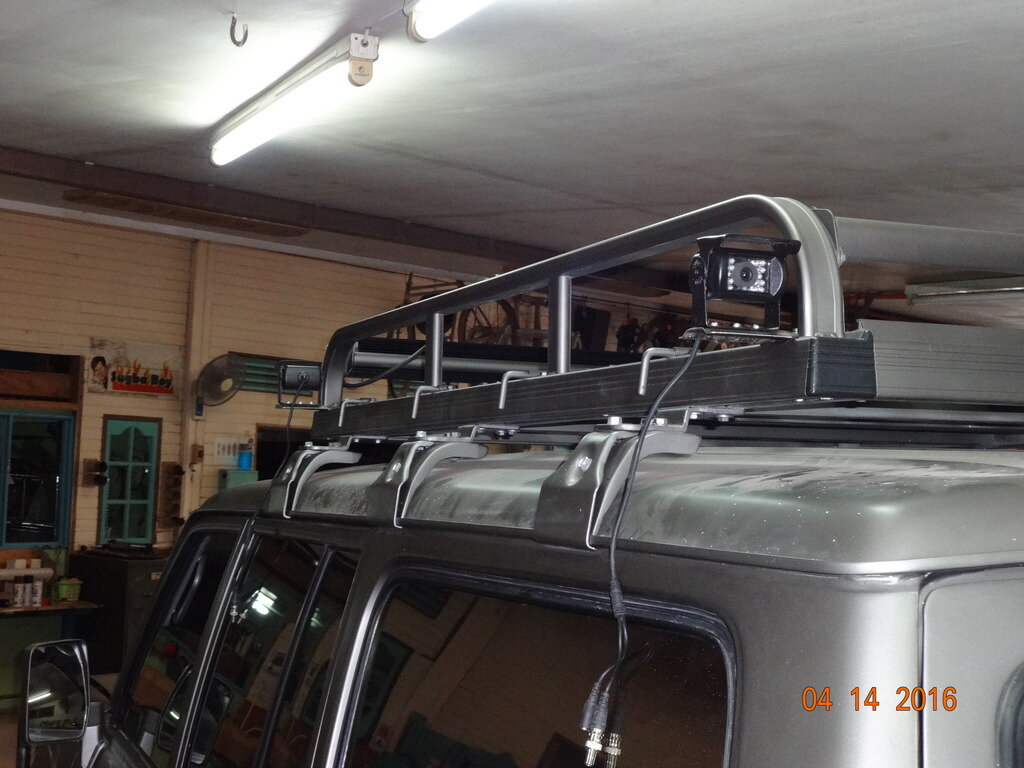
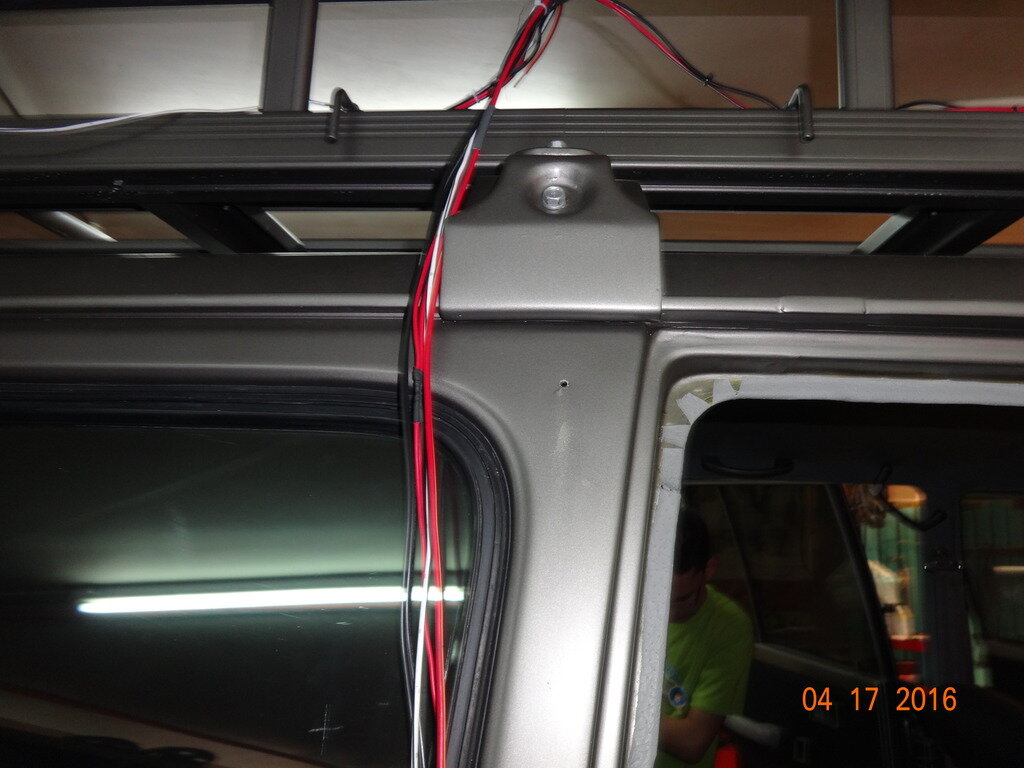
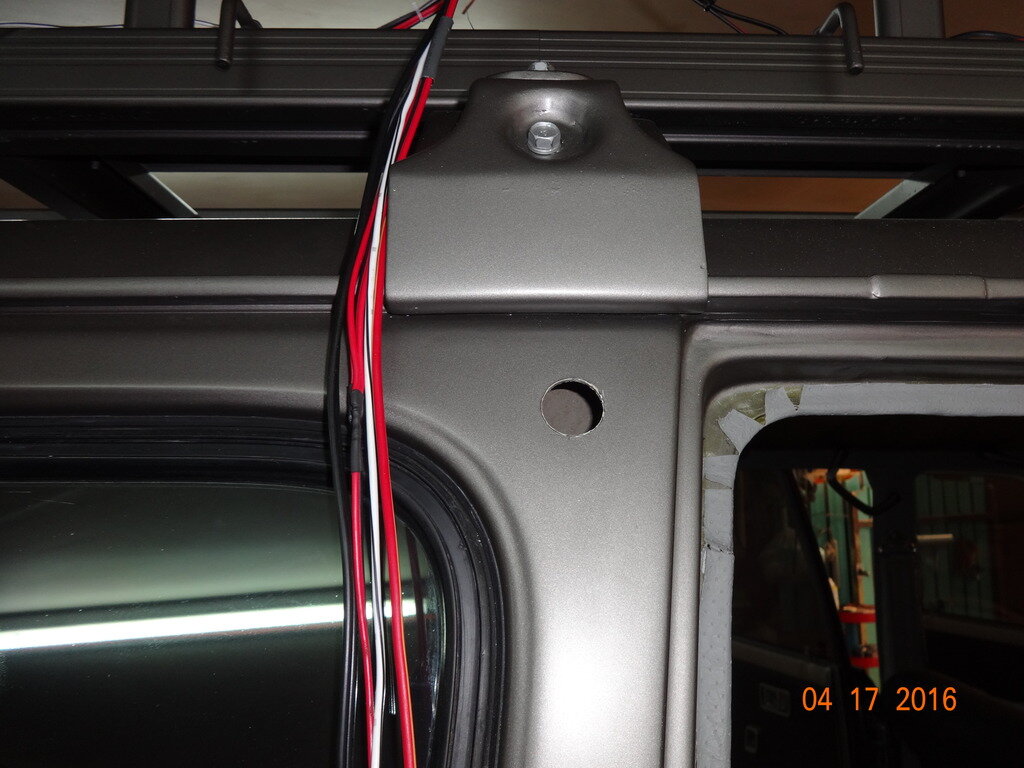
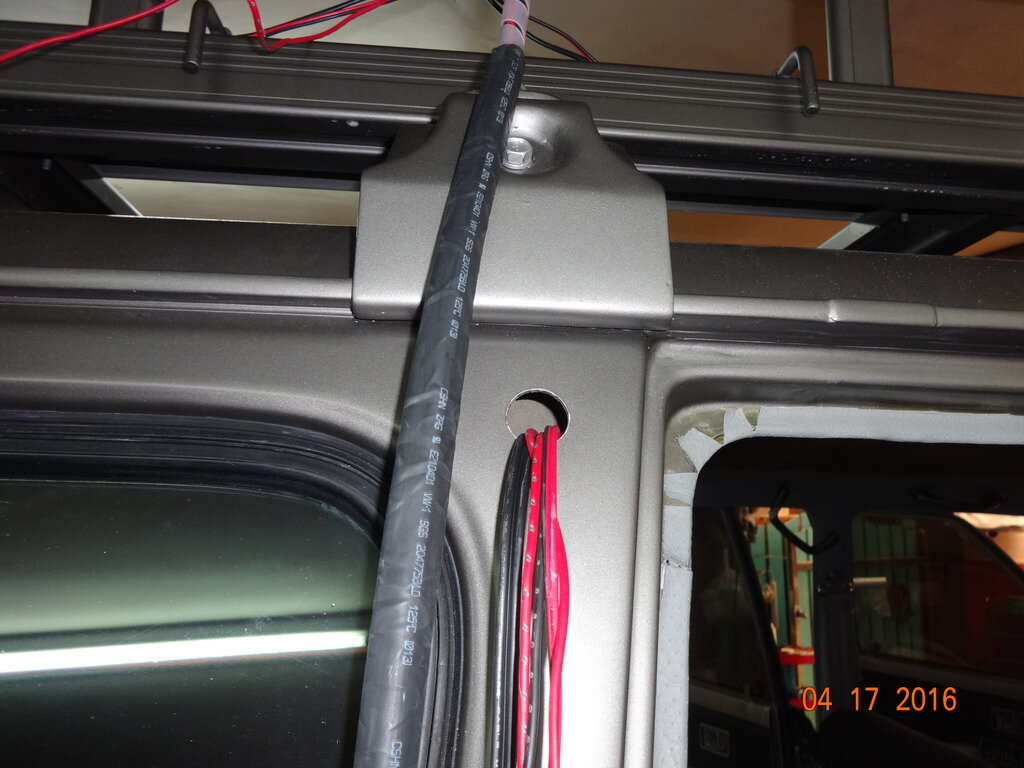
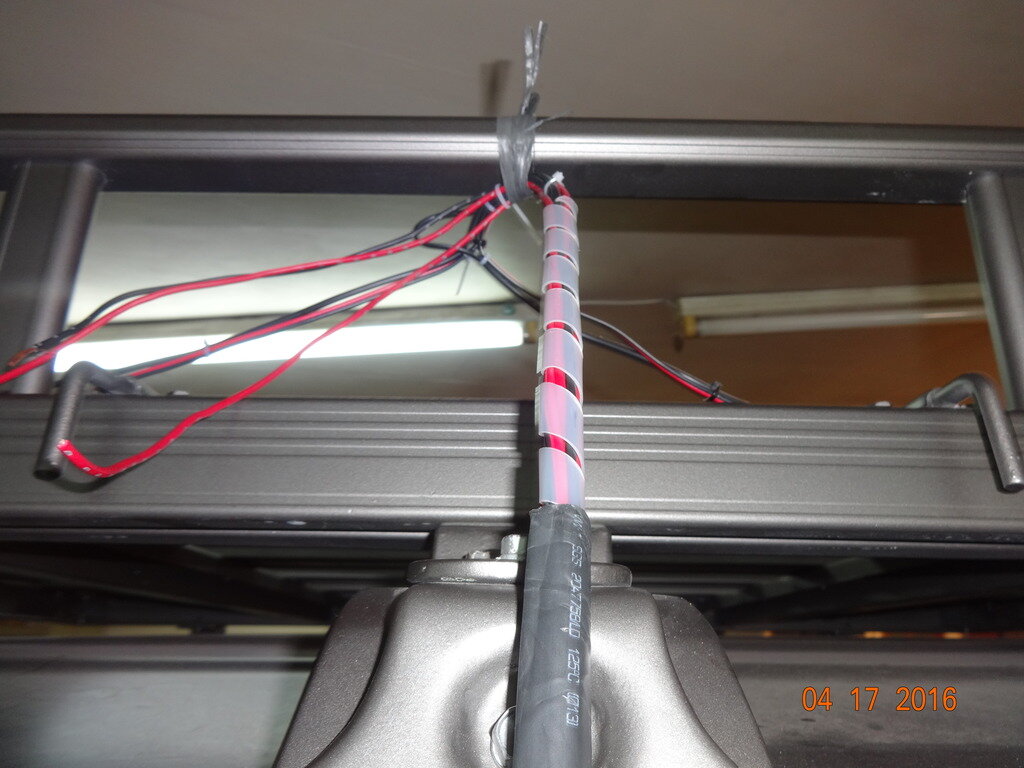
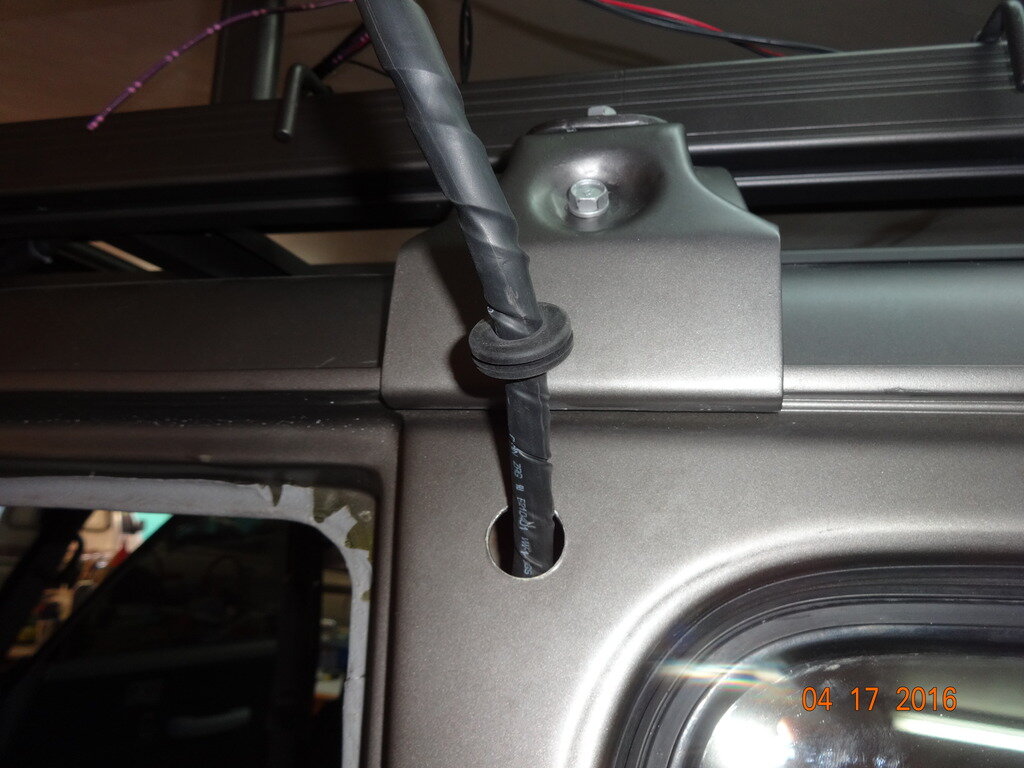
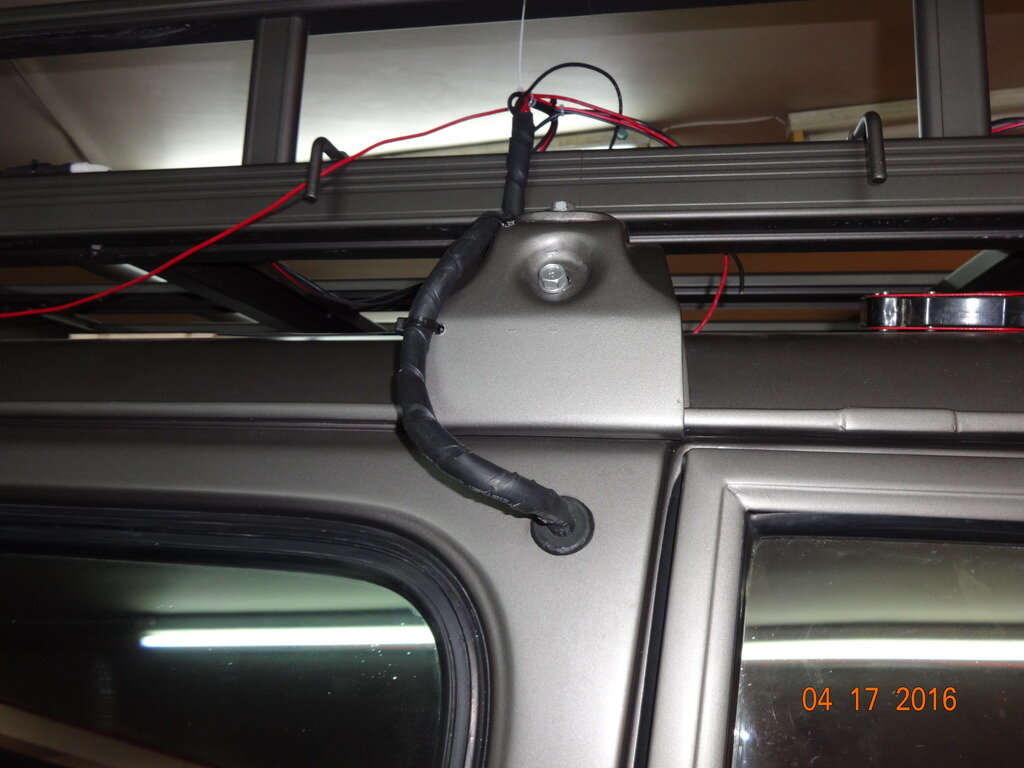
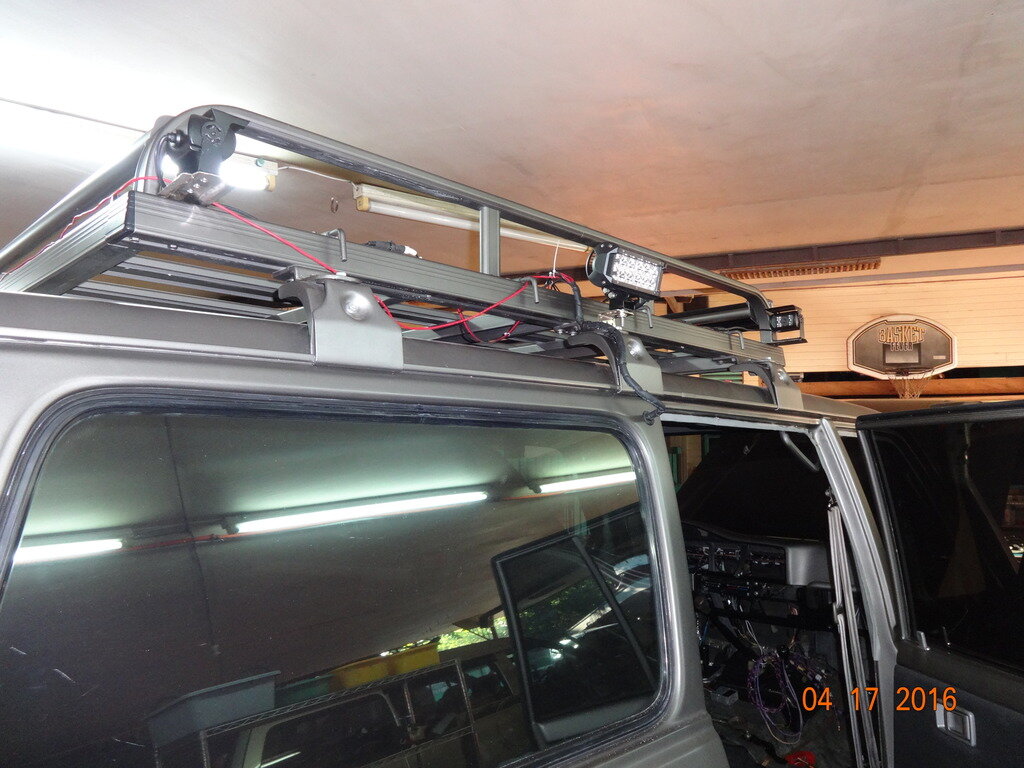
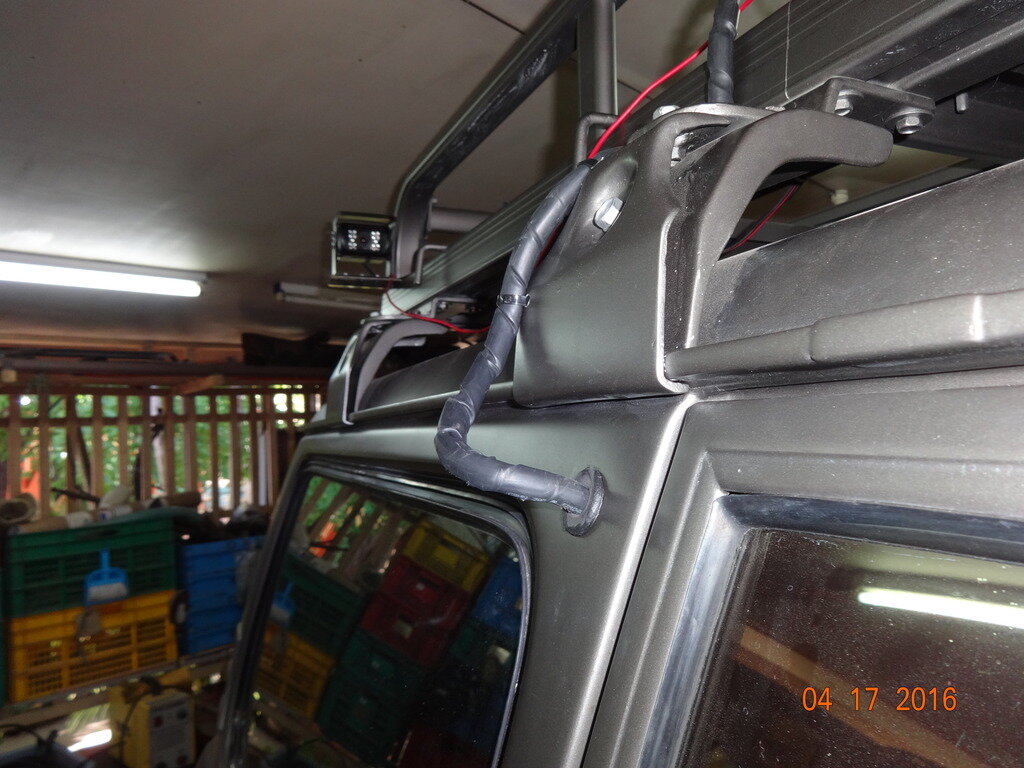
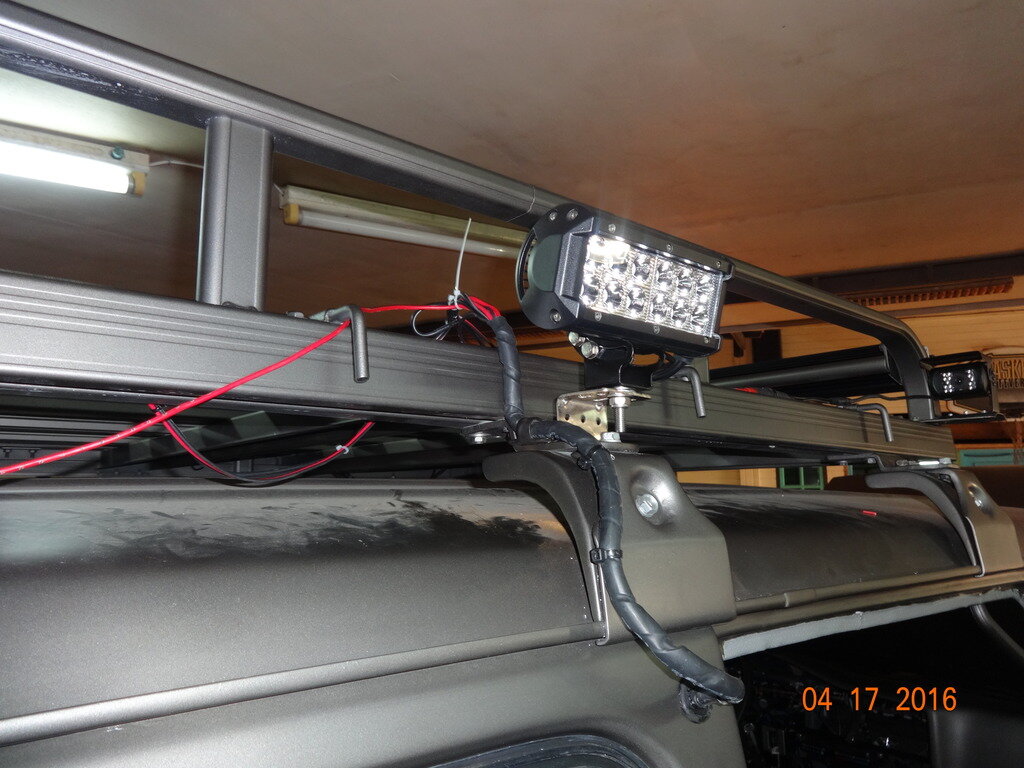
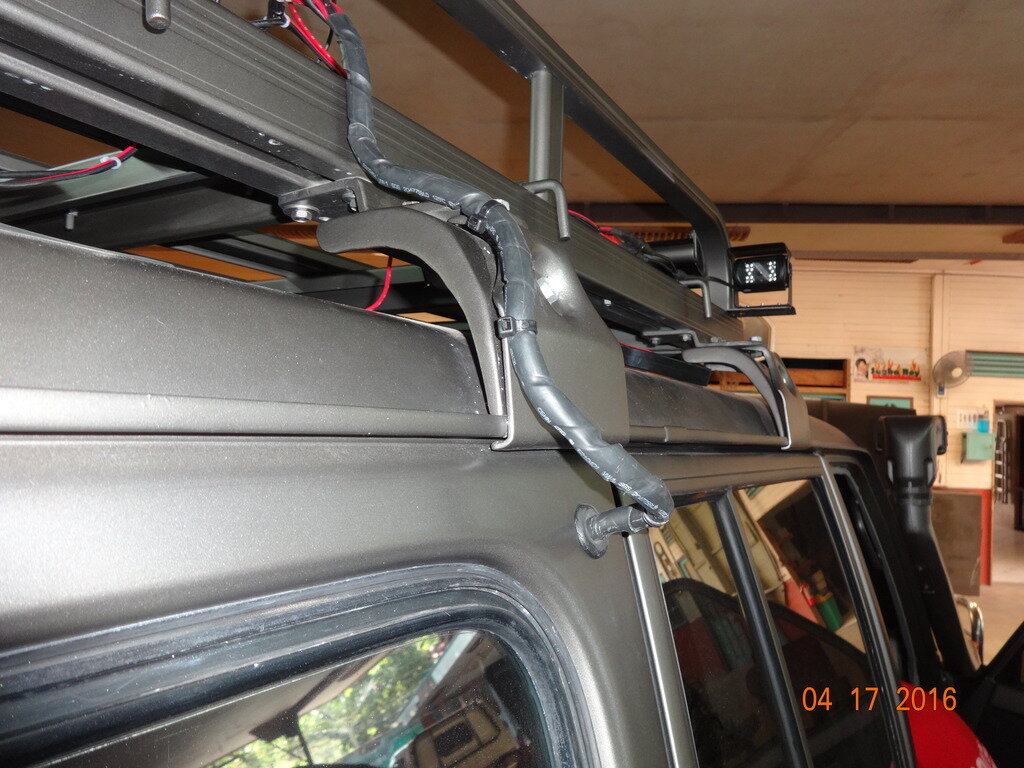
With a lot of accessories installed on the roof carrier, the wires were now a problem on where to pass them through and route them to my planned center console. I have installed a total of 5 LED bars and 4 cameras. All in all, a total of 10 wires including 2 for ground. I have decided to bore a hole on both pillars right at the back of the rear doors. A 3/4" was enough to accommodate all the wires on both sides. I placed rubber grommets and sealed this with silicone sealant. I also wrapped the wires with a plastic loom and heat shrink tube to waterproof it. See pictures and please give me your comments.


Last edited by a moderator:
- Joined
- Feb 2, 2013
- Messages
- 17,185
I don't like to say it but personally i think while striving for perfection i would be inclined to fabricate a box cover that could be painted body colour and bolted to the racks bracket . I also wonder why you went over the roof rack with the wire rather than hiding it underneath .
Gotta be honest here Oding, that really lets down a fabulous project. Now it's done, I think Shayne has a good idea to recover it nicely, taking the wires under the roof rack would look better and a connecting box somewhere on the rack as a central point to a multi core cable would look neater. A plug and socket on the roof would have been hidden better. I also think it is asking for trouble with water getting in to simply grommet it and hope the silicone is going to seal. It may do, I've just never seen it last too long without something getting through.
As it is, Shayne's idea is best but would need to stop short of the truck by a mm or two to stop damage to paint or water collecting.
It's often difficult knowing what is best with these things. I've spent many hours deciding in the past.
As it is, Shayne's idea is best but would need to stop short of the truck by a mm or two to stop damage to paint or water collecting.
It's often difficult knowing what is best with these things. I've spent many hours deciding in the past.
Agree with Rich, above, cabling up roof rack mounted accessories is a PITA, especially to devise something that's not exposed to snagging while offroad.
I used a single waterproof multi plug, through the roof, as close to one of the rack legs as possible, then cable-tied the wires underneath the rack to avoid snagging.
Can't do right for wrong IMO, but some work out better than others. No problems with mine up to now. I do suffer a lot from overhead branches and stuff, so maybe I was being over-protective.
Thought I'd add a photo just in case I didn't explain very well....
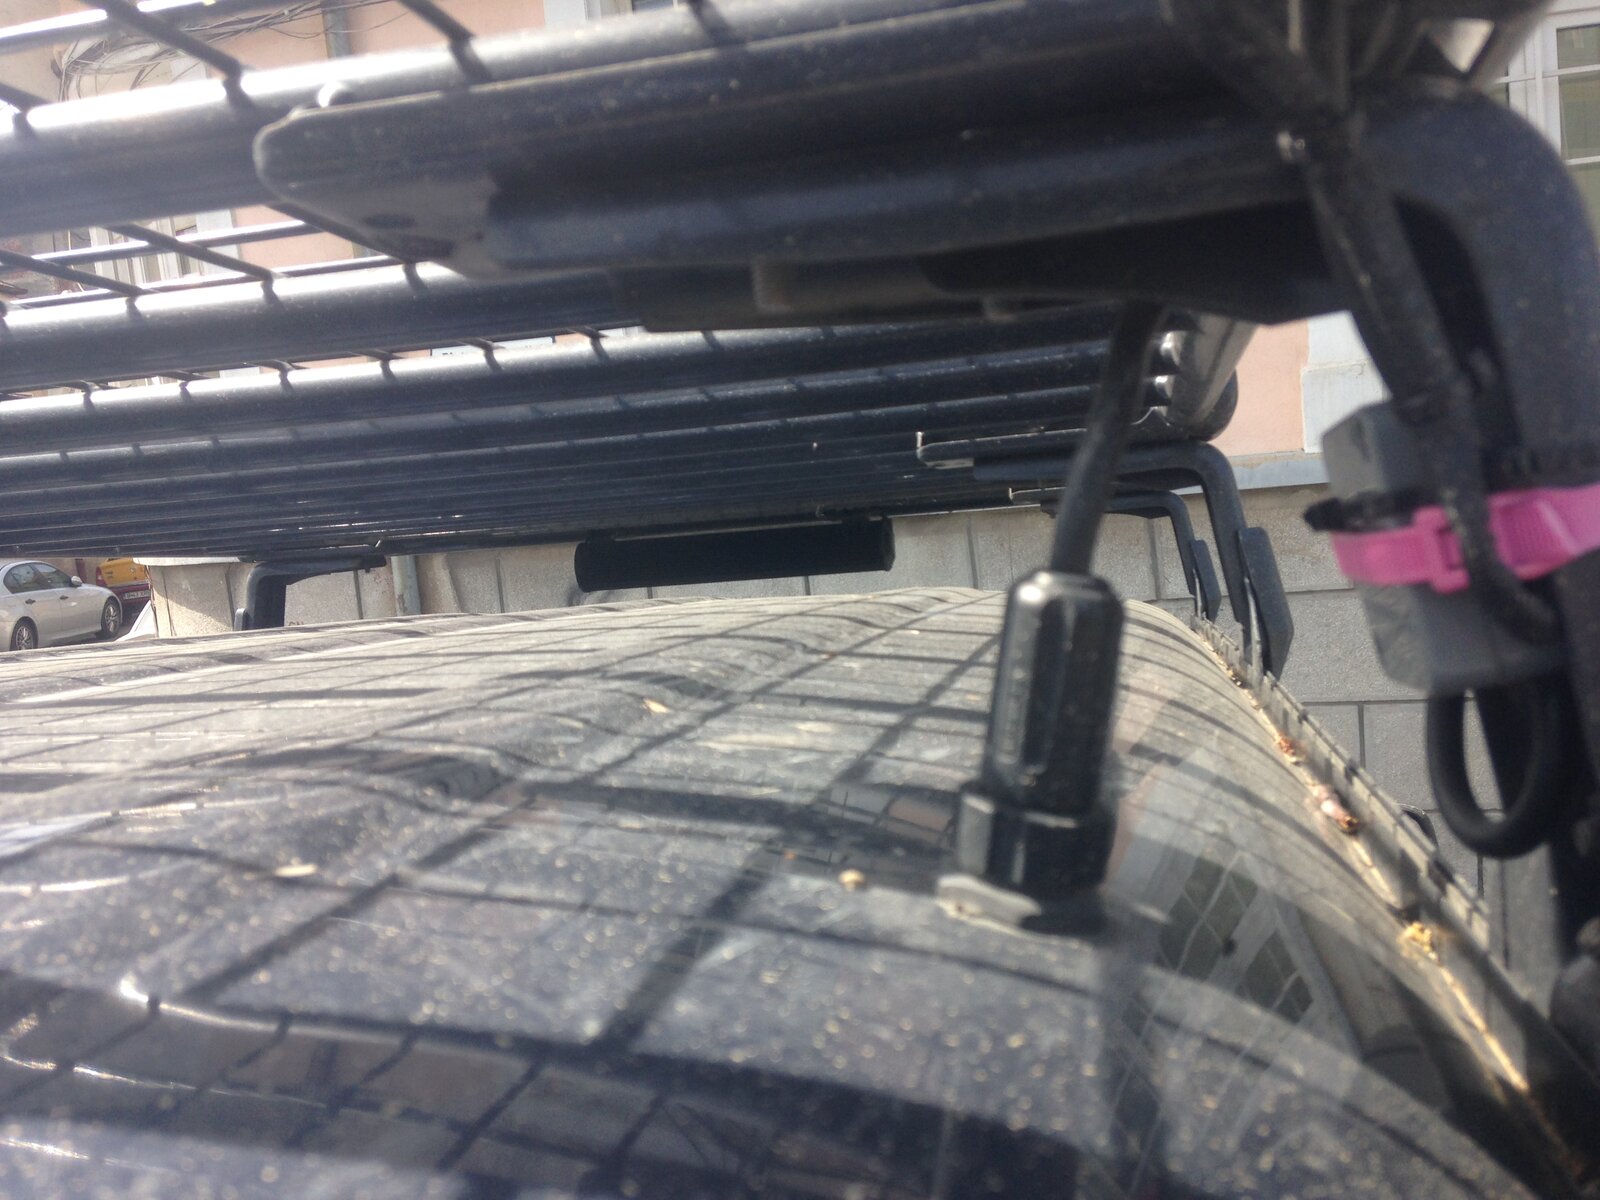
Excuse the the pink cable tie my helper ran out of black ones. It's holding a waterproof junction box onto the underside of the rack leg so it won't get snagged. That's a temporary arrangement until I devise a fixing that won't spoil the waterproof nature of the box.
The plug fits into a socket clamped with a gland to the roof, so I can unscrew and disconnect the plug and simply lift the rack off complete with all the accessories (with a big crane of course).
Also excuse the truck being so dirty, didn't get chance to wash it at the w/e.

Excuse the the pink cable tie
The plug fits into a socket clamped with a gland to the roof, so I can unscrew and disconnect the plug and simply lift the rack off complete with all the accessories (with a big crane of course).
Also excuse the truck being so dirty, didn't get chance to wash it at the w/e.
Last edited:
oding
Well-Known Member
- Joined
- Jan 11, 2015
- Messages
- 423
- Country Flag
I have been working on the box type that would cover the harness as suggested by Shayne. It is almost done but would rather show this once it has been painted with a darker body color for detailed and noticeable look. Still striving to make things look good and and at the same time work right. Thanks for all your inputs.
For now, the A/C system is almost done with all wiring connected. The compressor is brand new as the one I bought from eBay Australia was for the 2H engine and was a 10P13C Denso. Would not fit a 12HT engine which requires 10P15C Denso compressor. The pulley that came in with the compressor was a multi groove so I had to bring it to the machine shop to have a V -belt machined to it. The wire that comes connects the Alternator and battery was too small and had problems in the charging system. I replaced this with a much bigger wire.
We will also fabricate the center console so all controls, monitors and switches will be positioned into place. Will update everybody once I get some pictures.
hope i didn't cause you too much work with that suggestion mate .
I reckon your suggestion was likely to be the neatest with the least amount of work given the job was already done Shayne. It will look good anyway (especially with Oding's craftsmanship behind it).
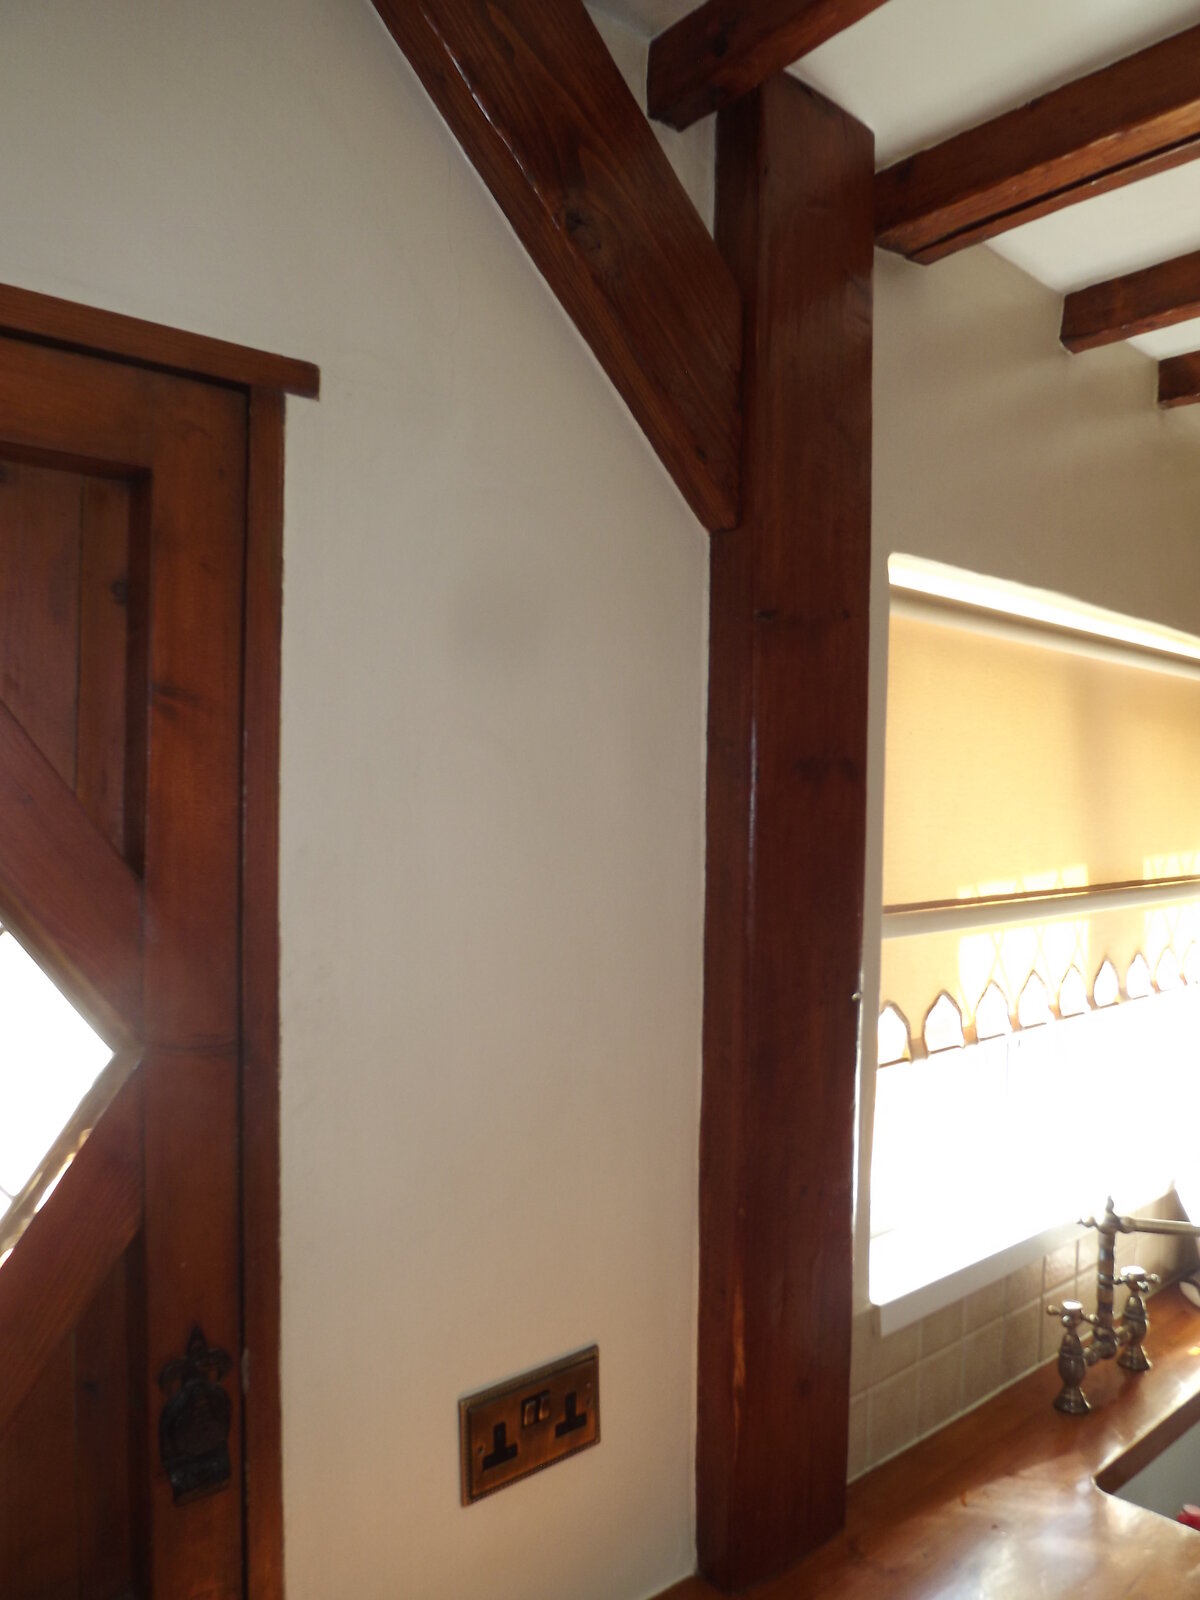
Nice Shayne. I better make sure Lynn doesn't see that. She's been ramping up the pressure for a new kitchen for a while now.
Can't say I blame her.
Can't say I blame her.
Similar threads
- Replies
- 27
- Views
- 3K
- Replies
- 46
- Views
- 48K


