Don't like the adverts? Click here to remove them
You are using an out of date browser. It may not display this or other websites correctly.
You should upgrade or use an alternative browser.
You should upgrade or use an alternative browser.
Who is doing what maintenance today?
- Thread starter warrenpfo
- Start date
- Joined
- May 20, 2010
- Messages
- 5,821
Chucked an engine in an 80 series 12v manual today with dave. Just a bit of advice for people. Take the stud out of the bell housing to fit either engine or box. We tried until lunch with no success to get it in. Took the stud out and 30 seconds straight in.4.5 hours later she's running.
- Joined
- Mar 1, 2010
- Messages
- 5,675
How many times have I told you about that stud Karl ?  .
.
Well done, I bet you were relieved when it ran.
Well done, I bet you were relieved when it ran.
- Joined
- Mar 1, 2010
- Messages
- 5,675
P.S. Don't forget to put the stud back in.
Don't forget to put the stud back in.
Chorus.
Don't forget to put the stud back in.
Chorus.
- Joined
- May 20, 2010
- Messages
- 5,821
Lol guys.
I did say to dave before we took it out that I thought I had read it somewhere. Next time ill remember for sure. I wasn't happy to have had half a day wasted
I did say to dave before we took it out that I thought I had read it somewhere. Next time ill remember for sure. I wasn't happy to have had half a day wasted
Don't like the adverts? Click here to remove them
- Joined
- Sep 11, 2013
- Messages
- 545
- Country Flag
Nice. Just don't put LEDs in the brakes without ballasts. Or your Cruise Control won't work.
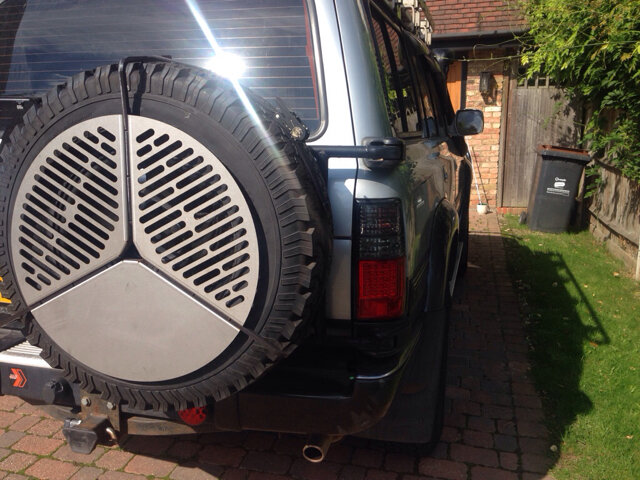
I see from the pics that you still haven't got around packaging up my BBQ grill.
The LEDs in the brakes have no ballasts, does that mean no CC????
Not packed up or used yet!!!
Sent from my iPhone using Tapatalk
Hang on let me read what I wrote. Errmm, ahhh, eeeh, yes that's right. The CC uses part of the braking circuit - when you brake it knocks off the CC. If it can't detect the correct resistance in the circuit then it gets quite unhappy. I had a world of problems then put the bulbs back in and all sorted. LEDs have low impedance and unless you put ballasts in - say on your indicators, you get winkies flashing like crazy. LEDS are great but can be a pain. Good for reversing lights or separate side lights, but anything active and you need more impedance.
- Joined
- Sep 11, 2013
- Messages
- 545
- Country Flag
Chris, how can I say this, but the CC works fine, probably a bit of user error when you plugged yours in.Hang on let me read what I wrote. Errmm, ahhh, eeeh, yes that's right. The CC uses part of the braking circuit - when you brake it knocks off the CC. If it can't detect the correct resistance in the circuit then it gets quite unhappy. I had a world of problems then put the bulbs back in and all sorted. LEDs have low impedance and unless you put ballasts in - say on your indicators, you get winkies flashing like crazy. LEDS are great but can be a pain. Good for reversing lights or separate side lights, but anything active and you need more impedance.
I never said it didn't work at all. But WHEN it goes funny, at least you'll know what it is. When it suddenly cancels on the motorway, or when it won't set, or when you touch the brakes the fuse blows .....
Not really maintenance, but as I popped a tyre off the rear LHS rim last weekend, I took the decision to fit the full set of 5 mud tyres on, and have the old G Grabber ATs removed and the steel aftermarket rims refurbished. They've been 3 years since the last blast and paint and have done well.
I'd put the rear pair on last weekend after the pop-off, so oiked up the front passenger side front and fetched the GG AT wheel off and gave it the once-over with the jet wash to shift the mud.
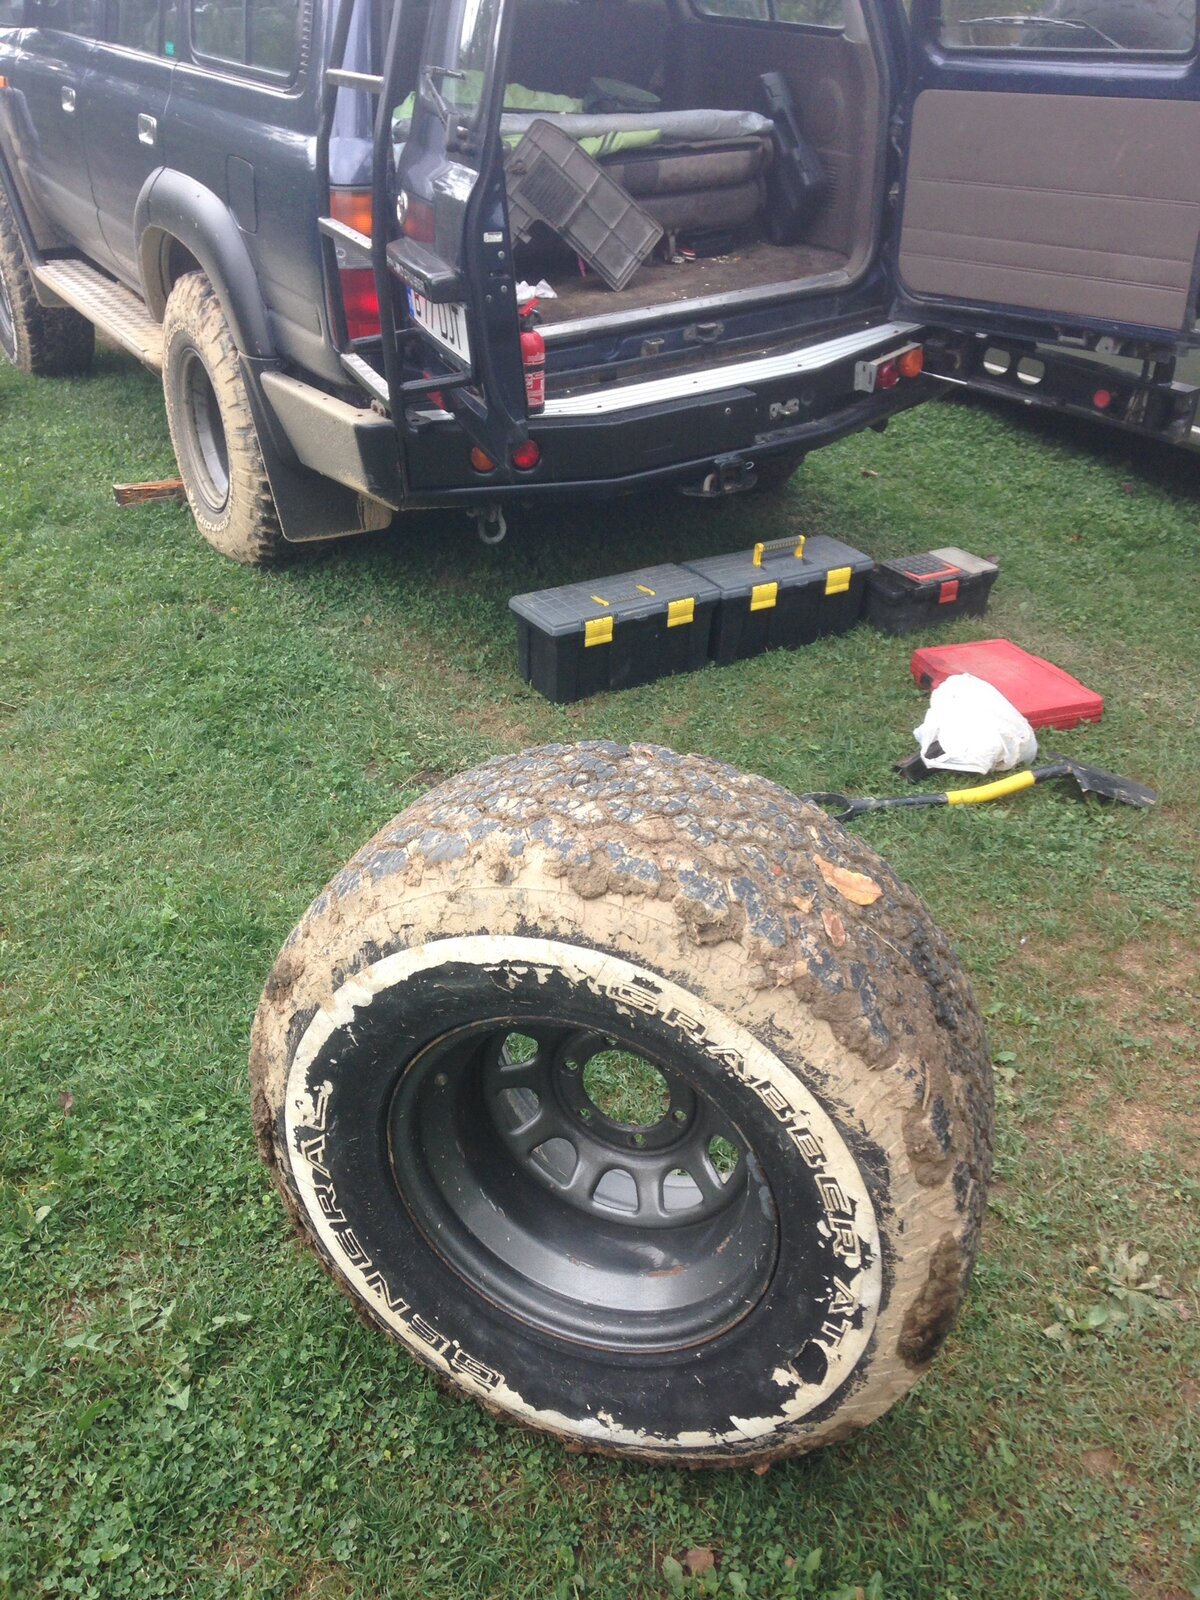
Same with the drivers' side...
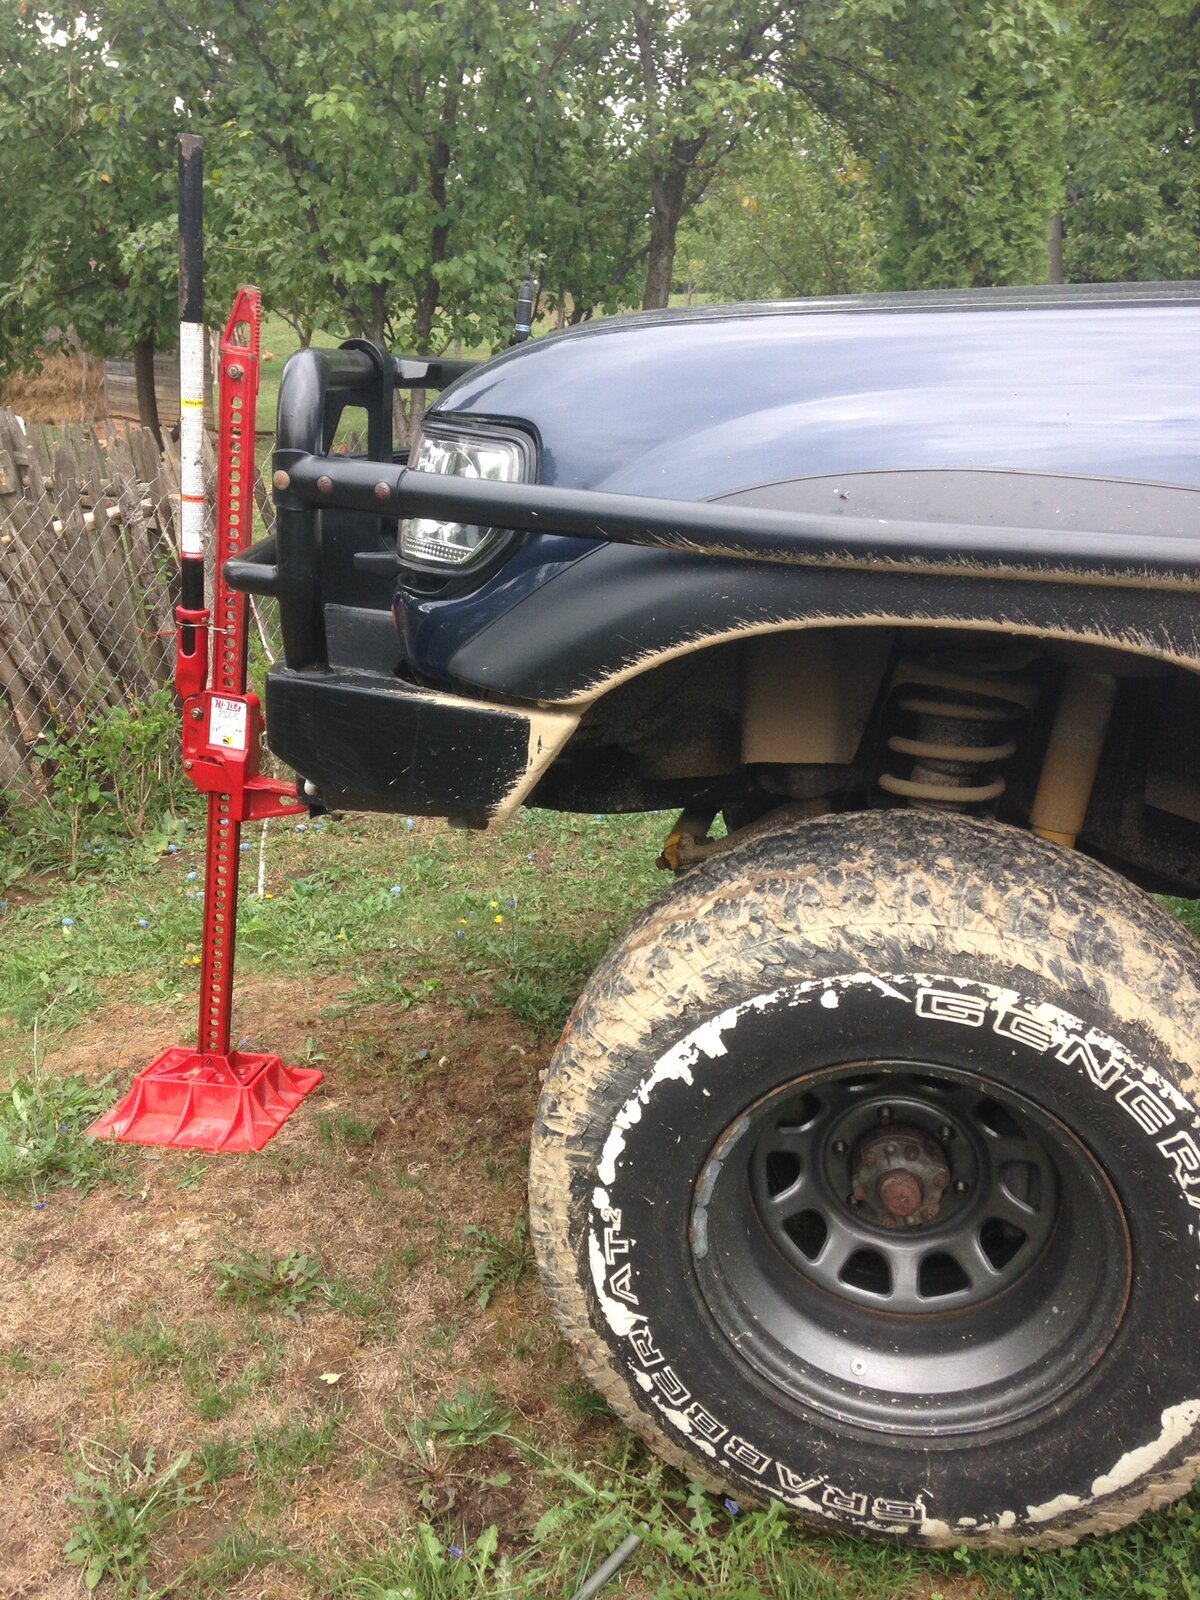
While up in the air, I checked that nothing was loose or fallen off.
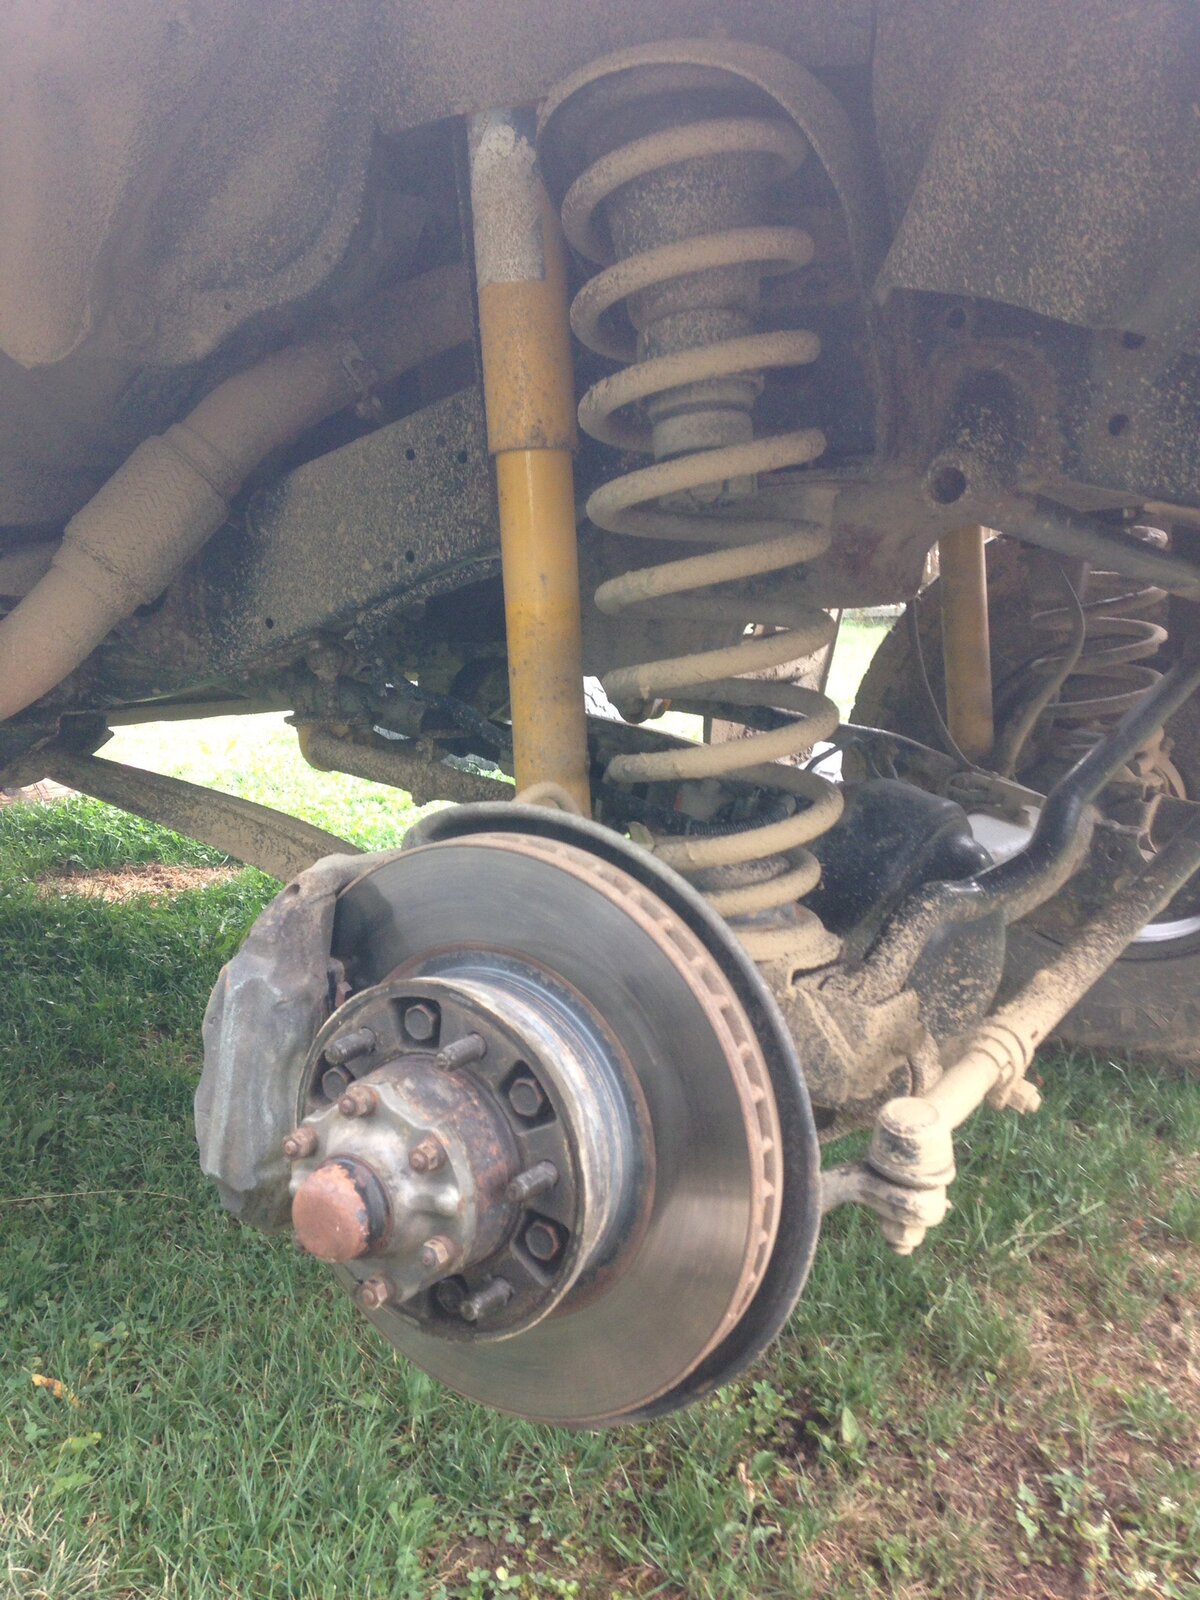
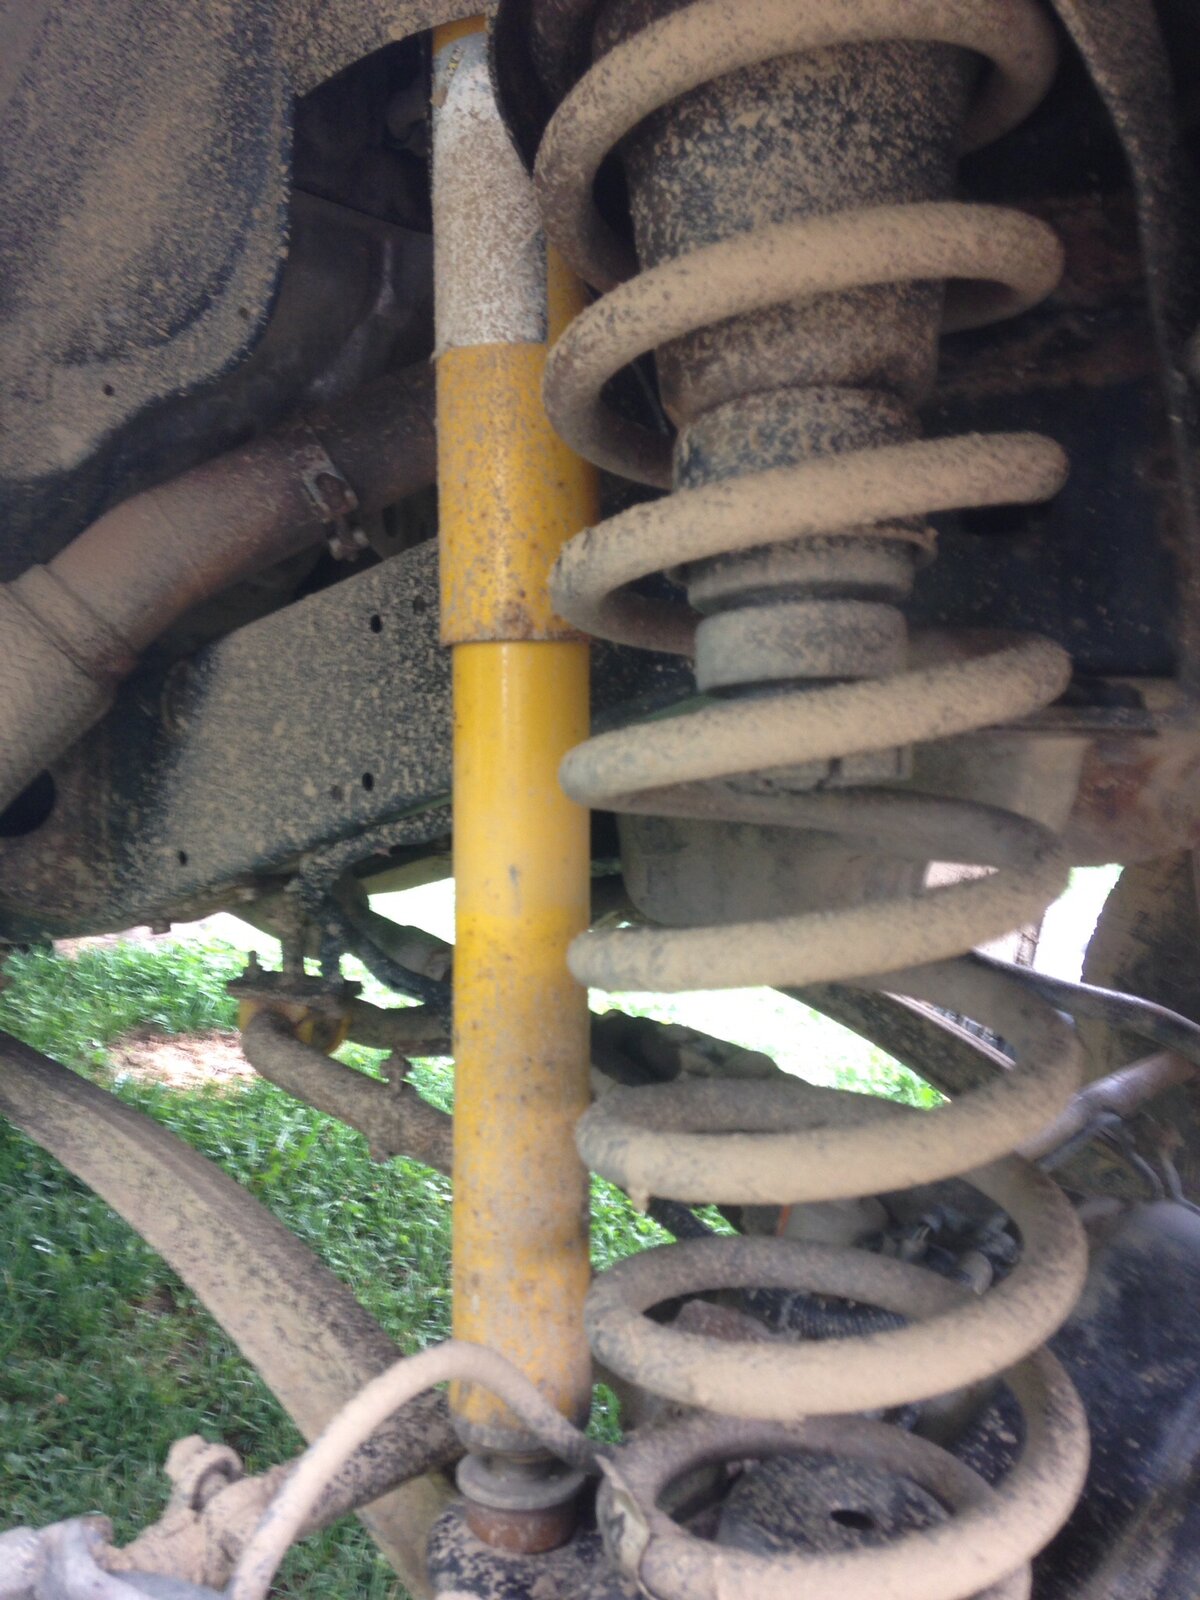
The OME shockers don't look so bad after 8 years and about 200k km.
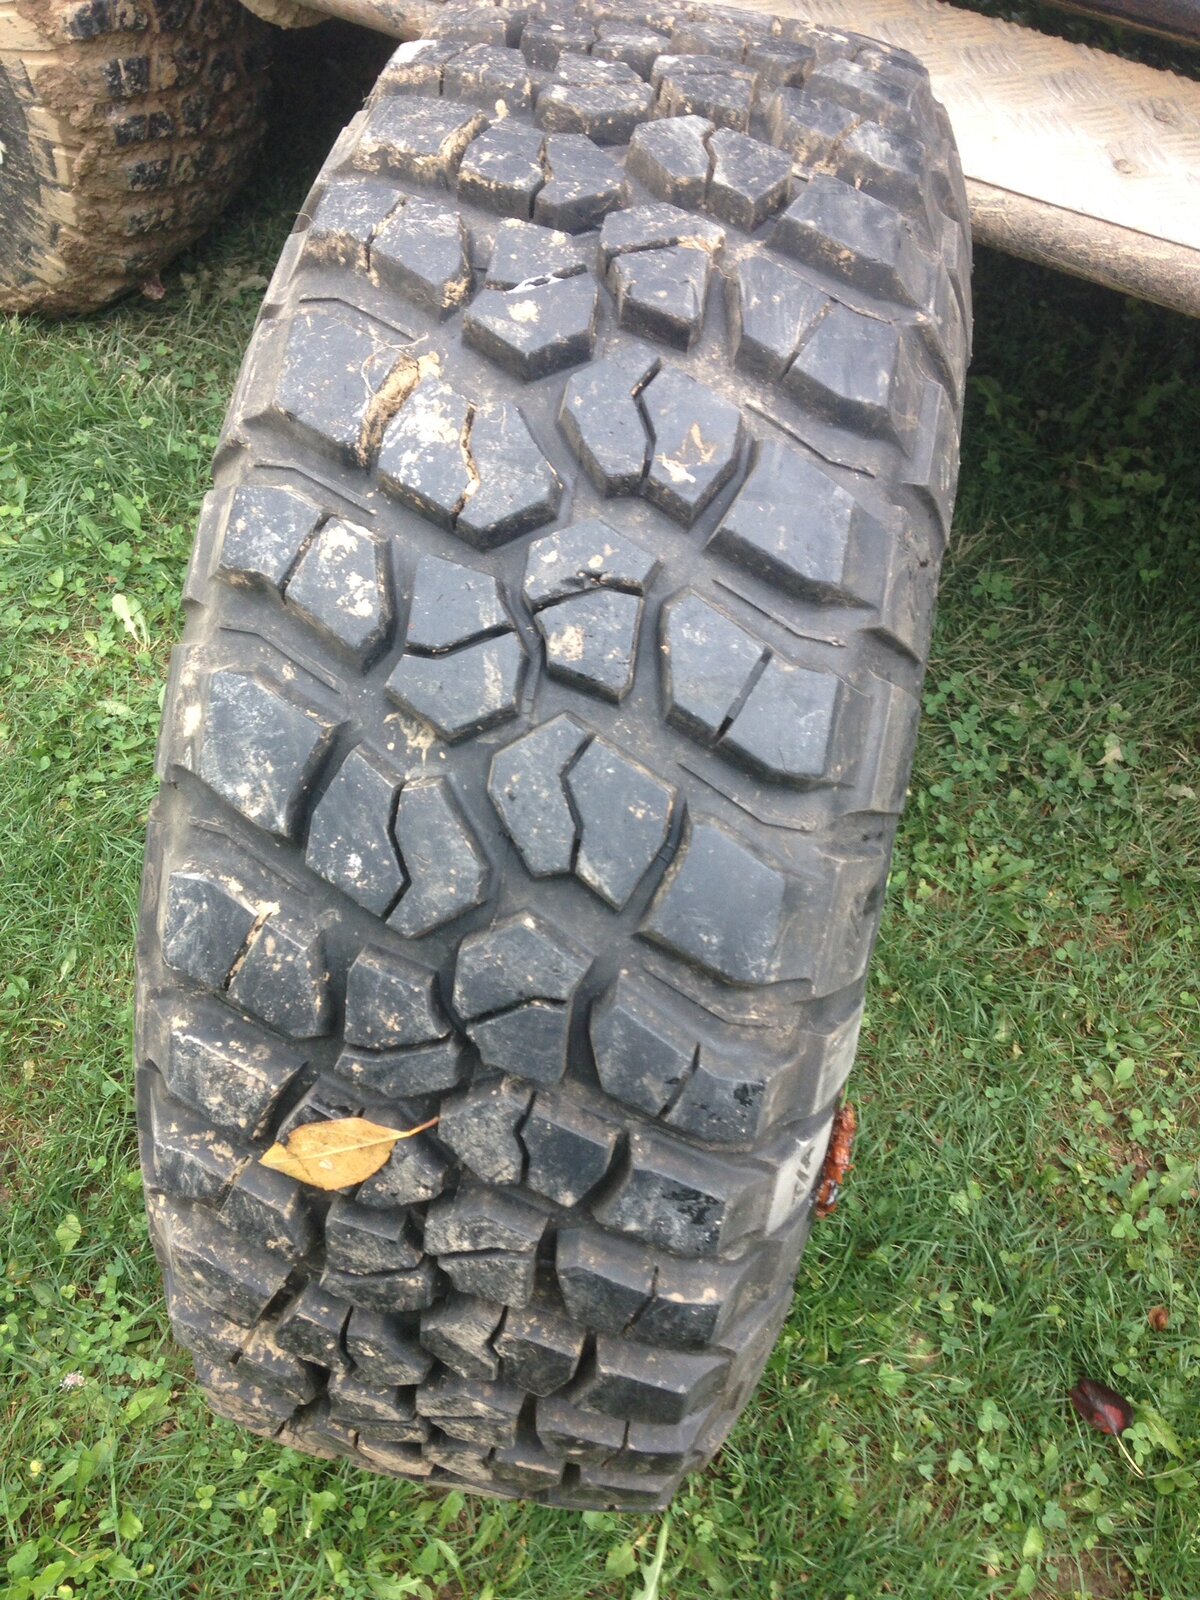
Got the mud wheels out of the shed and rolled them down to the truck, bloody hell, they're heavy, on steels!

There's not not much wear on these, I've kept them for more extreme off-road, don't do to much of that these days...
Found an off cut of plasterboard to help protect the truck when hauling them up onto the roof
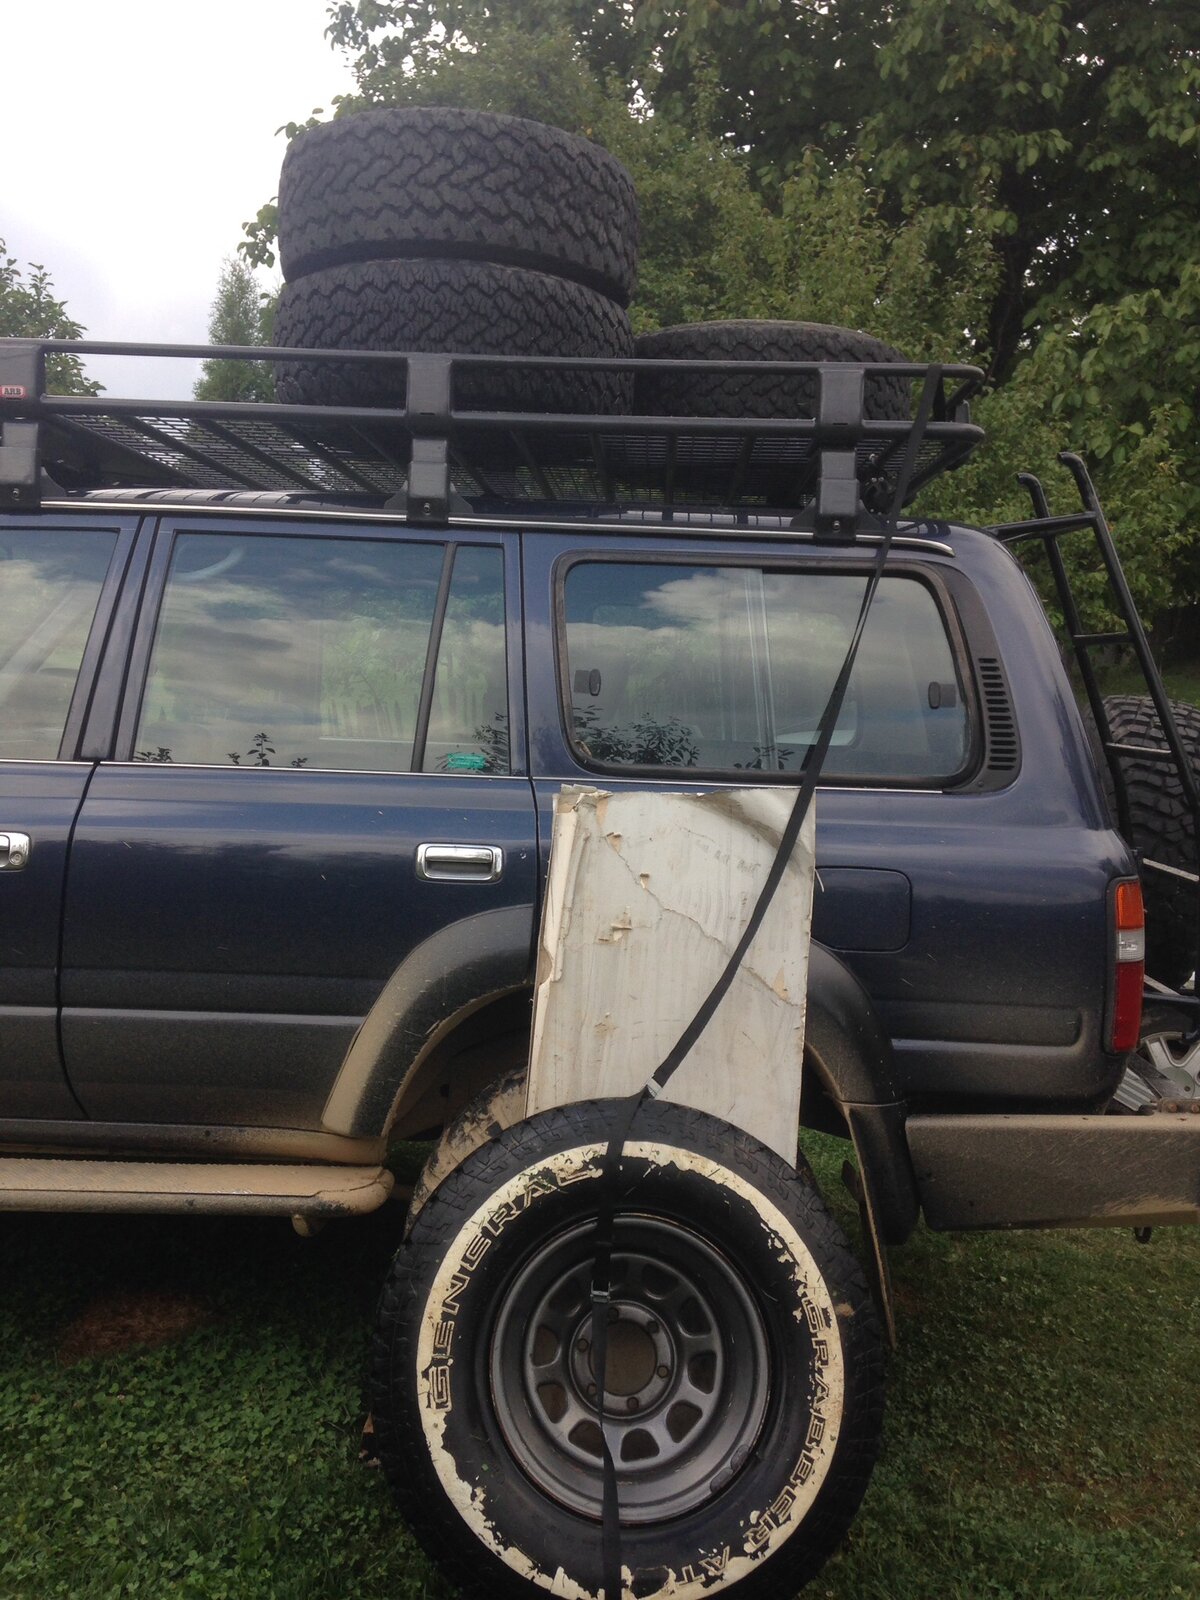
Three up, one to go! Good job really, the old back was starting to give way by this time
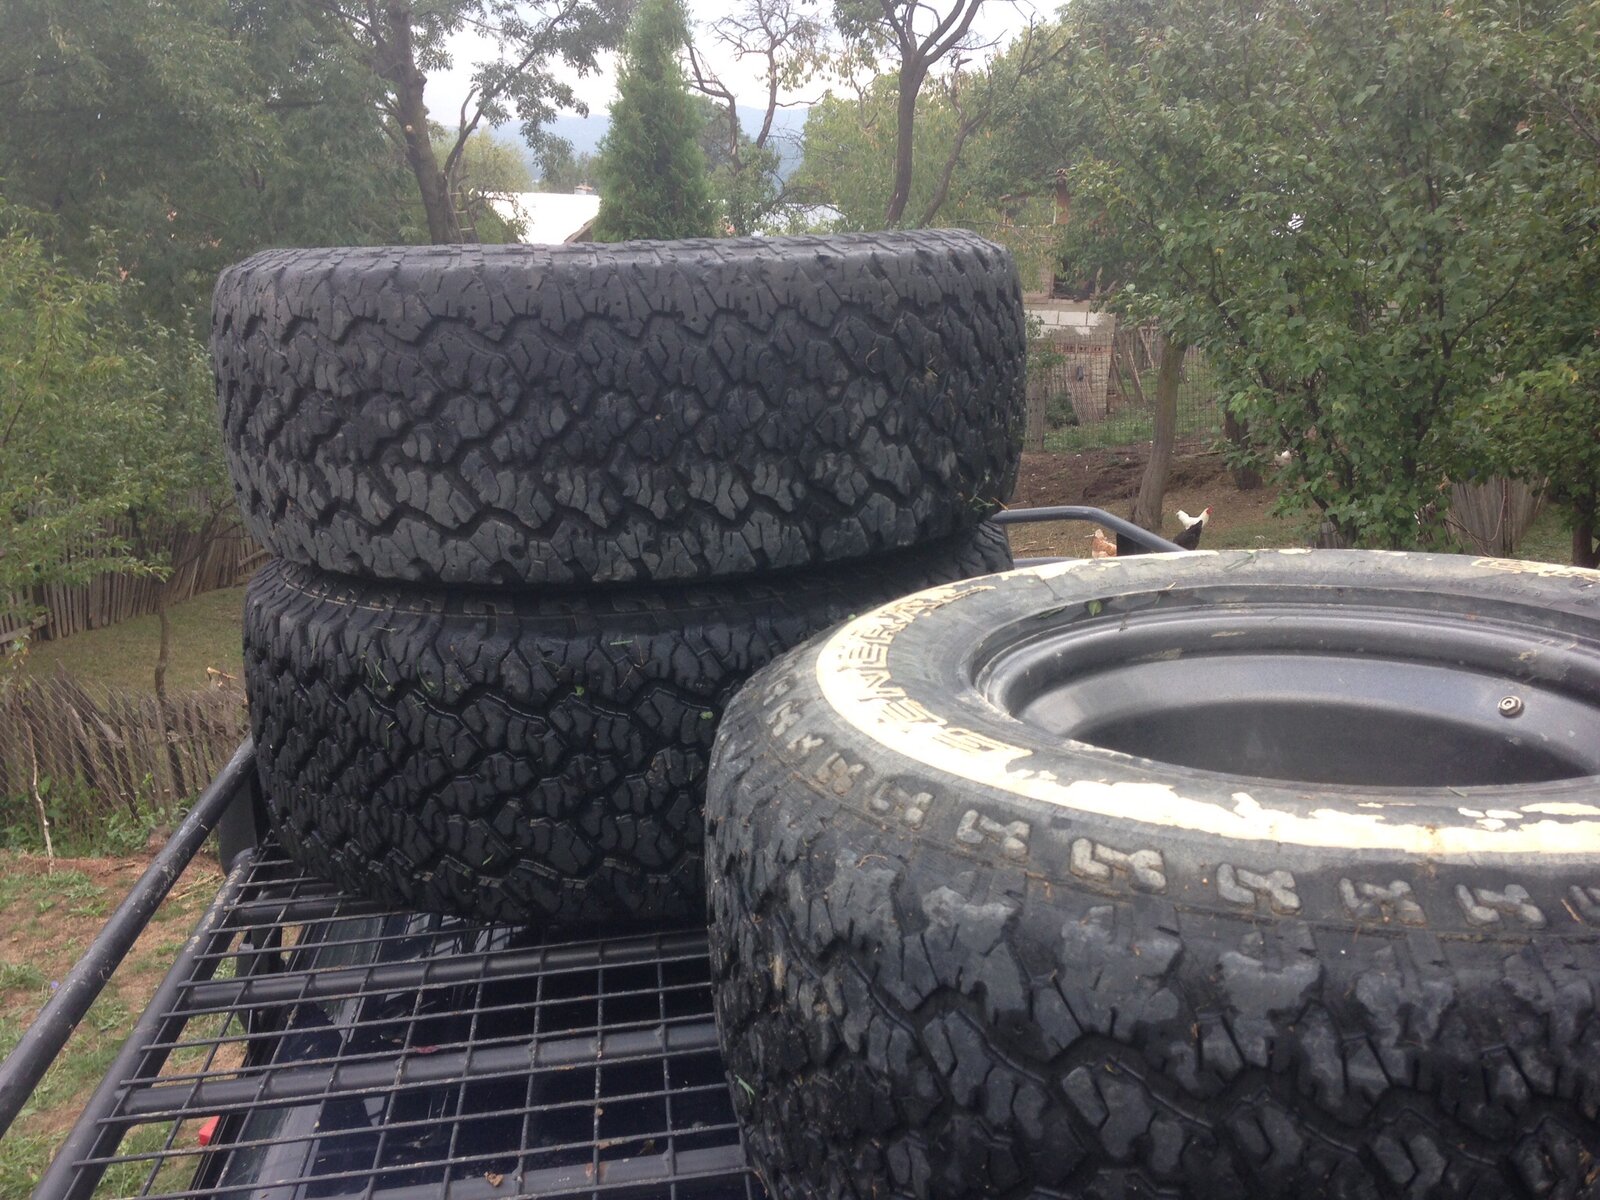
All up and strapped to the rack...
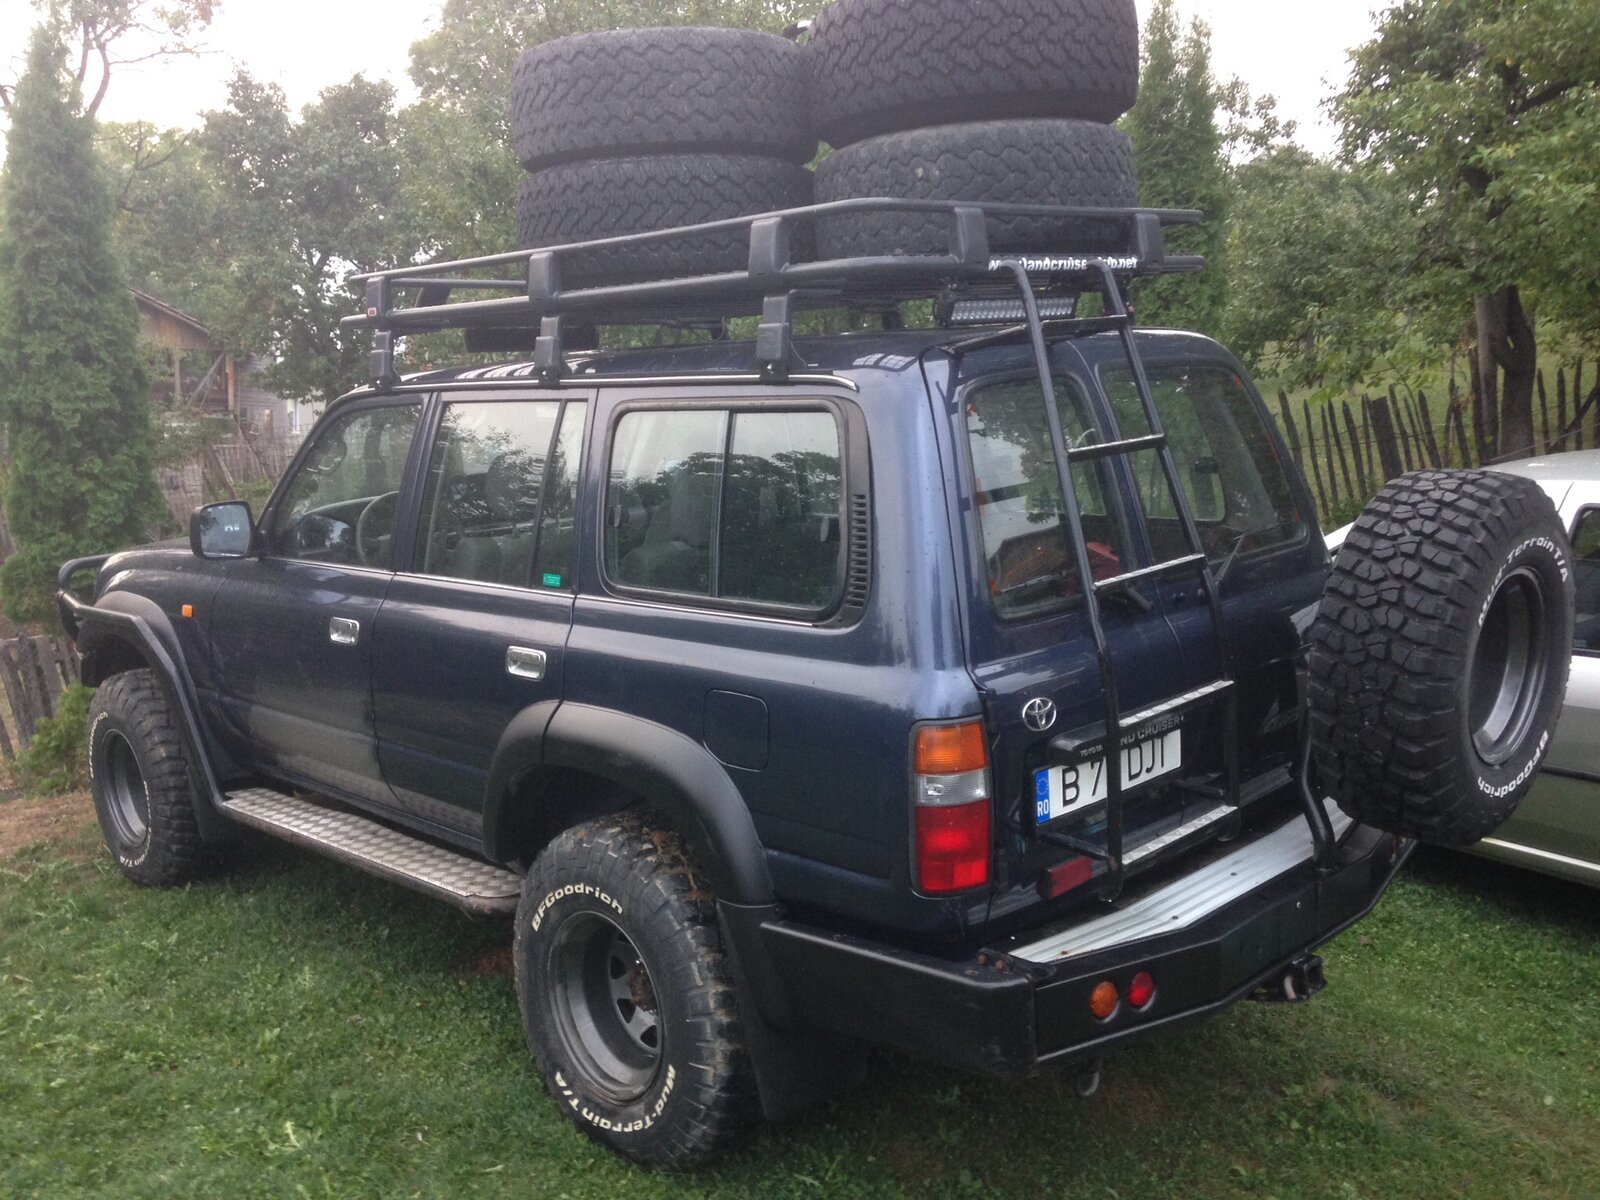
Forgotten how tall the truck is with a set of 4 on the roof
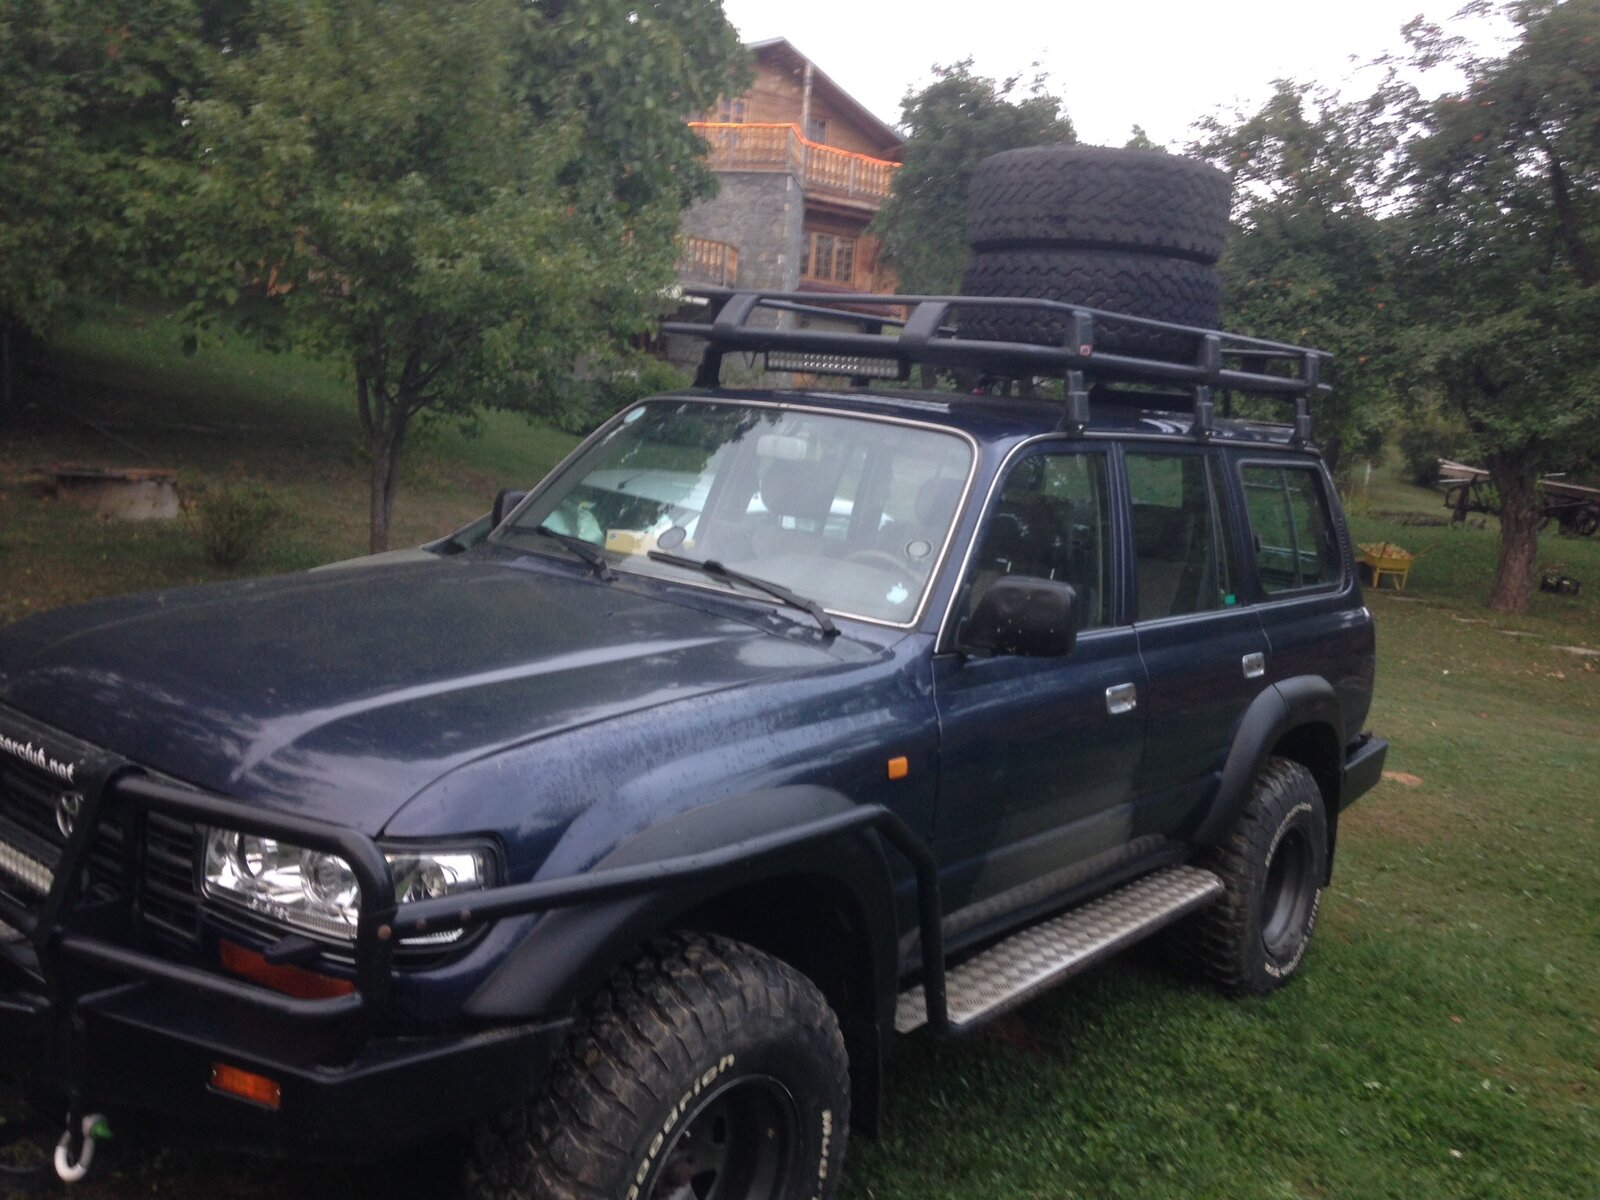
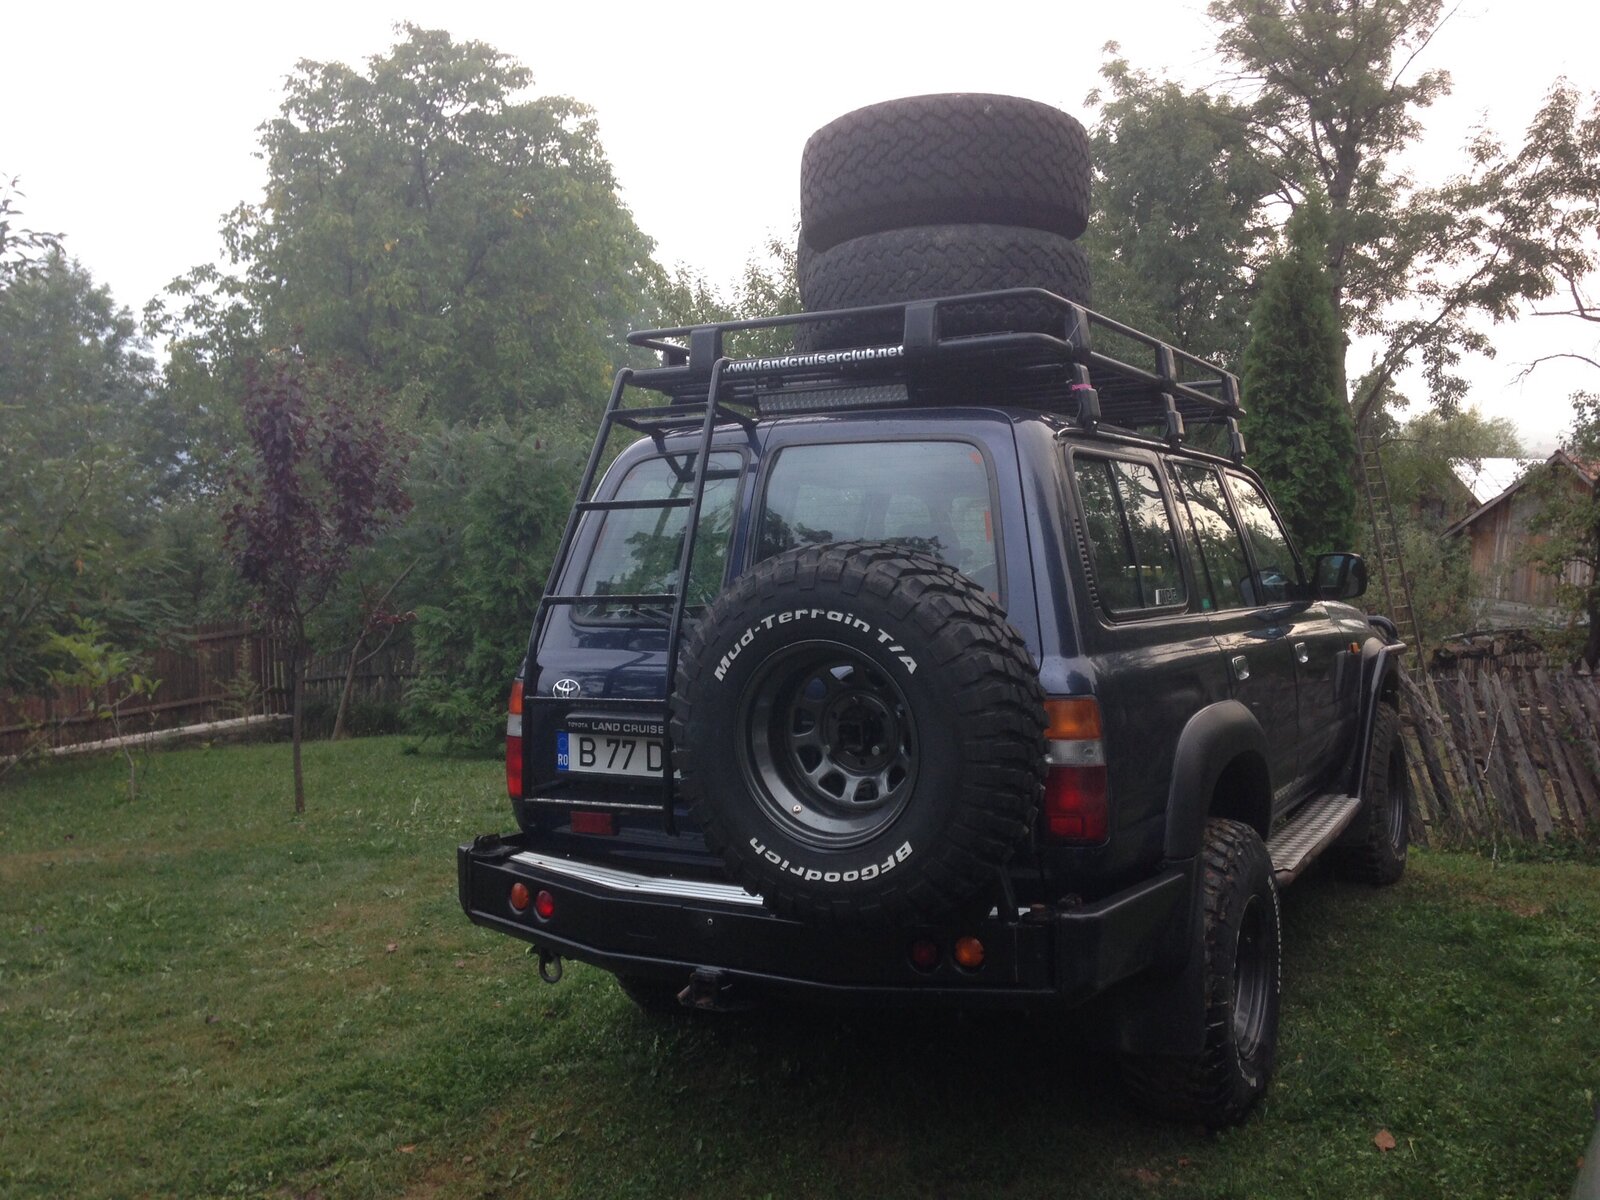
So, as well as a refurb of the whole wheel-set, I'm on the look out for a set of five new BFG ATs, or something similar at the right price...
I'd put the rear pair on last weekend after the pop-off, so oiked up the front passenger side front and fetched the GG AT wheel off and gave it the once-over with the jet wash to shift the mud.

Same with the drivers' side...

While up in the air, I checked that nothing was loose or fallen off.

The OME shockers don't look so bad after 8 years and about 200k km.

Got the mud wheels out of the shed and rolled them down to the truck, bloody hell, they're heavy, on steels!

There's not not much wear on these, I've kept them for more extreme off-road, don't do to much of that these days...

Found an off cut of plasterboard to help protect the truck when hauling them up onto the roof

Three up, one to go! Good job really, the old back was starting to give way by this time


All up and strapped to the rack...

Forgotten how tall the truck is with a set of 4 on the roof


So, as well as a refurb of the whole wheel-set, I'm on the look out for a set of five new BFG ATs, or something similar at the right price...
Last edited:
Thought it was about time I changed the rear brake pads seeing as was advised a year ago by Toyota to do so after last service. Pads still had lots of meat left on them, but as it's got a mot next week thought I might as well do them.
Changed the pollen filter too.... yikes that was in a nasty state indeed...
Easy peasy job done.
Changed the pollen filter too.... yikes that was in a nasty state indeed...
Easy peasy job done.
Gave all the brakes a grand fettle today in the sunshine. Worked all the pistons til they were free and smooth and put some new front pads in. They didn't really need changing but better now that in the Sahara I guess. I put some of the latest Miler compound in. Say what you like about the old ones, these are great. It stops so hard now everything is in the foot-well! For a truck of this size and weight with big tyres, it's impressive. The new braided hoses make a significant difference too. It certainly gives me a secure feeling.
- Joined
- Mar 7, 2010
- Messages
- 2,407
- Country Flag
Braided hoses -- would that be Steel Braided Hoses? What does the MOT say about those? I've heard that some are not happy about not beeing able to see the state of the rubber underneath.Gave all the brakes a grand fettle today in the sunshine. Worked all the pistons til they were free and smooth and put some new front pads in. They didn't really need changing but better now that in the Sahara I guess. I put some of the latest Miler compound in. Say what you like about the old ones, these are great. It stops so hard now everything is in the foot-well! For a truck of this size and weight with big tyres, it's impressive. The new braided hoses make a significant difference too. It certainly gives me a secure feeling.
Given that we've got this little road trip coming up, I thought I'd better spend the day under the truck giving it a thorough coat of looking at. armed with all the popular sizes, I set about checking all the nuts and bolts were tight. To my surprise I found a few actually that had slackened a little including a bell housing bolt that was only halfway in.
Most were ping tight but there were some surprises on some of the big bolts. The new Milwaukee bad ass bolt basher got those proper tight.
Biggest surprises was that I found the lower front Panhard rod bolt was loose. On investigation I found that the captive nut under the spring perch had broken free, Damn. What a place to have a captive nut. FFS. After some grinding and fettling, I managed to weld an old spanner onto it. It was pretty rounded and no way would grips go in there. Handy thing the old stick welder. Couldn't undo the bolt though. Ahh haaa, Milwaukee to the rescue again and after quite some time hammering it began to turn. Old bolt and nut out, lovely new nut and bolt in. Whacked up tight.
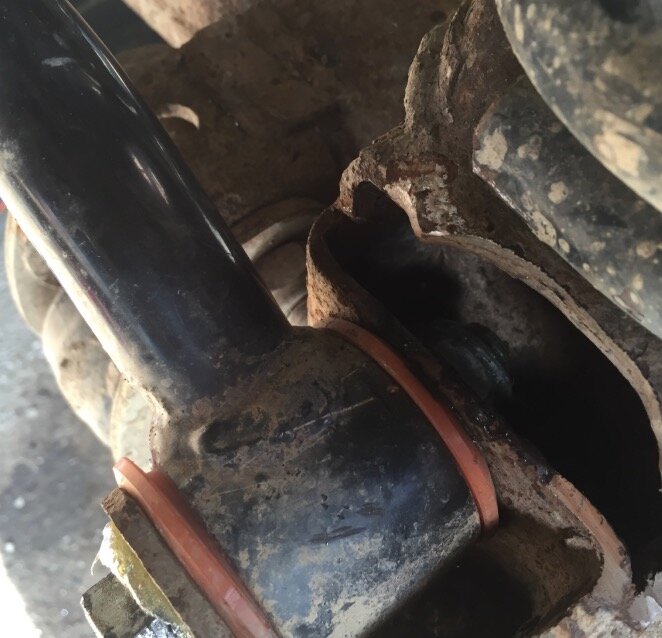
Went for a drive. Gordon Zola!!! What a humongous difference. Seriously, it was like driving someone else's truck. It now has F1 cornering and a whole host of odd noises have gone. I have been trying to find a clunk on the steering for ages - well it was the PH rod moving.
Dropped the front axle oil AGAIN after only a couple of hundred at the most and it was gopping. More like engine oil. Hopefully that's the last flush it will need. All other oils were perfect. Just engine oil to drop after the overland gathering next weekend and I'm ready. All in all a day well spent. Pretty confident that nothing's going to fall off between here and the mountains.
Most were ping tight but there were some surprises on some of the big bolts. The new Milwaukee bad ass bolt basher got those proper tight.
Biggest surprises was that I found the lower front Panhard rod bolt was loose. On investigation I found that the captive nut under the spring perch had broken free, Damn. What a place to have a captive nut. FFS. After some grinding and fettling, I managed to weld an old spanner onto it. It was pretty rounded and no way would grips go in there. Handy thing the old stick welder. Couldn't undo the bolt though. Ahh haaa, Milwaukee to the rescue again and after quite some time hammering it began to turn. Old bolt and nut out, lovely new nut and bolt in. Whacked up tight.

Went for a drive. Gordon Zola!!! What a humongous difference. Seriously, it was like driving someone else's truck. It now has F1 cornering and a whole host of odd noises have gone. I have been trying to find a clunk on the steering for ages - well it was the PH rod moving.
Dropped the front axle oil AGAIN after only a couple of hundred at the most and it was gopping. More like engine oil. Hopefully that's the last flush it will need. All other oils were perfect. Just engine oil to drop after the overland gathering next weekend and I'm ready. All in all a day well spent. Pretty confident that nothing's going to fall off between here and the mountains.
Gary820
Well-Known Member
Figured I'd get prepped for the exhaust, make sure the bolts come undone so no Messing on the day, needed to measure the flanges too so can pre make them. studs into the manifold snapped off even with copious amounts of plus gas and heat. So off with the front prop and out with the drill while laying under the truck to drill out the studs.
Not going for a full header now, for what little extra I'd gain it's not worth the extra £450. Having new down pipes and mating it upto the rest of the stainless system. The bloke who's doing it said there's only small gains to be had, he'd be happy to take my money and it'd look really nice but I've got better things to spend my money on.
Not going for a full header now, for what little extra I'd gain it's not worth the extra £450. Having new down pipes and mating it upto the rest of the stainless system. The bloke who's doing it said there's only small gains to be had, he'd be happy to take my money and it'd look really nice but I've got better things to spend my money on.


