Don't like the adverts? Click here to remove them
You are using an out of date browser. It may not display this or other websites correctly.
You should upgrade or use an alternative browser.
You should upgrade or use an alternative browser.
Who is doing what maintenance today?
- Thread starter warrenpfo
- Start date

Changed gearbox oil, engine oil and filter, oil pressure sender, fitted T piece and VDO oil pressure sender to feed the gadget.
Red Oktober
Well-Known Member

Nice shiny new snorkel Carl.
What happened to the bumper?
umm ... didn't get in the right possition to go straight thru the gateway on a lane ...

that bumper is slightly twisted anyway ..and will be replaced some time in the future
Removed the oil catch can (well a week or so back)
The truck has Been leaking some oil via clutch housing plus she used a 1.5 litres of oil in 2500 miles! which has never ever happened - rarely uses any between services.
Had the thought that it had all started to happen since i fitted the catch can so catch can off and it all seems to have settled down again. certainly no more oil leaking and the oil consumption has thankfully stopped.
that could have been expensive if you hadn't worked it out Adrian.
Replaced all the seals and dust covers on the near side front brake calliper. One of the pistons was seized solid and I had to replace it. Ran lout of time, but need to do the off side one next.
Did the drivers side caliper today, what a pain that was.
The other side was a different story, needed to use the vice grips to remove the one piston, but the second would not budge a inch:


Tried all sorts of things, in the end I had to resort to the metal glue machine and a long bit of metal:


I now have a fancy hammer


Thanks to Crispin for saving the day, he had a spare piston from when he used to own a PROPPER LC
All back together and brakes working a treat now!
Last edited:
Don't like the adverts? Click here to remove them
Oil and filter, adjusted alternator belts, replaced flexible brake hoses at rear (thanks jw) bled brakes, checked all levels, rotated tyres, checked over everything else, greased propshaft and UJ s, cleaned inside washed outside, dinitrol on the bits that needs it including suspension and axles.
Nice to have some good weather yesterday at last!
Nice to have some good weather yesterday at last!

Tony, they're out now I know, but important NOT to twist the piston, unless it's really free already. All you are doing is wrinkling up the seal which jams it solid. Much better on a strips down if you push the pistons out with brake pressure first. Any 'shy' pistons can be encouraged by blocking off the moving ones with old pads first. Then apply max breaking to get the little blighter moving. I keep old brake pads as shims for this job.
Chris
Chris
need to post you the other rear pipe Adrian, perhaps when silly season is done and the postman has recovered 
Tony, they're out now I know, but important NOT to twist the piston, unless it's really free already. All you are doing is wrinkling up the seal which jams it solid. Much better on a strips down if you push the pistons out with brake pressure first. Any 'shy' pistons can be encouraged by blocking off the moving ones with old pads first. Then apply max breaking to get the little blighter moving. I keep old brake pads as shims for this job.
Chris
Yup have used this method in the past, but I knew this was not going to play ball as when I last changed the pads about 8 months ago I struggled to move the pistons out whilst on the car. They did not even budge with the grips, and even with the big pole on it was a struggle.
Anyway, alls well ends well.
Rob Cowell
Well-Known Member
- Joined
- Nov 15, 2011
- Messages
- 1,677
- Country Flag

Replacing rear coil springs on my 120 today. As its got 100K on it now I thought I'd replace the both even though only one was broken. Only when I dropped the axle they were both bust. Had done thins a couple of times on my old 90 so quick, easy job. My biggest problem is always finding somewhere vaguely flat and smooth to work. I don't have one of those fancy gravel floor, open-air garages that are popular on this forum.

Buoyed by my success I thought I'd tackle the front anti-rollbar bushes. I could move the bar in one bush which I reckon was a good indicator that was what has been causing front end clunks off-road. Think the bolts are bigger than on the 90 but still warey of snapping them, so gently back and forth to release. And then (and this isn't a competition with Warren for best maintenance injury) I dropped the bar on my face.

Anyway, all back on now. No more clunking, and back to the only slightly wallowly feel of a tight 120.
Buoyed by my success I thought I'd tackle the front anti-rollbar bushes. I could move the bar in one bush which I reckon was a good indicator that was what has been causing front end clunks off-road. Think the bolts are bigger than on the 90 but still warey of snapping them, so gently back and forth to release. And then (and this isn't a competition with Warren for best maintenance injury) I dropped the bar on my face.
Anyway, all back on now. No more clunking, and back to the only slightly wallowly feel of a tight 120.
warrenpfo
Well-Known Member
- Joined
- Jul 21, 2010
- Messages
- 2,895
After fitting the front bumper and the suspension having settled I had lost 10mm of front travel so gave the torsion bars a tweak and hay presto back to 55mm front droop and 30mm rake from front to back.
I also fitted the plastic ARB inserts and a sheet metal cover for some pipework.
I managed to trace my rear wipers lack of water to a pinched pipe in the rear cargo bay so need to remove the plastic molding to find it tomorrow and also measured up for the ARB front indicator and park lights.
I also fitted the plastic ARB inserts and a sheet metal cover for some pipework.
I managed to trace my rear wipers lack of water to a pinched pipe in the rear cargo bay so need to remove the plastic molding to find it tomorrow and also measured up for the ARB front indicator and park lights.
Nuclear Chicken
Well-Known Member
- Joined
- Apr 9, 2010
- Messages
- 403
Ooooooch. Bet that hurt.
Sent from my Galaxy Note
Sent from my Galaxy Note
- Joined
- May 20, 2010
- Messages
- 5,821
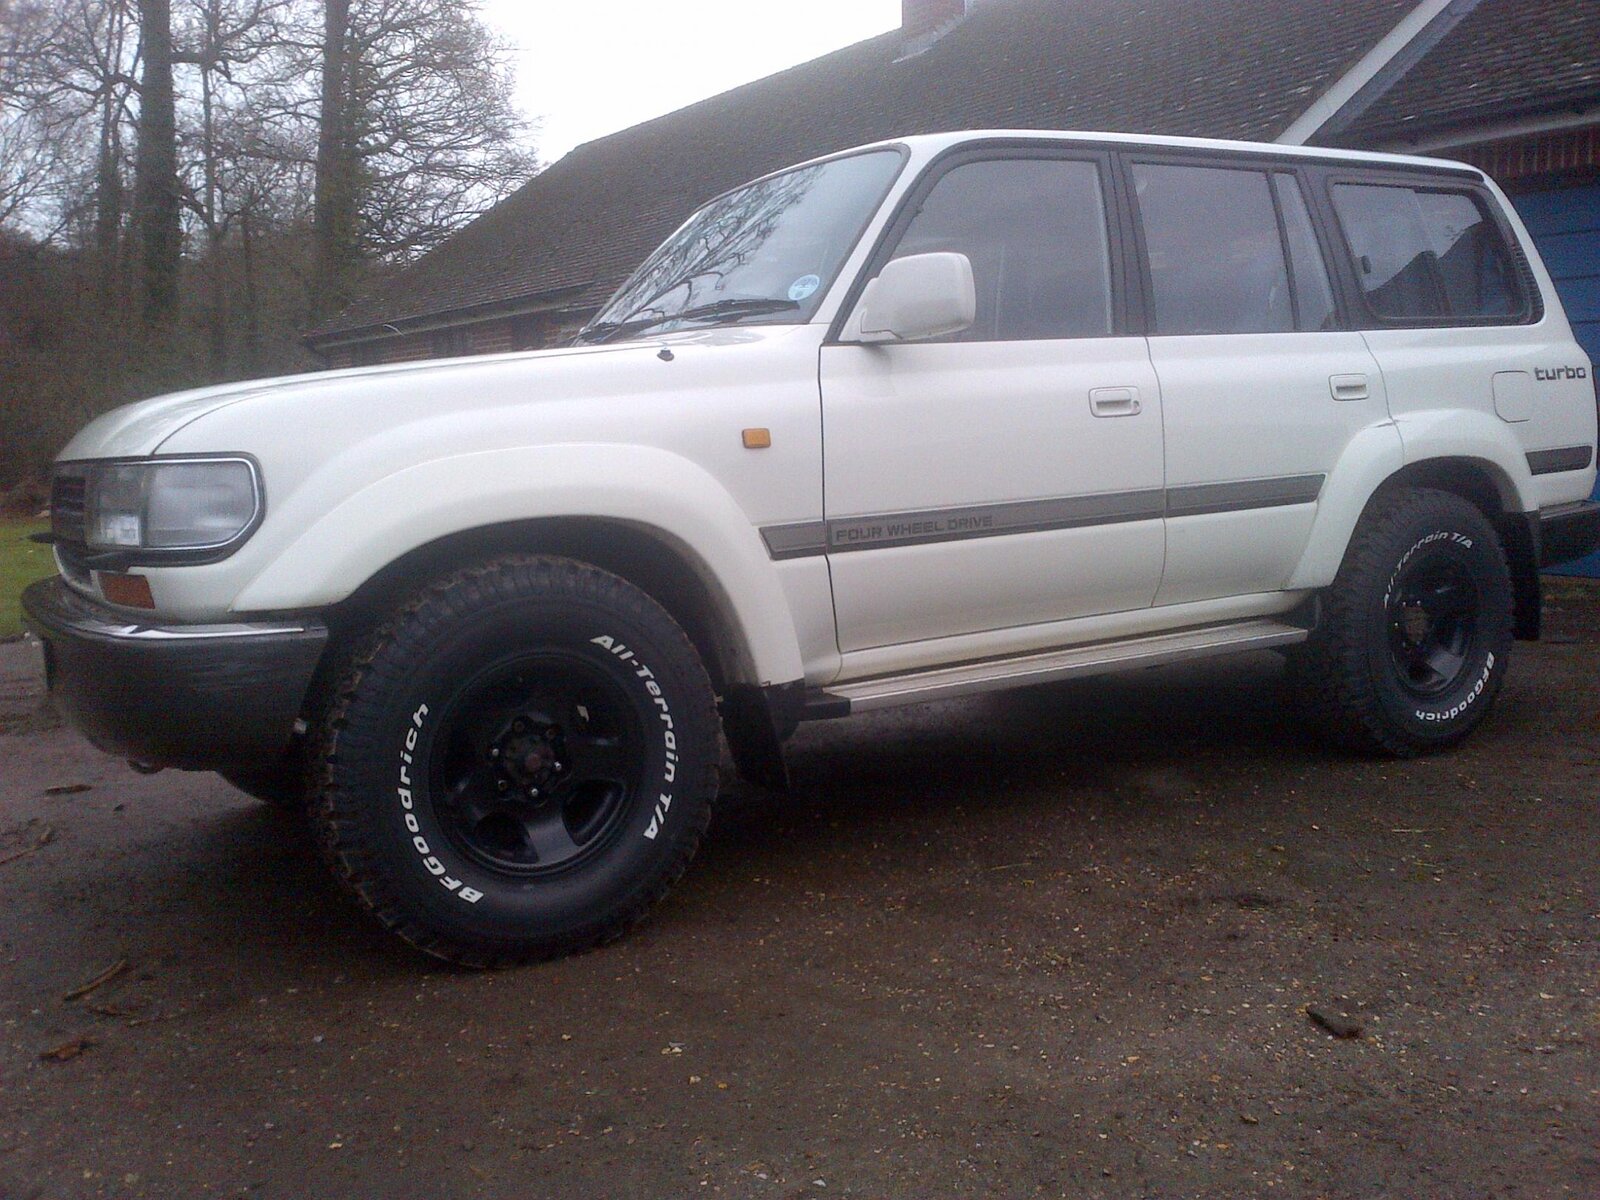
Nice clean truck Mark 
The black alloys do look well. I collected two trucks the other day and the wheels were mint on both but in silver.The guy said you may as well put a set on yours hadnt you. I said ive only just had the black ones done and fitted
The black alloys do look well. I collected two trucks the other day and the wheels were mint on both but in silver.The guy said you may as well put a set on yours hadnt you. I said ive only just had the black ones done and fitted
Andrew Brierley
Well-Known Member
- Joined
- Aug 4, 2011
- Messages
- 353
- Country Flag

Well, not actually today...... but over the weekend I tackled the OME suspension upgrade on my 80. Went reasonably OK, but still confused as to why I needed to use sprng compressers on one side, but not on the other. Anyway, what defeated me was freeing the mounting plate bolts on top of the rear shockers. Plenty of WD40, but the buggers refused to move. The socket slipped a couple of times, so rather than risking rounding off the bolts I thought that discretion was the better part of valour. I've booked it in to the near-by 4x4 garage to complete that bit for me, and I'll make sure that they apply plenty of copper grease! I also found it difficult to free the top nuts on the front shock, so got around that by a deep 19mm socket and gripping the shock with an adjustable wrench - easy!