Don't like the adverts?  Click here to remove them

Leopard

Member
Joined
Aug 12, 2012
Messages
163
Country Flag
uk
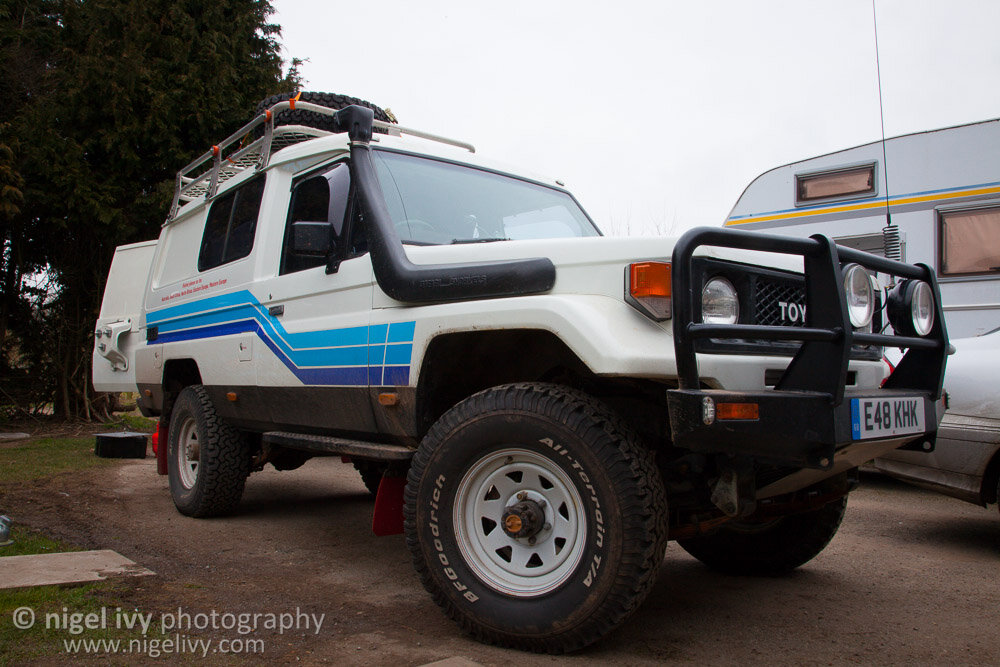
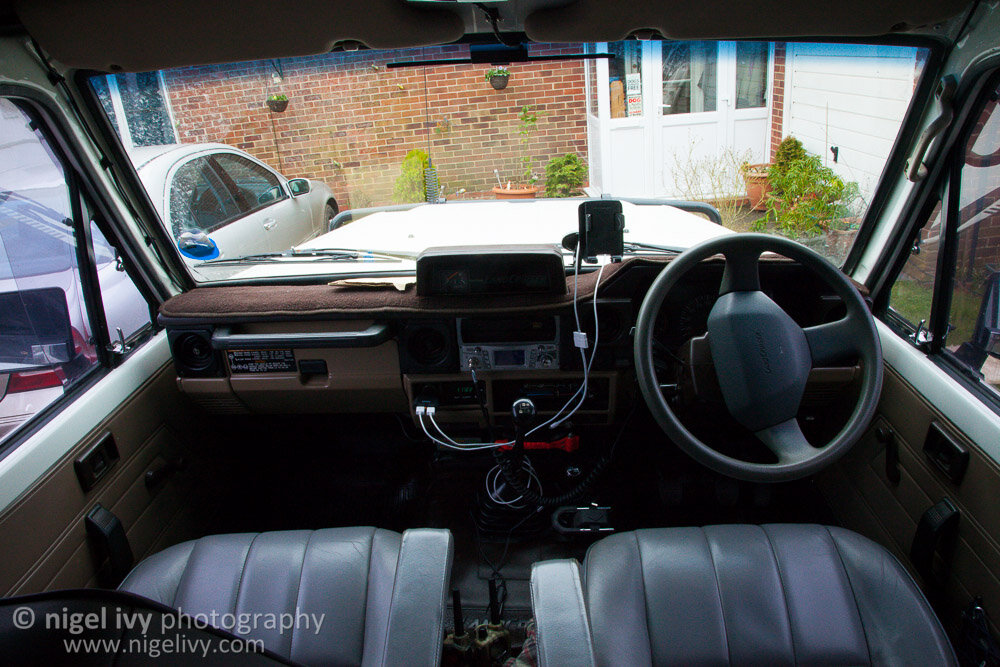
A lot of you might recognize this truck from when Jonnie posted photos of it a few months ago. He mentioned that he might not keep it, so I jumped at the opportunity when he messaged me and asked if I was interested. My wife and I have had an overlander 80 series for a while now, but I've had my eyes on Troopies for ages.

Seeing as it's stayed in the club, I thought I would start a new thread to share what I do to it. I haven't had much time to work on it since I got it, with a couple of holidays since then, but have just started building a new bed and storage unit in the back so thought I'd start the thread.

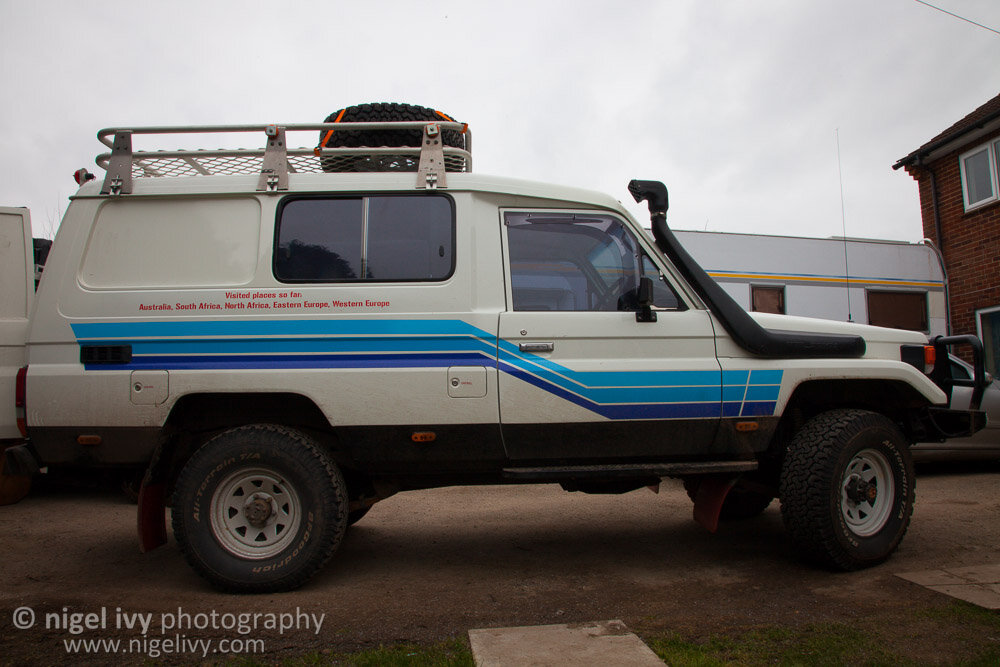
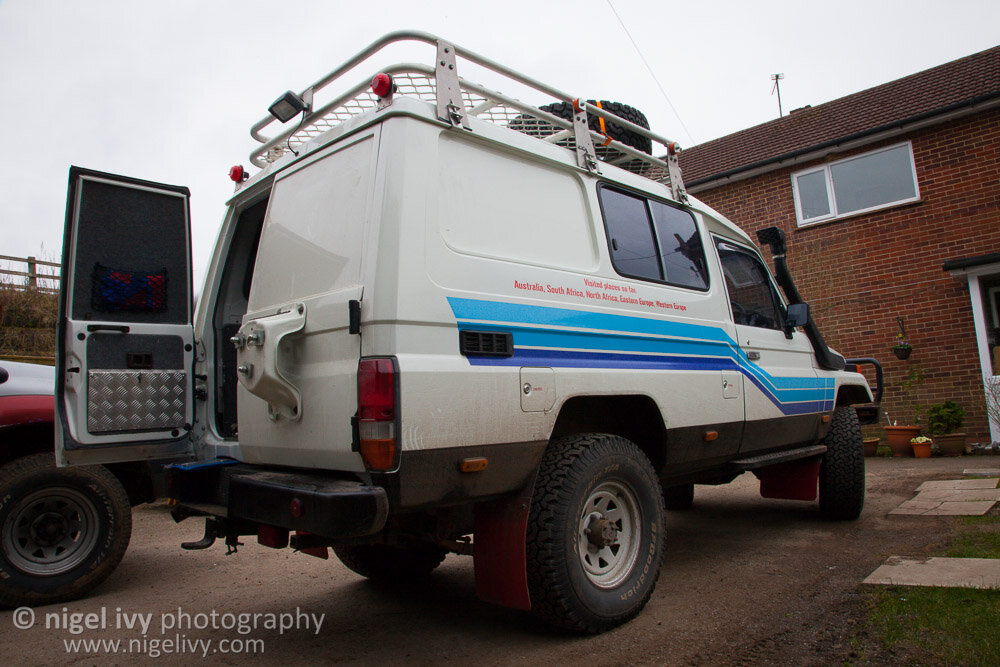
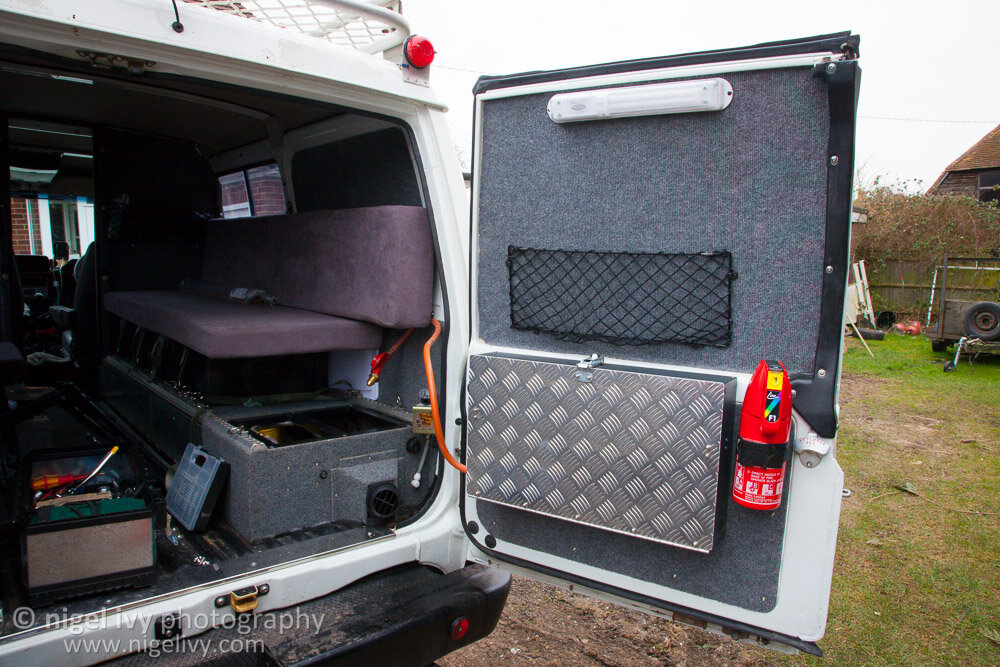
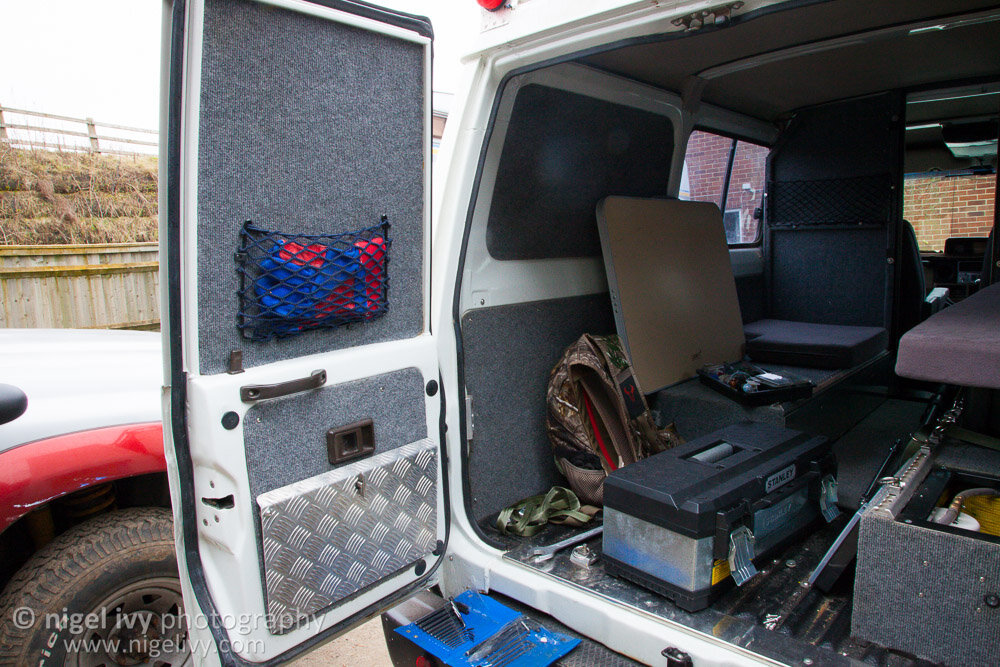
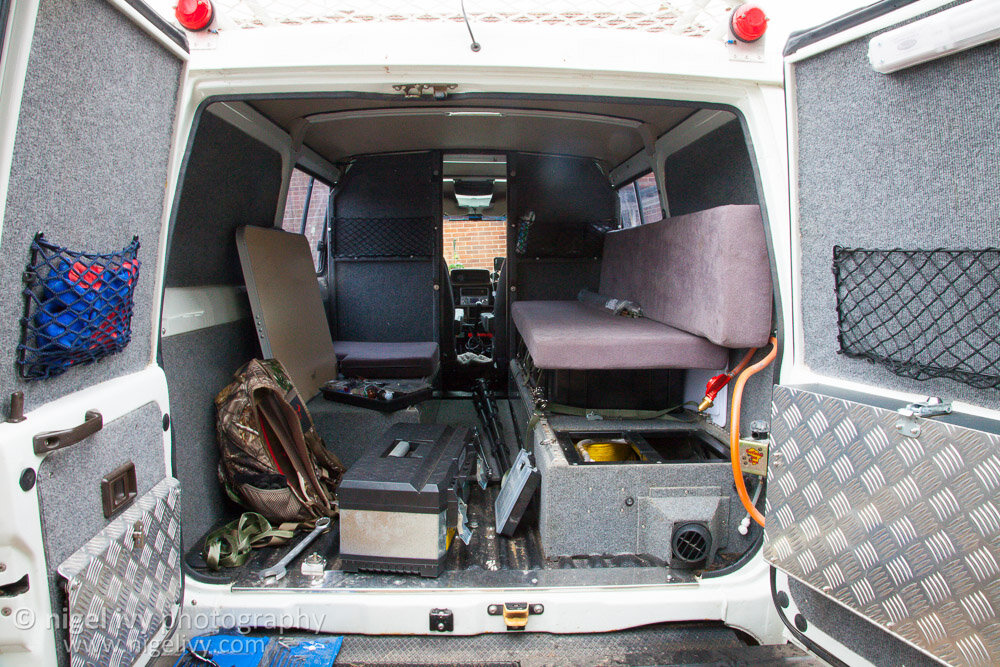
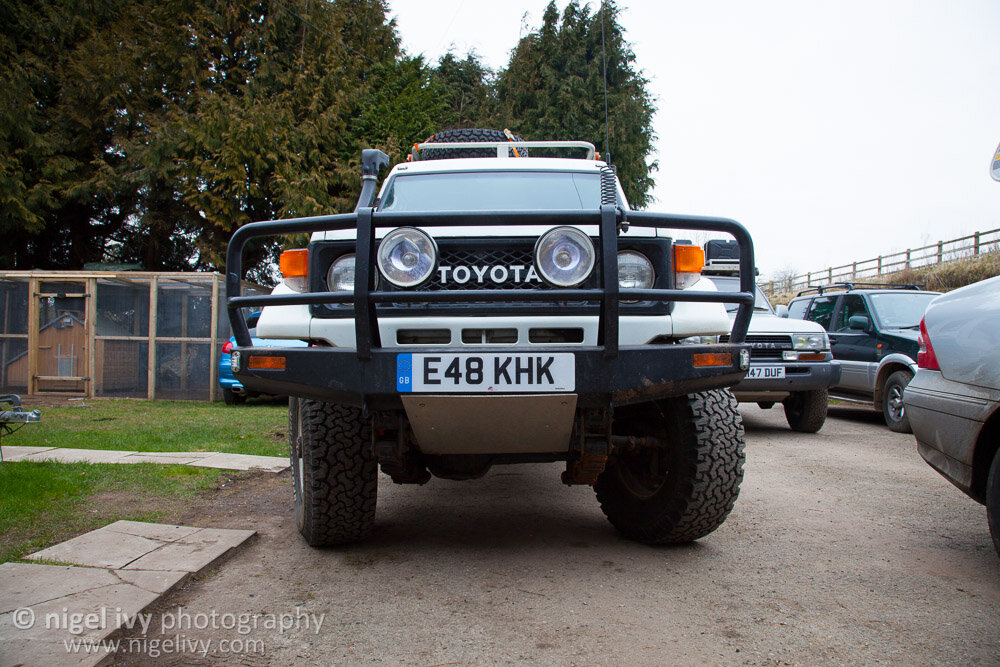
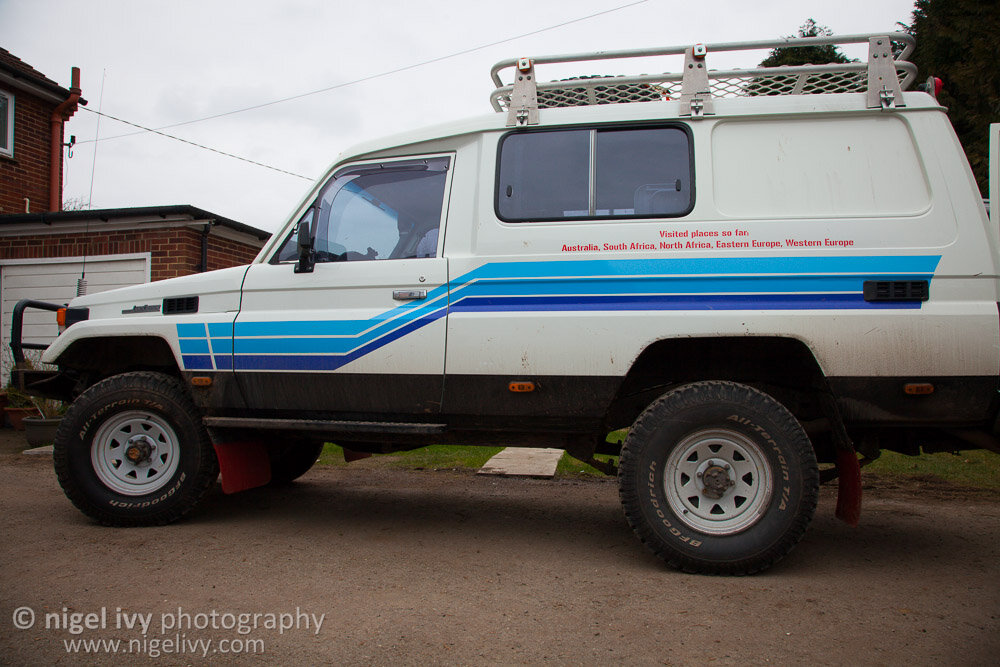
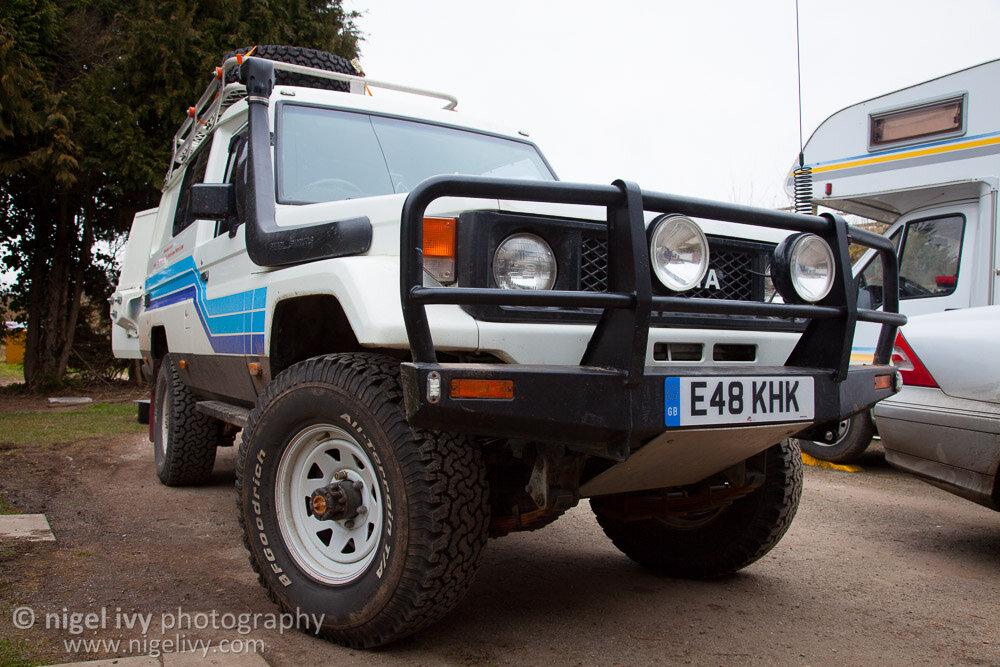
Here she is:
NIGELIVY_20130224_4808.jpg
NIGELIVY_20130224_4809.jpg
NIGELIVY_20130224_4810.jpg
NIGELIVY_20130224_4811.jpg
NIGELIVY_20130224_4812.jpg
NIGELIVY_20130224_4813.jpg
NIGELIVY_20130224_4814.jpg
NIGELIVY_20130224_4816.jpg
NIGELIVY_20130224_4818.jpg
NIGELIVY_20130224_4820.jpg
NIGELIVY_20130224_4822.jpg
NIGELIVY_20130224_4824.jpg
NIGELIVY_20130224_4825.jpg
NIGELIVY_20130224_4826.jpg
NIGELIVY_20130224_4827.jpg
NIGELIVY_20130224_4828.jpg
NIGELIVY_20130224_4829.jpg
NIGELIVY_20130224_4830.jpg

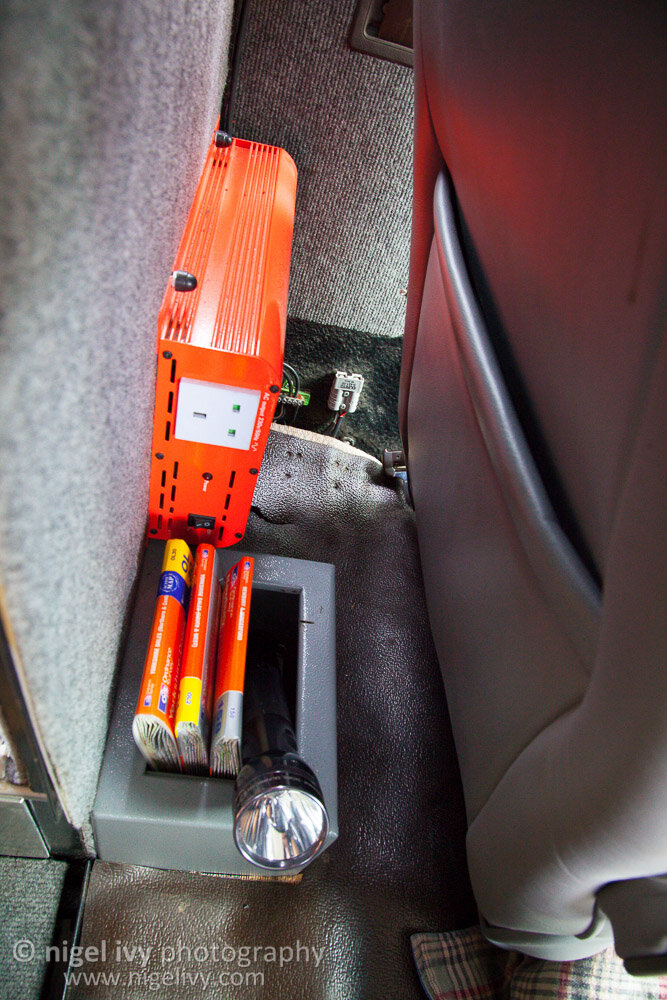
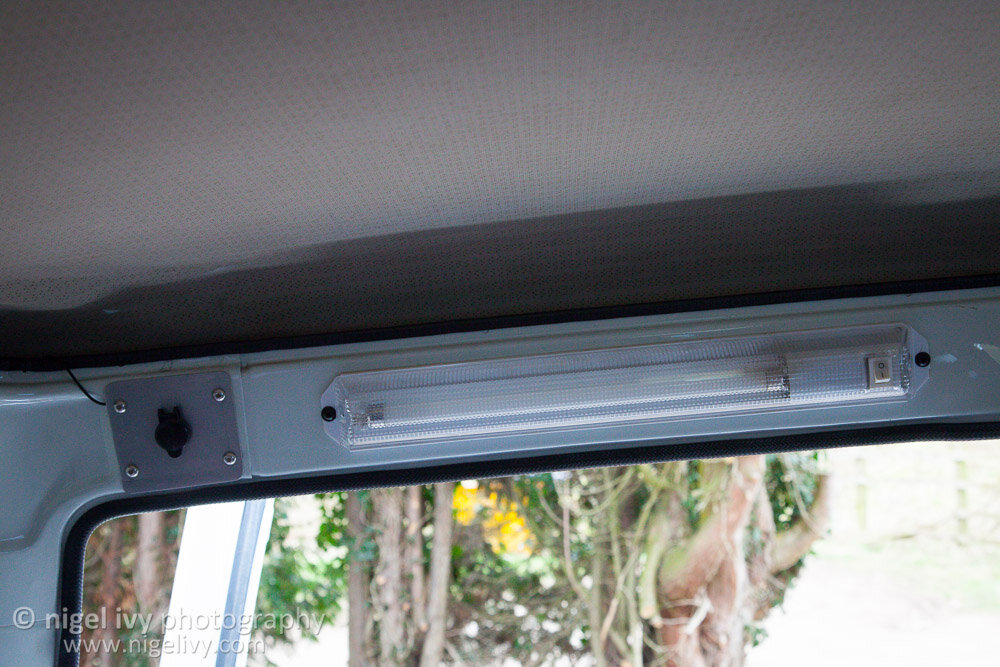
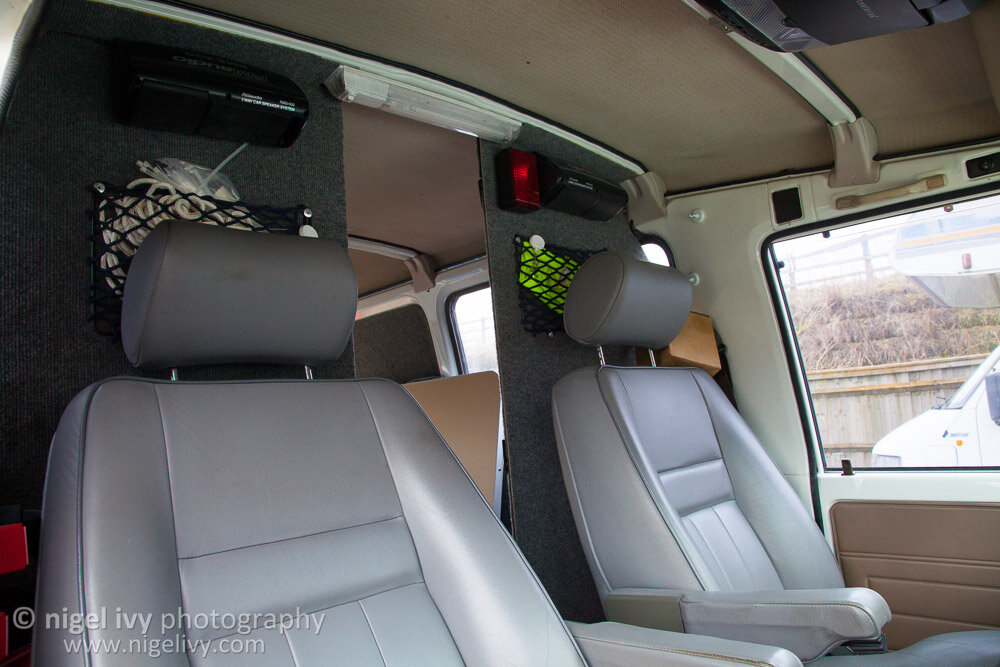
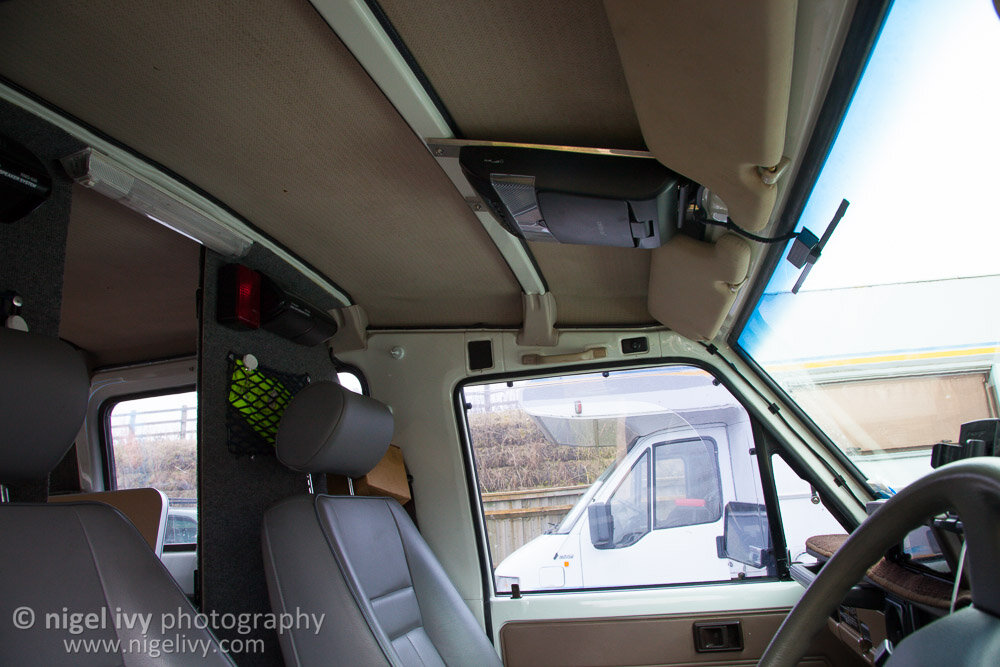
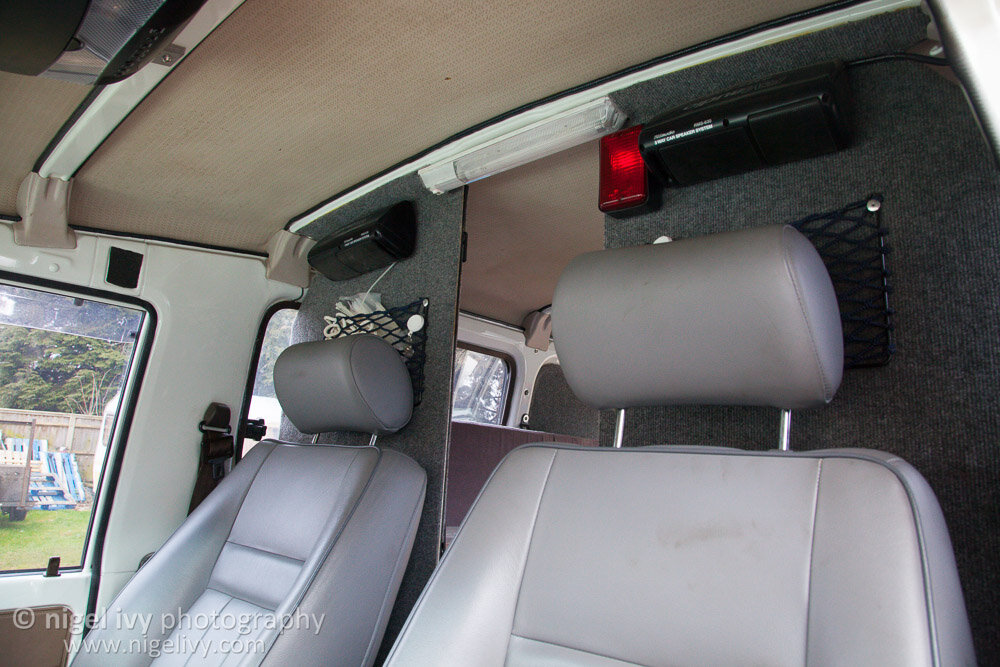
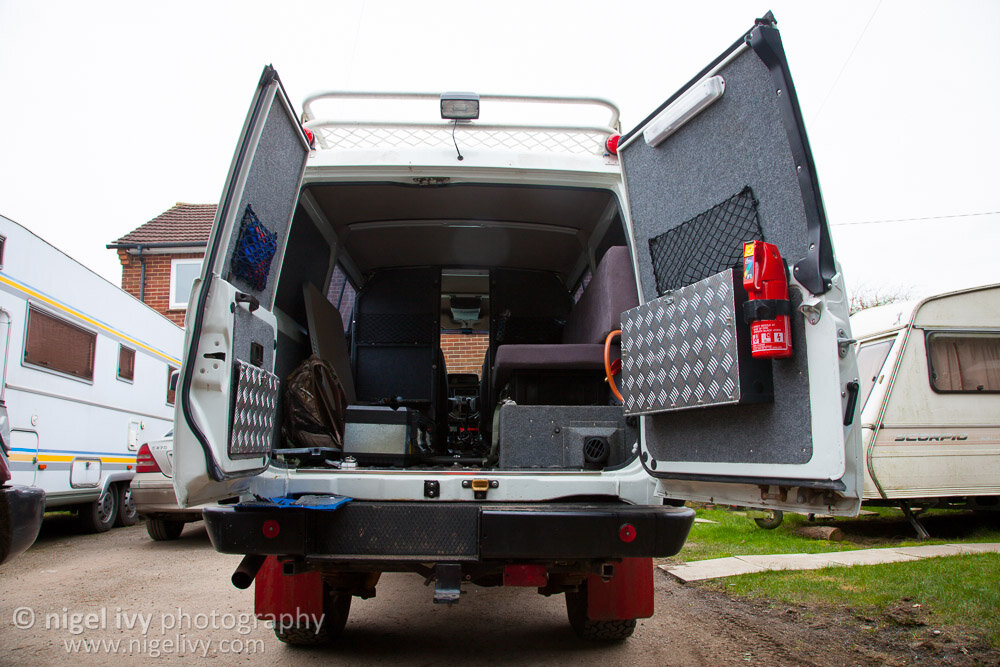
So far I'm absolutely loving the truck! It's got the standard 4.0L engine, no turbo, which means it's pretty gutless, but it's still great. It's got so much potential and I've got lots of plans. It came with quite a lot like stainless steel water tank that has a 12v pump and is piped, stove, 2 spares, inverter, CD player with iPod connector, bull bar, steel rear bumper, leather seats, roof rack, etc..
I'm still trying to figure out how a lot of it has been put together, for example, I have NO idea how to turn the light on the back of the roof rack on - maybe the bulb has blown or maybe a fuse has gone, but I'm not sure. Also, I haven't been able to get the Erserbaucher heater working. These are the sort of things I need to figure out and sort out.

On the cards for the next few weeks/months:
  • Fix Eserbaucherr heater
  • Drill out tow hitch to 25mm and fit standard 50mm ball
  • Fit a towing plug
  • Figure out why light on the rear isn't working
  • Fit solar panel above cab

Keep posted for my progress. :dance:
 
Good luck with the new truck; looking forward to seeing how you develop it :icon-cool:
 
Nice truck.

Never actually saw it when the previous owner got it back.

If you decide you want to turbo it I have a bolt on jobbie on the shelf if you want to drop me a pm sometime.
 
Looking good! Awesome vehicle. I look forward to seeing what you add/modify on it. Plenty of scope. The VW sharan has finally gone and I too are back driving land cruisers again. Happy days.
 
Don't like the adverts?  Click here to remove them
Loving it! I 'found' a troopy yesterday, at the back of a local garage, and when the owner saw me he came over and when asked if it worked I was told no :( Actually is does but I am not selling it in a million years!
Doh!

Keep up the good posts
Steve
 
Congratulations on the purchase, it looks quite a buy. I bet your going to have a lot of fun personalising it.

Enjoy the build, I look forward to seeing how you get on.
 
Nice truck.

Never actually saw it when the previous owner got it back.

If you decide you want to turbo it I have a bolt on jobbie on the shelf if you want to drop me a pm sometime.

Karl, I think I'll hit you up on this at some point. It's definitely something I'll consider!
 
Looking good! Awesome vehicle. I look forward to seeing what you add/modify on it. Plenty of scope. The VW sharan has finally gone and I too are back driving land cruisers again. Happy days.

Good to hear, mate! It's a beauty of a truck! Absolutely loving it! :) How's your 40 going?
 
looks like a great and well kitted truck - enjoy
 
So, as mentioned above, I started building new storage units that will make the base for the bed last weekend. I also mounted my Engel in the back.

I started with cutting a base for the mounting plate of the fridge so that it could be painted while I carried on working on the storage units.
View attachment 7110

I didn't want to drill more holes through the floor of the truck, so I decided that I would put a piece of wooden board under the mounting plate and use the tie-down strip you can see on the bottom of the photo and then mount it against the aluminum storage units that sit over the wheel wells.
View attachment 7111
View attachment 7112

Got my wife to paint the fridge base mount while I cracked on with the storage units.
View attachment 7113
View attachment 7114

Started with the unit behind the passenger seat. Cut the bottom piece first and checked that it fitted. Decided to leave the tie-down rails in as they might be useful later on and also stop the storage unit sliding off the benches.
View attachment 7115

Then put the sides onto the unit.
View attachment 7116
View attachment 7117

I started with small nails/pins, but they split the boards too easily. I opted for 9mm boards for the bottoms/sides and 12mm for the tops. I quickly moved on to carefully using screws with pilot holes, which worked much better. I put the basic units together and then re-enforced with brackets.
View attachment 7118

I started off with the little plastic brackets you get from B&Q that you fit with screws, but soon found they weren't strong enough, so moved onto using metal brackets and stainless steel bolts.
View attachment 7119
View attachment 7120
View attachment 7121
View attachment 7122

Using bolts was a bit fiddly and might be overkill, but at least I know they're strong. :) My brother was a huge help - makes a big difference having a second set of hands!
View attachment 7123
View attachment 7124
View attachment 7125

My sister's sprolly watched impatiently, hoping we'd throw the stick for it.
View attachment 7126

Lining up the bracket and drilling through.
View attachment 7127

Used counter sunk stainless bolts which worked really well.
View attachment 7128

Overkill? Maybe, but at least I can have an elephant sit on them and they'll survive.
View attachment 7129

I used some of the plastic brackets for the middle, just for added support.
View attachment 7130

Cut a 5cm strip to go down the back which the lid will hinge on.
View attachment 7131

Used the same metal brackets for the strip that the lid will hinge on.
View attachment 7132

Hinges fitted and lid on.
View attachment 7133

It works.
View attachment 7134

It fits and I fit.
View attachment 7135

It fits and Neil (who's about 6ft tall) doesn't fit. :) Opted for the highest I felt was comfortable. It'll mostly be me and my wife (who's shorter than me) in the truck, so wanted the most out of the storage.
View attachment 7136

Over-hung the lid so we have something to grip on to open it.
View attachment 7137

Added a divider, mainly for vertical support for the lid. Decided to use the plastic brackets cause I didn't think there would be much lateral pressure.
View attachment 7138

First unit done.
View attachment 7139

Now to clean up and round the edges so that it can be painted.
View attachment 7140

While my brother painted the first unit, I cracked on with the second.
View attachment 7142

First step for the second unit was to remove the old storage units and gas cylinder.
View attachment 7141

Then I needed to remove the tie-down strip in the middle that the gas cylinder was tied to. This meant taking out the panel above the diesel heater and unbolting it.
View attachment 7143
View attachment 7144

Cut the bottom piece and checked it fitted.
View attachment 7145

Then put the two ends on.
View attachment 7146

Then the two sides.
View attachment 7147

Checked that it fitted before fixing the dividers in and putting the brackets in.
View attachment 7149

Fixing the dividers in.
View attachment 7148
View attachment 7150
View attachment 7151

Bottom together, now just to put the brackets in.
View attachment 7152

Neil doing well with the painting.
View attachment 7153
View attachment 7165

Fitting the brackets on the second unit.
View attachment 7157
View attachment 7156

Then added a strip for the lid to hinge on.
View attachment 7158

Lid fitted.
View attachment 7159
View attachment 7160

While Neil cracked on with painting the second unit, I moved onto the fridge as the base mount had dried enough. First removed the one bolt of the tie-down strip.
View attachment 7154

I started with a straight bracket, then realized it wouldn't work as it sat on a ridge.
View attachment 7155

Then I moved to a right-angle bracket. Checking that it'll work.
View attachment 7166

Then I drilled out the hole to 8mm.
View attachment 7161

Cut the end off which would be in the way.
View attachment 7162

Drilled a third hole on the other end as the hole closest to the right-angle won't contact the base mount.
View attachment 7163

Checked that it'll fit.
View attachment 7167
View attachment 7168

Screwed the bracket on with stainless screws.
View attachment 7169

Screwed two brackets onto the other end that will bolt to the aluminum storage units.
View attachment 7170

Added some foam to the bottom to stop it from rocking on the ridges and get it to seat properly.
View attachment 7171
View attachment 7172

Screwed out the holes for the bolts.
View attachment 7173

Bolted the the brackets in.
View attachment 7174
View attachment 7175

Then I clumbed under the truck to put the nut on the bolt that goes through the floor. Was fiddly, but managed to do it with a socket and long extender without taking out the water tank.
View attachment 7164
View attachment 7176

Nice and straight.
View attachment 7177

Screwed the base plate in with stainless screws.
View attachment 7181
View attachment 7183

Fridge in now, just waiting on my Anderson connectors to wire it up properly.
View attachment 7184

Going to fetch the storage units tonight which have been drying. Will be adding a section to complete the bed this weekend, hopefully.
 
Last edited:
OK, looks like I'm going to have to redo that post entirely. I'm not sure what has gone wrong. Trying to edit it now to figure out why the pictures aren't showing up and I get this:
Screen Shot 2013-05-30 at 12.42.35.jpg
 
OK, gave up with uploading the photos directly to the forum and am now linking them from Flickr. Seems to work better.

So, as mentioned above, I started building new storage units that will make the base for the bed last weekend. I also mounted my Engel in the back.

I started with cutting a base for the mounting plate of the fridge so that it could be painted while I carried on working on the storage units.
8889334699_dcf33f64b5_c.jpg


I didn't want to drill more holes through the floor of the truck, so I decided that I would put a piece of wooden board under the mounting plate and use the tie-down strip you can see on the bottom of the photo and then mount it against the aluminum storage units that sit over the wheel wells.
8889957476_ea09422641_c.jpg
8889333719_85d22b81c4_c.jpg


My wife, Rianna, painted the fridge base mount while I cracked on with the storage units.
8889955956_e2cb78baf9_c.jpg
8889331745_be4201116b_c.jpg


Started with the unit behind the passenger seat. Cut the bottom piece first and checked that it fitted. Decided to leave the tie-down rails in as they might be useful later on and also stop the storage unit sliding off the benches.
8889335313_123a20d349_c.jpg


Then put the sides onto the unit.
8889333575_54fa67fa6e_c.jpg
8889333001_8570457549_c.jpg


I started with small nails/pins, but they split the boards too easily. I opted for 9mm boards for the bottoms/sides and 12mm for the tops. I quickly moved on to carefully using screws with pilot holes, which worked much better. I put the basic units together and then re-enforced with brackets.
8889326491_04fb9b87a4_c.jpg


Once I put the base together, I used those plastic brackets you get from B&Q that you fit with screws, but soon found they weren't strong enough, so moved onto using metal brackets and stainless steel bolts.
8889954306_ccbaa8efd6_c.jpg
8889330591_3edb696483_c.jpg
8889953596_e0ea6c8321_c.jpg
8889953126_f8cb9bd7ea_c.jpg


Using bolts was a bit fiddly and might be overkill, but at least I know they're strong. :) My brother, Neil, was a huge help - makes a big difference having a second set of hands!
8889952572_99268aa85e_c.jpg
8889952114_4df7b56e70_c.jpg
8889328507_b0c962bfbf_c.jpg


My sister's sprolly watched impatiently, hoping we'd throw the stick for it.
8889951186_9f839561a6_c.jpg


Lining up the bracket and drilling through.
8889950544_9dd1c6d3d6_c.jpg


Used counter sunk stainless bolts which worked really well.
8889327083_b8f178a8f2_c.jpg


Overkill? Maybe, but at least I can have an elephant sit on them and they'll survive.
8889326201_9b95a875d8_c.jpg


I used some of the plastic brackets for the middle, just for added support.
8889325841_676036d68a_c.jpg


Cut a 5cm strip to go down the back which the lid will hinge on.
8889325579_24e3fd09b2_c.jpg


Used the same metal brackets for the strip that the lid will hinge on.
8889325045_b1ed25428d_c.jpg


Hinges fitted and lid on.
8889947942_85f21c3054_c.jpg


It works.
8889324491_f57b86718a_c.jpg

It fits and I fit.
8889323931_302d64451b_c.jpg


It fits and Neil (who's about 6ft tall) doesn't fit. :) Opted for the highest I felt was comfortable. It'll mostly be me and my wife (who's shorter than me) in the truck, so wanted the most out of the storage.
8889323151_29ac800940_c.jpg


Over-hung the lid so we have something to grip on to open it.
8889323173_af8d2b9179_c.jpg


Added a divider, mainly for vertical support for the lid. Decided to use the plastic brackets cause I didn't think there would be much lateral pressure.
8889945762_b9cfd82668_c.jpg


First unit done.
8889945332_fa381ac51b_c.jpg


Now to clean up and round the edges so that it can be painted.
8889944876_b7d9706750_c.jpg


Rianna started painting the first unit, while Neil and
I cracked on with the second.
8889320943_3fa570cb01_c.jpg


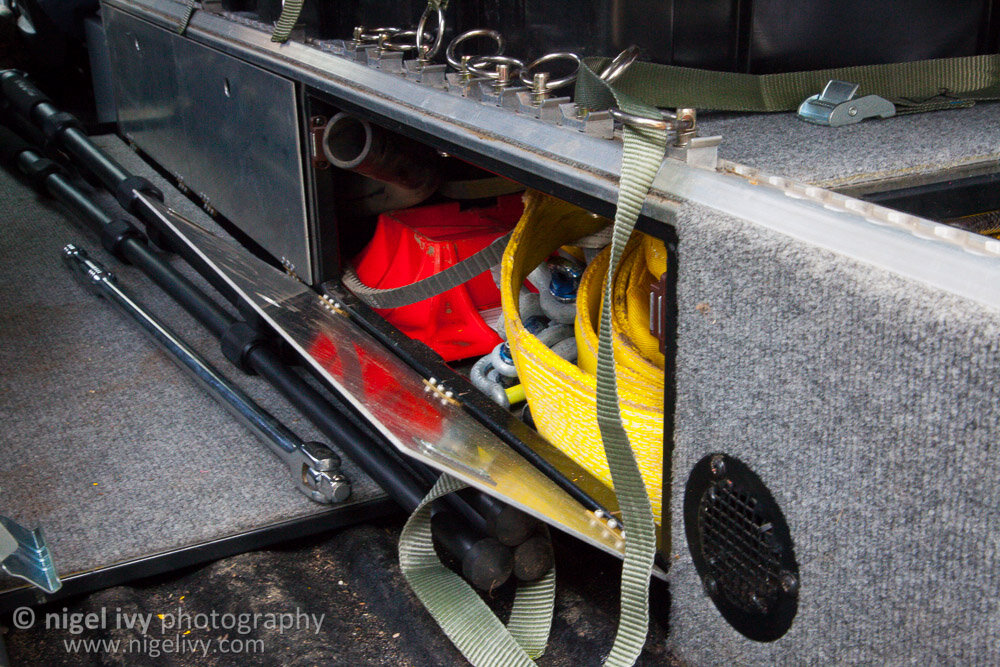
First step for the second unit was to remove the old storage units and gas cylinder.
8889944442_2b56c455e9_c.jpg


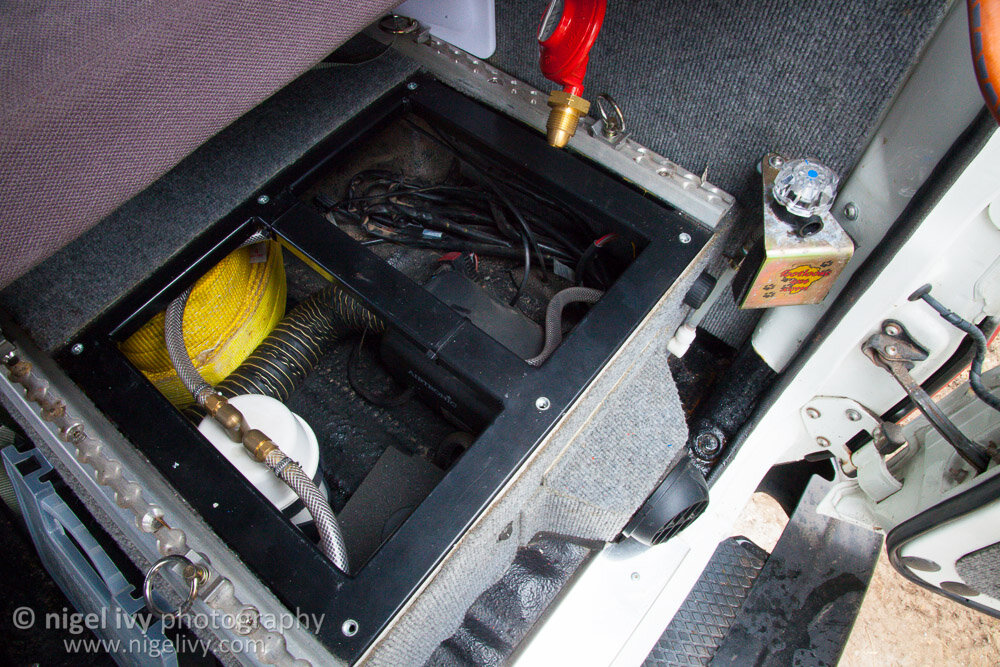
Then I needed to remove the tie-down strip in the middle that the gas cylinder was tied to. This meant taking out the panel above the diesel heater and unbolting it.
8889320433_104b653c81_c.jpg
8889332269_63f892a62c_c.jpg


Cut the bottom piece and checked it fitted.
8889319743_06ef0244bb_c.jpg


Then put the two ends on.
8889942140_c16f57eff9_c.jpg


Then the two sides.
8889318149_7eb9edd71b_c.jpg


Checked that it fitted before fixing the dividers in and putting the brackets in.
8889317569_928ca3baca_c.jpg


Fixing the dividers in.
8889940546_2fa0957262_c.jpg
8889939798_e4a14aaa18_c.jpg
8889316733_c121ee14c9_c.jpg


Bottom together, now just to put the brackets in and then the lid.
8889316577_d3da5f8570_c.jpg


Neil took over the painting because Rianna had to drive up to Oxford to get something for my Dad. Looking good so far.
8889938718_a101699c44_c.jpg


Fitting the brackets on the second unit.
8889937754_f209c5fb04_c.jpg
8889937430_b20df4d63f_c.jpg


Then added a strip for the lid to hinge on.
8889314617_e001ef1381_c.jpg


Lid fitted.
8889313967_b2647403e3_c.jpg
8889936458_afb09e153f_c.jpg


While Neil cracked on with painting the second unit, I moved onto the fridge as the base mount had dried enough. First removed the one bolt of the tie-down strip.
8889938446_66e83c9984_c.jpg


I started with a straight bracket, then realized it wouldn't work as it sat on a ridge.
8889938308_634b970921_c.jpg


Then I moved to a right-angle bracket. Checking that it'll work.
8889311347_7464b68f6a_c.jpg


Then I drilled out the hole to 8mm.
8889313047_9e8dfed67c_c.jpg


Cut the end off which would be in the way.
8889935520_4e0bdaff83_c.jpg


Drilled a third hole on the other end as the hole closest to the right-angle won't contact the base mount.
8889935568_c1cdb1bae6_c.jpg


Checked that it'll fit.
8889933646_d756a96af8_c.jpg
8889310305_d5ceecdc9b_c.jpg


Screwed the bracket on with stainless screws.
8889309783_4b13f5583f_c.jpg


Screwed two brackets onto the other end that will bolt to the aluminum storage units.
8889931940_e70bf9c045_c.jpg


Added some foam to the bottom to stop it from rocking on the ridges and get it to seat properly.
8889931452_ca61d182b6_c.jpg
8889930632_610c888377_c.jpg


Drilled out the holes for the bolts.
8889307543_961bcfe812_c.jpg


Bolted the the brackets in.
8889929066_c82f080724_c.jpg
8889928614_45c23e417e_c.jpg


Then I climbed under the truck to put the nut on the bolt that goes through the floor. Was fiddly, but managed to do it with a socket and long extender without taking out the water tank.
8889927998_0394e73b79_c.jpg
8889935138_a62078345d_c.jpg


Nice and straight.
8889304817_549aeeb1d8_c.jpg


Screwed the base plate in with stainless screws.
8889304259_95ae8eb757_c.jpg
8889926256_7ccf6a98a1_c.jpg


Fridge in now, just waiting on my Anderson connectors to wire it up properly.
8889303401_df4745f236_c.jpg


Going to fetch the storage units tonight which have been drying. Will be adding a section to complete the bed this weekend, hopefully. Then I need to order a new mattress that fits properly.
 
Last edited:
So what did you do after lunch? :icon-biggrin:

Excellent effort there:handgestures-thumb: The truck is taking shape already. You should get a fair bit of gear in the boxes.

How are you going to secure the boxes, strap them down to the tie down rails, or bolt them in place?
 
Loving your build thread. :clap:

I thought the UK was having the coldest spring for 50 years, but it looks quite warm in your pics. :icon-cool:

Are you planning any big trips for your new 70? :think:
 
So what did you do after lunch? :icon-biggrin:

Excellent effort there:handgestures-thumb: The truck is taking shape already. You should get a fair bit of gear in the boxes.

How are you going to secure the boxes, strap them down to the tie down rails, or bolt them in place?

Thanks Scott!

Not sure yet how I'm going to fix them down. Might use the tie down rails.
 
Loving your build thread. :clap:

I thought the UK was having the coldest spring for 50 years, but it looks quite warm in your pics. :icon-cool:

Are you planning any big trips for your new 70? :think:

Thanks Ben! Couldn't leave you to have all the fun building your truck! ;)

No big trips planned yet. Only trip planned so far is to France in September for Rianna's birthday. Other than that, we'll do some spontaneous trips through the summer. Hoping to get to more of Scotland this summer too. Loads of places I want to go though. :)
 
Back
Top