Don't like the adverts?  Click here to remove them

LJ70 Build Thread!

i think youd laugh if you saw the camera im using Chris, it really is shit, and the photos it takes are dreadful. :thumbdown:

need to try and find one that is tough as the ones i keep buying for £120ish dont seem to last more than a few months. ive got so many sat in the drawer broken. :(
 
Do JCB make one? Or De Walt?

Ha Ha

Chris
 
I bought Viv the earlier model---the 770SW---and so far it's been dropped onto concrete, into puddles and survived use at -40 deg.C.

Mind you, use at such low temperatures reduces battery power considerably. Viv bought a second battery---suggest genuine article here as other makes have less capacity---and our set-up lasted longer in the Arctic than other peoples camera/batteries. At one point we were charging batteries for other passengers because they didn't have chargers.

Roger
 
Don't like the adverts?  Click here to remove them
finally started on the engine swap. :dance:

i went to get the 4-runner out of the field where it has been parked for the last month or so, and found the batteries so flat, that the central locking wouldnt unlock with the remote, and none of the keys worked in the doors as the previous owner changed the ignition barrel. :thumbdown:

so after smashing a rear window, and dragging it out of the field with the bobcat i bump started it and took it for a quick spin. engine sounds and feels perfect still. followed the procedures in the haynes manual for testing the clutch, and im now under the impression it could do with a new clutch, while the engines out. :)

few pics with my new camera. :cool:

broken window.

PA100006.jpg


in the workshop ready to strip.

PA100007.jpg


PA100008.jpg


PA100010.jpg


first job, remove bonnet.

PA100011.jpg


PA100012.jpg


A-bar removed.

PA100013.jpg


bumper next.

PA100016.jpg


bumper and grill both off, and ready for ebay.

PA100020.jpg


drained the old coolant, which i was pleased to see looked good, and wasnt rusty water which was what i was expecting.

PA100019.jpg


got the rad off next, and then Mitch removed most of the front end, which will make it nice and easy to pull the engine and gearbox straight out the front of the truck.

PA100030.jpg


PA100032.jpg


front end all removed.

PA100033.jpg


PA100034.jpg


took lots of pics of the engine encase i forget where everything goes. will also be labelling everything before i remove it from the engine.

noticed its got a heated fuel filter, so maybe its got the winter pack, like Rogers 70 has?

PA100027.jpg


hoping to have the engine and box out tomorrow, then the 4-runner can go back in the field for a few weeks till i weigh in whats left. :thumbup:

hoping to remove my old 2.4 and fit the new lump this weekend. :twisted:
 
Iirc twin batteries, heated fuel filter and rear heater were the only components of the 70 series winter pack and that 4runner has the two most useful ones. :thumbup:
 
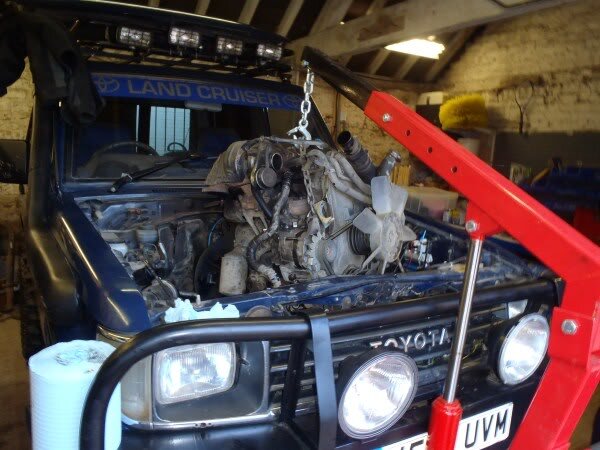
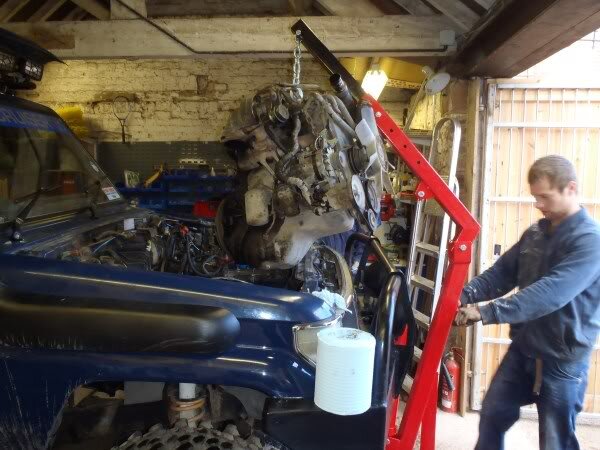
finally got the 3litre engine out! :dance:

i hope the 2.4 in my 70 comes out a bit easier. :whistle:
 
so yesterday the engine finally came out.

PA120001.jpg


PA120002-1.jpg


PA120003-1.jpg


PA120004.jpg


once out, i put it on a pallet, so i could move it into the shed.

PA120007.jpg


PA120008.jpg


so today i decided to stick the donor truck back in the field, so i could get the engine in the workshop.

so i used the bobcat in reverse, with the front wheels of the donor up off the ground.

PA130010.jpg


PA130011.jpg


all was going well, till i started going up a slight slope and the bloody thing slipped off the forks. it then began careering across the yard backwards, picking up speed as it went.
i had to act quickly so i raced after it, over took it, spun the truck round and stuck one of the forks straight into the rear bumper!

i was lucky, because if i hadnt of stopped it it would have gone through one of the sheds!

anyway back onto the engine swap. gave the workshop a quick clean.

PA130014.jpg


then got the engine in.

PA130015.jpg


unbolted the starter motor.

PA130017.jpg


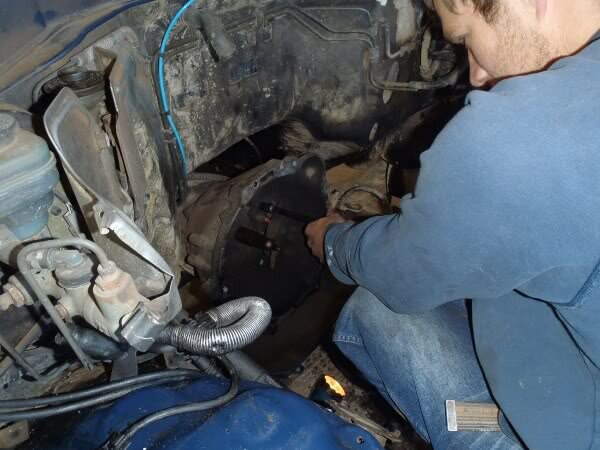
then undid the bolts holding the gear box to the engine.

PA130018.jpg


couldnt believe the amount of dirty oil every where, even inside the bell housing, which makes me think the main rear seal must have been leaking.

PA130020.jpg


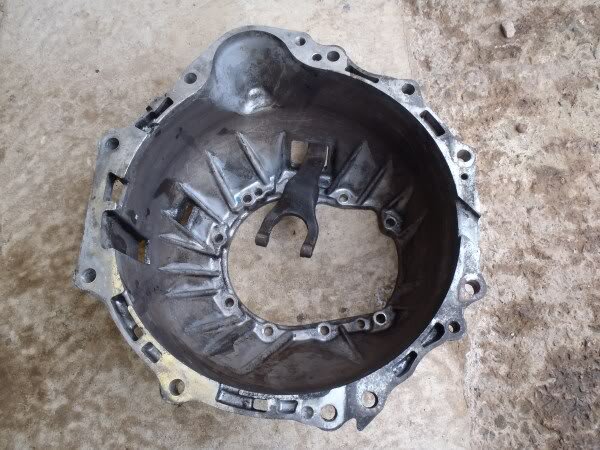
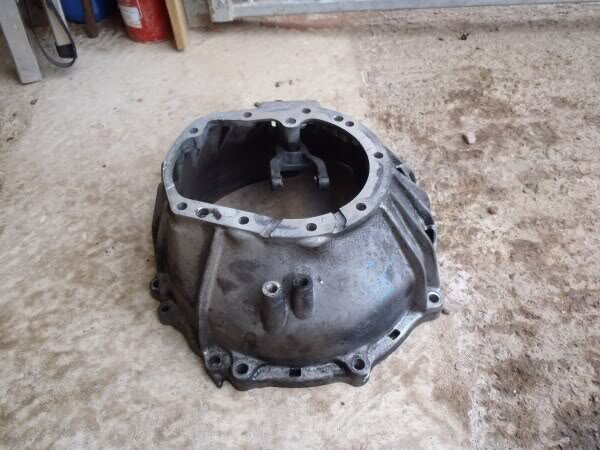
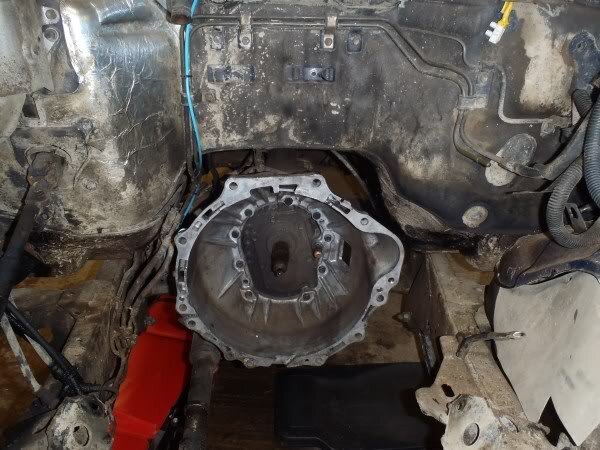
took the bell housing off next, as this will need bolting onto my LJ70 box.

PA130021.jpg


very dirty so will need a good steam clean to get all the oil off.

PA130022.jpg


the new clutch. normally i always use milner as the service is great and the parts always arrive next day, but rough trax, who are usually more expensive than milner, were cheaper, so i bought from them.

PA130009.jpg


i removed the clutch from the engine, and compared it to the new one.

PA130024.jpg


clutch alignment tool.

PA130025.jpg


removed the flywheel.

PA130028.jpg


PA130027.jpg


removed this plate, not sure what its called?

PA130029.jpg


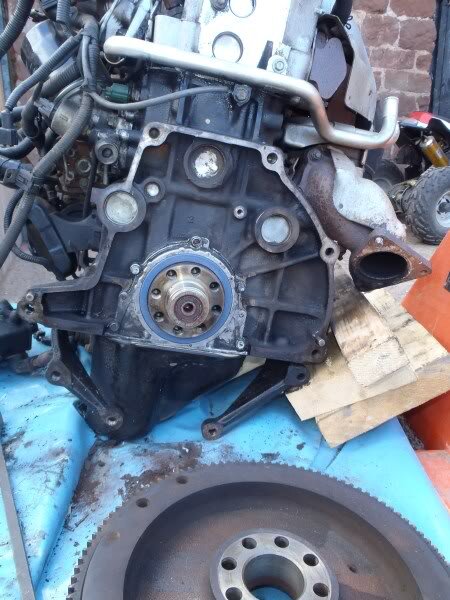
so finally im able to get at the rear main seal which i will of course be changing.

after giving it a bit of a clean to try and get rid of the filthy black oil.

PA130030.jpg


PA130031.jpg


im storing all the bolts and nuts carefully, to make the reassembly as easy as possible.

PA130032.jpg


PA130033.jpg


PA130034.jpg


need to degrease and steam clean the bell housing and fit the rear main oil seal, then i can refit the flywheel and fit the new clutch.

new engine will be going in on saturday. the engine mounts might cause a few issues as i want to try and use the existing mounts on the chassis, rather than cutting them off and welding them back on 20mm further forward and down slightly. might have to make some brackets.

im not looking forward to the electrics. hopefully it will go smoothly, if not i will try and find a decent auto electrician and get them to wire it up.
 
Nice use of takeaway plastic tubs as nut 'n bolt holders if I'm not mistaken there buddy...
 
Gav Peter said:
Nice use of takeaway plastic tubs as nut 'n bolt holders if I'm not mistaken there buddy...

yes mate. :thumbup:
 
I have had problems with none Toyota rear main c/shaft oil seals. Two that I have fitted in the past have leaked after 10,000 miles or so due to blistering of the neoprene rubber surface. No idea why. If the one fitted at present goes, then I will fit a Toyota one.

Roger
 
Another thought that just came to mind. Did your donor vehicle have any anti-vibration dampers fitted onto the ex. system? On the KZJ 70 they are fitted onto the mounting bracket located on the chassis rail just below the drivers footwell.

Roger
 
thanks Roger. i will keep an eye on the rear main oil seal, as obviously it isnt a genuine toyota part ive fitted.
i didnt notice any anti vibration dampers on the exhaust system, no. have you got any pics of yours?

looking at it today now its in, i suspect the KZJ70's may use a different exhaust manifold, as the 4-runner manifold is not pointing into the front off side wheel arch, but straight down at the chassis rail. it looks like its going to be a bit tricky to make an exhaust that wont foul the chassis or front prop. :)
 
despite only getting 1 hours sleep last night, after a very heavy night out meant i didnt get to bed till 6am, i still managed to do a 12 hour day working on my truck, and got a fair bit done! :thumbup:

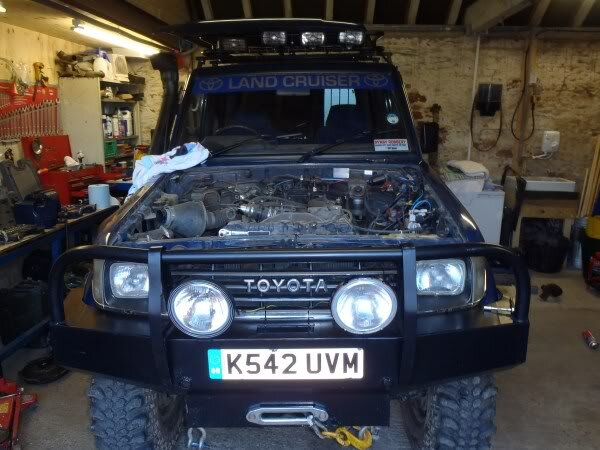
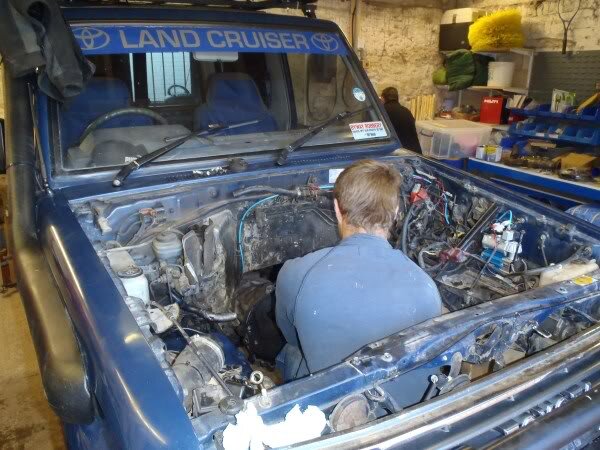
i was fortunate to have one of my mates helping me for the day. so first job was to get my cruiser in the workshop and get the bonnet off.

PA150001.jpg


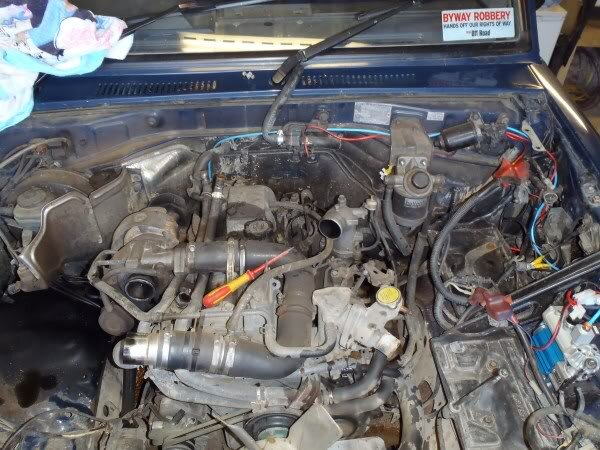
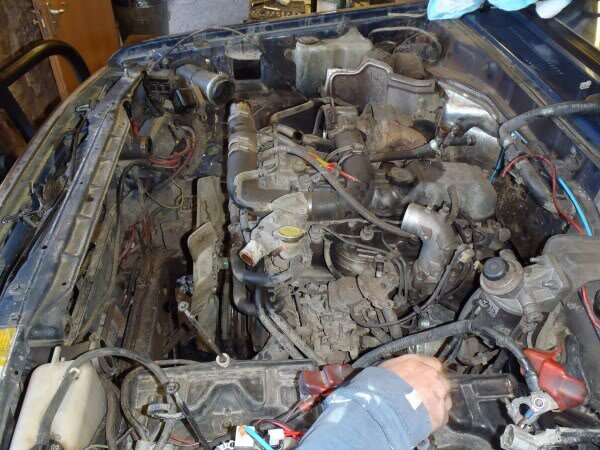
followed by air filter, batteries, intercooler pipes, radiator, and wiring.

PA150003-1.jpg


PA150002.jpg


followed by the engine.

PA150004.jpg


PA150005.jpg


PA150006.jpg


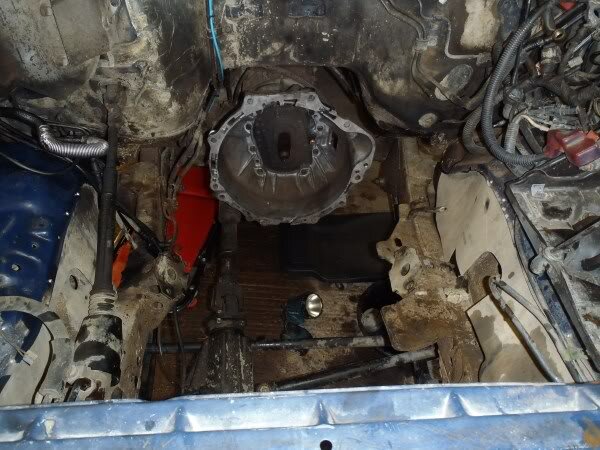
next the bell housing needed removing.

PA150007.jpg


PA150008.jpg


after id given the 4-runner bell housing a good clean with the steam cleaner it was ready to be fitted.

PA150011.jpg


PA150010.jpg


fitted the new rear main seal.

PA150009.jpg


PA150012.jpg


PA150013.jpg


next we needed to fit the new spigot bearing, but we couldnt get the old one out, even with the pressurised grease trick that was recommended in the haynes manual.

fortunately we did eventually manage to get it out, and we fitted the new one.

PA150015.jpg


i then drilled one of the exhaust studs out, as it was seized solid.

PA150016.jpg


next we fitted the new clutch.

PA150018.jpg


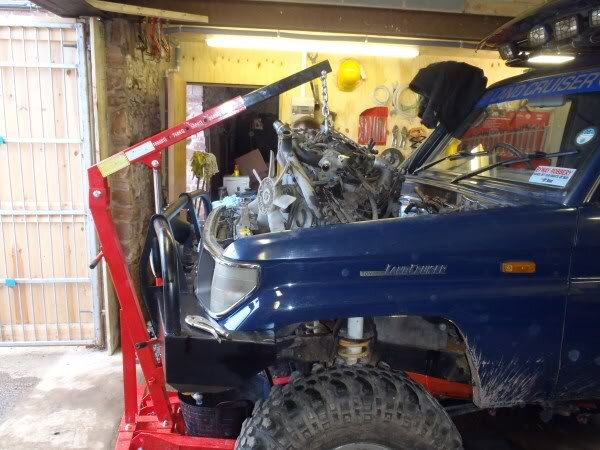
finally time to get the new engine in! but we couldnt get enough lift with the engine crane.

PA150019.jpg


so after adjusting the chain, we managed to gain a bit more height, and the engine cleared the top of the grill.

PA150020.jpg


but we found we couldnt quite get the engine into position. so we took one of the wheels off and moved the engine crane to a different position.

PA150021.jpg


still couldnt get it in place where we needed it, so i went and got the bobcat and we used that.

PA150022.jpg


PA150023.jpg


after getting the engine nicely into position, we put all the bolts in that hold the engine and bell housing together.

i could then see that the engine mounts were exactly 50mm further back. so i cut some 8mm plate, and drilled some holes in it.

PA150024.jpg


in position and ready to be welded to the chassis engine mount.

PA150029.jpg


fitted the starter motor next.

PA150026.jpg


PA150027.jpg


followed by the clutch slave cylinder.

PA150031.jpg


hoping to have it all back together tomorrow, and if im very lucky running. :pray: :thumbup:
 

Attachments

  • PA150001.jpg
    PA150001.jpg
    56.2 KB · Views: 65
  • PA150002.jpg
    PA150002.jpg
    73.4 KB · Views: 80
  • PA150003-1.jpg
    PA150003-1.jpg
    76.7 KB · Views: 61
  • PA150004.jpg
    PA150004.jpg
    59.1 KB · Views: 88
  • PA150005.jpg
    PA150005.jpg
    59.3 KB · Views: 88
  • PA150006.jpg
    PA150006.jpg
    57.5 KB · Views: 94
  • PA150008.jpg
    PA150008.jpg
    57.5 KB · Views: 74
  • PA150007.jpg
    PA150007.jpg
    66.7 KB · Views: 76
  • PA150011.jpg
    PA150011.jpg
    66.9 KB · Views: 70
  • PA150010.jpg
    PA150010.jpg
    58.2 KB · Views: 95
  • PA150009.jpg
    PA150009.jpg
    64.4 KB · Views: 87
  • PA150012.jpg
    PA150012.jpg
    65.1 KB · Views: 65
  • PA150013.jpg
    PA150013.jpg
    64 KB · Views: 67
  • PA150015.jpg
    59.5 KB · Views: 0
adrianr said:
Looks great.

Going to fly once thats running. Good torquey motor.


thanks. cant wait now! :thumbup:
 
day 2 of my engine swop, and another 12 hour day!

i had every intention of starting at 8am, but ended up speaking to my gf for a few hours on skype, so was 9am when i finally made a start.

first job was to weld the engine mount plates i drilled and bolted to the engine yesterday, to the mounts on the chassis.
i then decided to add some extra pieces in to make it even stronger.

made a cardboard template first.

PA160001.jpg


then marked it on some 6mm steel, and cut it out using the reciprocating saw. a lot quiter than the angle grinder, and no sparks.

PA160002.jpg


in position ready to weld.

PA160004.jpg


that side welded i turned my attention to the other side.

decided to take the wheel off to make it easier to get in and weld.

PA160005.jpg


made another cardboard template, drew around it onto my steel and cut it out.

PA160006.jpg


PA160057.jpg


once all the engine mounts were welded up, i had a look at the throttle cable.

PA160007.jpg


my old engine had a bracket that clamped the cable in place, but there was no such clamp on the new engine.

the pic below shows the bracket off my old engine, in roughly the position i need it to be.

PA160008.jpg


im going to take the cable off the 4-runner and try that. if that doesnt work i will need to make a bracket.

power steering pipes next. on the 4-runner the power steering reservoir and pump are on the passenger side, where as on my LJ70 they were all on the drivers side.

after working out which pipe needed to go where, it became apparent that the pipes would need a bit of adjustment.

this one in particular.

PA160009.jpg


so i used a blow torch to heat the pipe up where i needed to bend it. im sure it would have cracked, had i not heated it first.

PA160011.jpg


PA160012.jpg


almost there.

PA160013.jpg


all done, and connected to the steering box.

PA160014.jpg


view of where the pipes will sit along the front of the truck, between the intercooler and where the rad will be.

PA160015.jpg


drilled a hole and bolted a bracket in place.

PA160017.jpg


there was last pipe that needed connecting, but i could find any lengths of black rubber power steering hose long enough, so used some clear hose for now.

PA160024.jpg


power steering pipes sorted, i started fitting the new rad.

first thing i noticed was that the rad was sitting 50mm back from where the mounting holes are.

PA160019.jpg


it was also sitting a bit high, but wouldnt go down anymore as it was sitting on this tubular part of the chassis.

PA160020.jpg


stopped for a quick egg sandwich.

PA160023.jpg


the rad dropped in place.

PA160025.jpg


the 50mm gap between the rad and mounts.

PA160026.jpg


cut 4 50mm pieces of 50mm box section steel.

PA160027.jpg


marked and drilled 2 of them in the centre.

PA160028.jpg


bolted them in place on the passenger side.

PA160029.jpg


PA160030.jpg


drilled the other 2 with the holes off set.

PA160031.jpg


bolted in place.

PA160032.jpg


PA160033.jpg


cut some 40mm angle and welded it to the 2 pieces of box.

PA160034.jpg


PA160035.jpg


bolted them back on the rad and marked where the holes needed drilling in the angle. took them back off and drilled them.

PA160036.jpg


gave them a coat of galv paint.

PA160037.jpg


while the paint was drying i had a walk down the field to look at the 4-runner.


this is what i was looking for.

PA160038.jpg


2 coolant hoses on the bulkhead.

PA160039.jpg


cut some of the wiring loom out aswell. in particular the bit going to the alternator, as i noticed none of my connectors matched the connector on the new alternator.

PA160040.jpg


PA160041.jpg


why i needed the long coolant hoses.

PA160042.jpg


new hoses fitted.

PA160043.jpg


i was very happy to see the words "regulator built in" on my new alternator. the charging circuit regulator has been nothing but trouble on my truck, despite been changed a few times, and been looked at by a few auto electricians.

PA160045.jpg


i removed all the loom from my old charging circuit regulator, to my old alternator. i worked out which is the main wire to the alternator and connected it. theres now 3 wires on ym new alternator, which need connecting to the 3 wires on my loom, but im not sure which is menat to go where.

PA160060.jpg


fitted the toyota heated fuel filter next. should come in useful this winter when im running on vegetable oil.

PA160049.jpg


got the batteries back in.

PA160051.jpg


i then went through the loom on the new engine and the loom in my engine bay. a few connectors went straight on, like the power feed to the fuel pump, and the connector to the starter, glow plug wire and a few earths.

still got a lot of wires to connect though, most of which go to sensors.

i then fitted the new radiator brackets, and connected the top and bottom hoses and filled the rad up with water.

PA160058.jpg


PA160059.jpg


PA160052.jpg


i then decided to try and start it.........................................


first turn of the key and she roared into life!!! no mis firing, no lumpyness no rough idling. i couldnt believe how smoothly she ran. :thumbup:
 
Back
Top