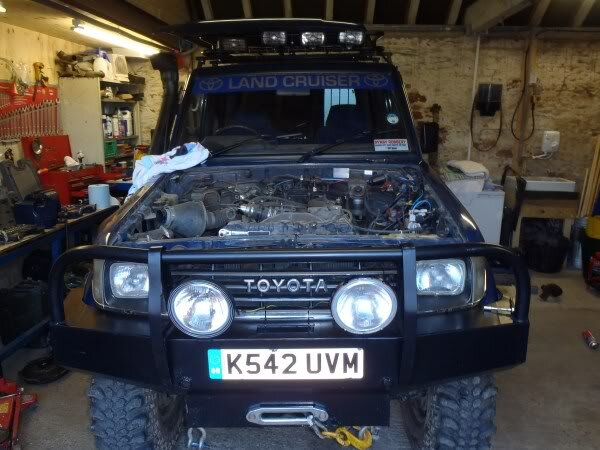
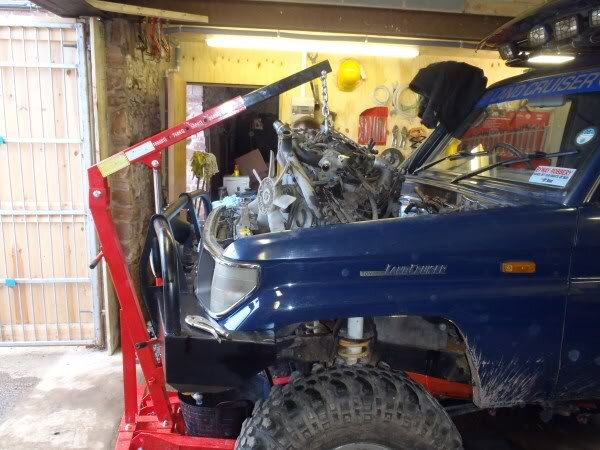
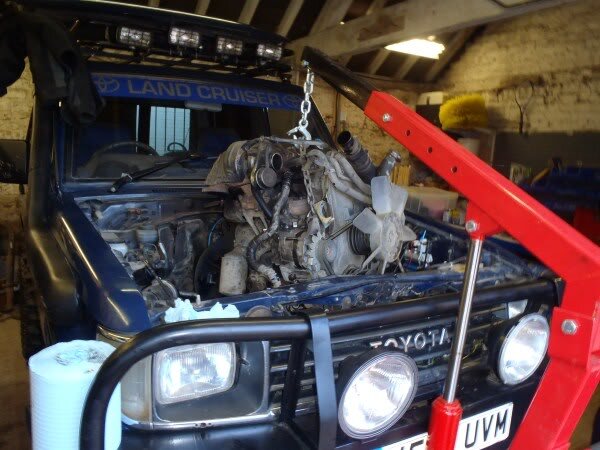
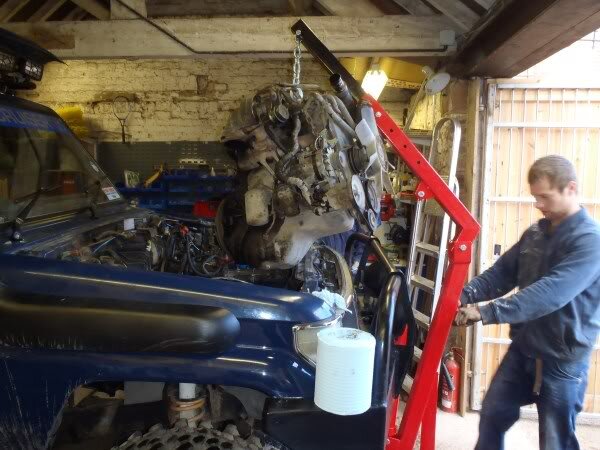
day 2 of my engine swop, and another 12 hour day!
i had every intention of starting at 8am, but ended up speaking to my gf for a few hours on skype, so was 9am when i finally made a start.
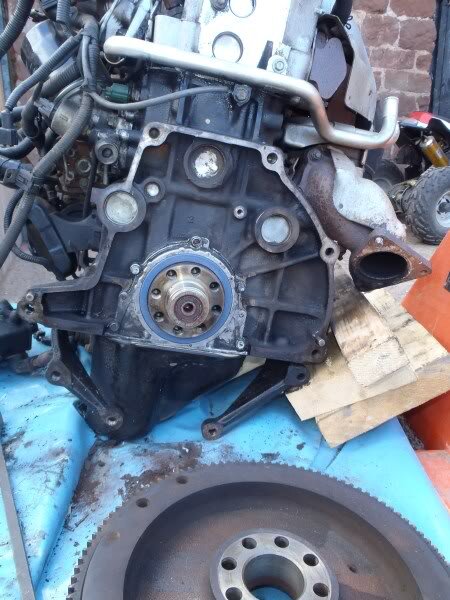
first job was to weld the engine mount plates i drilled and bolted to the engine yesterday, to the mounts on the chassis.
i then decided to add some extra pieces in to make it even stronger.
made a cardboard template first.
then marked it on some 6mm steel, and cut it out using the reciprocating saw. a lot quiter than the angle grinder, and no sparks.
in position ready to weld.
that side welded i turned my attention to the other side.
decided to take the wheel off to make it easier to get in and weld.
made another cardboard template, drew around it onto my steel and cut it out.
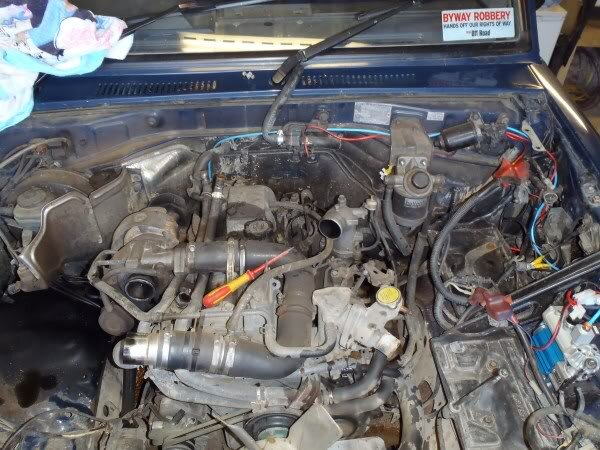
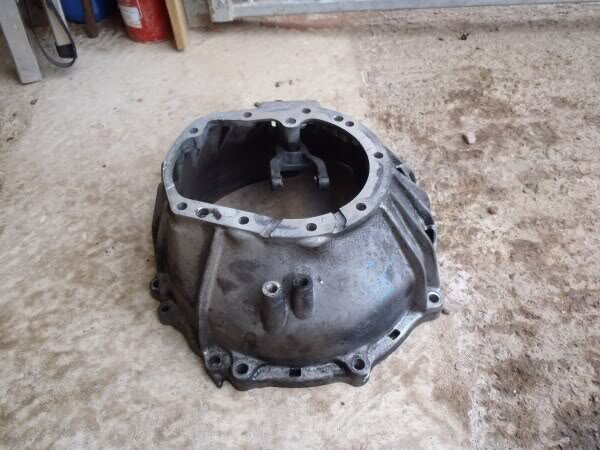
once all the engine mounts were welded up, i had a look at the throttle cable.
my old engine had a bracket that clamped the cable in place, but there was no such clamp on the new engine.
the pic below shows the bracket off my old engine, in roughly the position i need it to be.
im going to take the cable off the 4-runner and try that. if that doesnt work i will need to make a bracket.
power steering pipes next. on the 4-runner the power steering reservoir and pump are on the passenger side, where as on my LJ70 they were all on the drivers side.
after working out which pipe needed to go where, it became apparent that the pipes would need a bit of adjustment.
this one in particular.
so i used a blow torch to heat the pipe up where i needed to bend it. im sure it would have cracked, had i not heated it first.
almost there.
all done, and connected to the steering box.
view of where the pipes will sit along the front of the truck, between the intercooler and where the rad will be.
drilled a hole and bolted a bracket in place.
there was last pipe that needed connecting, but i could find any lengths of black rubber power steering hose long enough, so used some clear hose for now.
power steering pipes sorted, i started fitting the new rad.
first thing i noticed was that the rad was sitting 50mm back from where the mounting holes are.
it was also sitting a bit high, but wouldnt go down anymore as it was sitting on this tubular part of the chassis.
stopped for a quick egg sandwich.
the rad dropped in place.
the 50mm gap between the rad and mounts.
cut 4 50mm pieces of 50mm box section steel.
marked and drilled 2 of them in the centre.
bolted them in place on the passenger side.
drilled the other 2 with the holes off set.
bolted in place.
cut some 40mm angle and welded it to the 2 pieces of box.
bolted them back on the rad and marked where the holes needed drilling in the angle. took them back off and drilled them.
gave them a coat of galv paint.
while the paint was drying i had a walk down the field to look at the 4-runner.
this is what i was looking for.
2 coolant hoses on the bulkhead.
cut some of the wiring loom out aswell. in particular the bit going to the alternator, as i noticed none of my connectors matched the connector on the new alternator.
why i needed the long coolant hoses.
new hoses fitted.
i was very happy to see the words "regulator built in" on my new alternator. the charging circuit regulator has been nothing but trouble on my truck, despite been changed a few times, and been looked at by a few auto electricians.
i removed all the loom from my old charging circuit regulator, to my old alternator. i worked out which is the main wire to the alternator and connected it. theres now 3 wires on ym new alternator, which need connecting to the 3 wires on my loom, but im not sure which is menat to go where.
fitted the toyota heated fuel filter next. should come in useful this winter when im running on vegetable oil.
got the batteries back in.
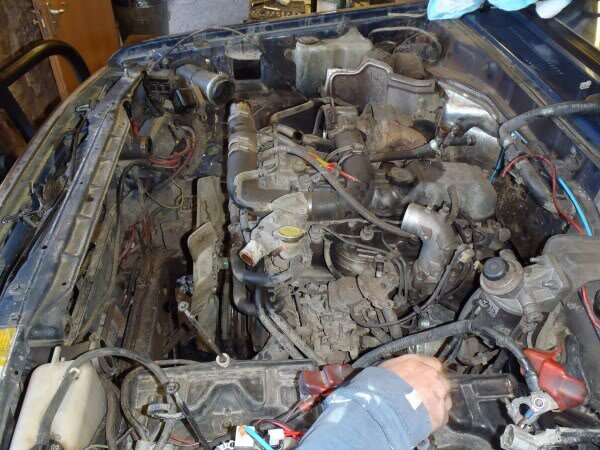
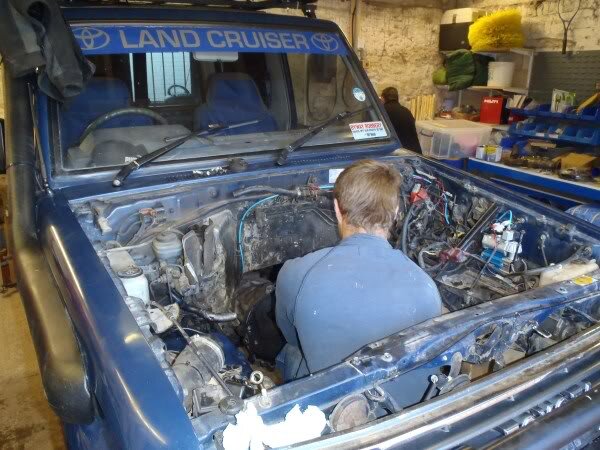
i then went through the loom on the new engine and the loom in my engine bay. a few connectors went straight on, like the power feed to the fuel pump, and the connector to the starter, glow plug wire and a few earths.
still got a lot of wires to connect though, most of which go to sensors.
i then fitted the new radiator brackets, and connected the top and bottom hoses and filled the rad up with water.
i then decided to try and start it.........................................
first turn of the key and she roared into life!!! no mis firing, no lumpyness no rough idling. i couldnt believe how smoothly she ran.


")