Paddler Ed
Well-Known Member
Rocco, you're lying about the cold! I've got a mate who lives in the Portland area and works in Lithgow who gets sent home when there's frost on the roads in winter 

i live in the windsor/blacktown area!... dont no how lithgow got into my profile im going to try to change it... but here in the coldest winter we just get frost if were lucky..i went to the snow for the first time (im 27) last year 4.5 hours away in jyndabyneRocco, you're lying about the cold! I've got a mate who lives in the Portland area and works in Lithgow who gets sent home when there's frost on the roads in winter
That's because he's always inside working on LJ or Michaels house.
Hey ben... I must say what an inspiring build thread you have... coming from the uk and allalso welcome to oz
I love your Lj70 and you have some balls driving that thing with your lift and tyres
my Rj70 has 2.5inch lift with 33s and its still very tippy i could imagine yours


i live in the windsor/blacktown area!... dont no how lithgow got into my profile im going to try to change it... but here in the coldest winter we just get frost if were lucky..i went to the snow for the first time (im 27) last year 4 hours away in jyndabyne
haha their ok for hilux stuff but landcruiser stuff they hardly get or atleast lately anyways!I know that area... I used to be based in Blacktown just on the border with Mt Druittso not far from AutoOne... which was helpful...
Now that I know of more people that way I've got more people who can go to Northern Road Wreckers at Londonderry!
Knowing Ben's determination I'm sure either the rigs/mines or the US will come off as a trip...
Knowing Ben's determination I'm sure either the rigs/mines or the US will come off as a trip...
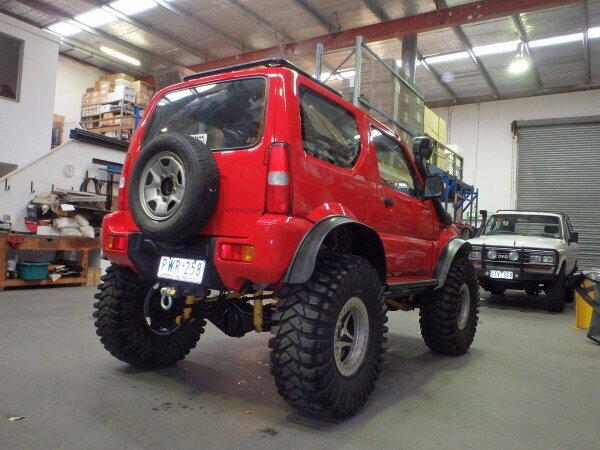
The 'zuke looks really good, but one thing bothers me, quite a lot actually, WHAT THE HELL IS UP WITH THAT SPARE WHEEL GODDANGIT? XD Looks so out of place it's just.. D'oh!
The 'zuke looks really good, but one thing bothers me, quite a lot actually, WHAT THE HELL IS UP WITH THAT SPARE WHEEL GODDANGIT? XD Looks so out of place it's just.. D'oh!


I agree but its out of my control.
A bit like the ridiculous thing on the top of the snorkel, in some of the last pics of Frankenzuke.
The spare should atleast look better once the cover is on it, it wont stand out as much then. I think it would look odd whatever we do. 37" spare would cover most of the back of the truck if we could get it to fit. No spare and the rear end looks a big naked, especially with the scalloped out bit in the rear bumper. Or tiny original size spare like we've got.


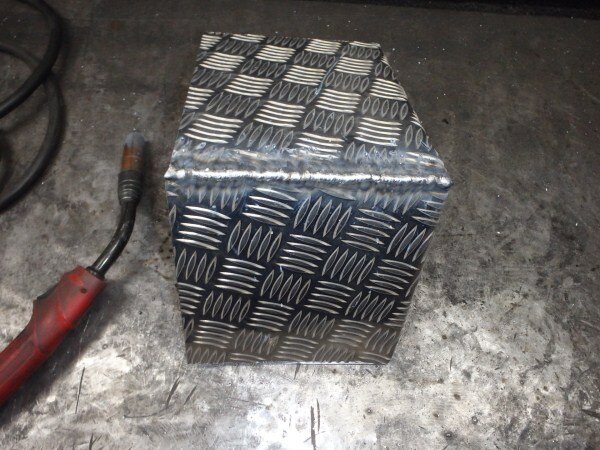


Nice work, I think I've finally read everything now! I've attempted to use a TIG once and it really wasn't pretty lol.
Personally with the batteries I'd go for the optimas, less work, more output and if recover quicker when winching a lot more ideal. Think I'll be fitting one when it's time to replace mine (only got one battery)
What about turning the battery 180 degrees so that the terminals are nearer the windscreen as opposed to being near the radiator?
I've worked out how to fit an N70ZZ in my 4Runner, having done a cardboard mock up of the length of the battery I know it'll clear the PS stuff (the GF veto'd removing that...) and shunting the existing battery back and forward to check it'll clear the inside of the wing.

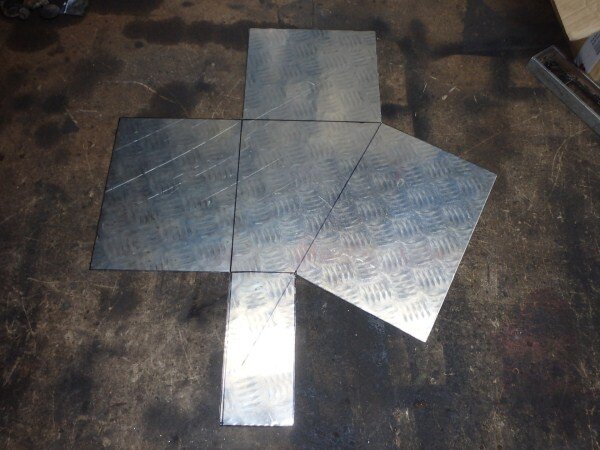
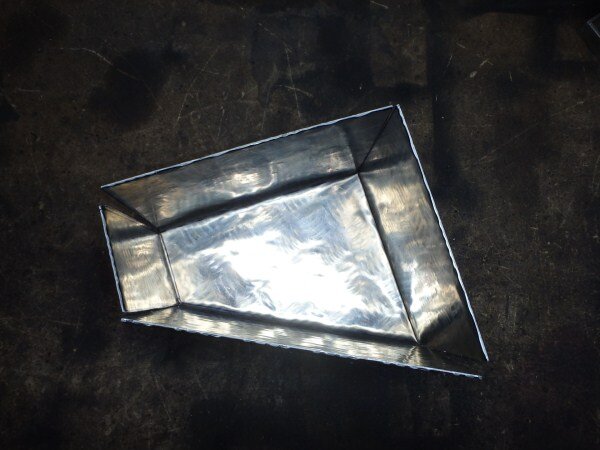
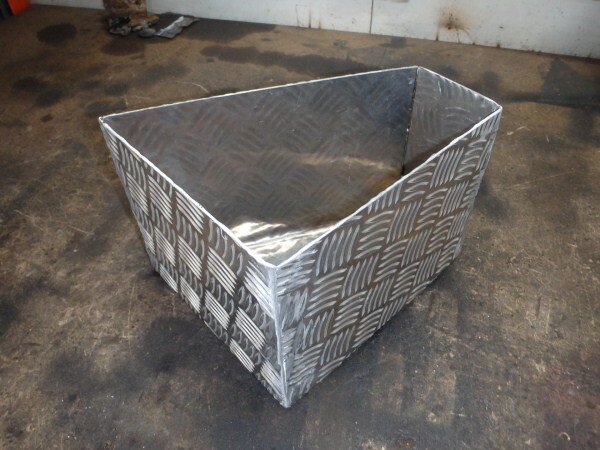
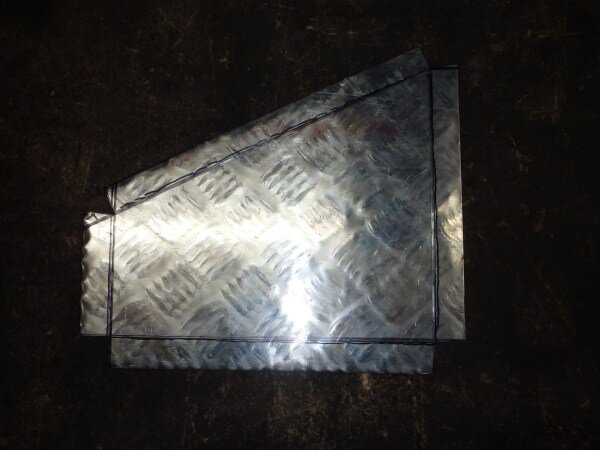
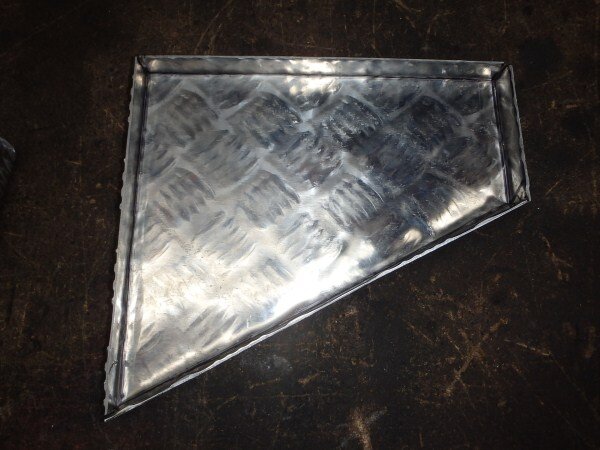
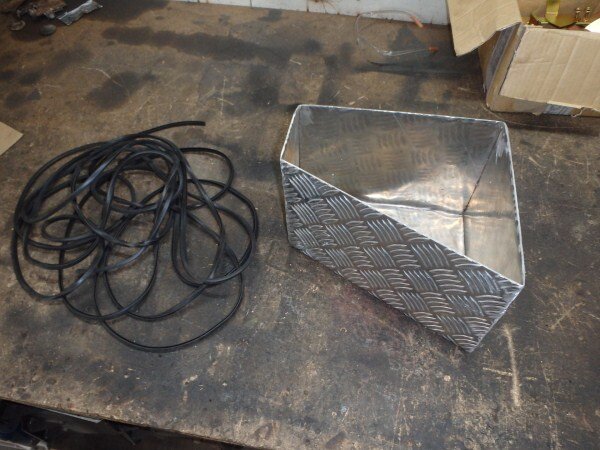
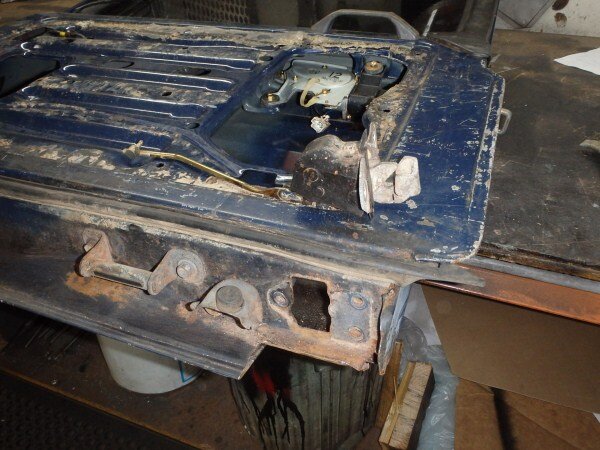
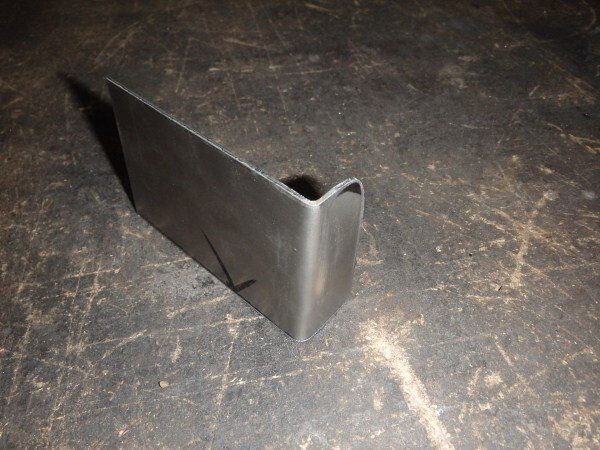
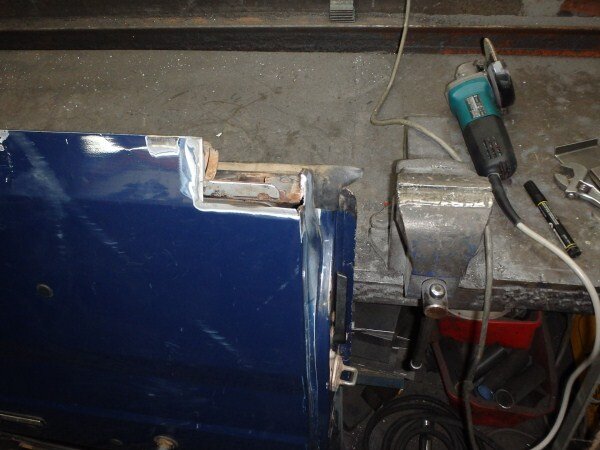
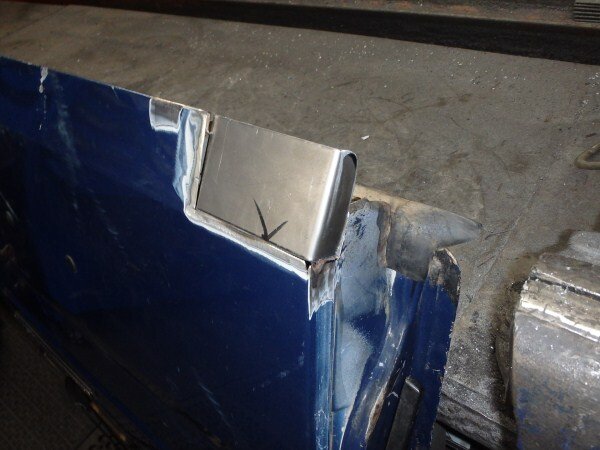
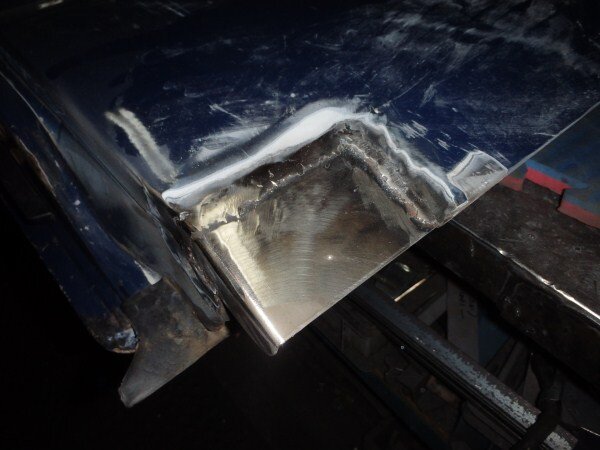
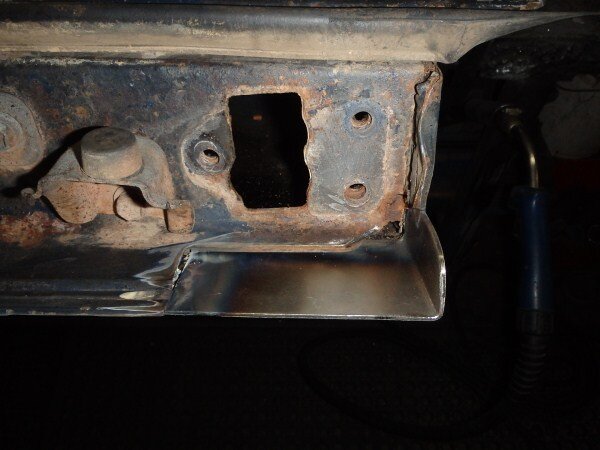
Good read again Ben, hope that panel work lasts. Might want to pour some rust converter inside.
Good to see you're wearing your safety thongs too......
If it helps at all, and even I don't take my own advice, on that hinge pin are you looking for a press fit on the outers or inner section? You obviously want to drill your moving point, but try putting your new pin in the freezer for a day or two, then heat up the corresponding section again when you go to press it in. Might make it easier for you and still result in a press fit on the section you want.
With the batteries, you might have to opt for some Optimas (no pun intended). The model D34/78 are 199mm high and 175mm wide, and have side connection points as well. So being fairly square end on (175/199), with the extra 24mm difference on the width if you were to lay them on their side would that still work for you. You could cut the posts off if not needed or still wire the battery terminals to the posts of the batteries as traditionally done which eliminates more height issues on the 'top' as such. That way the length is still the way you want. Three side to side along the guard equates to a minimum of 600mm, but will it fit?
The D34/78s have a 750CCA rating and 55Ah, so depending how you wire and control them you could have yourself 2250CCA for winching, and a combined 165Ah for running your fridges, etc.
Just flog your old batteries to a club member over there.
Just a thought if it helps. Cheers.
I caught up with this thread again yesterday morning, and felt so exhausted just reading about what Ben had been up to, that I went back to bed... ;-)
Thanks for the vid of the gate latches too!
Sadly turning the battery around wouldn't help as there just isnt the height for 3 batteries.
Interesting idea about using the power already in the door, thanks.
Regarding the rear door, yes I'm going to use loads of rust convertor. I'm also going to spray plenty of Dinitrol inside the door to hopefully prevent anymore rot.