Don't like the adverts?  Click here to remove them

Project 80: Codename Grey Ghost

Busy as a busy thing today. All went pretty well, no major foul ups. Just some jobs take a long time. Weather was perfect so worked til 20.00; basically til I couldn't stand up anymore.

Started by pulling out the rear heater pipes. In places they were fine. In others they were on the edge.
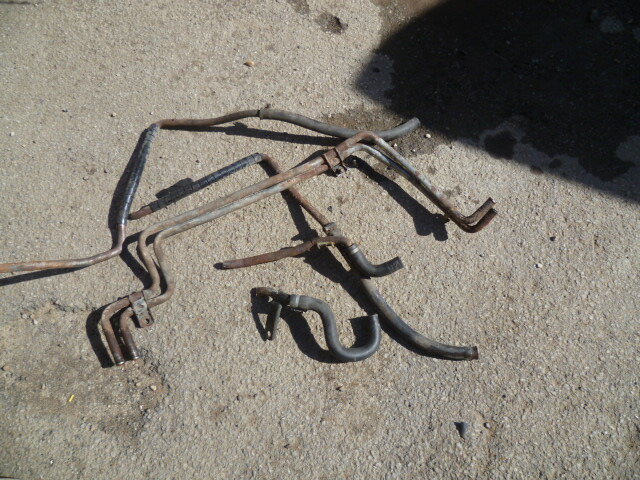
P1010530.JPG

This allowed me to pull out the AC pipe. After a quick search, I found a pin hole just where it rubs on the bulkhead. Damn and double damn.
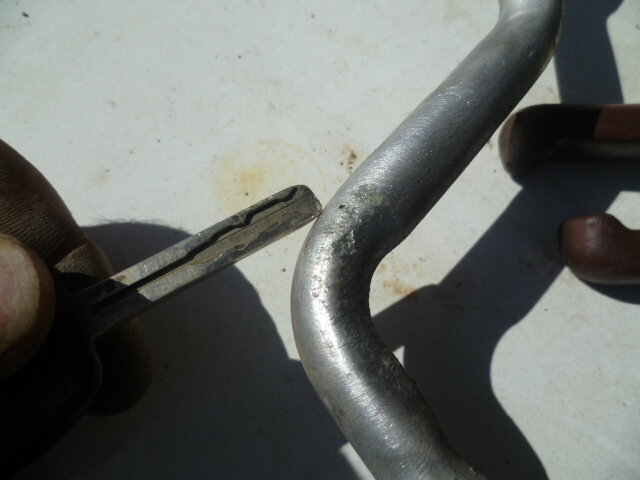
P1010531.JPG

Nabbed the one off the mud plugger and put that in. The 24v has a joint in the middle of that pipe. The 12v is one long toob. But with the heater pipes removed it dropped straight in.
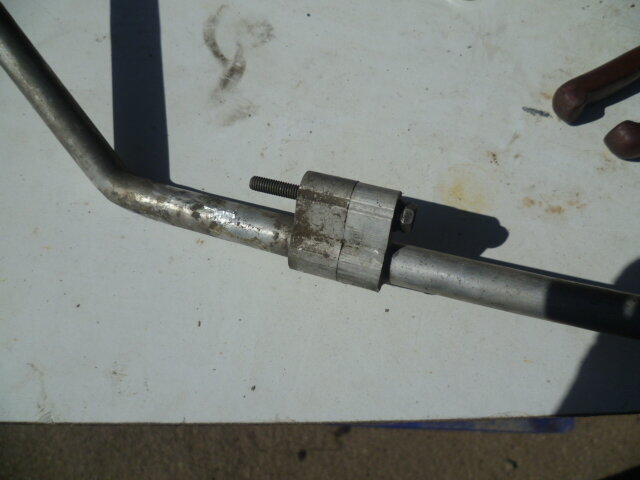
P1010532.JPG

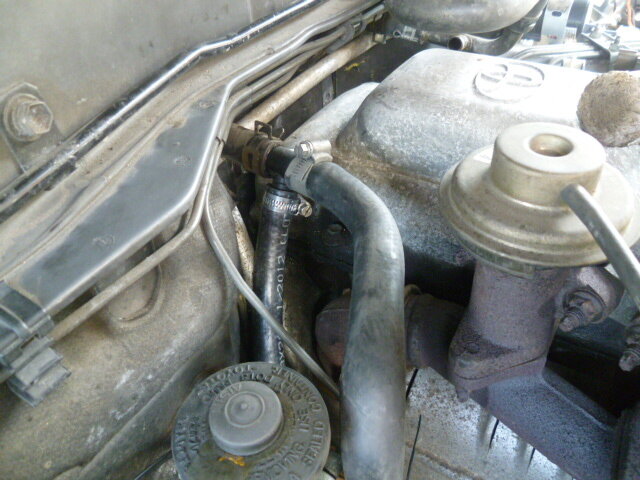
Then came the heat exchanger install. This began with mounting the pump in line with the supply from the block.
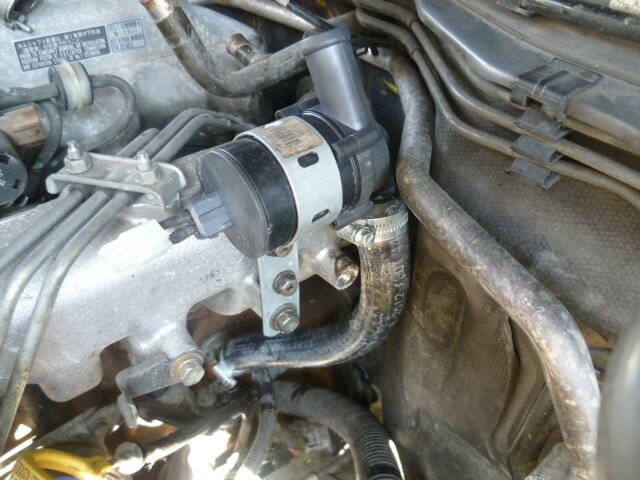
P1010533.JPG

Then coupling up to the heater valve.
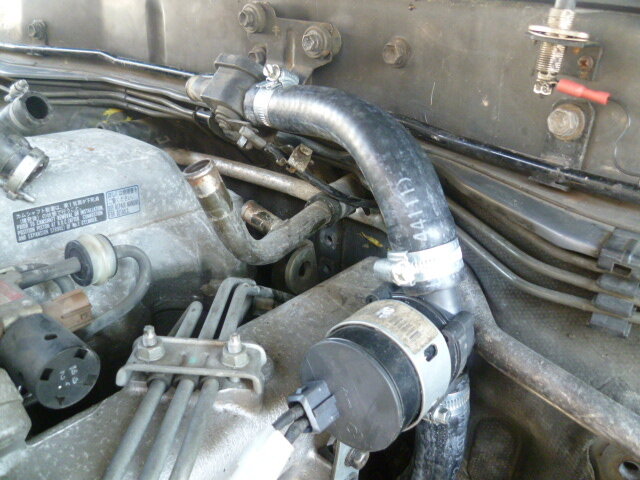
P1010534.JPG

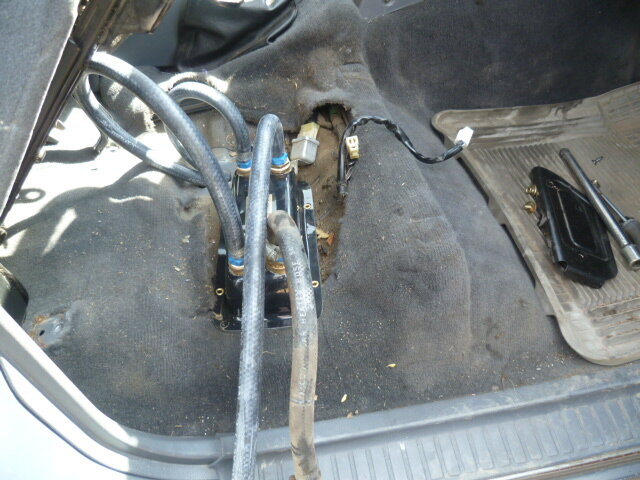
The rest was just a question of feeding pipes down the bulkhead and securing them until they appeared through the floor in the cabin.
P1010535.JPG

Then I was ready for a water test. Now the engine only ran for a few minutes but the pipes were hot. The Kenlowe pump is quiet and certainly does push the water round. You can see the effect when you look in the rad. Handy for bleeding the system!

Also the volume of water I pumped through the exchanger was too much with an open pipe and it passed through the unit too quickly. The tank lasted like a minute. But it was luke warm. I shall get all they secured and go again but I need some 90 degree elbows.
P1010536.JPG

That's the end of that chapter. Time for tea and onto the brakes
 
Chris good job there. Quick question if i may.

With the pump you have inline with the heating system does it not slow the flow of the cooling system when its not on as the water has to pass through it to circulate or is it an open system?? I take it there is a little impeller that spins to pump water or perhaps its a diaphragm pump but my concern and i am sure you have ticked it off but was that it would decrease the natural flow from the engine.

This is my plan...let me sketch
 
Right. From the heater control matrix to the first of two Y-isolators so that you can keep the exchanger out of the system when not in use.

When you want to use it switch the flow to the pump and open the return from the exchanger to then complete the system.

That way water is not always flowing through the exchanger or the pump.

I can draw the rest from the exchanger to the shower head but you get the idea.

hugyte5a.jpg
 
The pump is an impeller type not a diaphragm. You can't see inside. I couldn't detect any resistance at all and with ti not running but the engine pumping the coolant, the pipes were hot. I can't think why I'd want to isolate the exchanger. I didn't isolate the rear matrix at all. All I have done is swap one for the other but with new pipes.

My plan is just to keep it really simple.
 
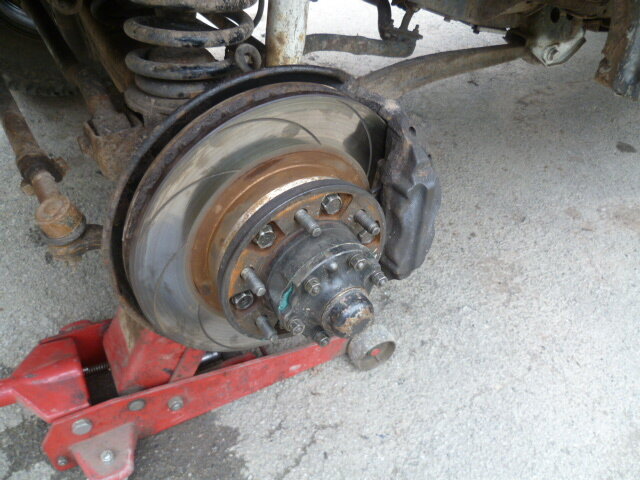
Ok so, after I sorted the heat exchanger, I moved onto the new rear brakes. The handbrake mechanism as I have already posted is in super condition. Like it's never seen a Winter.

Took the discs off and threw them on the ever growing pile. Cleaned and lubed the handbrake where necessary and fitted the new discs.

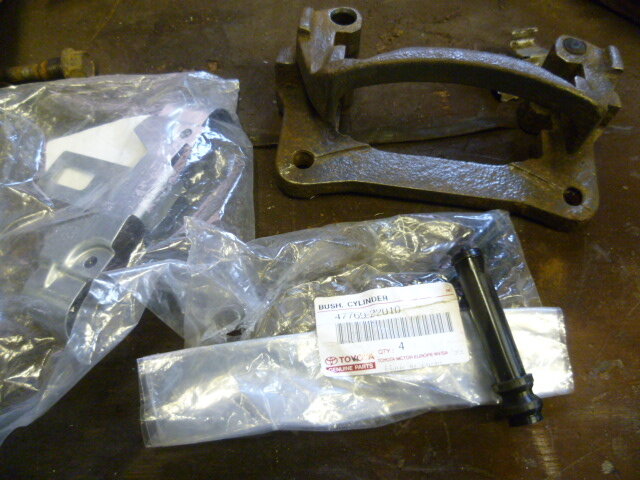
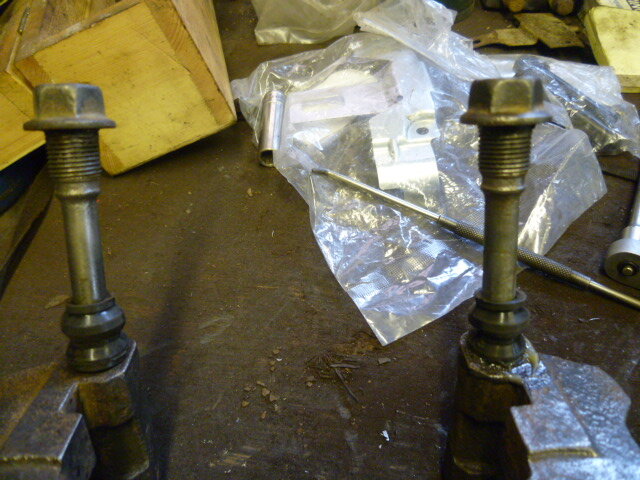
At this point though as I was fitting new genuine pads as well, I figured I had better give the calipers a fettle. Now the pistons and seals all seemed pretty good. Bit the frames were nasty and so were the sliding pins and boots. So they came off and were duly assaulted with the angle grinder and turk's head brush.

P1010537.JPG

New rubber boots went in and pad shields too. All greased - but not a spot of that infernal copper slip that people plaster everywhere. Grrr, Devil's work.

P1010538.JPG

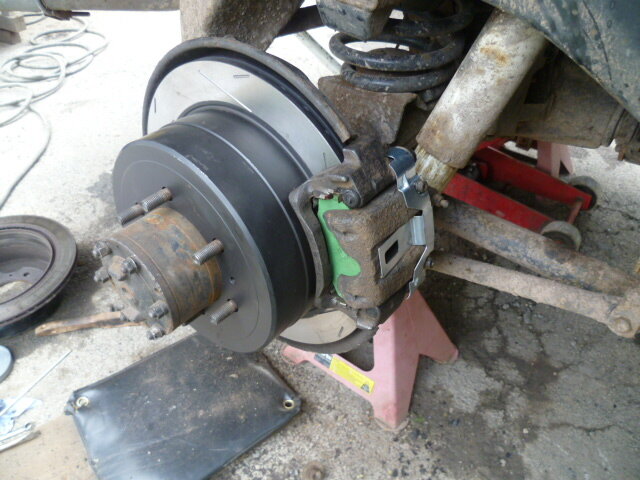
Finally got them all assembled. Will bed them in tomorrow and re adjust. Also removed the bump stops whilst in there so that I can drop them tomorrow.

P1010539.JPG

Unfortunately at this point I discovered some shocking rust in the arch. Everything behind is like new metal and painted but the inner wing has basically shit it. Big style. So not quite sure how I repair that bit. New post required I think. I thought it was solid but then I poked it and arrrggghhh. Other side is going but not through. Yet.
 
Don't like the adverts?  Click here to remove them
Rust not good! Whereabouts has it gone?
 
PS inner rear wheel arch Gary. Completely rotten. Hadn't spotted it before, it looked fine. Inside is new factory paint. So no real harm, but not sure how to repair the 'tear' that runs almost to the top of the arch. I could cut a strip to profile and tack it in I guess and then stonechip it. it means cleaning right back to good metal.
 
Sounds like where I had an issue that Chris. I had a bit to repair inner arch at the front of the rear arch and a bit further up.
I made patches to the right shape but rather then welding I used panel bonding stuff from work (no risk of paint damage throuh the arch and just as strong). To be sure I ran the grinder with a wire wheel round both inner arches and found a bit of surface rust under the paint/body sealer. Cleaned it all up, seam sealer and stone chipped. I sprayed a load of cavity wax from the inside too.
 
Thanks Gary. I don't think it's exactly structural and probably just sealing it up again is the right way to go. As I said, inside looks like it's just been painted.
 
Another day on the farm...

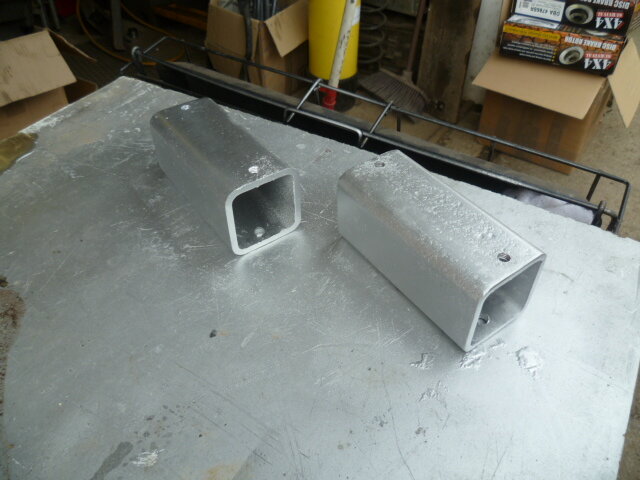
Dropped the rear bump stops first. Didn't have any 60mm box. So after a hunt in the scrap pile, I found a genuine Toyota towbar. Whhzzz, grrrr, bang bang, thump and hey presto, to drop sections. In 5mm wall ha ha. Well over engineered

P1010540.JPG


Then I put in the new Genuine CVs. No pictures really, but topped up the CV grease fully and checked everything over. The new HD bearing grease looked good. Did a proper job of everything in there and hopefully that is the front sealed for a good while to come. Other than changing the oil, there shouldn't be any need to go in there at all. So that's that.

P1010541.JPG


As foot note, the new brakes are megatastic. I mean flippin' heck. They are probably as good as I have ever had on any car. Feel is superb, but braking effect is staggering. Pretty sure I could flatspot all the tyres without much difficulyt, but the ATs do grip so well and I'm not keen to rub miles off them. Obviously not full loaded yet, but when I am I don't think I'll struggle. I took the scruff one for a spin too today and by comparison, I can't believe the difference and it's just passed its MOT. Can't wait to see what they make of the brakes when I take the grey one in. And the front pads haven't still quite worn fully across to the new discs. Found some more areas for concern thought. Let's just say I am not going to rush to take the front fender flares off. Judging by what dropped out of there today. Ahh.
 
I'll tell you what Chris, this highlights the dilemma of expecting an 80 to be in great condition bodily when it is 18-19 yearts old. Sometimes a good one pops up, Mark Langs for instance is a 91/2 and exceptional, looks 5 years old but that one is an exception. Quite often I have stuck shaped patches on prepared holes with Tiger Seal and those repairs have never failed, and far easier than welding it up.

Andy
 
Thanks Guys, I need to get some of this Tiger Seal stuff.

The fact here is that it's the hidden corrosion that gives me the shivers. You look at an 80 and it looks really good all round, then you look behind of a panel and find, well, nothing behind it where there is supposed to be something. It's alarming. If it was a Disco then you'd expect it.
 
Bad news about the rust Chris, but I'm sure you'll get to grips with some inventive repairs there. Sealing it from the elements will be the key and I'm sure you won't be looking to take too many short-cuts when you do it.

This tiger seal sounds the business... :think:
 
Replaced the anti freeze recently but in messing with the heater, I found that what was coming out was just sludge. I did flush it but it's ruined some pretty expensive fluid. A critical look at the rad made the decision for me really. It had to come out. This morning whilst it was sunny, I set to.

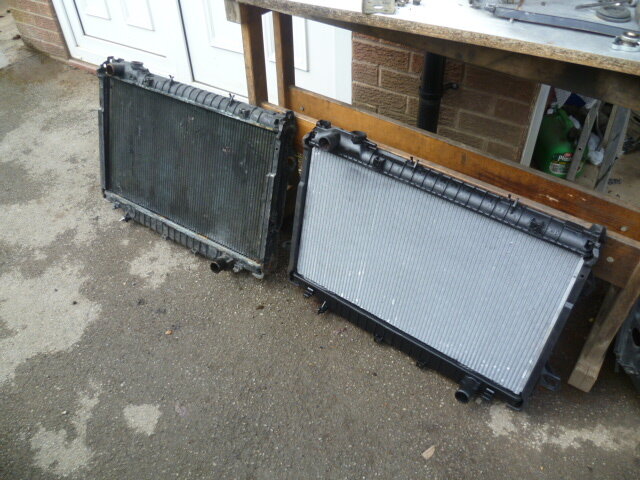
Old one out, next to new one. It's a nice unit. Toyota OEM frame re-cored courtesy of Laughton Landcruiser Center in an alloy single core. Yes, that's a single core. They can do all sorts of custom stuff and this was their recommendation. It's very light and nicely made. Inside is just one huge slot instead of two or three channels. I shall get it filled up tomorrow. I suspect that I simply won't notice any difference. it IS the UK after all. Let's hope it's hot in Romania next year and we'll see then. It may not look that bad and it cooled just fine, but there were all sorts of patches here and there that looked like it had been weeping and there is a chance that it is of course pretty old, even original. It's done 215k so even if it had been changed it still must have done somewhere around half that.

P1010542.JPG

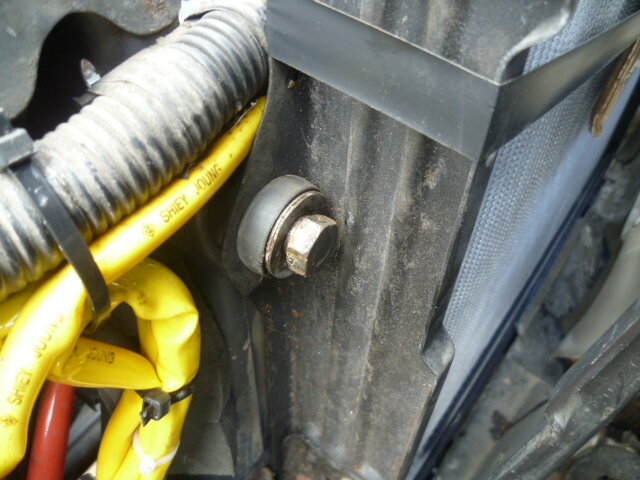
Whoever, at Toyota, designed those ridiculous fasteners on the rad needs tracking down and shooting. Mine actually came off pretty easily today. I took the top valance off to get a spanner down behind the AC condenser. My solution to these is to simply weld a nut on the opposite side so that you can get a grip on them. I'd like to make the nut on the other end captive. But I wanted to crack on and I'm not planning on taking the bugger out again. Ever.

P1010543.JPG
 
....It's a nice unit. Toyota OEM frame re-cored courtesy of Laughton Landcruiser Center in an alloy single core. Yes, that's a single core.... I suspect that I simply won't notice any difference. it IS the UK after all. Let's hope it's hot in Romania next year and we'll see then....
It will be fine in the UK.... but if you go somewhere hot you run the risk of frying your engine, as I know only too well :doh:

Why compromise on something as fundamentally important as the radiator :wtf:
 
It will be fine in the UK.... but if you go somewhere hot you run the risk of frying your engine, as I know only too well :doh:

Why compromise on something as fundamentally important as the radiator :wtf:

What Chris forgot to mention is that the "single" core is 45mm thick as opposed to the OEM rad core thickness of 32mm.

Andy
 
I was just about to say that Andy. Yes this is a custom rad not some cheap internet knock off. I don't see it as a compromise at all
I didn't spend good money to go backwards
 
Back
Top