Last week was a busy week for me working on this project.

I can only use the workshop at work for 20 minutes each day before work, 20 minutes at lunch time each day and 5-10 minutes each day after work. Oh and Thursday night for 4 hours.

So this week I used all that time to make the super light weight, load barrier.

But first I had a little delivery.............
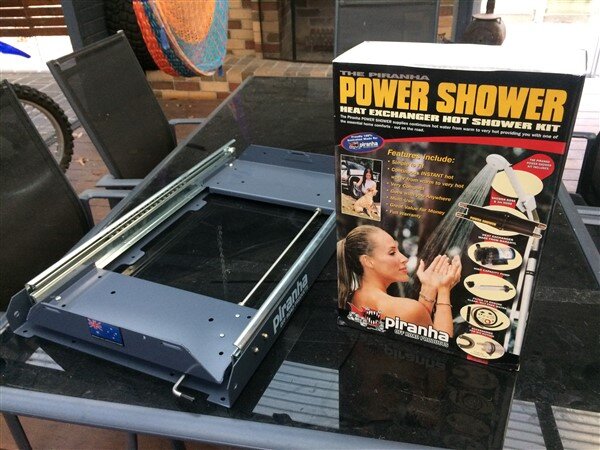
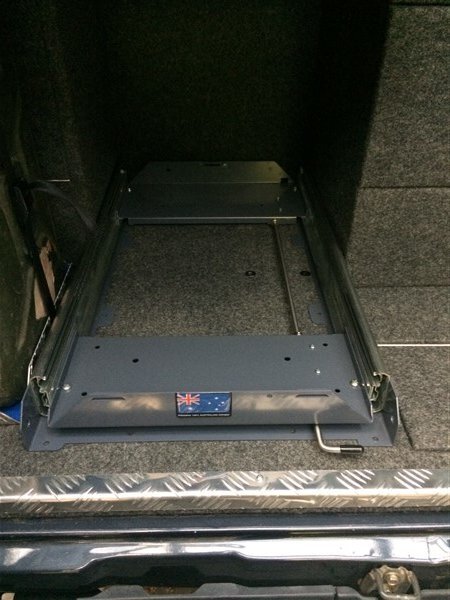
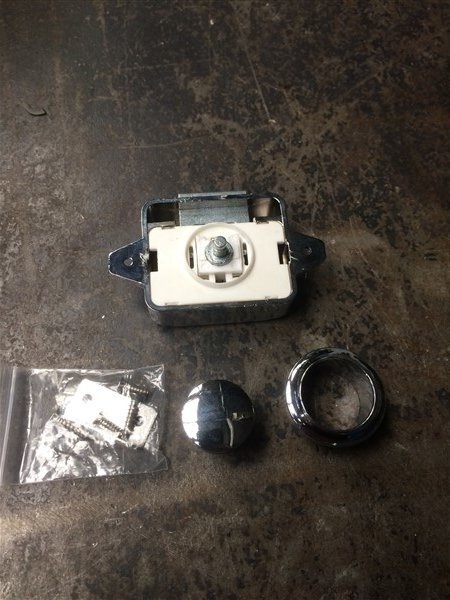
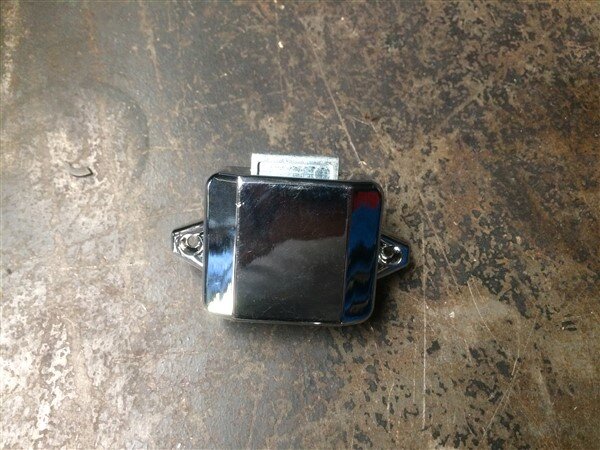
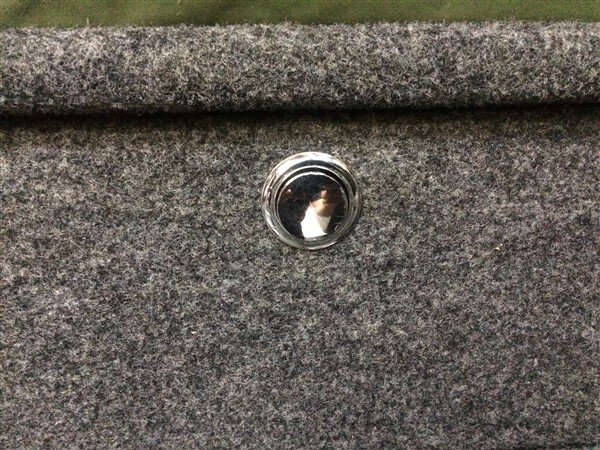
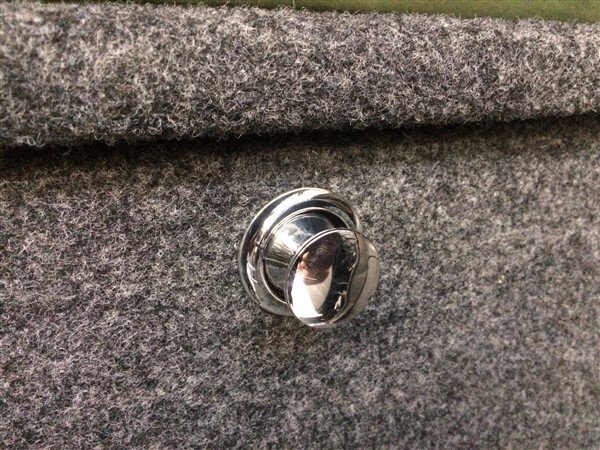
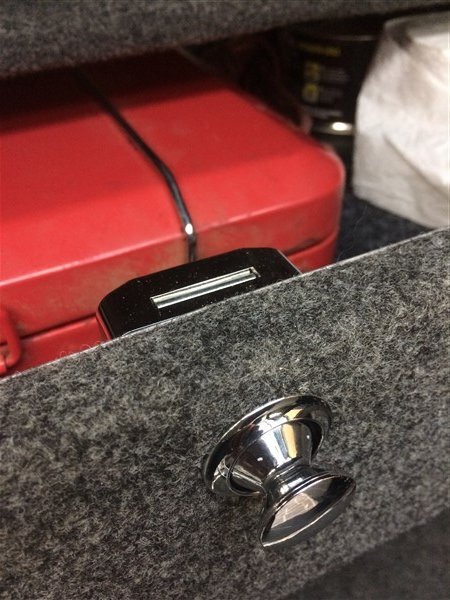
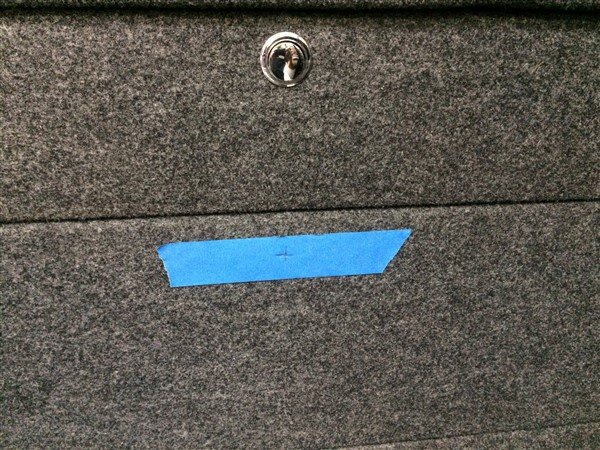
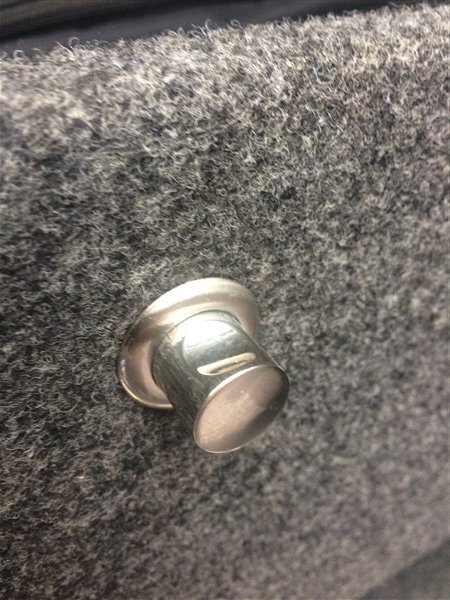
The new drawer latch arrived (I only ordered 1 as I wanted to check the quality before ordering more, they were coming from an Australian supplier anyway so postage was super quick, but being an Aussie supplier the cost was 3x what I would pay ordering them myself from China)

Unlocked position.

Locked position.
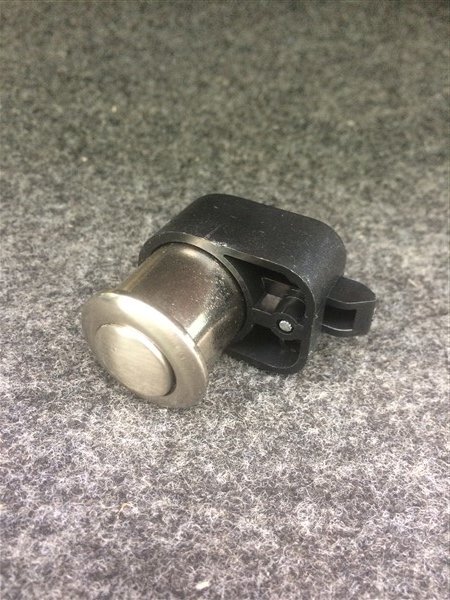
Rear view.
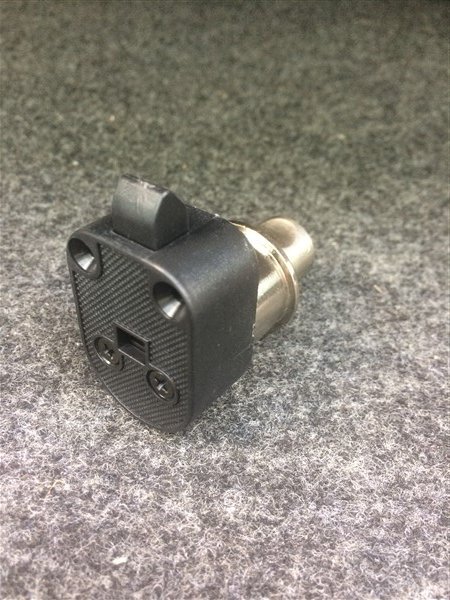
Much better quality and I think they will be perfect for my build!

So I ordered 2 more.

OK...............
The main project this week!

Monday lunch time I borrowed the 60 series and picked up a sheet of alluminium mesh and a 6 meter length of 25mm x 3mm tube.

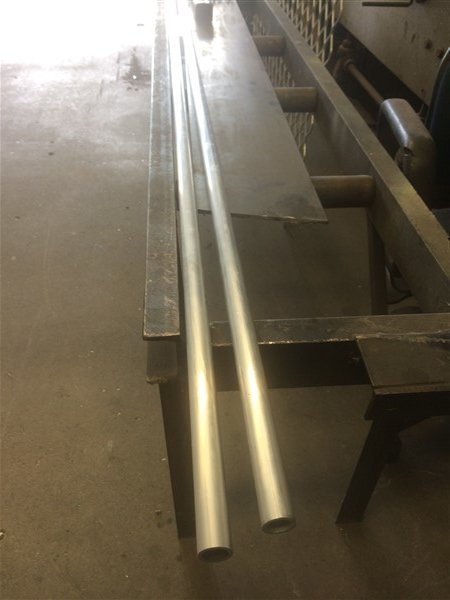
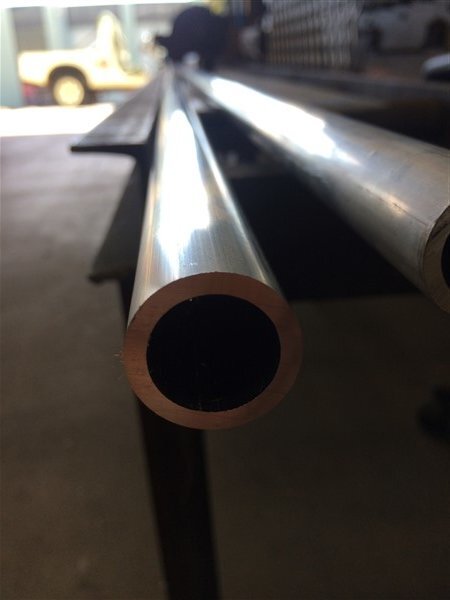
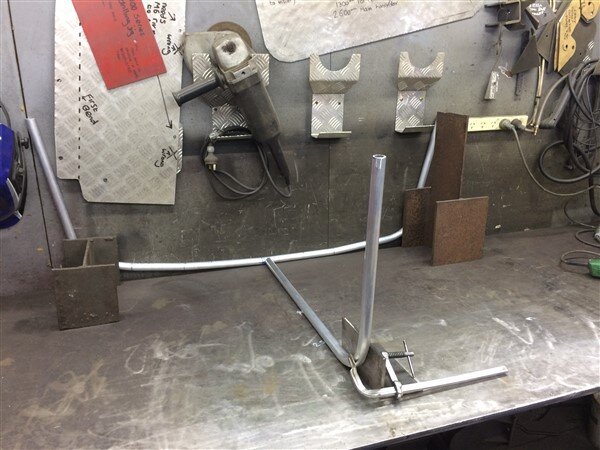
And the next morning before work I began bending the tube.
I wasnt sure how well it would bend in this bender, but hoped that by going for a thick wall it wouldnt kink, which it didnt!

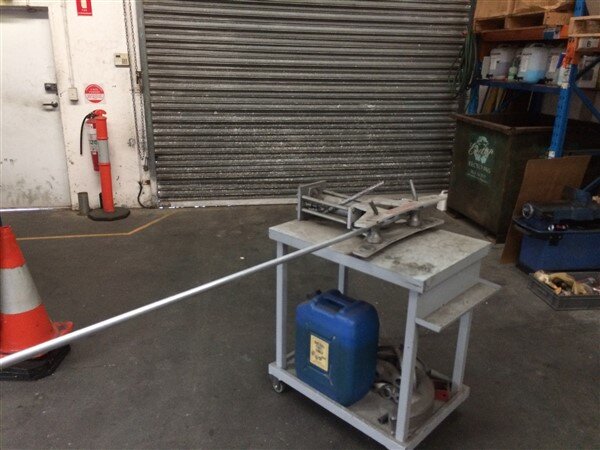

By 8am when it was time to officially start work the main hoop was bent.
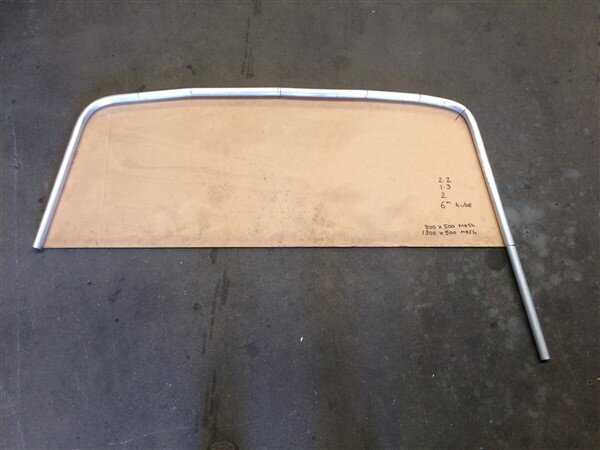
At lunch time I bent the next section up.

Initially I thought I might have to make it in 2 sections so it would fit in the car, but decided to have a go at getting it in in one section.
So I tack welded the 2 parts together.
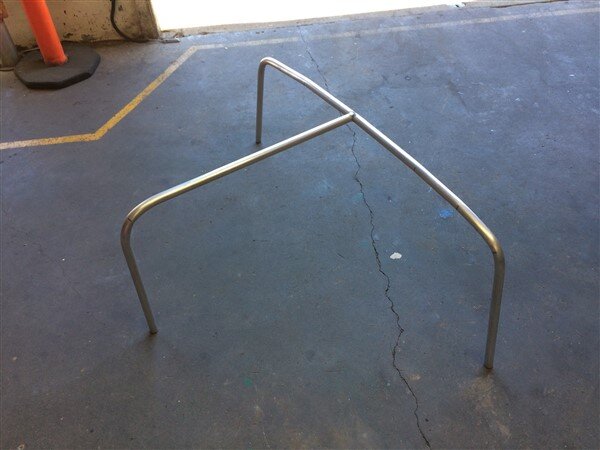
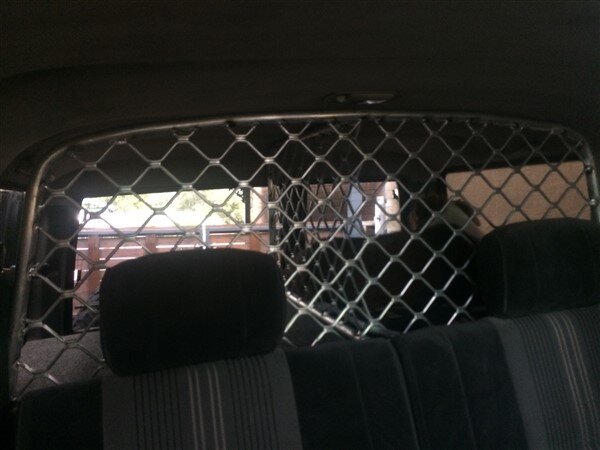
Tried it in the car.
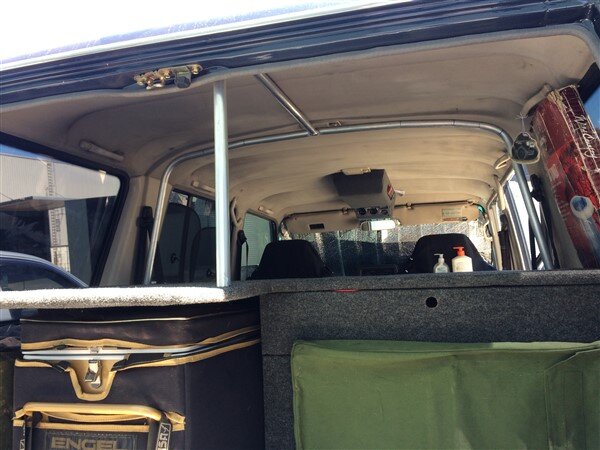

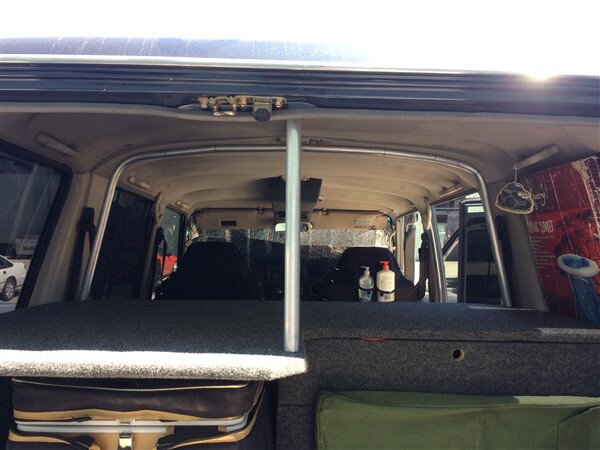
Perfect!

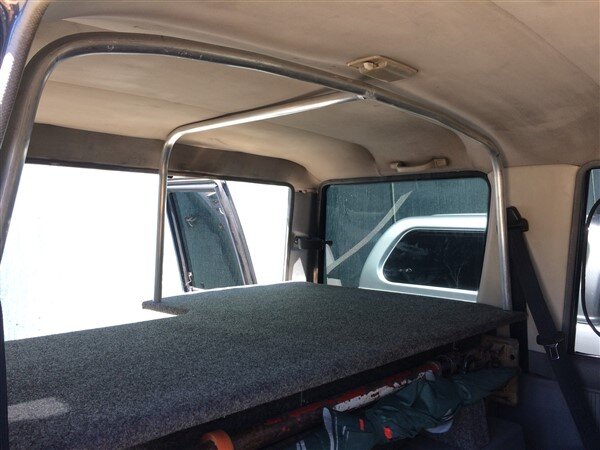
Back onto the bench to add more tube.
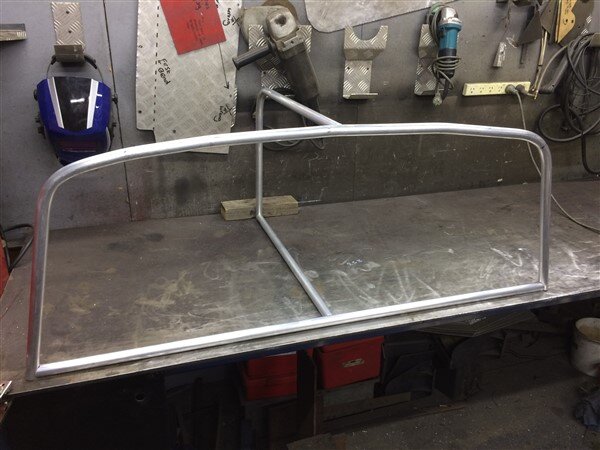
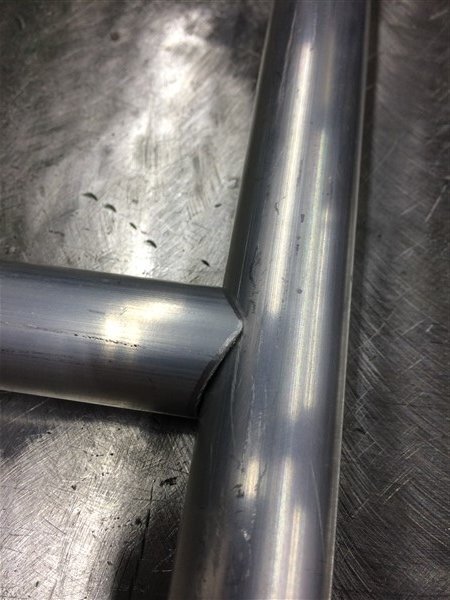
I did these sexy notches on the mitre saw by cutting 2 x 45 degree cuts to basically form a point and then just grinding a little bit out on the flats of the mitres.
Mesh next!
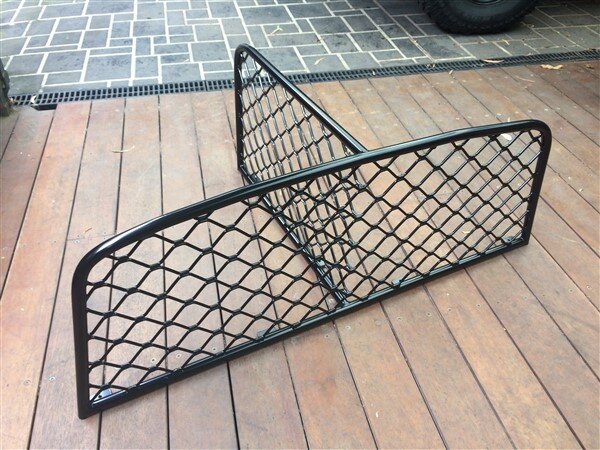
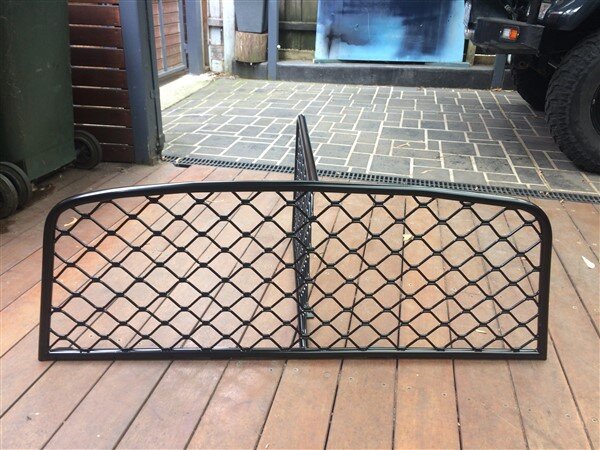
The mesh was the trickiest part of the whole job as I had to keep taking a little off at a time until it just fit snugly into the hoop.
I also had to make sure that the middle point where the other mesh would join to it was in the correct position so it would all line up beautifully.

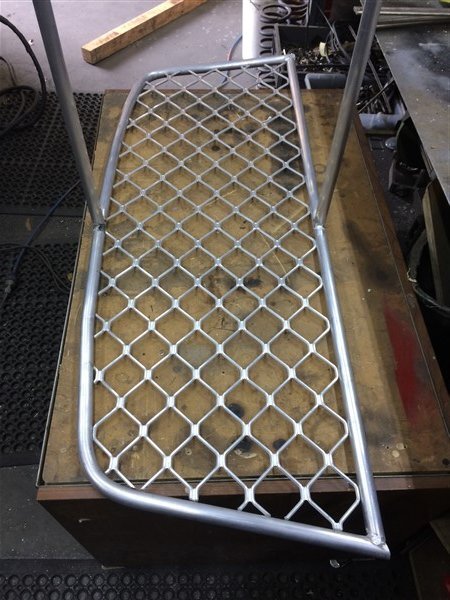

With that cut and pushed into position it was time to weld it.
Now as alluminium is such a ridiculously good conductor of heat, its always important to have it secured in position as it wants to start moving once you start welding, a lot more than steel ever would.

So I put 3 x pieces of 3mm sheet steel underneath it to pack it up 9mm to the center of the tube, then weighted the mesh down on these packing pieces to prevent it lifting with the heat. I also clamped the tube to the bench.
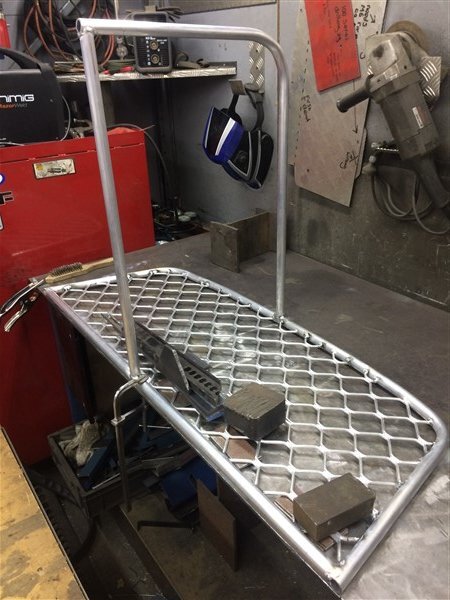
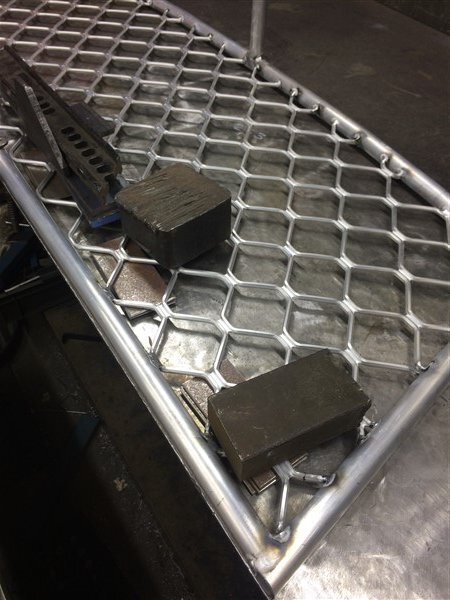
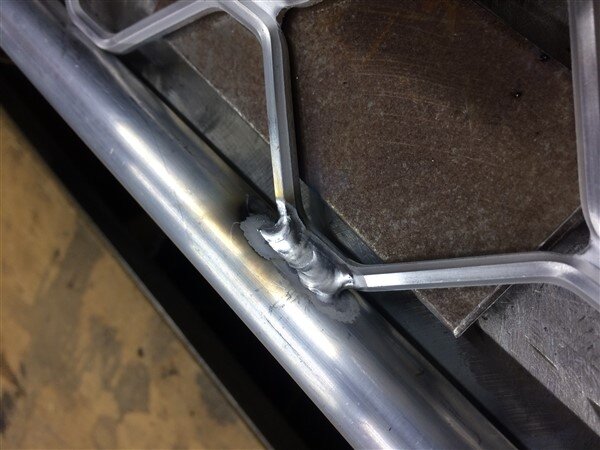
And that side was soon welded, well one side of it anyway (I welded the other side later).
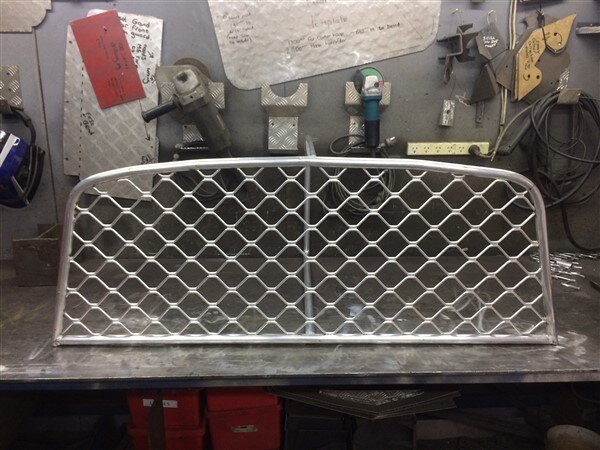
And then it was time to cut and grind the other piece until it fitted.
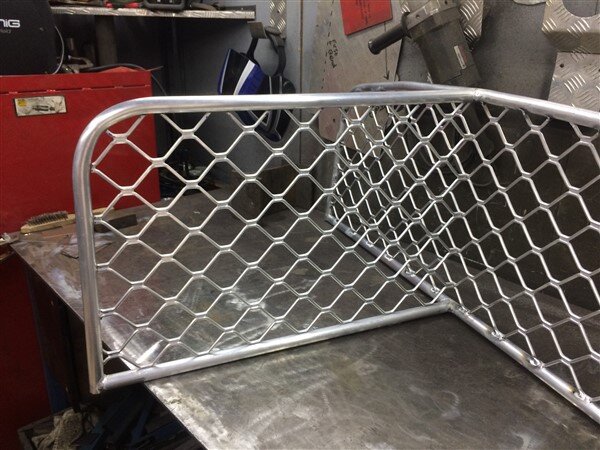
This is what I meant when I said getting the first piece of mesh perfectly in the center of the hoop, so that the other piece of mesh would line up to it perfectly.
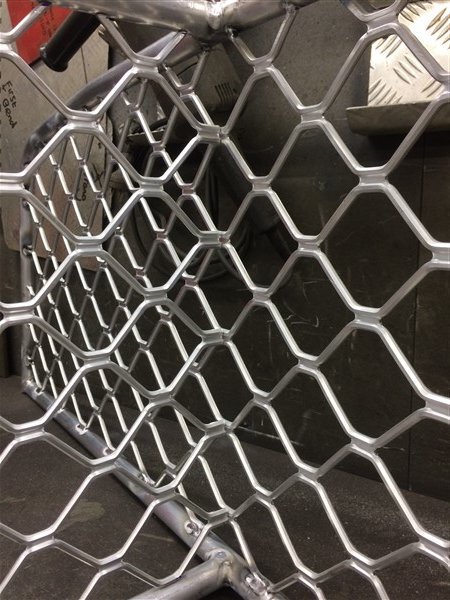
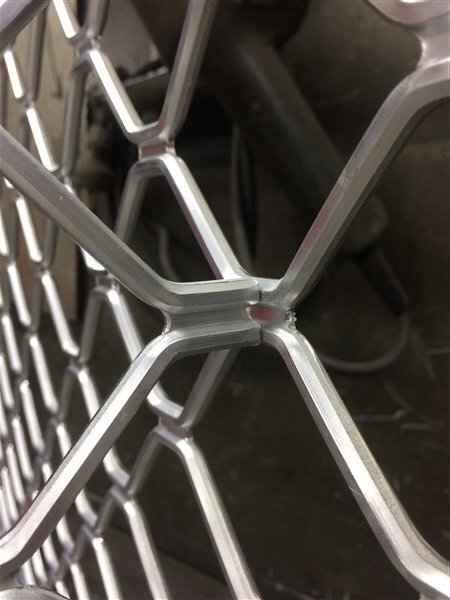
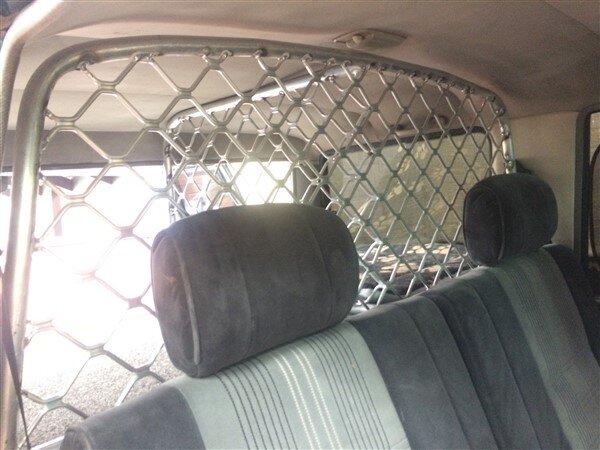
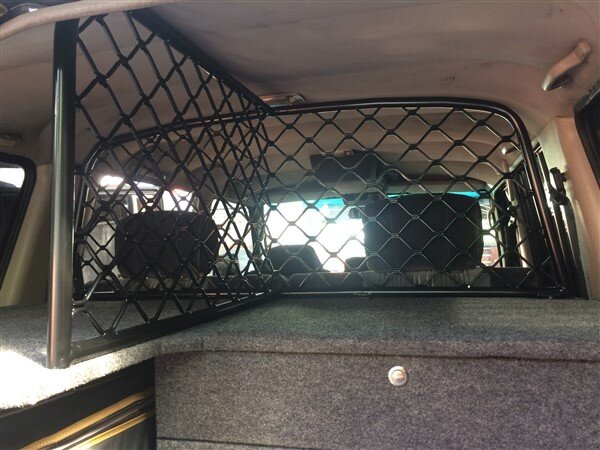
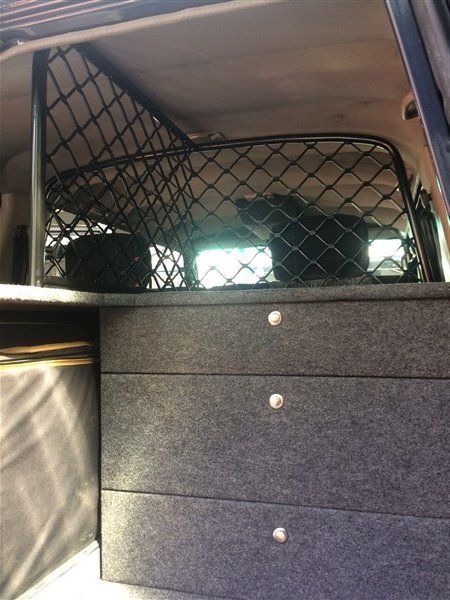
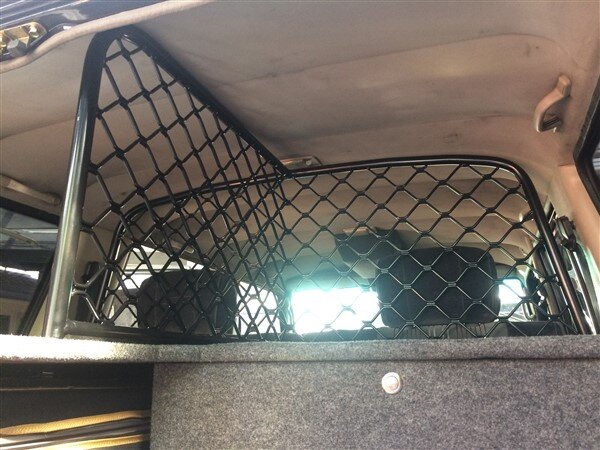
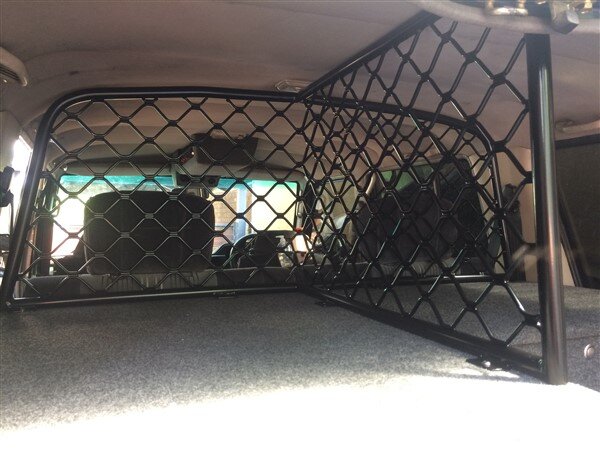
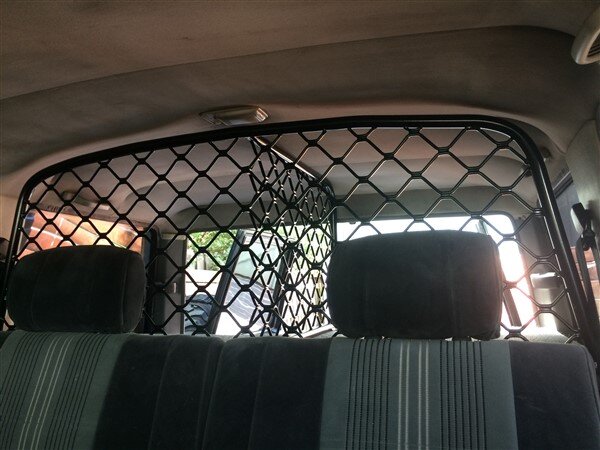
Then it was time to see if it would fit in the car.

Its bloody tight and only goes in one way and only just fits!

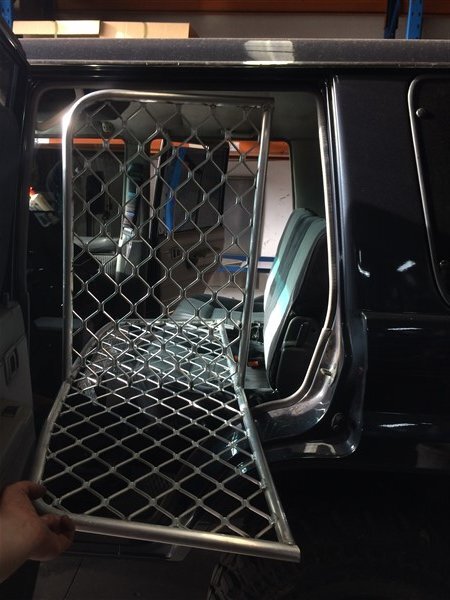
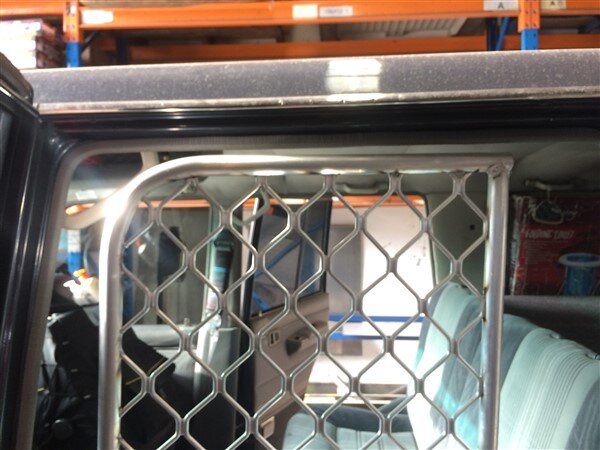
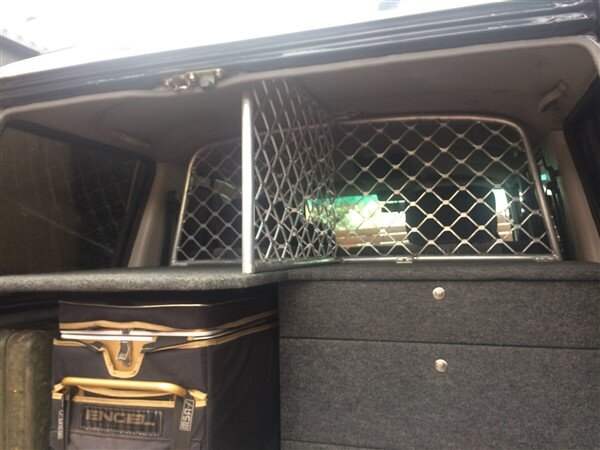
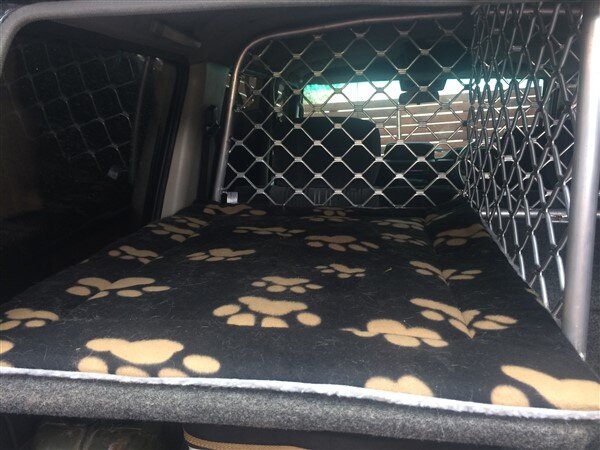
But once in the car it fits like a glove!

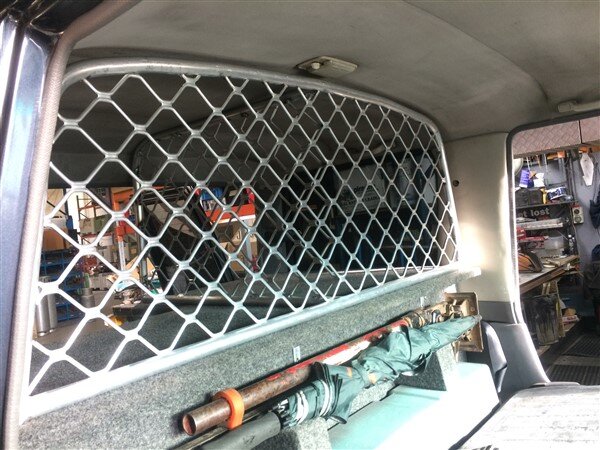
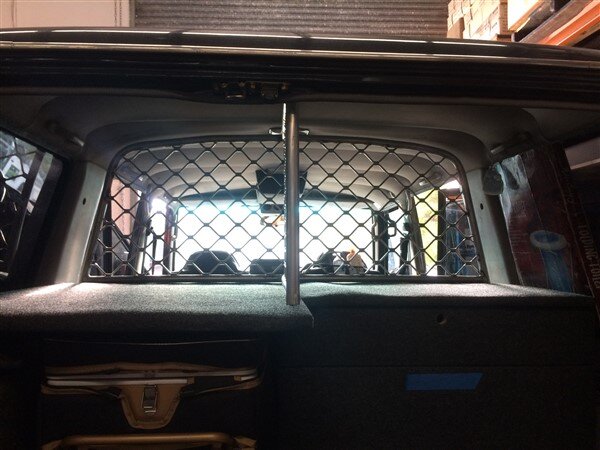
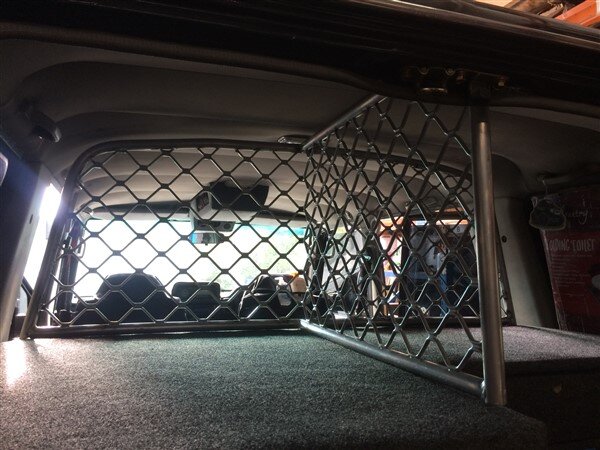
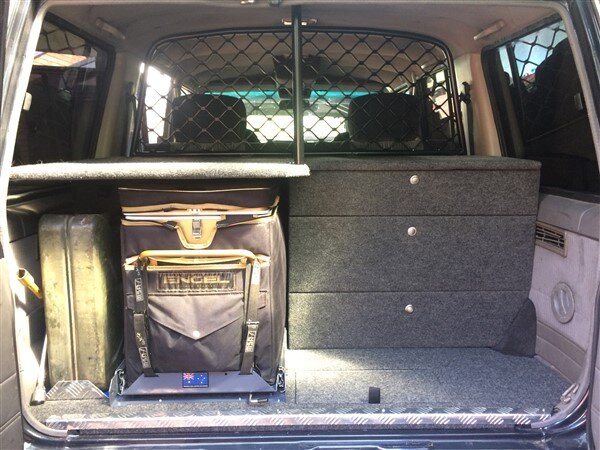
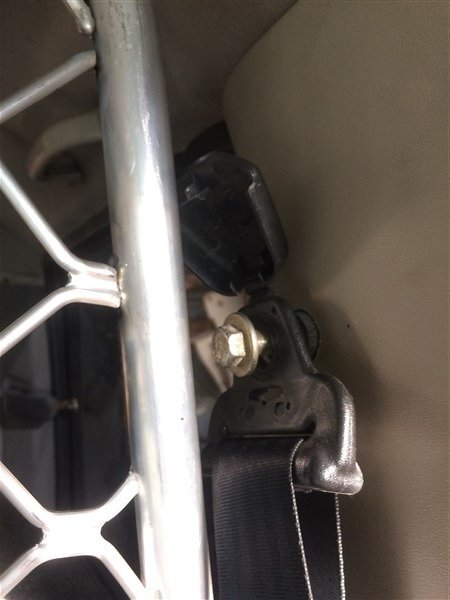
Initially I was thinking of picking up on these rear seat belt mounts, but I decided in the end that I didnt need to. With the barrier being the shape it is and what it will actually need to restrain (the dog one side and pillows, bedding and clothes on the other) I decided it would be over kill and add unnecessary complexity to the build.
Had it been a heavy steel load barrier like most load barriers and just a single wall without the return on it then it would have absolutely been necessary.

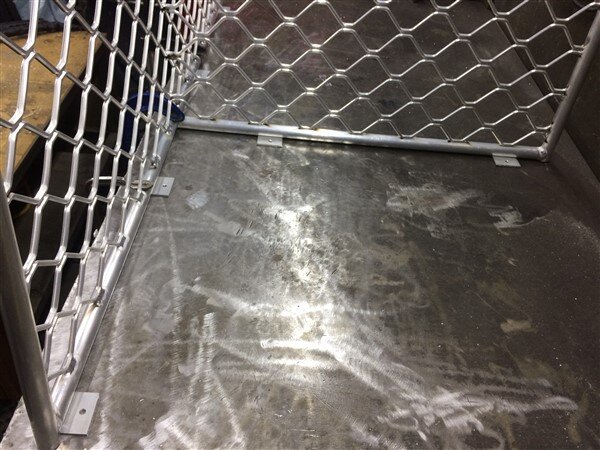
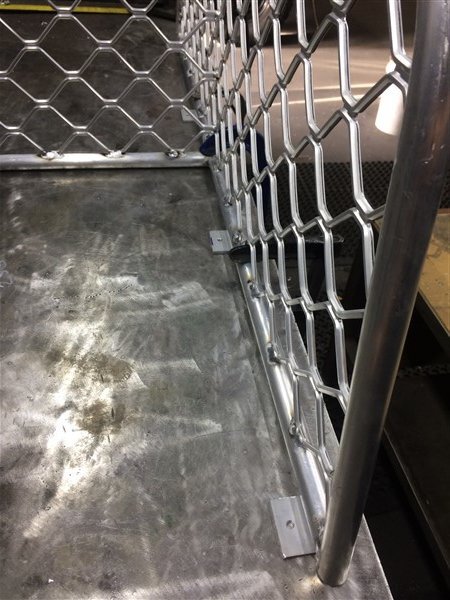
Next I cut some 50mm x 8mm alluminium flat bar into pieces to form the brackets to bolt the whole thing down.
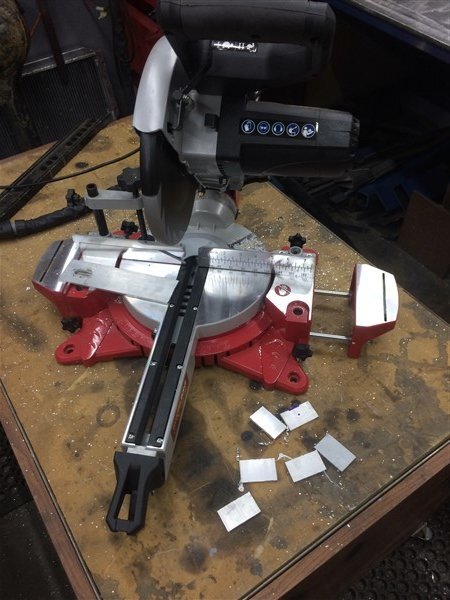
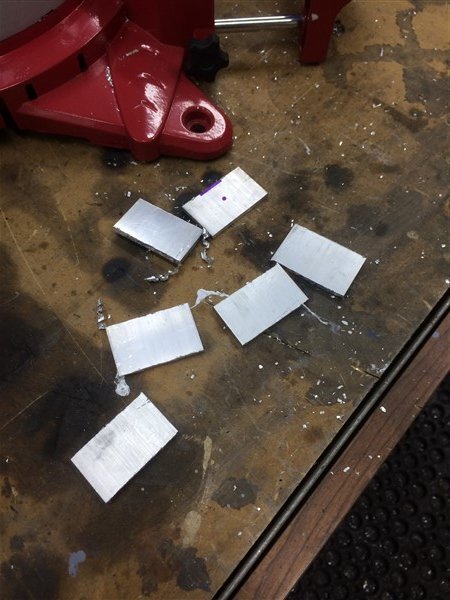
Drilled 6.5mm holes in them for M6 bolts.

Clamped the barrier down to the bench and had to kneel behind it on the bench to weld it.
(In my ideal workshop I would have a large fabricating/welding bench with access on all 4 sides, as thats what I really needed in this instance. Only being able to clamp on the front edge of the bench was a real pain)
Right I've hit the pic limit again!

I will finish this update in a minute with the rest of the pics.


